Learn how to use a pressure cooker to make perfect, fluffy brown rice with minimum time and prep.
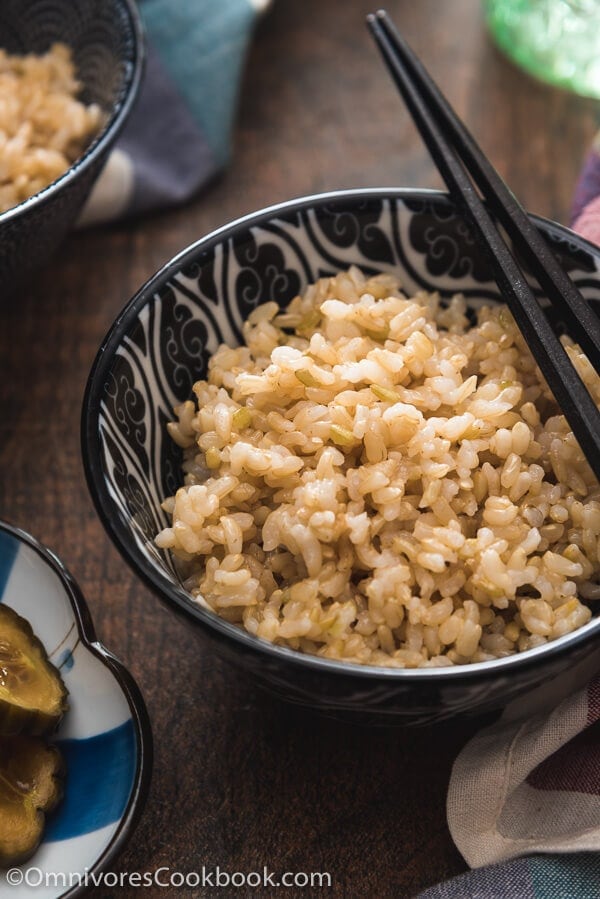
Steamed brown rice is a staple in our house. It a healthy and delicious side that goes great with stir-fries, proteins, soup, or a large salad. However, if you do not own a rice cooker, you might find brown rice a bit tricky to cook. You usually need to soak the rice overnight. And then cook it on the stovetop for 50 to 60 minutes. The rice-water ratio is difficult to get right. Even with a fancy rice cooker, it takes more than 1 hour to cook perfect brown rice.
A pressure cooker will cut the steps and cooking time down to the minimum.
Two months ago I purchased my first Instant Pot, a very trendy electric cooking appliance that combines a slow cooker, pressure cooker, rice cooker, yogurt maker, steamer, and saute pan.
I’ve been using the Instant pot to quickly cook rice pilaf, chicken soup, crispy potatoes, and a whole lamb leg. All of the dishes came out very tasty, with shorter cooking times than the oven and stovetop require. Without a doubt, it produces perfect brown rice, too.
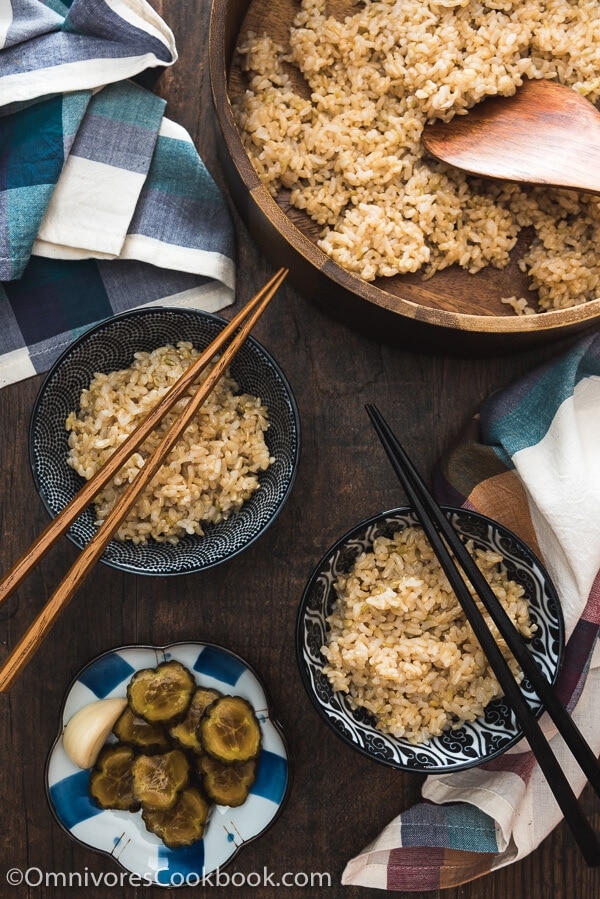
By using high pressure, you can halve the cooking time. Plus, you can skip the soaking process, which means you can get freshly cooked brown rice without preparing it hours ahead of time. The other great thing about pressure cooker brown rice is that the water ratio is easy to nail down. The sealed cooking process means only a tiny fraction of the moisture is lost. Once you find a good water-rice ratio, it generates fluffy rice every single time.
The water ratio for perfect rice can vary depending on the type of grain, when the grains were harvested, and how they’re stored. So you might need more than one attempt to find the perfect ratio, with the general guidance listed below. On the other hand, I have found that the pressure cooker method is quite forgiving. Even if the rice turns out a bit too moist or dry, you will still enjoy the flavor without worrying about undercooked rice.
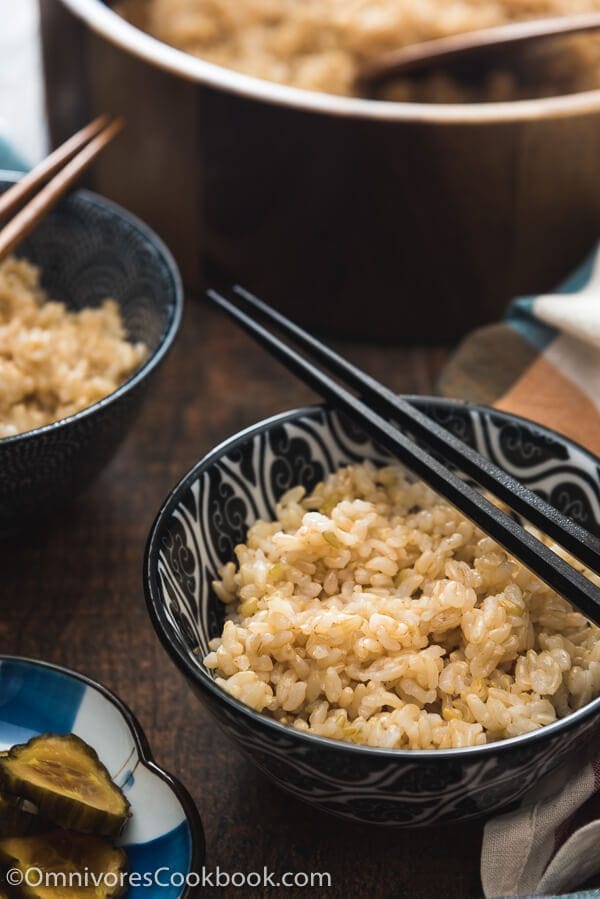
If you cook a lot of rice and plan to save some for later, do follow the proper storage instructions listed in the recipe below. Cooked rice becomes potentially hazardous if not cooled and stored properly and can become host to foodborne disease.
Once you find out how to make and store rice, you’ll find that it’s very easy to create healthy, quick and delicious dinners. Browse my stir-fry, main dishes, and braised recipes to find out what to cook for dinner today!
Do you like my recipes? Sign up our weekly newsletter to get the latest updates delivered to your inbox and a FREE e-cookbook that contains my top 30 most popular recipes!
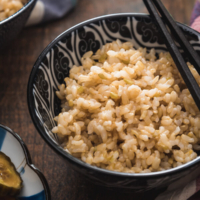
Pressure Cooker Brown Rice
Ingredients
- 2 cups (180 ml) medium grain brown rice (*see footnote)
- 2.5 cups (180 ml) water
Instructions
- Add brown rice into a large bowl and water to cover. Wash gently with hands, using a swirling motion. Discard the water. Repeat another two times. This will remove the outer starch of the rice. Without this step, the cooked rice might turn out gummy.
- Transfer the rice into a colander on top of a big bowl. Shake a few times, and let the extra water drain out for 5 minutes.
- Transfer rice to pressure cooker and add water. Cover and make sure the pressure cooker valve is sealed.
- Cook at high pressure for 28 minutes. If using an Instant Pot, push “Manual” and set timer to 28 minutes. If using a stovetop pressure cooker, cook over medium high heat until pressure is reached.
- When the rice is done, release pressure using fast release.
- At this point, the rice on the bottom will be moist and fragile. Use a rice paddle (or a fork) to gently fluff the rice by lifting from the bottom. Cover again and let rest for 10 to 20 minutes. This will redistribute the moisture and cook the rice more evenly.
- Once the rice has rested, you’ll noticed the texture is not so wet anymore. Now you can serve the rice.
- Quick tip: rinse your pressure cooker while it’s still warm, and the residual starch will come off easily. Once the pot has completely cooled off, you might need extra soaking time to clean the pot.
Store
- If you don’t serve the rice right away, transfer and spread it on a large plate or tray to cool. (*see footnote 2)
- Once the rice has cooled down (it usually takes 15 to 20 minutes), immediately transfer it into small airtight containers or freezer bags (*see footnote 3). Mark the contents and date on the containers. Store in the fridge for up to 2 days or in the freezer for up to three months.
Reheat
- To reheat frozen rice, transfer it to a microwave-safe container without thawing. Cover and reheat the rice in 1-minute increments on full power, until rice is hot. Fluff the rice occasionally if you’re heating up a large batch, so the rice will be reheated evenly.
Notes
- The cup I used in this recipe is the standard Asian rice cup that is 180 mL (the one that comes with the Instant Pot and most rice cookers). If you’re using American cups (250 mL), you can use the same ratio, but it will yield more rice.
- Always cool rice thoroughly in a timely manner after it is cooked. Cooked rice can contract B. cereus, which can cause illness, if the rice is not cooled immediately and stored in a cold environment.
- If you have enough freezer space, you can use containers made from thermal shock-resistant borosilicate glass. This way, you can heat the rice directly from the fridge or freezer without transferring the rice to a new container.




Thanks for the Ebook! I was a professional cook for about 40 years but never cooked Chinese, now I will, thanks.
Excited about trying your recipes. Especially with my new Instant Pot! I’m on a low acid, gluten & dairy sensitive meal plan now that is a bit of a challenge from how I use to cook. Looking forward to new tastes.