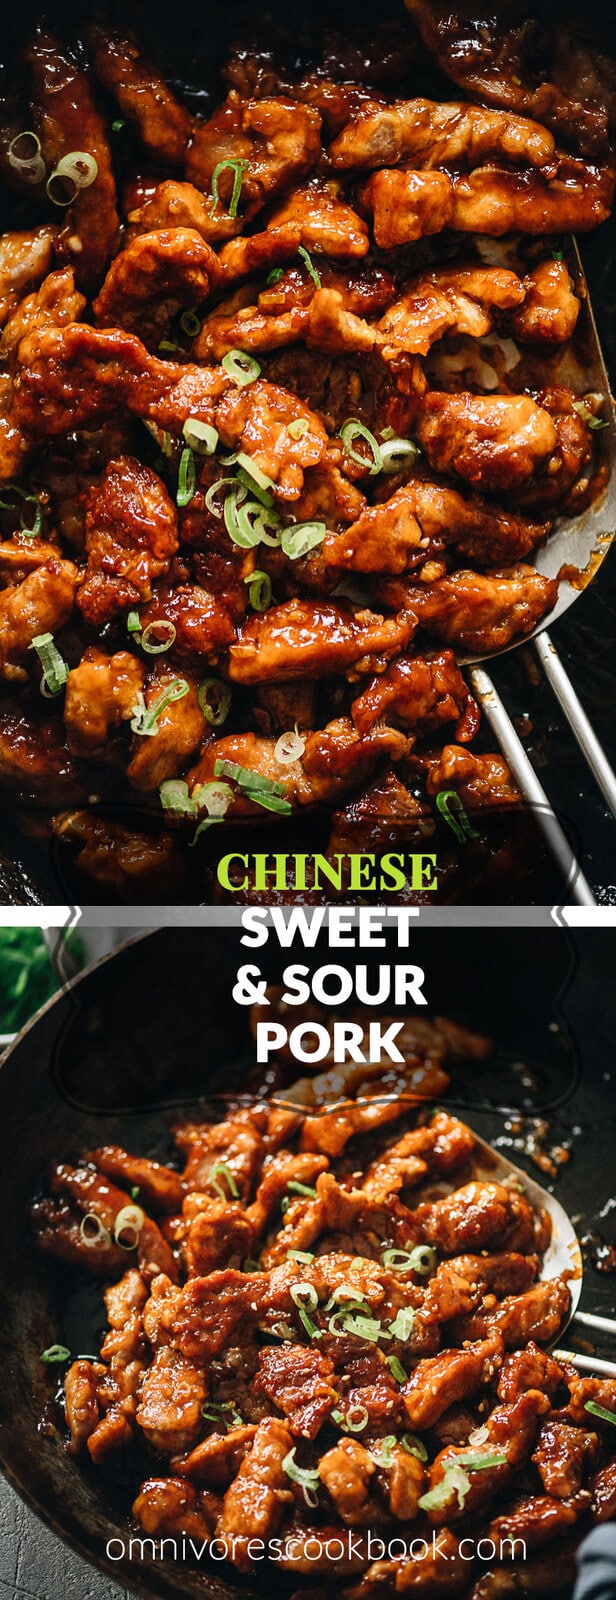
Introducing the authentic Chinese sweet and sour pork made with lightly battered pork, pan-fried until crispy, juicy, and tender, then tossed in a fragrant sticky sauce with a perfectly balanced sweet and sour taste. It’s super easy to make and tastes way better than takeout! {Gluten-free Adaptable}
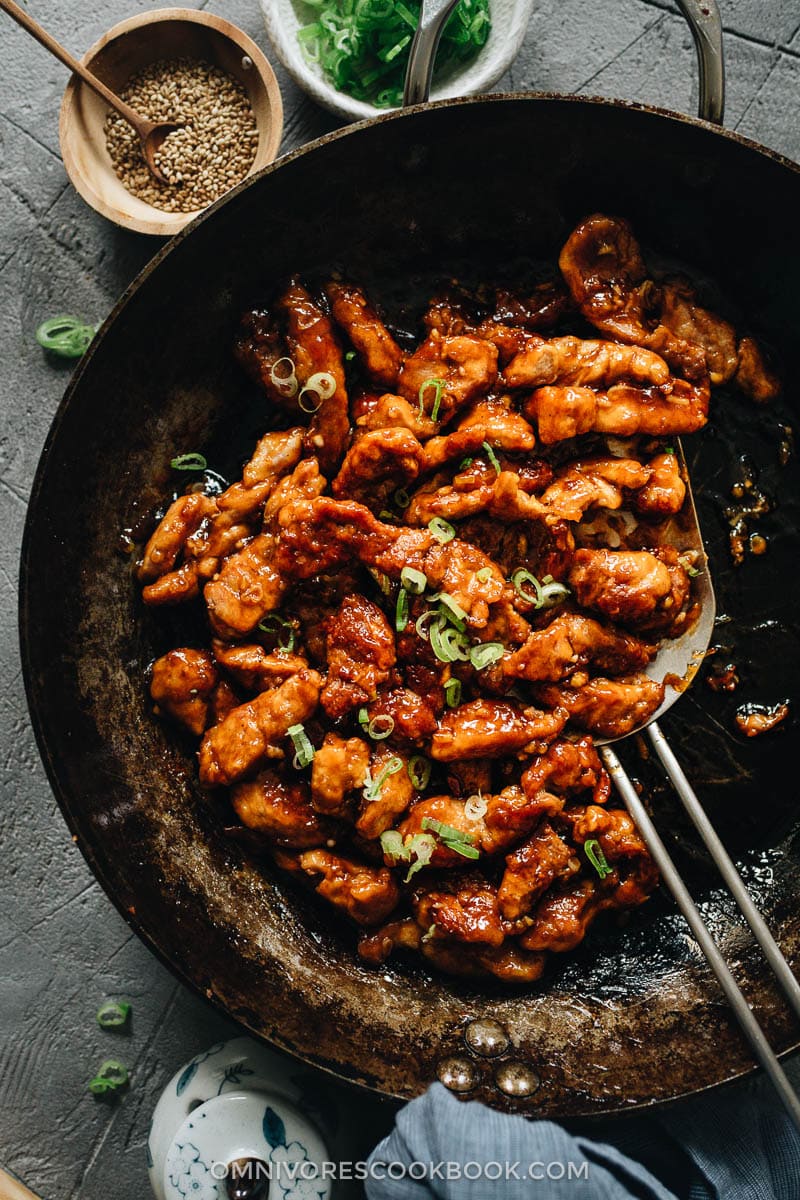
If you’ve followed my blog for a while, you might have heard me discuss the beloved American Chinese food that you won’t find in China. Dishes such as orange chicken, sesame chicken, sweet and sour chicken, and chop suey. You might think that sweet and sour pork is another dish that was invented in the US. But in fact, it’s a real dish that exists in China. Not only does it exist, but it’s very popular and you will see it in many restaurants.
The sweet and sour pork in China is quite different from the American version, though. The takeout style is usually heavily battered, deep fried, and swamped in a pool of very sugary sauce.
On the other hand, in the Chinese version the pork is cut into thin strips, lightly coated with a batter and fried until crispy. It’s stir-fried with aromatics and coated with a thin layer of sauce that has a fruity, pungent, vinegary aroma but is sweet and fragrant in flavor.
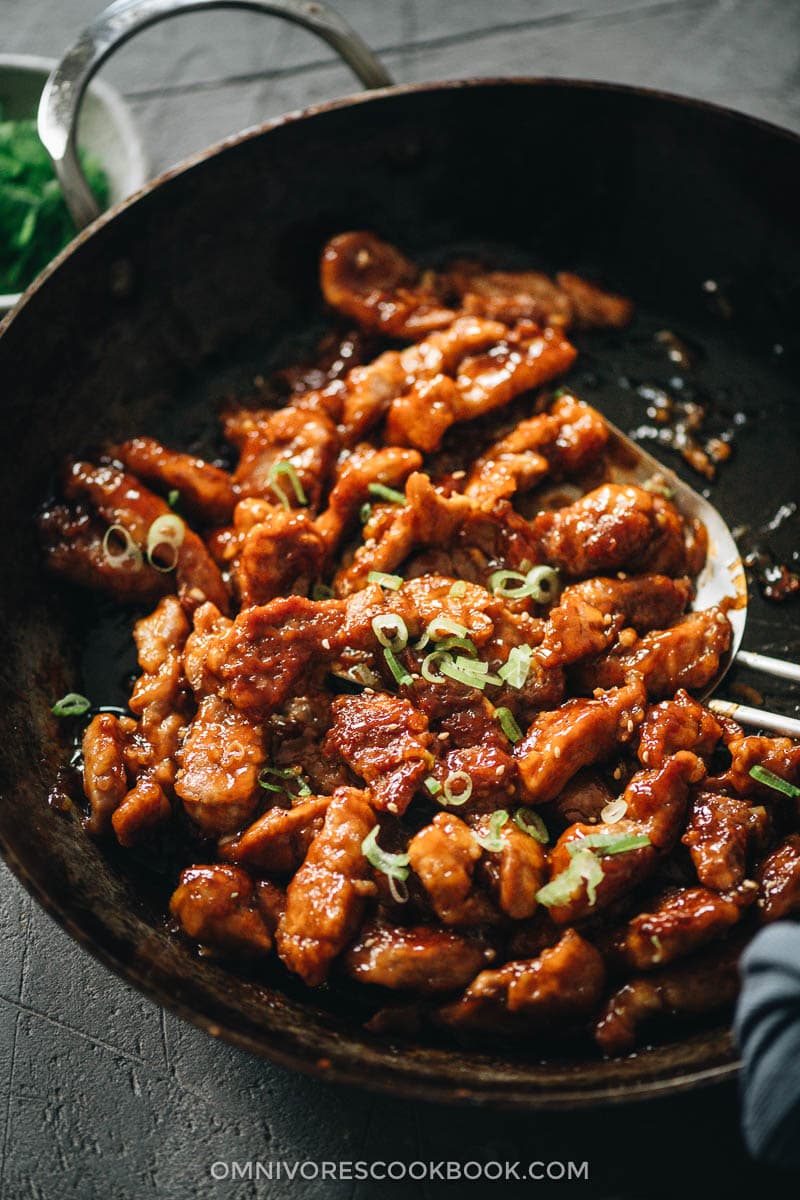
Why this recipe
1. Crispy coating without deep-frying
This recipe uses my default pan-frying formula, so you only need 1/3 to 1/2 cup of oil to pan-fry the pork and yield a very crispy and juicy result. No deep-frying required! The coating holds up pretty well. You can even stick your pan into the oven and set it at a keep-warm temperature if you’re not serving the dish immediately. The pork will stay crispy.
2. Perfectly balanced sauce
Even though I’ve cooked many sweet and sour dishes in the past, we tested the recipe many times to get the perfectly balanced sauce.
The northern Chinese sweet and sour pork has a very pungent vinegary aroma when you pick up a piece of pork. But the dish doesn’t taste too sour or tangy when you eat it.
We tested the dish with rice vinegar, Chinkiang vinegar, and apple cider vinegar, all of them with and without ketchup. In the end, the combination of apple cider vinegar and ketchup was the winner. It produces a sauce that is fruity, sour enough without being too pungent, and with the right amount of sweetness.
3. Easy workflow
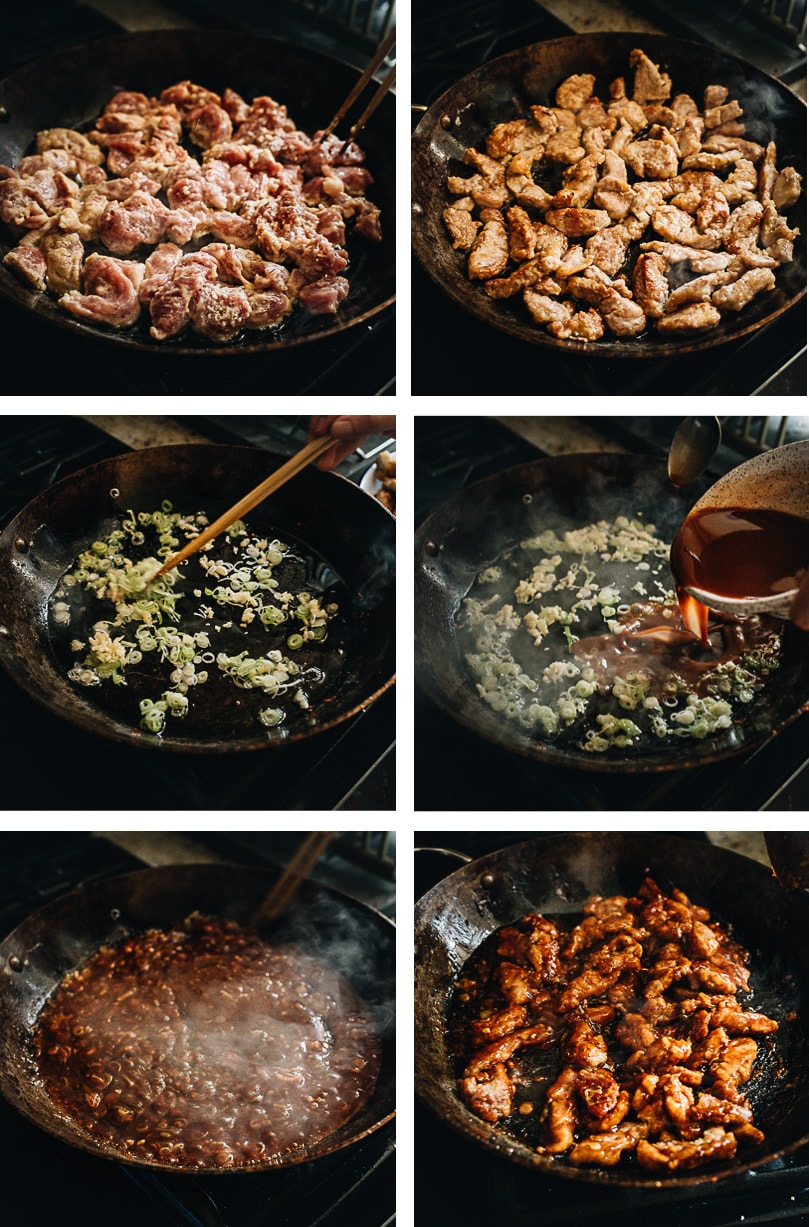
You’ll be surprised how easy it is to make this dish. You only need to:
- Pan fry the pork
- Saute the aromatics
- Thicken the sauce and coat the pork with it.
That’s it! I guarantee the dish will taste better than the takeout version.
Cooking notes
1. What cut of pork to use
Pork loin and tenderloin are perfect for making sweet and sour pork. They are lean and tender, which means they’ll generate juicy results. I’ve tried using pork chops because they’re cheaper. But I found that the meat comes out tougher and drier if you use chops.
2. How to cut pork
Even though you can cut the pork into chunks (like with Chinese take-out), I prefer the matchstick shape. This cut increases the surface area of the pork, so it will have a larger crispy surface and be coated with more sauce.
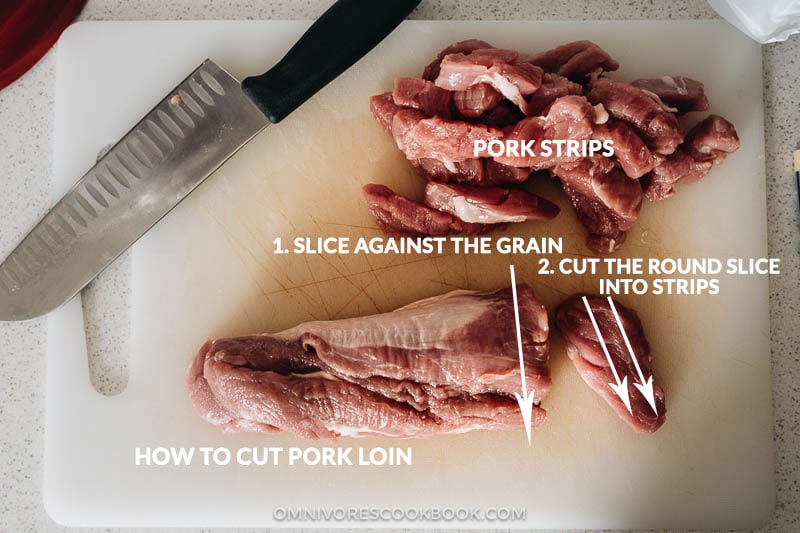
It’s important to cut the pork against the grain so the pork will have a tender mouthfeel after cooking. I took a picture to show you how to cut a piece of pork loin into strips.
- Slice the pork loin crosswise into 1/2” (1 cm) round pieces.
- Then cut the round piece into strips.
3. How to prep better
To prep faster, use less kitchen counter space, make cooking easier, and reduce cleanup, the best way is to group your ingredients according to the recipe. For example, since you will add the garlic and the onion to the pan in the same step, it doesn’t make sense to use two prep bowls for the ingredients.
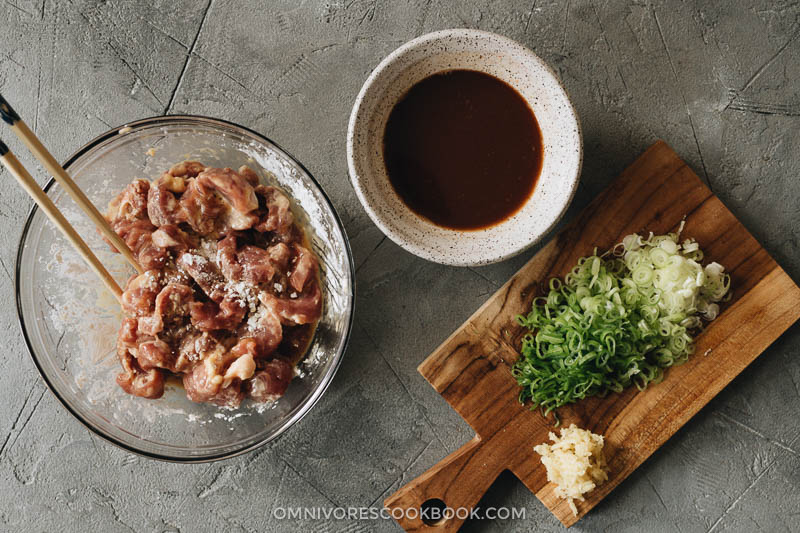
Before cooking the sweet and sour pork, your kitchen counter should have only the following:
- A bowl with chopped green onion and garlic. Sometimes I leave them on the cutting board so save another bowl!
- The mixed sauce.
- The marinated pork, is coated with cornstarch.
- Oil for cooking
That’s it! This list helps you organize your cooking, so you won’t miss any ingredients during the stir-frying process.
4. How to pan-fry the pork
Pan-frying pork is so much easier than deep-frying.
You need to heat up enough oil so that it covers the bottom of your pan. The more oil you use, the crispier the pork will turn out. The minimum oil amount for this recipe is 1/3 cup. But you can increase the oil to 1/2 cup or a bit more to get a crisper result.
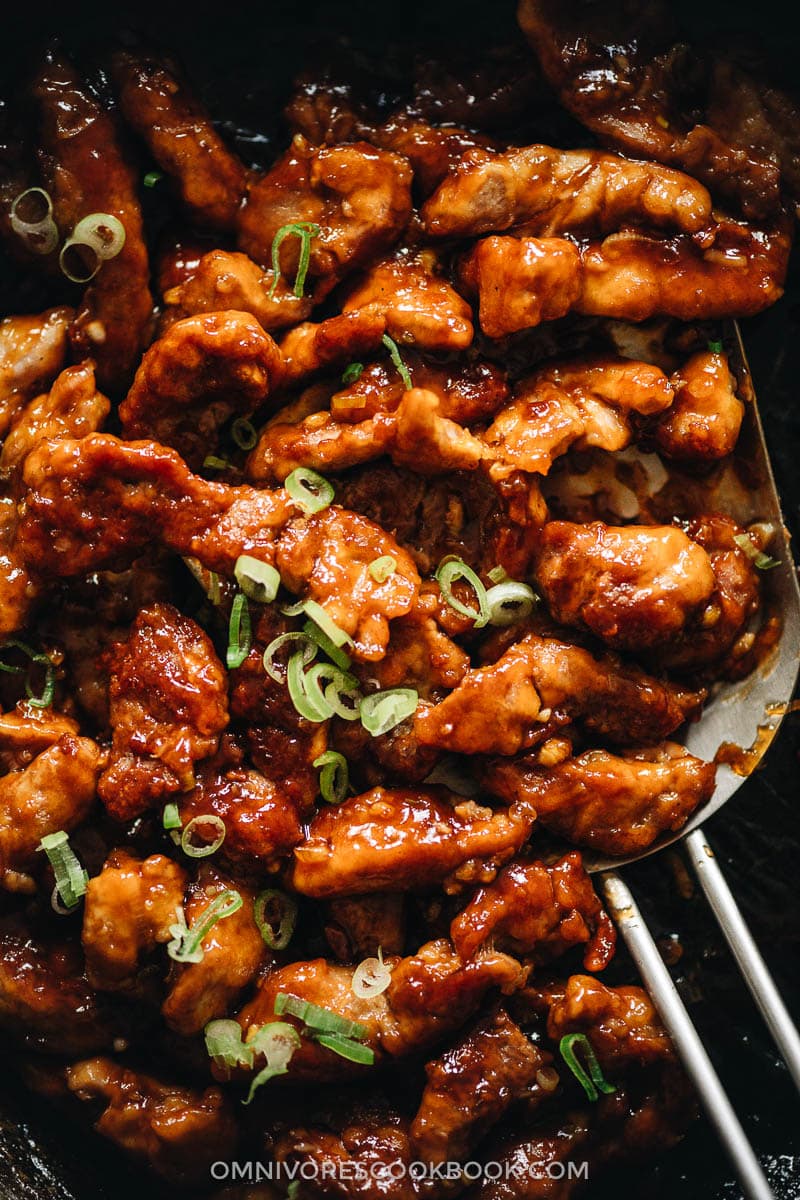
Once the oil gets hot, add all the pork at once. Then quickly use a pair of tongs (or chopsticks if you’re handy) to separate the pork strips. Depending on your pan and your stove, it takes different amounts of time to cook the pork. Let the pork cook without moving, until the bottom turns golden. Then flip to the other side using a spatula and cook until golden. That’s it!
Once done, transfer the pork to a plate to cool for 1 to 2 minutes. This cooling process will harden the coating and keep the pork crispy once you add the sauce.
Afterthoughts
Chinese cooking might look intimidating sometimes. But once you’ve tried my recipe, you’ll find it very approachable. You just need to get organized and prepare the ingredients before the cooking starts.
I hope you enjoy this recipe!
More delicious Chinese stir fry recipes
- Hokkien Noodles
- General Tso’s Chicken
- Easy Beef Fried Rice (牛肉炒饭)
- String Bean Chicken
- Chinese Beef Chow Mein
If you give this recipe a try, let us know! Leave a comment, rate it (once you’ve tried it), and take a picture and tag it @omnivorescookbook on Instagram! I’d love to see what you come up with.
Sweet and Sour Pork (糖醋里脊)
Ingredients
- 1 pound (450 grams) pork loin (or tenderloin) , cut to 1-inch (2-cm) pieces
- 1/2 cup cornstarch
Marinade
- 1 tablespoon peanut oil (or vegetable oil)
- 1 egg , beaten
- 1/2 teaspoon salt
Sauce
- 2 tablespoons ketchup
- 4 tablespoons apple cider vinegar
- 2 tablespoons Shaoxing wine (or dry sherry)
- 4 tablespoons brown sugar
- 2 teaspoons cornstarch
- 1/2 teaspoon salt
Stir-fry
- 1/3 to 1/2 cup peanut oil (or vegetable oil)
- 2 green onions , sliced
- 2 cloves garlic , minced
Instructions
- Combine the pork pieces, vegetable oil, and salt in a big bowl. Mix well and let marinate for 15 minutes while you prepare the other ingredients.
- Mix all the sauce ingredients in a small bowl and set aside.
- When you’re ready to cook, add the beaten egg into the bowl with the pork. Stir to mix well. Add the cornstarch. Stir to coat the pork until it forms an uneven coating with a little dry cornstarch left unattached.
- Heat the oil in a heavy-duty skillet until hot, until it just starts to smoke. Add the pork all at once and spread it out into a single layer in the skillet. Separate the pork pieces with a pair of tongs or chopsticks.
- Cook without touching the pork for 2 to 3 minutes, or until the bottom turns golden. Flip to brown the other side, 2 to 3 minutes. Transfer the pork to a big plate and remove the pan from the stove. Let cool for 2 to 3 minutes.
- Place the pan back onto the stove and turn to medium heat. You should still have 1 to 2 tablespoons of oil in the pan. Add the green onion and garlic. Cook and stir a few times until it releases its fragrance, a few seconds.
- Stir the sauce again to dissolve the cornstarch completely. Pour it into the pan. Stir and cook until it thickens, when you can draw a line on the bottom with a spatula without the sauce running back immediately.
- Add back the cooked pork and stir to coat with sauce, about 30 seconds. Transfer everything to a plate immediately.
- Serve hot as a main over steamed rice.




So good! A regular recipe in our house.
We did the sweet and sour pork with pineapple thing. Used char siu from your recipe, no breading and a stir fry of veggies. Not your recipe in the end but we used your sauce mix. The sauce was enough for 1/2 pound of pork plus vegetables. Met the brief. Your site is our go to for inspiration as we explore Chinese cuisine, thanks.
This was so tasty and easy! My husband’s comment was “this doesn’t really taste like sweet+sour pork but it’s really good”. I think he was expecting the gloopy restaurant version. Will be working this into our rotation!
Loved this! So much better than that over breaded with goopy red sauce stuff! I think next time I would make double sauce. Other than that I made it as directed and it was delicious!!