
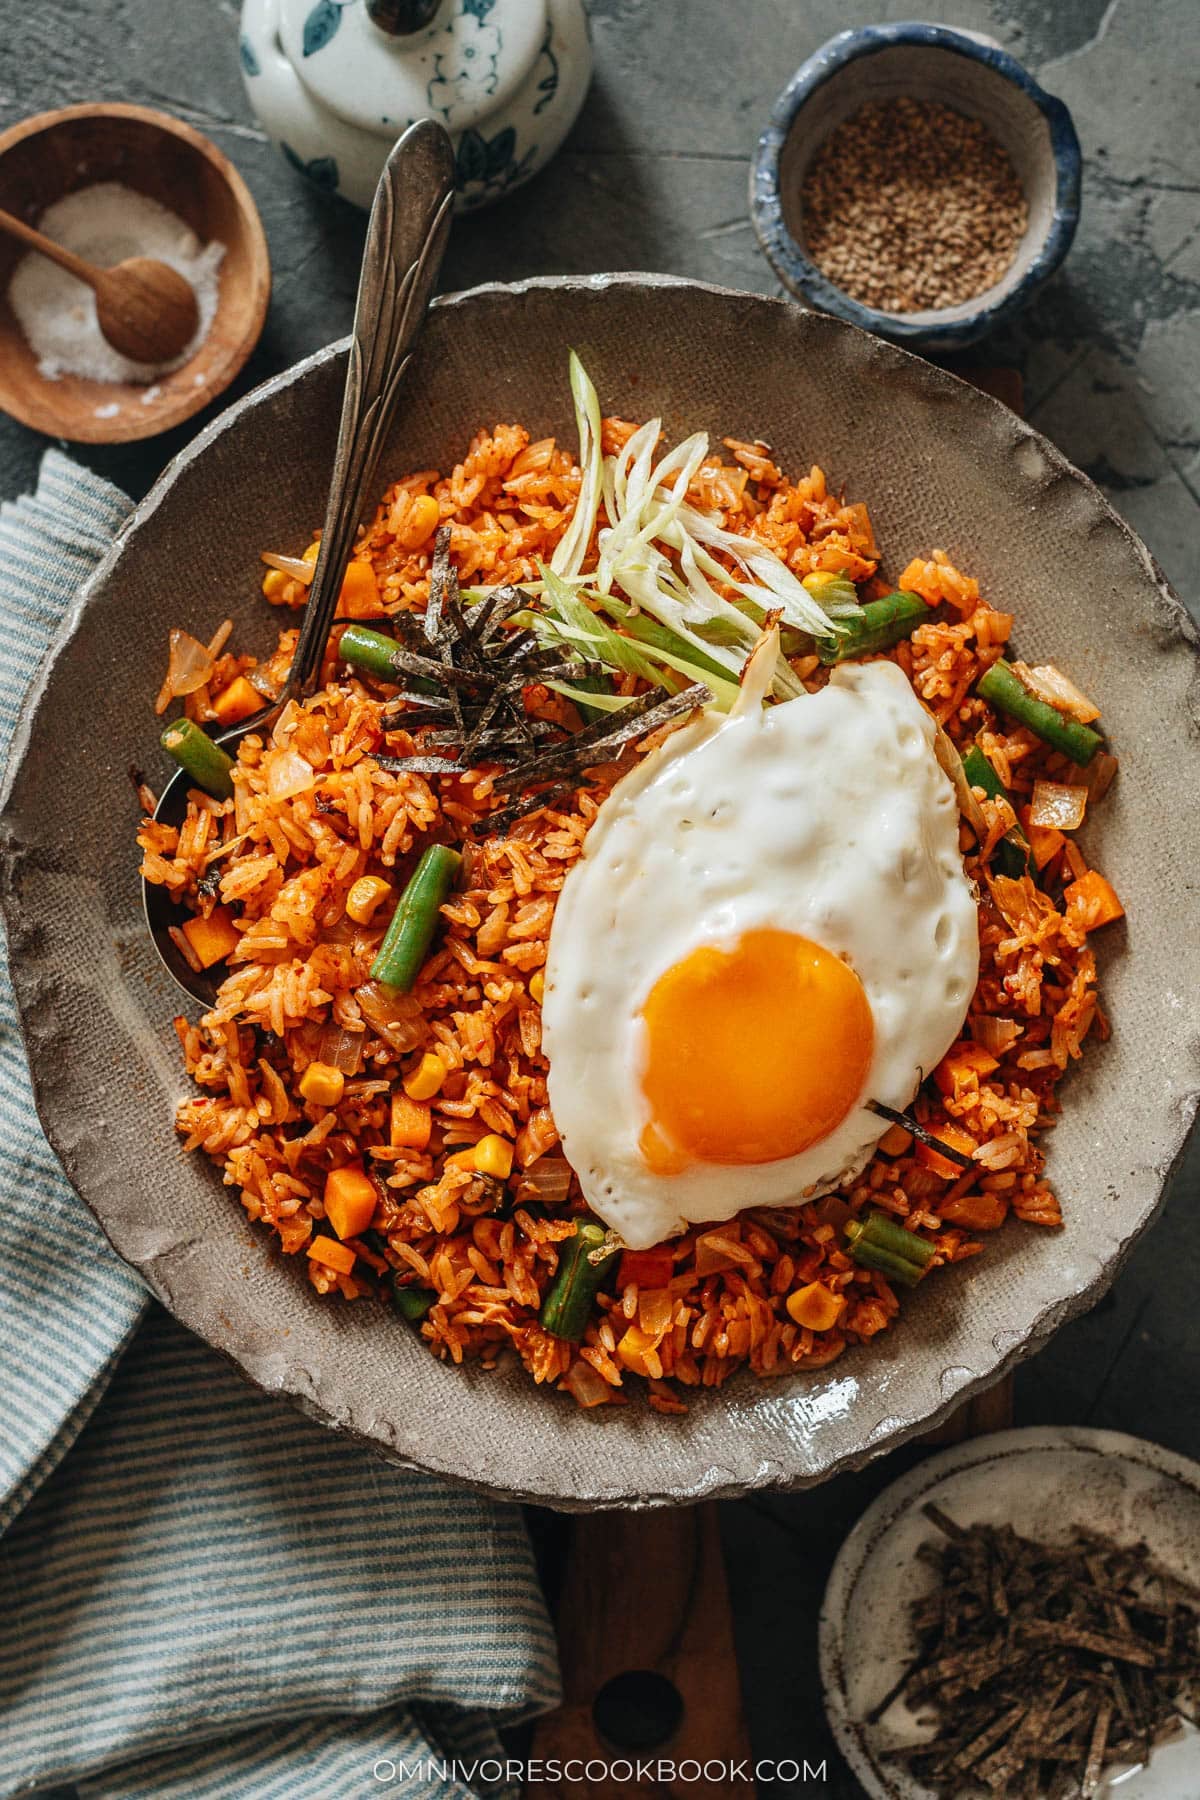
Kimchi fried rice, or kimchi bokkeumbap, is a Korean homestyle fried rice made around sour, funky kimchi and its juice, with gochujang and sesame oil rounding out the sauce. Unlike a Chinese fried rice such as my chicken fried rice or egg fried rice, the kimchi itself does the seasoning work that soy sauce usually handles.
I keep a big jar of kimchi in the fridge at all times, partly because I love the sour crunch on the side of rice, and partly because kimchi has natural probiotics that are good for gut health. When the jar has been open for a couple of weeks and the kimchi has gone soft and tangy, it is exactly right for this dish. The older and more sour the kimchi, the better the fried rice tastes.
I love that I can cook this kimchi fried rice recipe in one skillet from start to finish. The chopped kimchi and onions go in first with a spoonful of oil to release their fragrance, the day-old rice toasts against the hot pan, and the sauce goes in at the end so the grains pick up color without burning. A fried egg on top and a scatter of shredded seaweed finish the bowl. I encourage you to try this on a weeknight when the fridge is bare and you have leftover rice from the day before, my recipe takes only 15 minutes and turns kimchi that is past its crunch into a proper one pan dinner.
Ingredients
When you’re ready to cook this Kimchi Fried Rice, your table should have the ingredients below:
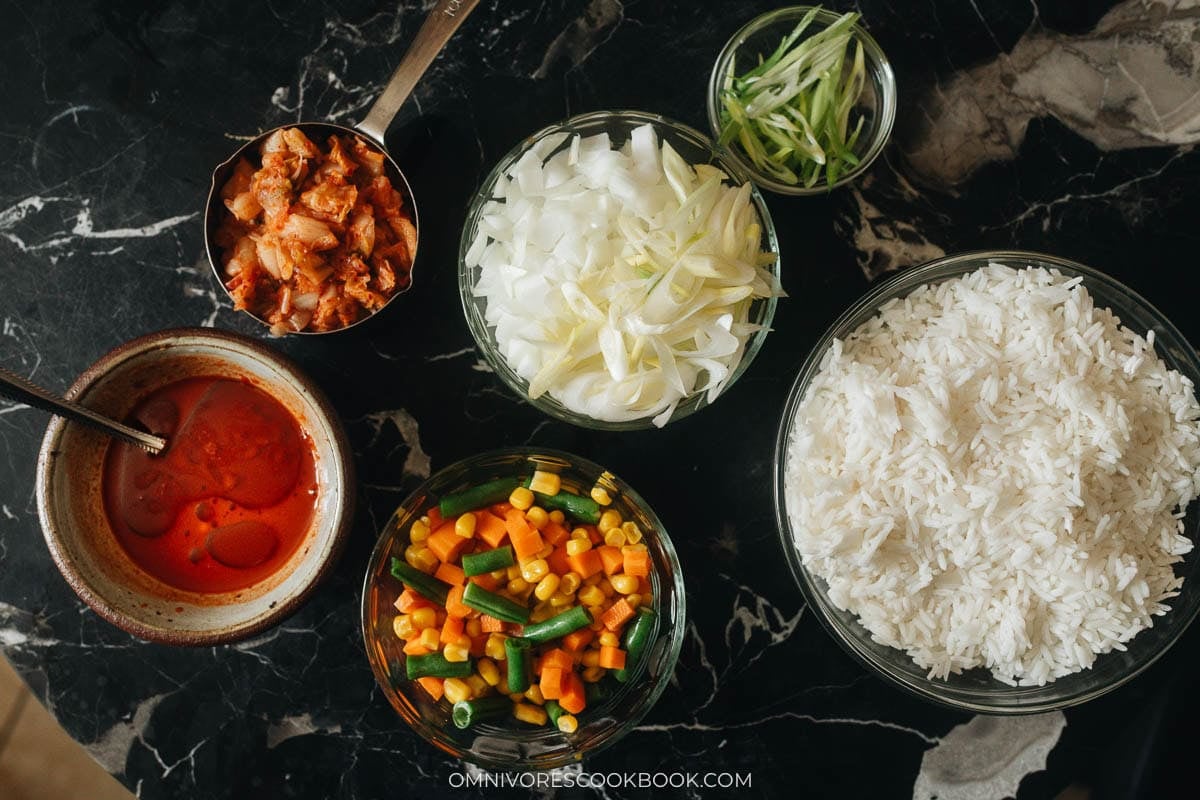
Kimchi: I use aged napa cabbage kimchi that has been open in the fridge for a couple of weeks. The cabbage should smell strongly sour and the leaves should look soft, both signs that the fermentation has developed the funk I want in the pan.
Kimchi juice: Before I chop the kimchi, I squeeze the excess juice out into a small bowl. This is the base of the sauce. If the kimchi is on the drier side, I top the bowl up with juice straight from the jar so there is enough liquid to carry the gochujang into the rice.
Sauce: I stir gochujang, sesame oil, and a splash of soy sauce into the reserved kimchi juice.
Rice: I use cold day-old rice straight from the fridge. If I only have fresh rice, I spread it in a thin layer on a plate and let it air dry for a while, or I stick it in the freezer briefly to firm up. Short grain and medium grain rice are traditional here, but jasmine rice works and is what I reach for on most weeknights. The finished dish is a little less sticky with jasmine, which is how my family prefers it.
Aromatics and vegetables: Yellow onion diced small and green onions go in with the kimchi, whites and greens separated so the whites go in early and the greens finish the dish off heat. Frozen mixed vegetables like peas and corn go in near the end straight from the freezer. This is where I improvise, spinach, mushrooms, and leftover roasted vegetables all work.
Toppings: A fried egg goes on top of every bowl, sunny side up with a runny yolk so I can break it into the rice at the table. Shredded crispy seaweed or nori sheets go on top of the egg. My personal guilty pleasure is a slice of cheddar or mozzarella that melts under the hot rice and egg, which is not traditional but is how I eat it.
How to Make
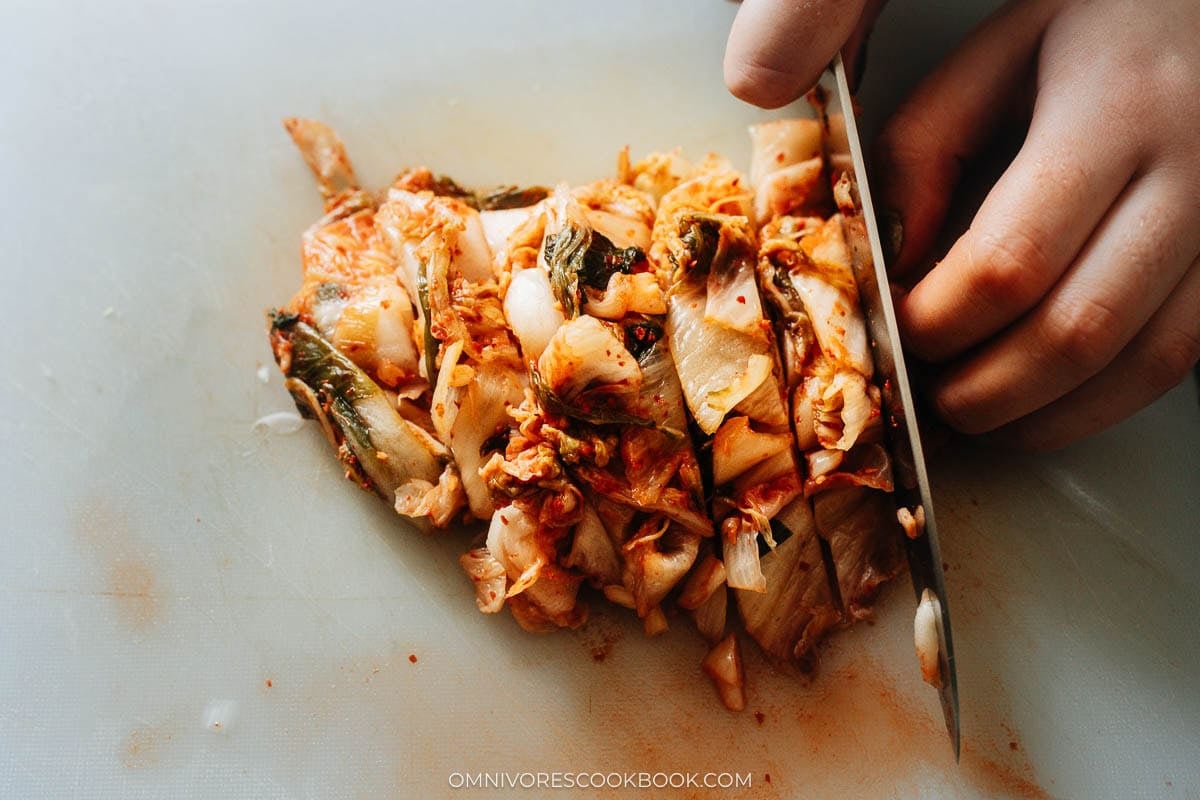
1. Prep the kimchi and sauce: Squeeze the excess juice out of the kimchi into a small bowl before chopping. If the bowl is not full enough, add more juice from the kimchi jar. Add the gochujang, sesame oil, and soy sauce to the bowl and mash the gochujang against the side of the bowl with a spoon until it dissolves. Chop the kimchi into bite-size pieces.
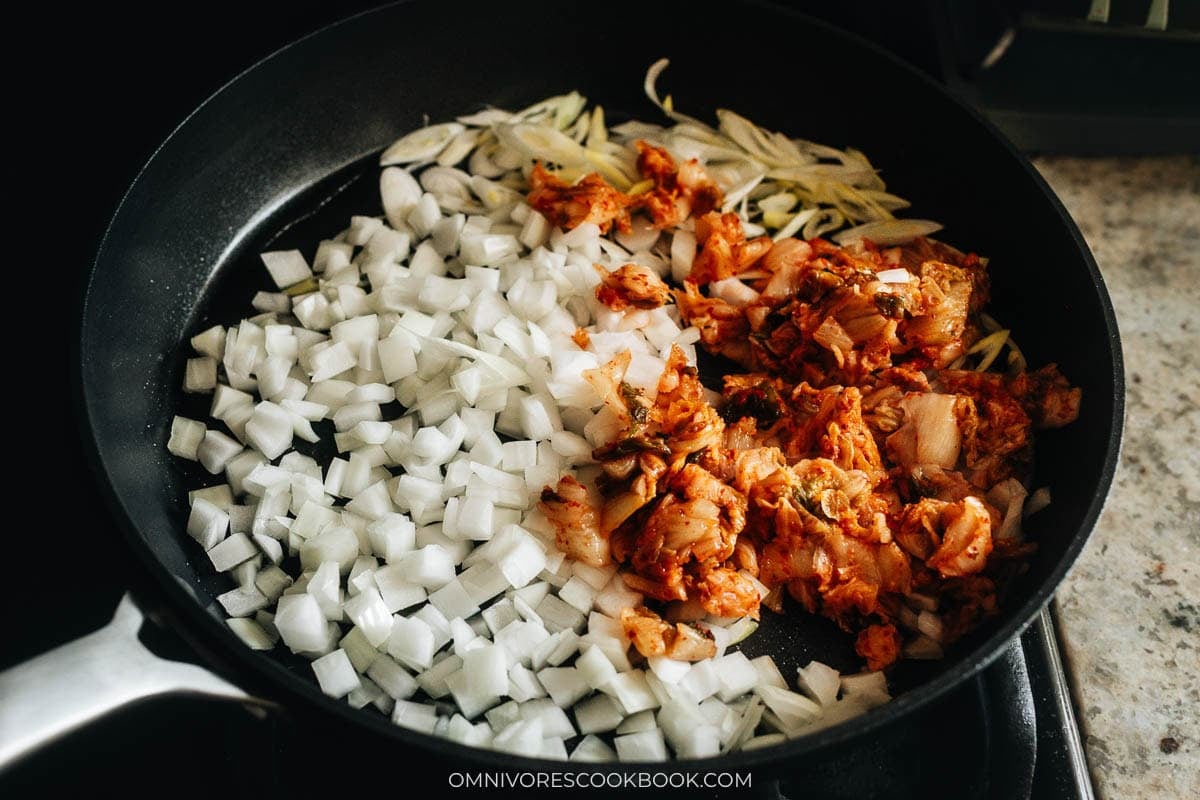
2. Cook the kimchi and aromatics: Heat a large skillet or wok over medium-high heat with a spoonful of vegetable oil. Add the chopped kimchi, diced onion, and green onion whites. Stir fry for 30 seconds until the kimchi smells fragrant and the onion starts to soften.
3. Toast the rice: Break the cold day-old rice apart with a spatula and add it to the pan. Drizzle in another small spoonful of oil. Stir and chop the rice into separated grains as you go, and let the rice sit against the hot pan for 30 seconds at a stretch between stirs, so it starts to crackle and crisp at the bottom, about 1 to 2 minutes total.
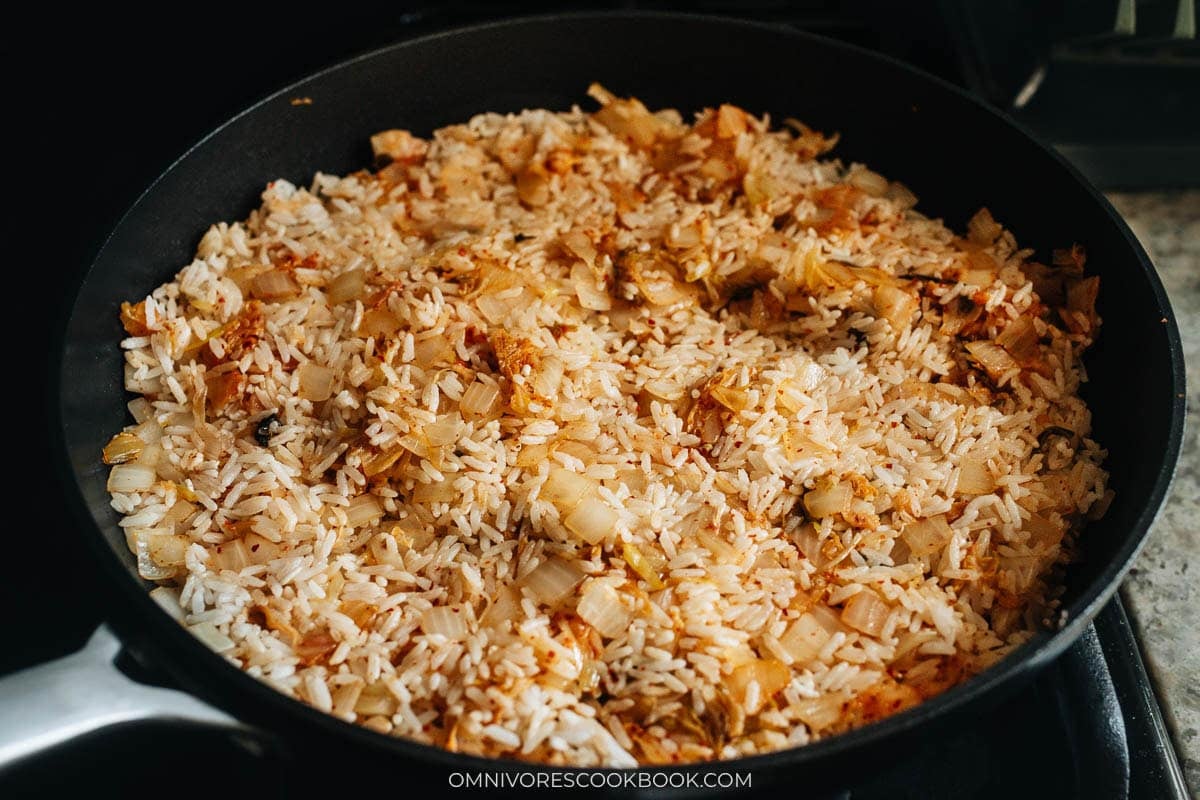
4. Add the vegetables and sauce: Add the frozen mixed vegetables and pour the sauce over the top. Stir to coat every grain of rice with the red sauce, no white grains left. Let the rice sit against the pan for another minute so the bottom crisps up a bit more.
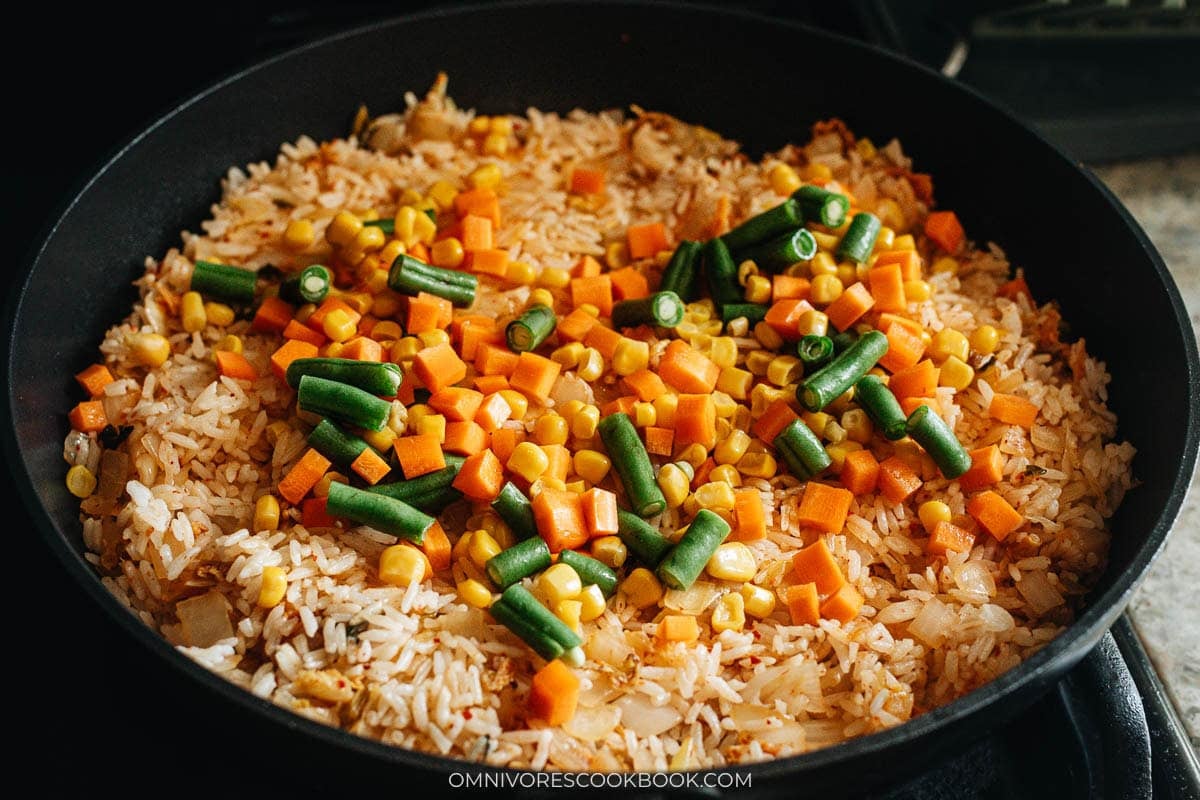
5. Finish off heat: Turn off the heat. Drizzle in a small amount of sesame oil and scatter the green onion greens on top. Toss once to mix.
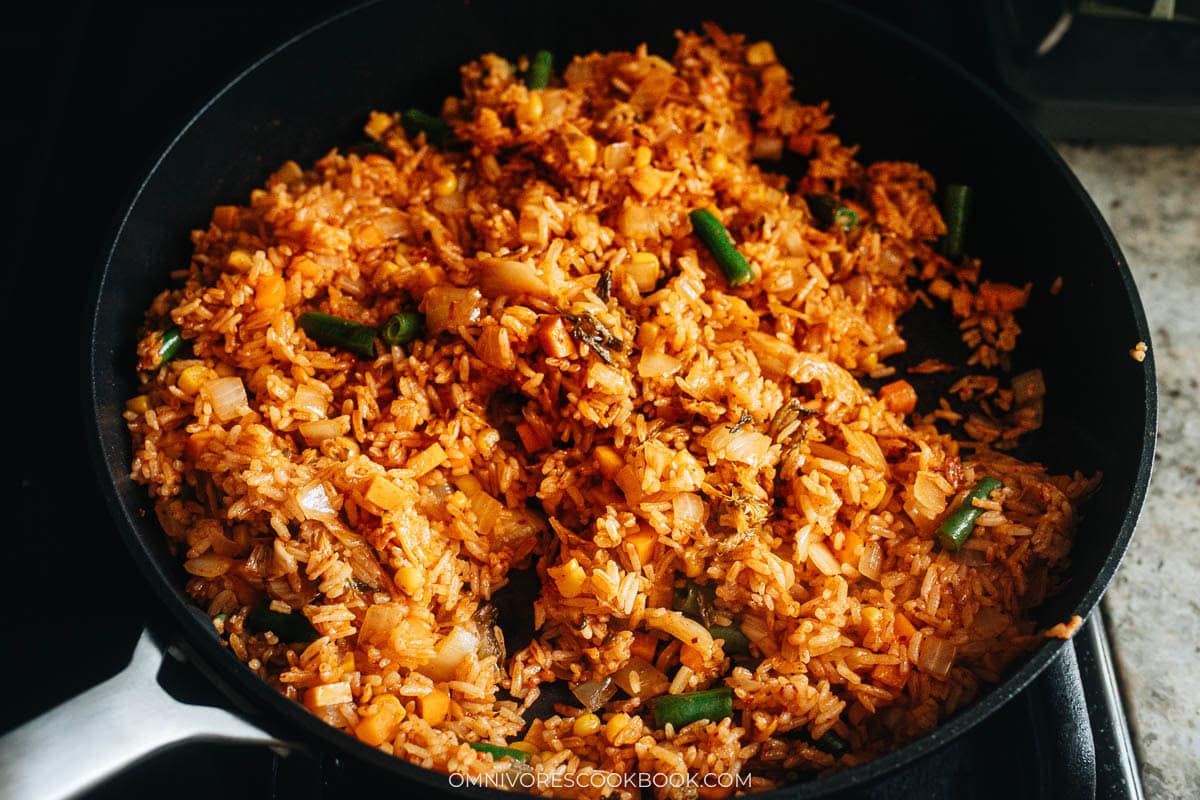
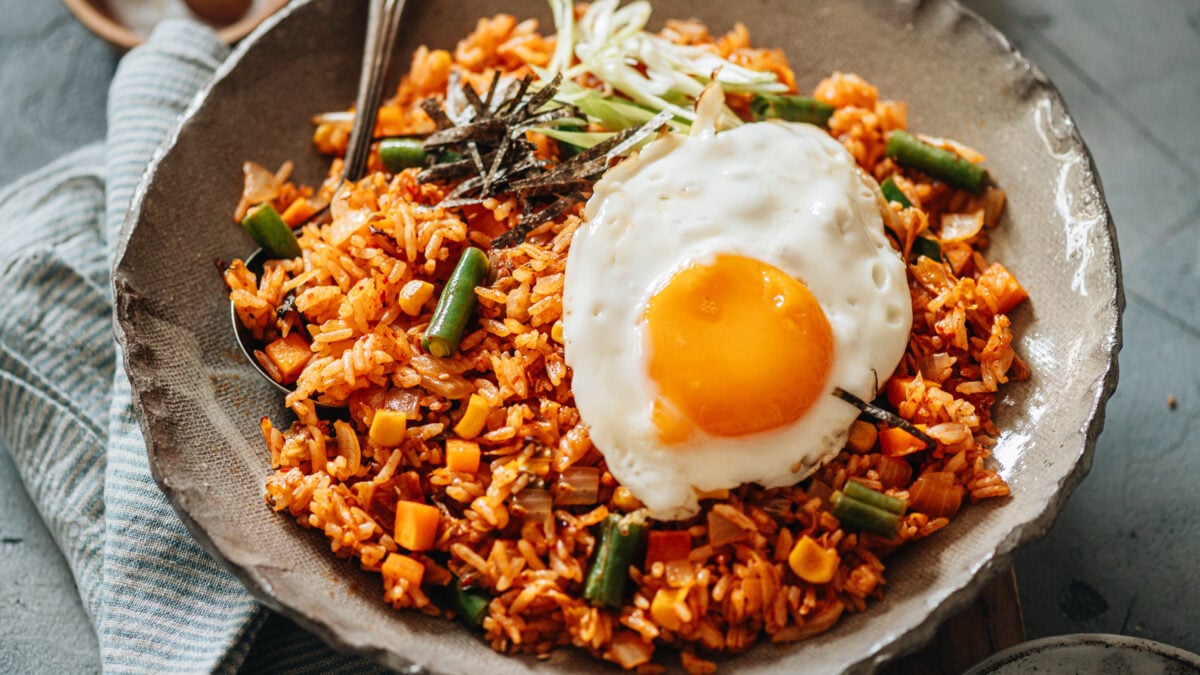
6. Fry the eggs and serve: In a separate small skillet, fry the eggs sunny side up in a spoonful of oil until the whites are set and the yolks are still runny. Scoop the fried rice into bowls, top each bowl with a fried egg, and finish with shredded seaweed. Serve hot.
Pro Tips from My Kitchen
Cook the rice with less water when the plan is fried rice: When I know a fried rice night is coming up, I use slightly less water in the rice cooker, or I run the machine on its firmer-rice setting. The grains come out chewier and drier from the start, which cuts the fridge time I need before the rice is ready to stir fry.
Be generous with the oil: A slightly heavier hand with the oil produces crispier rice. Too little oil and the fried rice tastes dry no matter how long it toasts. I use a spoonful for the kimchi step and another small spoonful when the rice goes in, which is more than a Chinese fried rice needs but the right amount here.
Let the rice sit on the pan between stirs: In a home kitchen the burner does not put out the heat of a commercial wok range, so I trade constant stirring for longer contact time. A longer pause against the hot pan is what gets the bottom to crackle and crisp, which is where the fried rice texture comes from.
Add a protein when the rice needs to be a full meal: The recipe works for a light dinner, but for a heavier meal I brown ground pork or beef in the pan before the kimchi step, or I stir in shredded rotisserie chicken with the vegetables. Diced firm tofu works for a vegan version alongside vegan kimchi.
Cook raw meat before the kimchi goes in, not after: If I am using ground pork or beef, I brown it in the pan with a small amount of oil and a pinch of salt before step 2, then push it to the side and add the kimchi and onions to the empty part of the pan. Raw meat added after the kimchi releases water and stops the rice from crisping.
A wok or a heavy skillet both work, cast iron is my favorite for this one: A carbon steel wok gives me the traditional shape and fast heat pickup, but for kimchi fried rice specifically I reach for a heavy cast iron skillet because the wide flat bottom lets more rice sit against the hot surface at once. A stainless skillet works too, non-stick is my last choice because the coating does not get hot enough to crisp the rice.
How to Serve
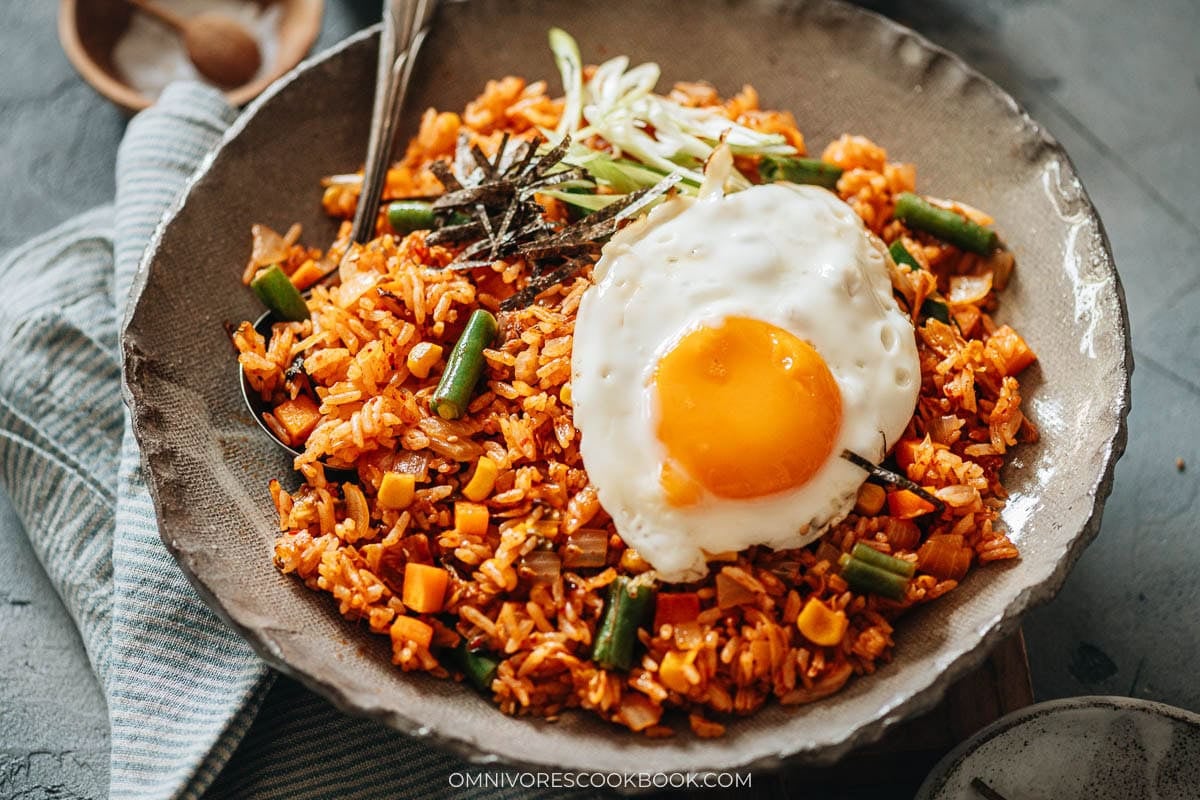
I serve kimchi fried rice as a one pan meal in a wide shallow bowl with a fried egg on top and a scatter of shredded seaweed. I break the runny yolk into the rice with the back of my spoon at the table, mix it through, and eat it standing at the counter when it is just me for lunch. The dish works as a full meal on its own with protein from the egg, carbs from the rice, and vegetables from the kimchi and frozen mix.
For a bigger Korean meal at home, I set the fried rice next to japchae as a noodle side, a green vegetable like bok choy with oyster sauce, and Korean army stew for the soup course.
For a nice gathering with friends, I swap in Korean seafood pancake or Korean instant pot short ribs as the main protein. That way the fried rice plays a supporting role at the table.
Frequently Ask Questions
Can I use freshly made kimchi?
Yes. You can, but well-fermented kimchi (at least 2–3 weeks old) gives the fried rice a much deeper, tangier flavor. If your kimchi is fresh, I use a little more kimchi and add a little extra kimchi juice.
How spicy is this and can I make it milder?
The heat here comes almost entirely from the gochujang and from whatever chili is already in the kimchi. As I said, the dish is medium spicy, closer to a warm slow heat than a sharp bite. For a milder version, I cut the gochujang by half, add 1/2 teaspoon of sugar to balance the heat, and stir in an extra teaspoon of sesame oil to keep the sauce coating the rice.
What if I do not have gochujang?
Gochujang is doing the heat and the color in this recipe, so a substitute is a compromise. I use a spoonful of sriracha with a small pinch of miso paste stirred in for depth, which gives me a similar red color and moderate heat with a rounder savory note. The result is not traditional bokkeumbap, but it works when the pantry is bare.
Can I make kimchi fried rice vegetarian or vegan?
Absolutely. Omit the egg and use a vegan kimchi (some kimchi contains fish sauce or shrimp). You can add tofu, mushrooms, or edamame for protein.
Want to Save This Recipe?
Enter your email below & we’ll send it to your inbox. Plus get great new recipes from us every week!
Kimchi Fried Rice
Ingredients
- 2 tablespoons vegetable oil , divided
- 1 cup kimchi , chopped
- 1/2 yellow onion , large diced
- 2 green onions , bias sliced, greens & whites separated
- 3 cups leftover cooked rice (*Footnote 1)
- 1 cup frozen vegetables
- 1 teaspoon sesame oil
- Fried egg (optional)
- Shredded crispy seaweed sheet (optional)
Sauce:
- 1/4 cup kimchi juice
- 1 tablespoon gochujang
- 2 teaspoons sesame oil
- 1/2 teaspoon soy sauce
- 1/2 to 1 teaspoon sugar (Optional) (*Footnote 2)
Instructions
- Before chopping the kimchi, squeeze out the excess juice into a small bowl. If it is less than 1/4 cup, add some juice from the kimchi jar.
- Combine the rest of the sauce ingredients in the bowl with the kimchi juice. Mix until the gochujang is incorporated, mashing it against the bowl to break it up.
- Heat a large skillet over medium-high heat and add 1 tablespoon of vegetable oil. Add the kimchi, onions, and whites of the green onions. Stir fry for 30 seconds to release the fragrance.
- Break apart the rice and add it to the pan. Drizzle in the remaining 1 tablespoon of vegetable oil. Stir, chopping the rice into separated grains as you cook. Cook and stir occasionally, until the rice begins to crackle, 1 to 2 minutes.
- Add the vegetables and the sauce. Stir to incorporate the sauce so all the grains are evenly coated. Let the rice cook for another minute or so to crisp up the bottom. Turn to low heat and taste the dish. Adjust seasoning by adding a little sugar, if the rice tastes too spicy or sour to you. (*Footnote 2)
- Turn off the heat, then add the sesame oil and green onion tops. Toss to mix well. Serve hot topped with a fried egg and shredded seaweed, if using.
Notes
- Traditional Korean fried rice usually uses short grain rice. But medium grain and jasmine rice will work too.
- Depending on how well-aged your kimchi is, the fried rice can taste quite tangy. The sweetness in the gochujang helps balance the acidity, but if it still tastes too sour, I like to sprinkle in 1/2 to 1 teaspoon of sugar at the end of cooking. It rounds out the flavors without making the dish taste sweet.
Nutrition

Did you make this recipe?
I’d love to hear how it turned out for you! Please take a moment to leave a 5-star rating ⭐️ and share your thoughts in the comments further down the page. It really helps others discover the recipe too.
Mary
I absolutely love this recipe. Thank you so much! Can’t wait for your new cookbook to come out. It’s already on order
Gabby
Fantastic! I worked at a restaurant that served kimchi fried rice and this is LEAPS and BOUNDS better. I deviated a little and added some pickled radish & spinach – definitely recommend.
Patrick Charles Easley
I feel like I should’ve left a positive comment on this years ago. This has been my go to recipe for YEARS when I feel that I haven’t been eating enough veggies or protein. Thanks!
Maggie
Happy to hear a great feedback on this one! It’s a dish my husband made for me before we got married, and it’s still one of my favorites. It’s great to know you enjoyed it as well 🙂
Kathleen | Hapa Nom Nom
I make a breakfast fried rice of my own, but I’ve never combined it with kimchi. It’s something i’ve been wanting to try for awhile now and your photos are so enticing, I’m just going to have to give it a try the next time I make a quick kimchi.
dixya | food, pleasure, and health
i love kimchi fried rice but my boyfriend absolutely cannot stand kimchi 🙁
Nami | Just One Cookbook
Wow, your kimchi fried rice with eggs on top… look awesome. I like to break the egg yolk and eat with rice. My kids don’t really like kimchi so I haven’t really cooked this for them, but I should slowly introduce this delicious dish! Pinned!
Maggie
Half cooked egg yolk and rice are the best combo!
Some kimchi does have very strong and distinct flavor. I think the flavor of freshly made kimchi will be less strong, and maybe that is a point to start for kids? And maybe less or no Gochujang, since it’s really spicy.
By the way, I used the leftover chashu, made according from your chashu recipe, and it tasted great! 🙂