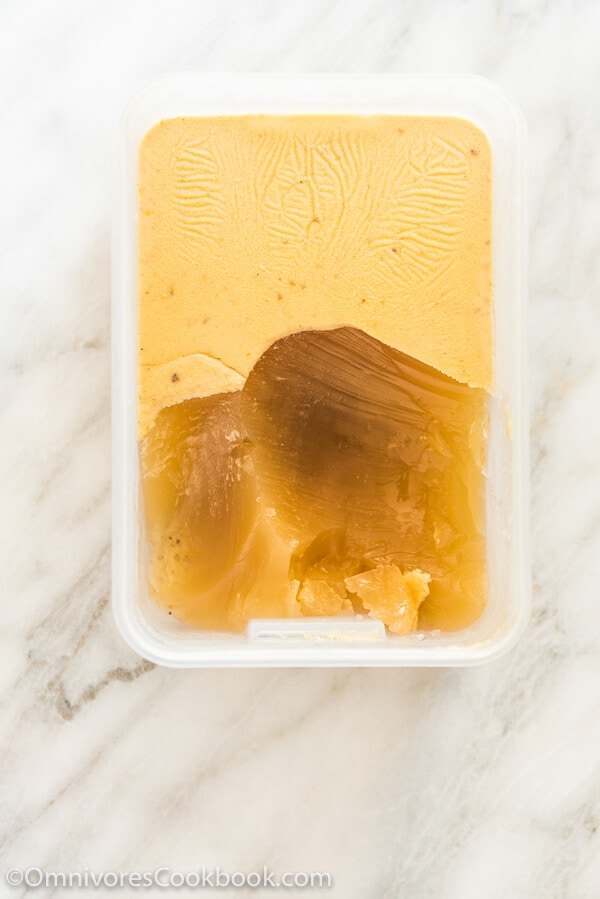
My favorite way to cook stock is to use leftover bones. It is cheap and easy. The method turns bones you’d otherwise throw away into a beautiful pot of soup that is rich and healthy.
My original recipe uses the “oven roasting + braising” method, and it produces amazing results. But it will make your kitchen a bit too warm in the summer. That’s why I developed this pressure cooker recipe, so you can reduce the cooking time from a few hours to just an hour.
Preparation
You need to prepare a gallon-sized freezer bag to collect leftover bones. Any bones will work. If you have bones from different types of meat, you can mix them together to create an even tastier stock. Below are a few bone combinations I like:
- Poultry mix: chicken, duck, and / or turkey
- Chicken + pork
- Chicken + beef
Turkey, duck, pork, and beef bones have distinct flavors and add richer flavor compared with chicken bones. I like to add one of them into my chicken stock, to make a master stock that is super rich. Just like a Chinese restaurant that makes its own secret stock, you can try out different combinations to find your favorite blend.
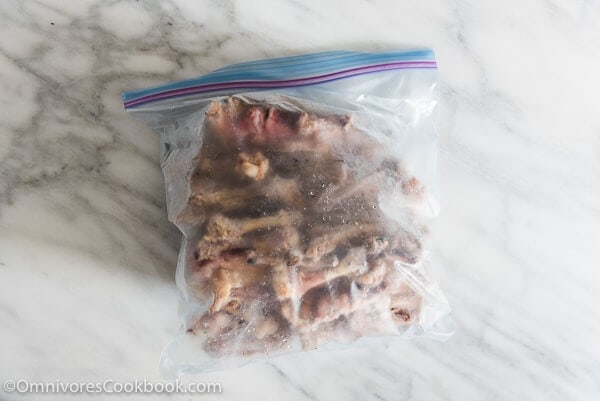
Process
Aromatics – I always add just ginger and green onion. They infuse the broth with a nice aroma without making it too pungent. This combination makes a distinctly Chinese-style stock, but it works very well in Western dishes, too. You can always add stronger aromatics later, such as garlic, when using the broth to make other dishes. Alternatively, you can use the combo of “onion + celery + carrot” to make a Western-style broth.
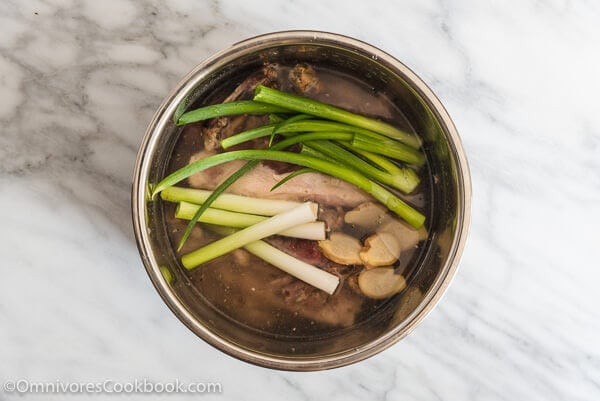
Skip the roasting and cut cooking time – To cook the bone broth in a pressure cooker, I skipped the oven roasting (which I always do if I’m cooking it in a normal pot). Roasting will cause the maillard reaction, aka browning, which adds a layer of deliciousness to the broth. The same process happens in a pressure cooker due to the high heat environment. This way we will get rich-tasting soup even without roasting the bones.
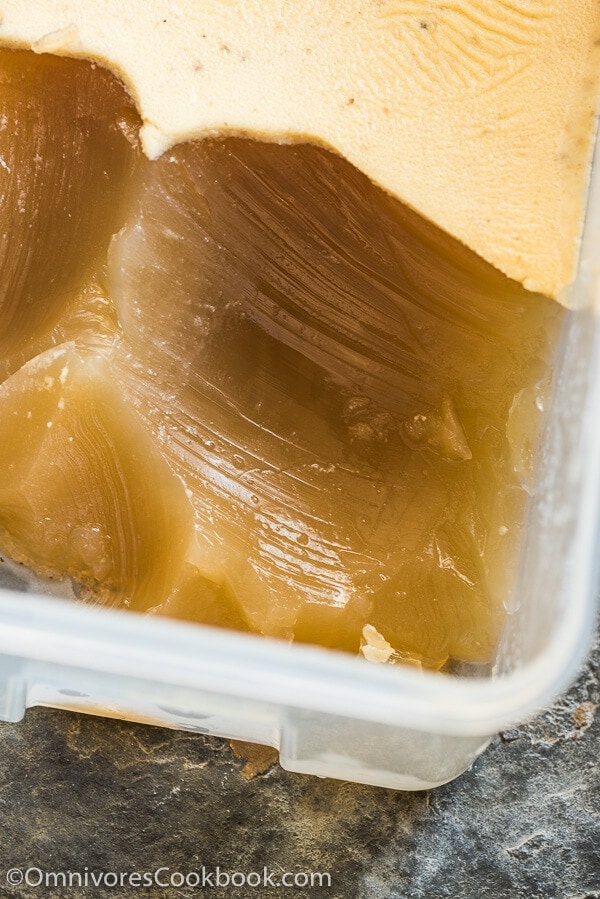
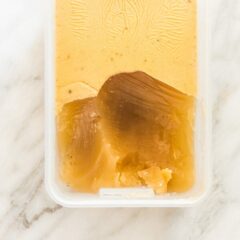
Take a look at the two pictures below. The stock on the left is made with my original bone stock recipe, where I roasted the bones and then boiled them on the stovetop for hours. The picture on the right is of the stock made with a pressure cooker in one hour, then reduced to half.
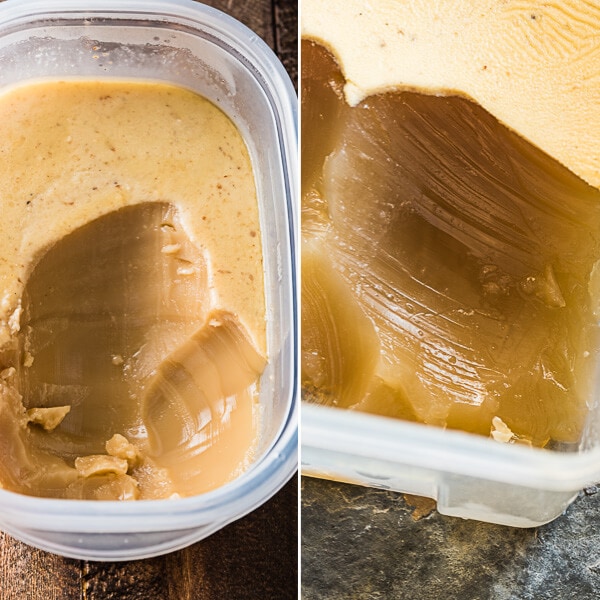
Both of them congealed very well and have a robust taste. The only difference is that the stock cooked in a normal pot took longer, which gave it more time to emulsify fat the content into the liquid, giving the stock its opaque, milky color. This method is typically used in Chinese cooking to make the stock extra rich (and give it a few more calories, but it’s totally worth it). In the picture on the right, you can still see a thin layer of fat on top of the pressure cooker broth. The broth itself is rich and flavorful, just like the one that was cooked for several hours.
Fat or no fat? – Like I mentioned above, Chinese cooking usually emulsifies the fat into the broth, to make a dish very rich. However, if you want a clear soup, you can remove the fat after pressure cooking. Then you can reduce it to a clear broth.
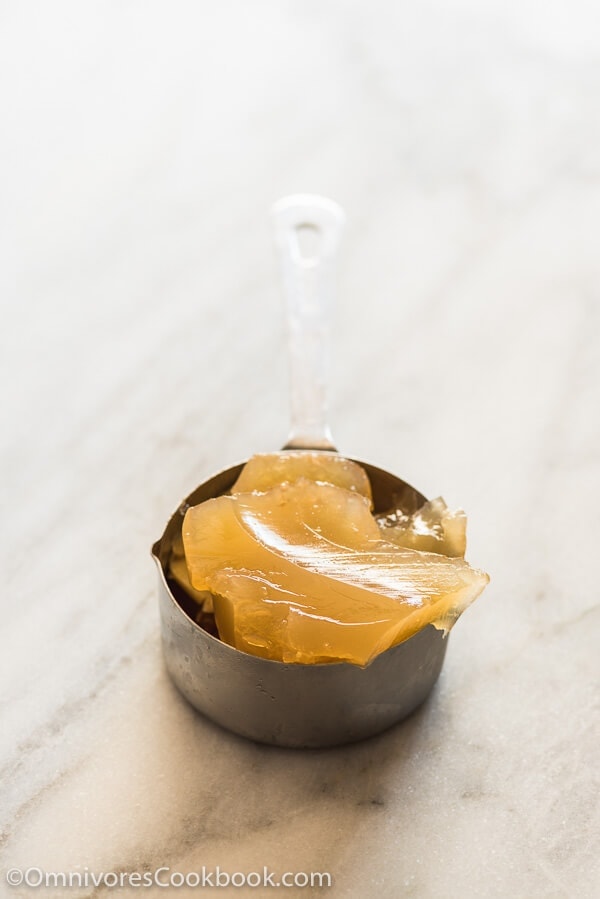
Reduce – You have to use enough water to cover all the bones if using a pressure cooker. The only problem is that the liquid will not evaporate during pressure cooking. Which means you’ll end up with a giant pot of broth that is difficult to store. If you have plenty of freezer space, of course you can store the broth directly in multiple containers. My freezer is constantly near-full with goodies, so I always reduce the soup before storing it.
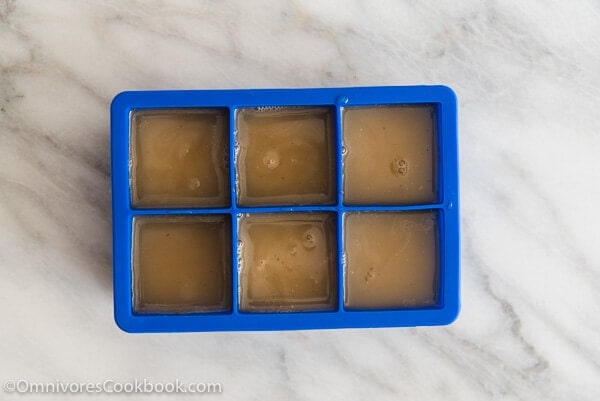
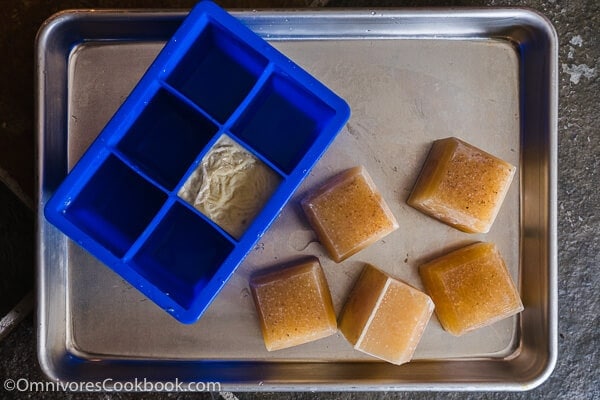
Storage – After you create this wonderful broth, you should store it properly so it will last a long time. After cooking a batch, I always store a small amount of the broth in fridge, where it will stay good for a few days (less than a week). For the rest of the stock, which I plan to store for longer, my favorite way is to store the reduced broth in silicone ice cube molds in the freezer, where it will stay good for 3 months. The broth will be very easy to remove from the molds, one cube at a time. And you don’t need to thaw them before using.
When to use
There are unlimited ways to use these wonderful bone broth cubes.
Noodle soup
- Spicy Chicken Noodle Soup (黄焖鸡面)
- Chinese Beef Noodle Soup (红烧牛肉面)
- Cantonese Wonton Noodle Soup (港式云吞面)
- Easy Soy Sauce Noodles (阳春面)
Stir-fry
Braising
- Northern Vegetable Stew with Pork in Hot Sauce (乱炖)
- Green curry shrimp
- Garlic Spinach in Chicken Broth (上汤菠菜)
- Instant Pot Rice Pilaf
Do you like my recipes? Sign up for our weekly newsletter to get the latest updates delivered to your inbox and a FREE e-cookbook that contains my 30 most popular recipes!
Chinese Cooking Made Easy
Are you new to this website? This free email series is a great place to start. I’ll walk you through a few of my most popular recipes and show you how and why they work. You’ll quickly start to cook better Chinese food in your own kitchen.
Pressure Cooker Bone Broth From Leftover Bones
Ingredients
- 1 gallon leftover bones chicken, turkey, duck, and/or pork etc
- 3 to 4 green onions
- 1 thumb ginger
Instructions
- Add leftover bones into pressure cooker, plus enough water to just cover the bones. You don’t need to thaw the bones before cooking. But you do want use a pair of tongs to re-arrange them so you won’t need to use too much water to cover them. It will save you tons of time when reducing the broth later.
- Add green onions and ginger.
- Cover and make sure the high pressure valve is sealed. Cook at high pressure for 1 hour. Let pressure release naturally.
- Discard the bones and aromatics. Drain the liquid with a strainer. If you want your soup clear, use an oil separator to remove the fat. I always keep the fat because it adds a very rich flavor to my soup.
- For easy storage, I always reduce the broth beforehand. Transfer the drained broth into a pot. Cook over high heat until reduced to half (about 4 cups).
- To store the broth, let it cool first. To cool the broth faster, place the pot into an ice bath and stir the soup constantly with a spatula. Soup can be cooled in a few minutes this way.
- Transfer the portion of broth that you intend to use soon to an airtight container, and store it in the fridge for 3 to 5 days.
- Transfer the rest of the broth to large silicone ice cube trays and put them into the freezer. When the broth cubes are frozen, you can transfer them into a large freezer bag to save space. If you’re planning to store them in the ice cube tray, place the tray into a freezer bag and seal it. Store it in the freezer for up to 3 months.
- When you use the reduced bone broth, don’t forget to dilute it with water (according to taste), because it is very rich and concentrated.

Did you make this recipe?
I’d love to hear how it turned out for you! Please take a moment to leave a 5-star rating ⭐️ and share your thoughts in the comments further down the page. It really helps others discover the recipe too.

Nomi
Hi! I’m confused by the amount of 1 gallon for the bones. A “gallon” is used for volume/liquid measurement – US liquid gallon can contain about 3.785 kilograms or 8.34 pounds of water. Are you using ~8 lbs. of bones? It would be easier to know the correct amount of bones to use if weight measurement
(lbs., oz., kg. or grams) were used. I’m using 3.5 lbs. of bones and I hope it’s enough. Aside from this measurement issue, I appreciate all the details you provide in your recipes….history of the dish, use and subs for the ingredients and beautiful photos that capture the recipe from the gathering of ingredients to plating.
Maggie Zhu
Sorry the amount is confusing. It is a family trick and we usually use the 1 gallon ziplock bag. When the bag is filled up, I would make it into the broth. The weight itself is not that important as long as the bone is enough for the amount of liquid. I do not have the weight measurement right now. But if the broth turns out a bit thin, you can always cook it a bit longer to let more liquid evaporate. It is a very flexible recipe.
Glen Wertheimer
It should note be “1 gallon” of leftover bones. Is it one pound or what?
Tracy
To make a bone stock, can you start the process by using raw, uncooked bones or do they need to be roasted or somehow cooked first before you add water and start the stock making process? If you can start with Rob bones is there something that should be done?
Maggie
Hi Tracy, you can totally use raw bones to make the broth.
You can either:
1 – add water, boil with the bones for 15 minutes and use a ladle to remove the brown from top. Then pressure cook the broth.
2 – Roast the bones at 400 F until browned. Then pressure cook
Either method works and the result will be delicious. The second method will produce a darker broth and slightly different taste.
For chicken broth, I prefer to use neck and back bones because the bone marrow and the meat/skin attached will produce a richer result. You can buy them at the butchers for a pretty cheap price.
Dragan
Now all bones are happy! Did think of pressure cooker.
Morgan Roderick
Since you have a pressure cooker, you might as well put the stock in jars, and pressure cook them to pasteurise the stock. Then it won’t even require refrigeration/freezing.
Maggie
Great idea. I’ll try it out next time when I make larger batch of beef stock. I personally prefer to reduce chicken stock, because I use it in stir fried dishes too and it adds tons of flavor without turning the dish watery. But you you’re right. It will be so convenient if I can store them without refrigeration. Thanks for sharing the tip!
Valerie
How do you pasteurise in pressure cooker please
Robyn @ Simply Fresh Dinners
Wow, Maggie, as soon as I saw this in my email I rushed over because I’ve been looking for a way to make bone broth in a much quicker way. This is genius. You are going to save me so much time. You’ve given me a reason to get that Instant Pot out of the box! lol
Maggie
You should definitely get that Instant pot out of the box 😀 I had been using it to make stock since I found out it’s just as good as slow braising in a normal pot. But it saves tons of time! Really helpful during summer.