My quick and easy Chinese garlic green beans recipe utilizes a few simple ingredients to achieve restaurant-quality flavor and perfect texture. Serve it as a side dish or over steamed rice for a light meal.
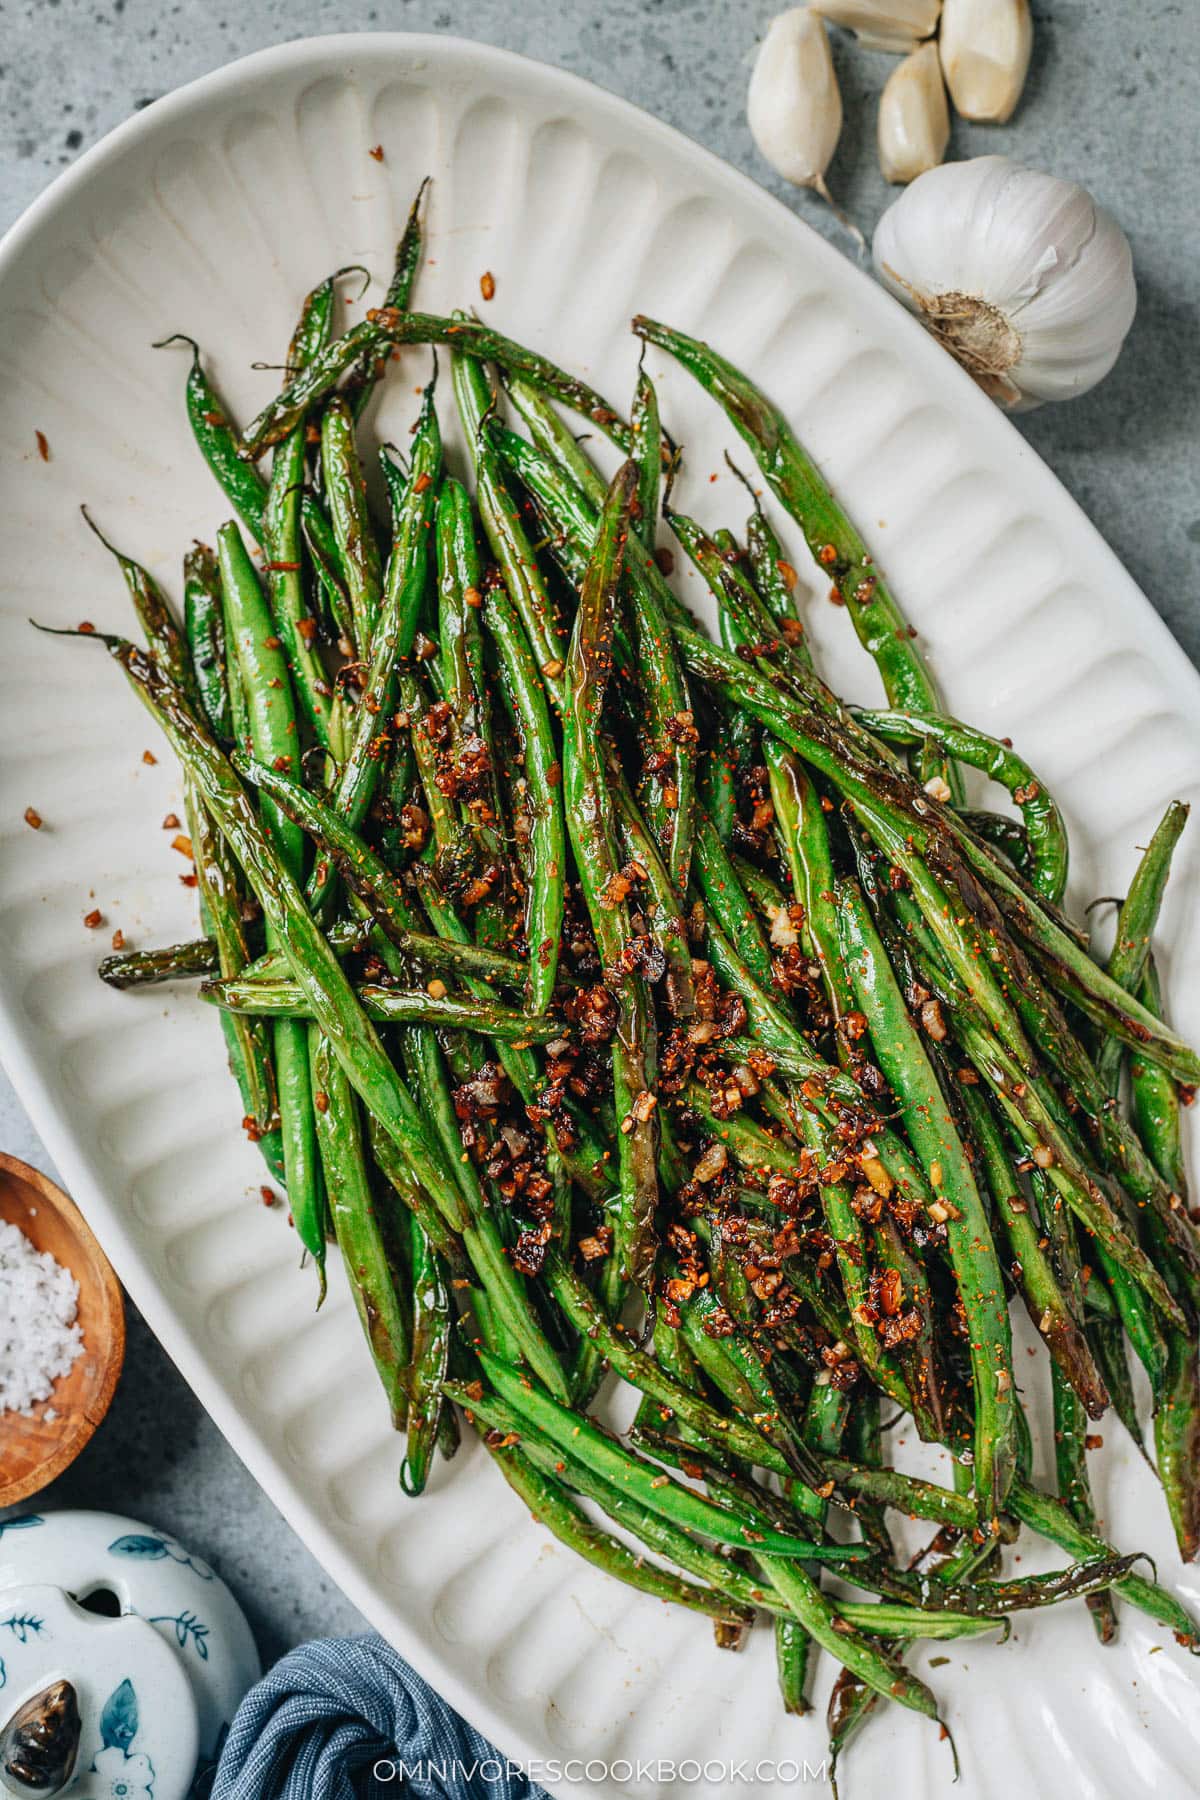
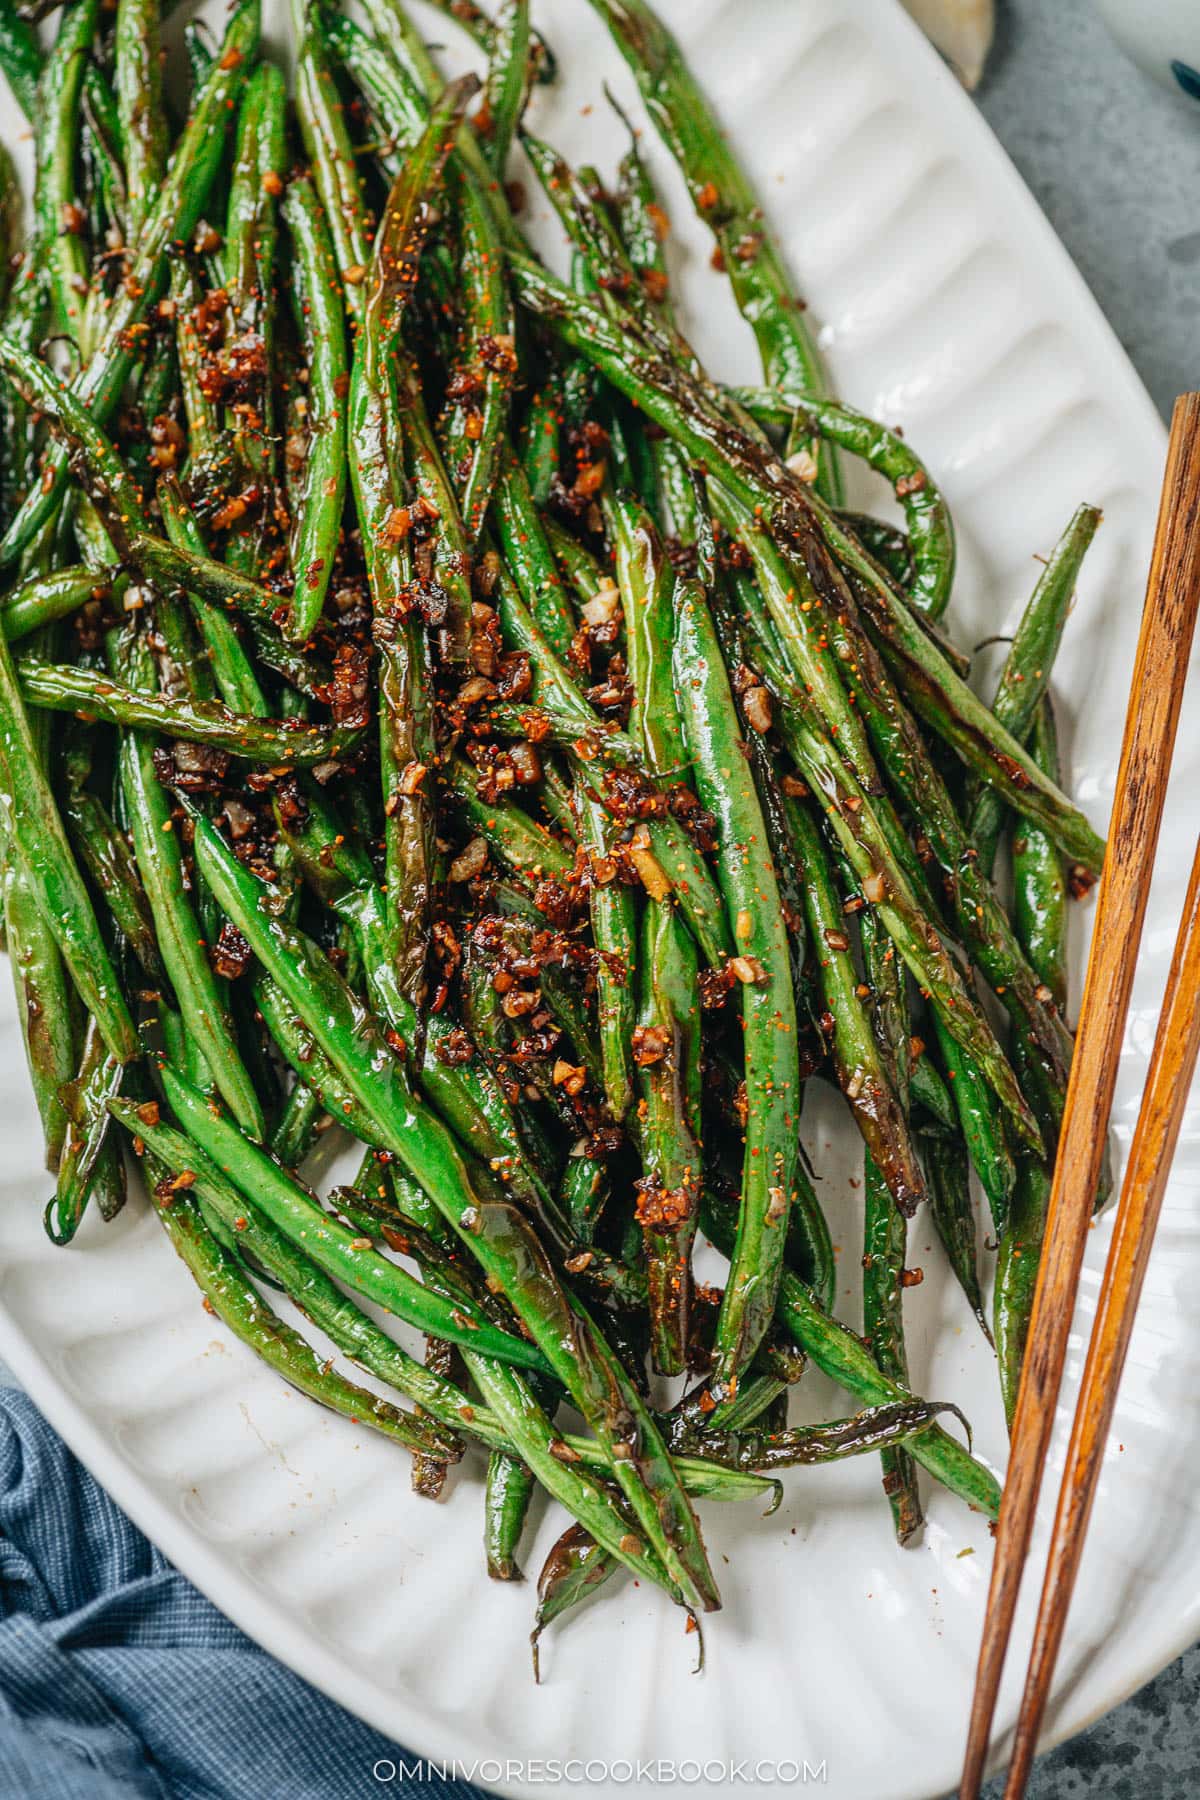
Chinese garlic green beans is a simplified version of Sichuan dry fried green beans. The green beans are pan fried until blistered and tender, then stir fried with garlic and ginger to lend a great aroma. This recipe uses basic pantry ingredients much like every Chinese vegetable stir fry recipe, to create a mouthwatering and satisfying side.
Perfect green beans, no wok and deep-frying required
If you’ve ever ordered this dish in Chinese restaurants like Din Tai Fung, you must have wondered how to get those nicely charred green beans with the perfectly blistered skin.
Chinese-style garlic green beans use a cooking technique called Gan Bian (干煸), meaning “dry fried”. It’s similar to shallow frying, as it uses little oil, but achieves a result similar to deep fried food.
The green beans are pan fried with peanut oil until they are perfectly charred and blistered. They’re then stir fried with aromatics and a touch of soy sauce to create a bold flavor.
How to make garlic green beans
Cooking garlic green beans is super easy.
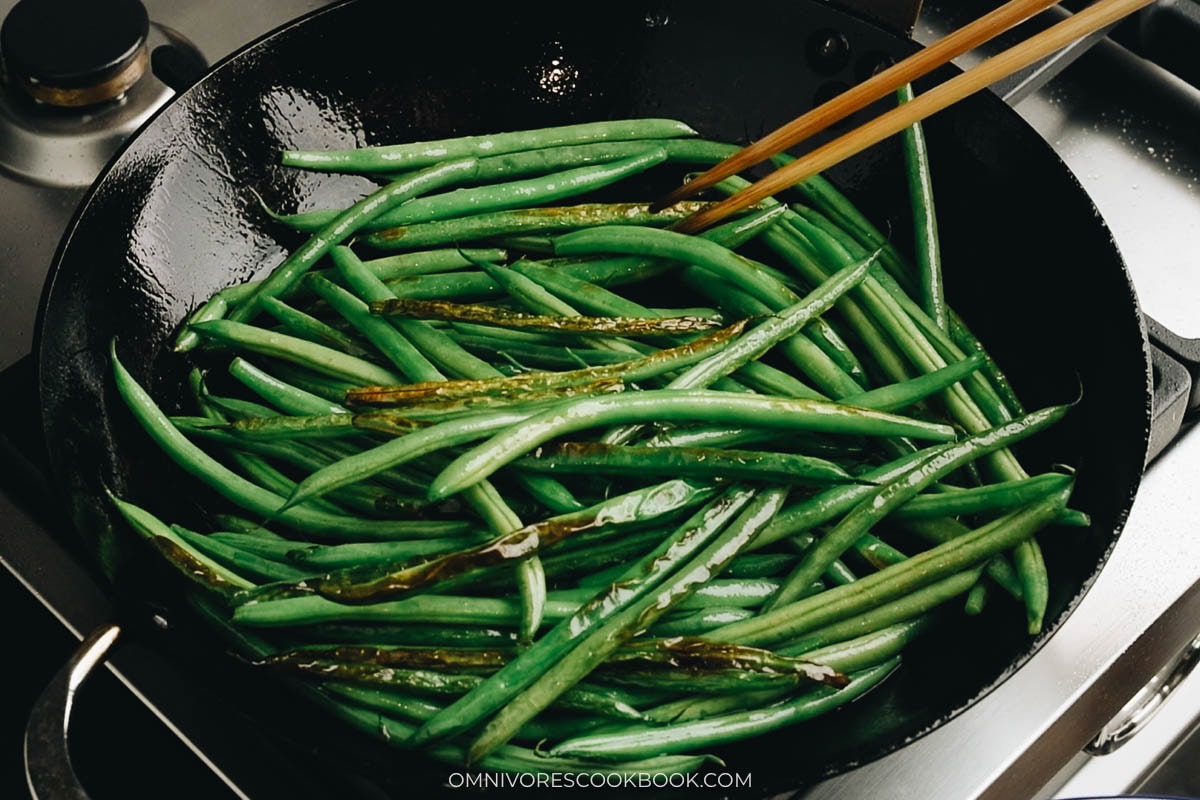
- Cook the green beans in the large pan and stir to coat well with oil. Flip the green beans occasionally, taking out the ones that are charred.
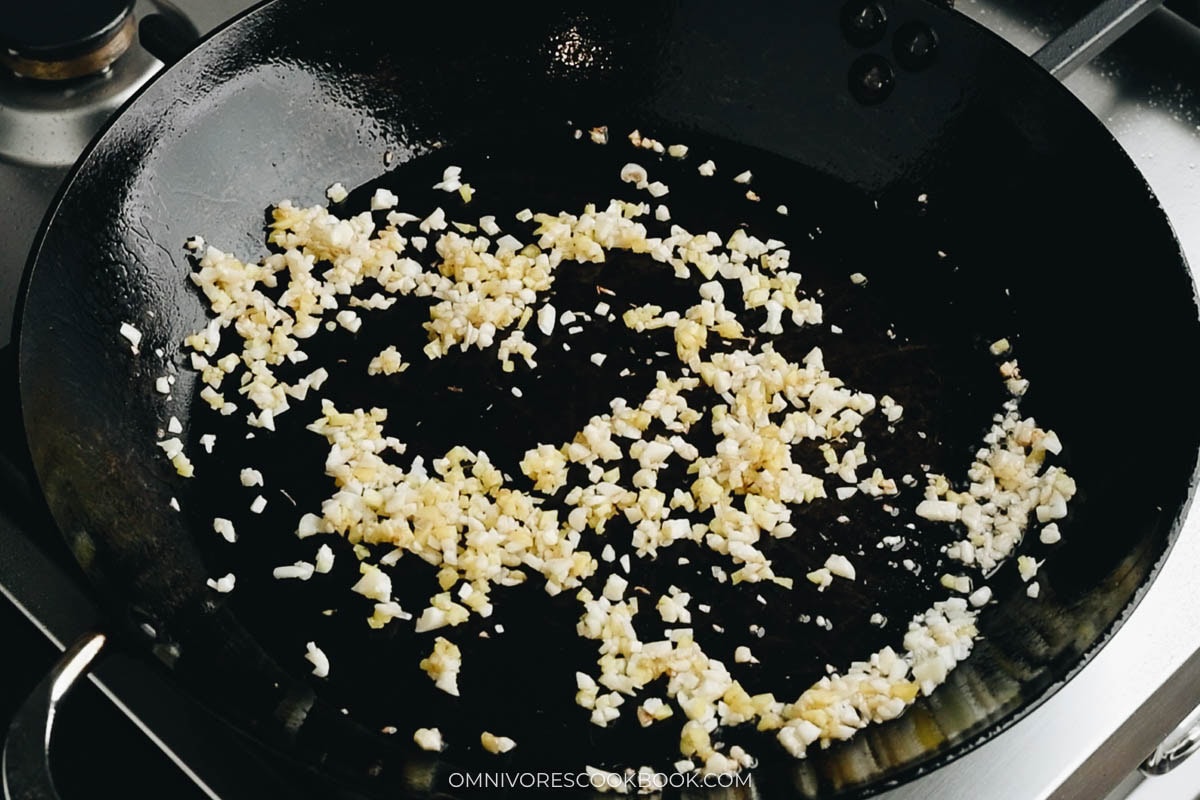
- Once the green beans are cooked, fry the garlic and ginger.
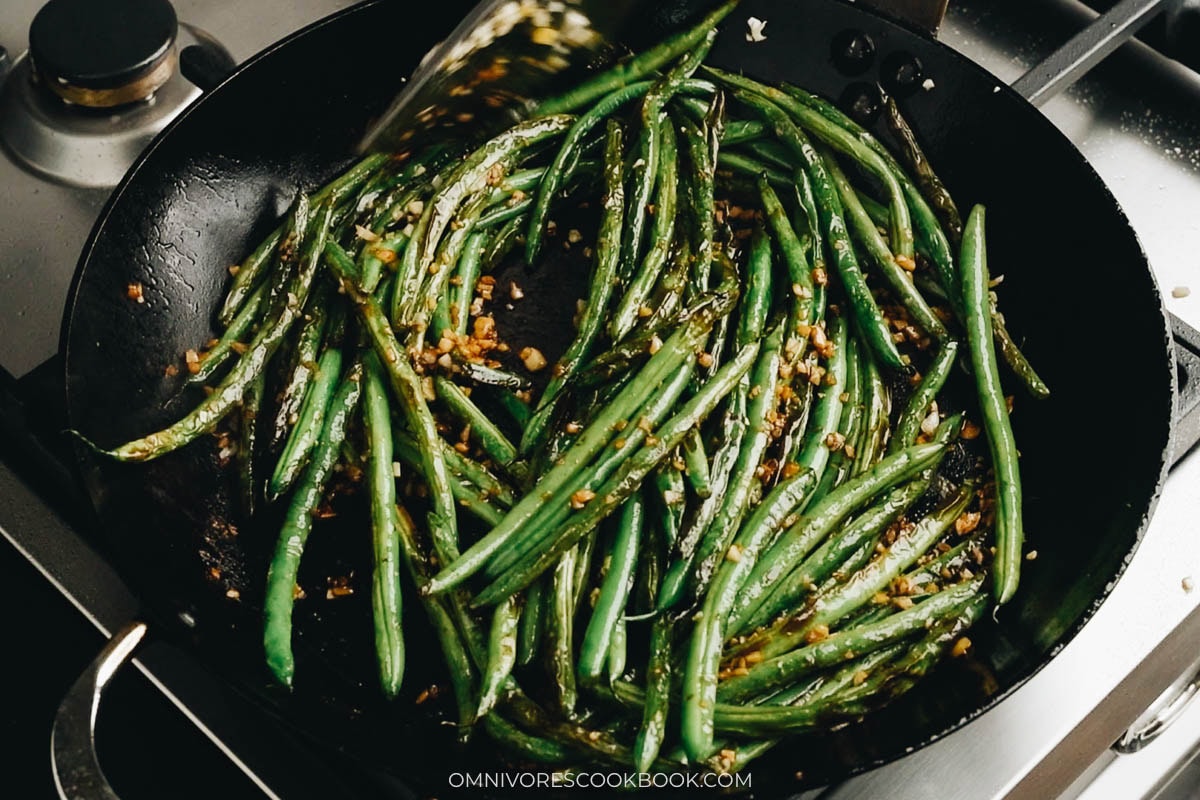
- Return the cooked green beans to the pan, drizzle in the seasonings and stir it together.
That’s it!
For extra spice, sprinkle some chili flakes or use a splash of chili oil. I used a high quality peanut oil to add a nutty flavor to the dish. If you use a neutral oil, such as avocado or vegetable oil, add a splash of toasted sesame seeds or sesame oil at the end of cooking.
How to create the best green bean texture
Thoroughly pat the green beans dry before cooking, so the green beans browns efficiently without getting steamed. Dried green beans also prevents oil splatter, since you will be using a very hot pan to cook this dish.
Different variations
You can add meat or other ingredients to your garlic green beans to make it even more satisfying. Here are some common ingredients I like to use:
- Ground pork, or other ground meat like ground beef or ground chicken.
- Minced dried shrimp – Adding dried shrimp along with aromatics infuses a salty umami to the oil, making the dish richer in taste.
- Pickled mustard greens – Or Sui Mi Ya Cai (碎米芽菜), is another great option to add a rich fermented umami and a hint of sweetness. You can use a spoonful to replace the soy sauce.
- For vegetarian versions, you can add mushrooms or tofu crumbles.
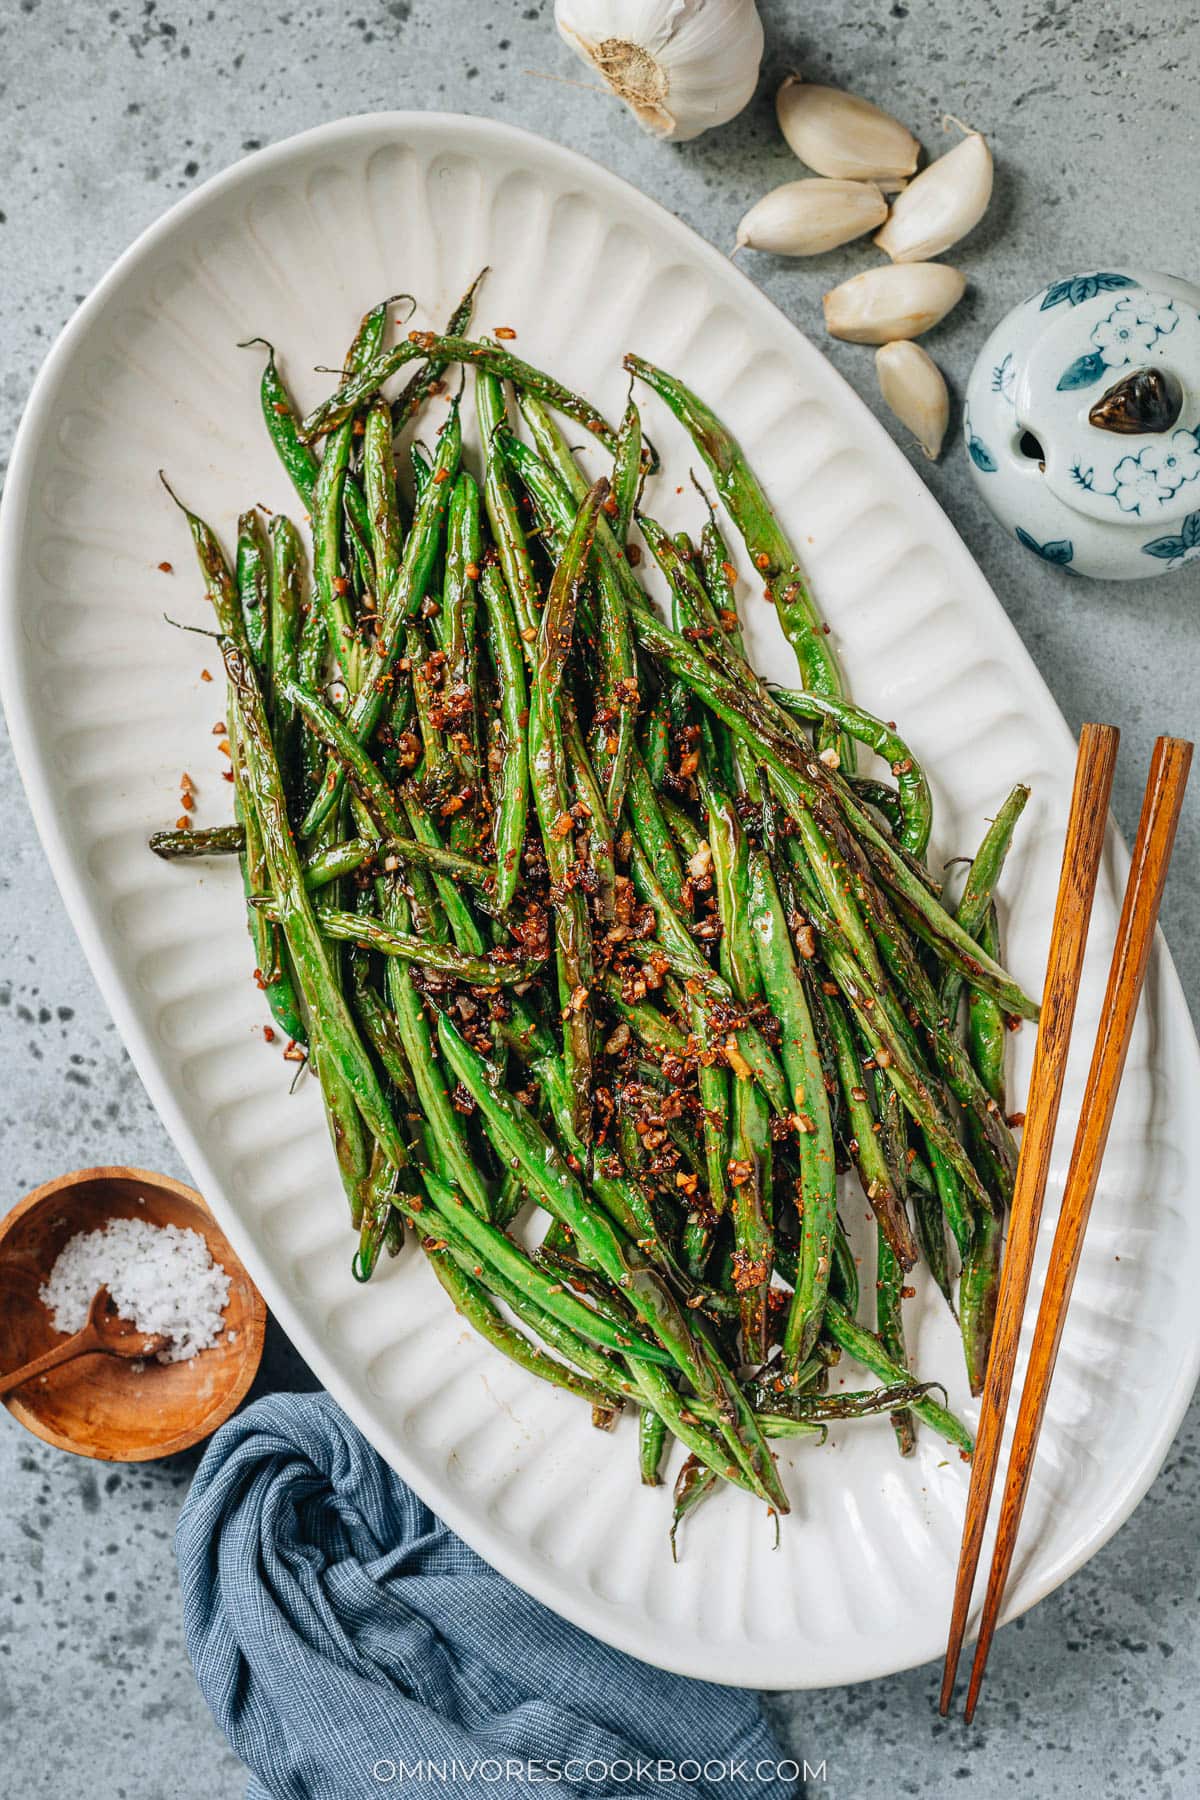
How to serve garlic green beans
These garlic green beans are so flavorful that you can serve them by themselves or over steamed rice. It makes a perfect side dish or a part of a multi-dish meal. I also love to top it on the rice and add a marinated egg to make a quick lunch. They freeze and reheat well, so you can use them for meal prep too.
Frequently asked questions
How do I make the green beans blister like in restaurants?
Restaurants often deep fry the green beans briefly to get that signature wrinkled, blistered texture. At home, you can mimic this by:
- Pan-frying over medium-high heat with minimal oil, turning frequently.
- Air frying or roasting at high heat as an alternative. You can refer to my air fryer green beans and oven roasted green beans recipes.
Do I need to blanch the green beans first?
Blanching is optional. It speeds up the pan frying process while keeping the inside of the green beans tender. My recipe skips it. If you prefer softer green beans, you can blanch them for 1 to 2 minutes, then dry them before stir-frying.
Why are my green beans soggy?
Common reasons:
- Overcrowding the pan causes the beans to steam instead of fry. Use a large skillet or cook in batches.
- Not using high enough heat.
- Not drying the green beans properly after washing.
Here are some dishes to serve with garlic green beans
- Soy Sauce Fried Rice (酱油炒饭)
- Chinese Corn Soup (鸡蛋玉米羹)
- Sichuan Shrimp Stir Fry
- Beef Lo Mein
- Vegetarian Mapo Tofu
Want to Save This Recipe?
Enter your email below & we’ll send it to your inbox. Plus get great new recipes from us every week!
Watch video
Chinese Garlic Green Beans
Ingredients
- 1 lb green beans , tough ends removed
- 3 to 4 tablespoons peanut oil (or vegetable)
- 6 cloves garlic , minced
- 1 thumb minced ginger
- 1 tablespoon Shaoxing wine (or dry sherry, or chicken broth)
- 1 teaspoon soy sauce
- 1/2 teaspoon salt
- Chinese chili flakes (for garnish) (Optional)
Instructions
- Thoroughly pat the green beans dry with paper towels to prevent oil splatter.
- Heat 3 tablespoons of oil in a large skillet over medium-high heat until hot. Turn to medium heat and add the green beans. Toss to coat well with the oil. Spread out the green beans as much as possible with minimal overlap and sprinkle with the salt. Let cook without touching for 2 to 3 minutes, until the bottom starts to blister and turn golden. Remove any green beans that have blistered and charred on one side and transfer them to a big plate. Keep cooking the rest of the green beans, flipping occasionally and taking out the ones that are blistered. The whole process should take about 6 to 8 minutes.
- If your pan looks dry, add the remaining 1 tablespoon of oil. Otherwise, directly add the garlic and ginger to the pan. Stir and cook for a few minutes to release fragrance. Add back all the cooked green beans and stir to mix a few times.
- Pour in the Shaoxing wine and soy sauce and sprinkle with salt. Stir immediately to mix everything well. Taste the green beans. Adjust seasoning by adding more salt or soy sauce, if needed.
- Transfer everything to a big plate. Sprinkle with chili flakes, if using. Serve hot as a side dish.
Nutrition

Did you make this recipe?
I’d love to hear how it turned out for you! Please take a moment to leave a 5-star rating ⭐️ and share your thoughts in the comments further down the page. It really helps others discover the recipe too.
Emily
this was delicious
potato
i like it,want to try it
Brenda
Great recipe, delicious
EasternFlavor
Super easy assuming you have a good carbon steel wok and gas lame (wok ring). Phenomenal, no need to order in!
Jude
this tasted and looked just like my favorite nyc chinatown dish. thank you for sharing it and teaching me how to make it at home.
jude
maggie, i watched the video and would like to know more about your skillet. and where i can find one to purchase. thank you!
Maggie Zhu
It’s a Debuyer 12.6″ carbon steel skillet: http://amzn.to/2fzKrjN
If you decide to buy it, make sure to check out my posts on how to season the skillet and how to clean and store it 🙂
https://omnivorescookbook.com/season-carbon-steel-pan/
https://omnivorescookbook.com/carbon-steel-pan-care/
Byzantine Dixie
Made this for the first time for Thanksgiving meal. I have tried other recipes but none that worked so well for frying the green beans. Everyone loved them. So glad I found it. Thanks for helping to make it easy, too.
Heather
This was amazing! I made it last night and I ended up eating the whole pound of beans all by myself… no leftovers haha! I’ve bought beans like this before at Chinese buffet places and at T&T grocery store, and I’ve always liked them. I’m so happy I can make them myself now. Thank you so much for this recipe
B. Dumars
I love this recipe and it is pretty easy to make. Make sure to allow time to prep the beans.
Anon
These green beans turned out incredible and they were so simple! Would highly recommend!!
IndonesianChild
Made this recipe and it turned out great. Recipe is easy to follow and quickly done. I like garlic so I added a pinch more. Definitely a keeper. Thanks for sharing.
Shamina Naj
Yum and simple to make. Thank you for sharing the recipe
Mercey Mercado
I could eat green beans daily with this wonderful recipe! It is that delicious! Thank you for sharing!
M.walton
Awesome, I added a tiny amount of oyster sauce at the end, beans picked from my garden, with a few snap peas, served on steamed rice, beautiful, I’m now full of beans.
Hailey
Wow, delicious! I’m going to try this recipe with runner beans. I have so many right now. Do you know how people like to prepare them in China? I guess they’re pretty popular over there, but their name translates to something more like “broccoli beans.” 红花菜豆 is the term I found. I guess they’re well loved in some parts of the country, but I can’t find any Chinese recipes for them. Do they just sautee them fresh, like this kind of recipe? Do they pickle them whole? I’m so curious!
Maggie Zhu
I haven’t cooked much with runner beans after moving to the US because I rarely find them. Seems like there are different varieties, but the ones I’m familiar with look like this: https://www.greedygourmet.com/recipes-by-course/side-dish/runner-bean-puree/ We harvest them when the peas are still tiny and soft, so the pods have a good texture.
We usually braise runner beans, often with some pork (my mom likes to use leftover pork stews, with a bit meat and the sauce) and potato. The beans will soak up the sauce and taste great.
The other method is called “焖”, or steam fry, which I think will work with this recipe. You can blister the beans, but maybe not wait until them to cook through. Once their surface is a bit wrinkled, you can proceed to add the sauce etc. Then you can cover the pan, so the runner beans will be slightly steamed through and become tender. The result is less crispy beans, but the texture will be tender and the beans will soak up the sauce.
Colleen
This is our favourite way to make green beans. We often have lots during the summer when we are growing them. We had these at a great Chinese restaurant once and this recipe is very similar, if not better. This recipe is well explained and easy to follow and everyone eats their green beans.
Cheryl Covier
This is so good I made it two days in a row, eating it as my main course. I can’t get enough. Keeping my local farmers market in business.
GDub
Do you really add salt in both the first and second phases of cooking the beans? In the video it looks like you add salt only at the end?
Maggie Zhu
I think adding a very small pinch of salt during first phase helps developing the flavor a bit more. But I do remember I totally forgot about it while shooting the video.
The best approach is to measure out the salt prior cooking. During the first phase, you use a small pinch of salt from the 1/2 teaspoon. Then during the second phase, you add the rest.
Hope it makes sense.
Suzanne Bell
I tried this recipe for the first time tonight with green beans fresh from our garden. It was quick, easy, and turned out great. Will definitely make again and share with others. The peanut oil was a great recommendation. Thank you for this recipe!
Maggie Zhu
So happy to hear you tried this one out and liked it! Thanks for leaving a positive review 🙂
Laureen Hara
I love this recipe! It is easy, tasty and better than eating them in the restaurants.
This is my go-to recipe for Green Beans. I know my son will love this recipe too.