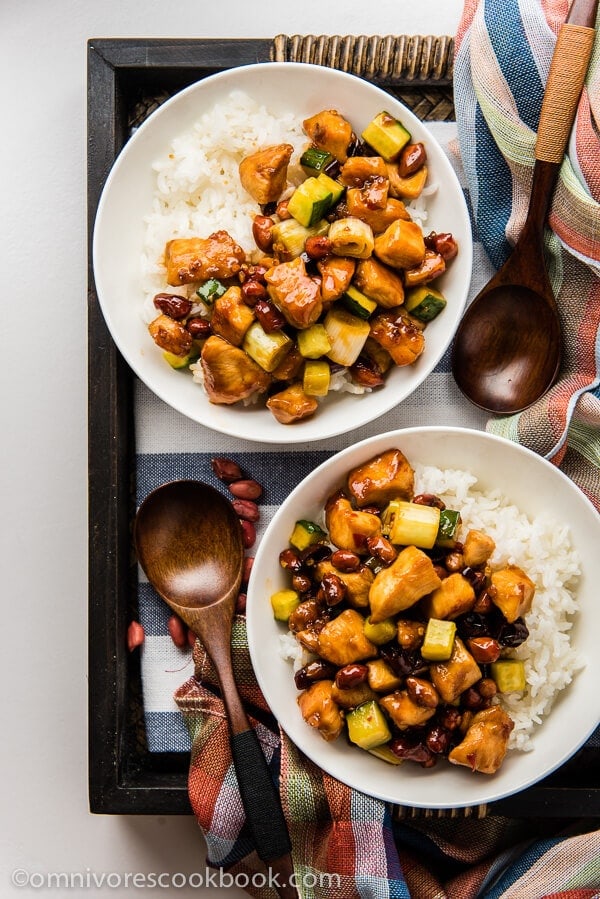
A quick and easy kung pao chicken that only requires 20 minutes to prepare. Use this method and you’ll always create moist and tender chicken with no fuss!
Although I wrote about kung pao chicken a long time ago, I decided to create an easier version after I posted the all-purpose chili garlic sauce.
Why create another kung pao chicken when there are millions already out there? Because I wanted to create the quickest way with the best kung pao flavor.
Why this recipe?
- It only takes 20 minutes (15 minutes if you use already-roasted peanuts) to get the dish on the table, while the average recipes takes 30 minutes to an hour.
- It uses only 10 ingredients, while other recipes use 12 to 18 ingredients.
- You don’t need to use a wok.
- It’s a foolproof method for tender and moist chicken.
- You can easily apply the same method to cook kung pao shrimp, kung pao beef, kung pao tofu, etc.
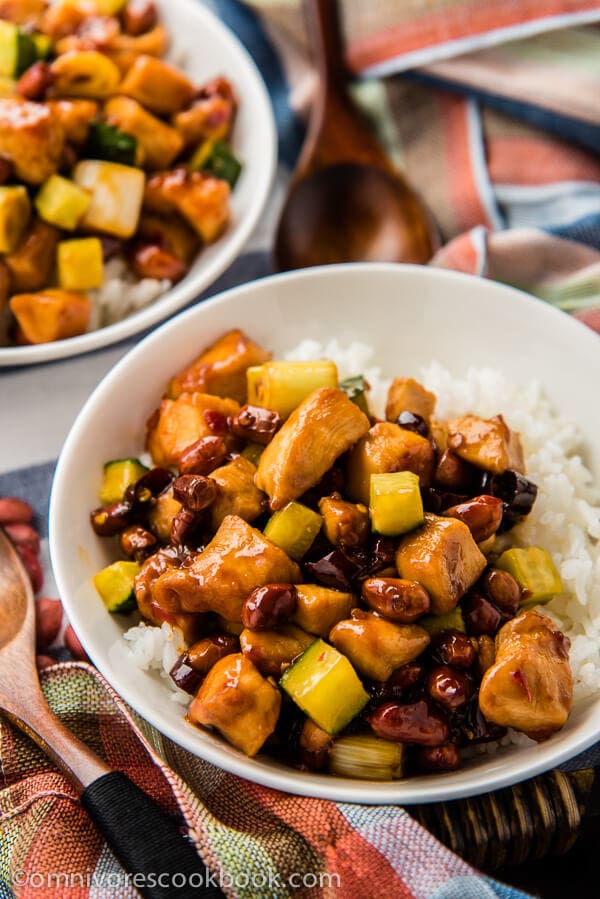
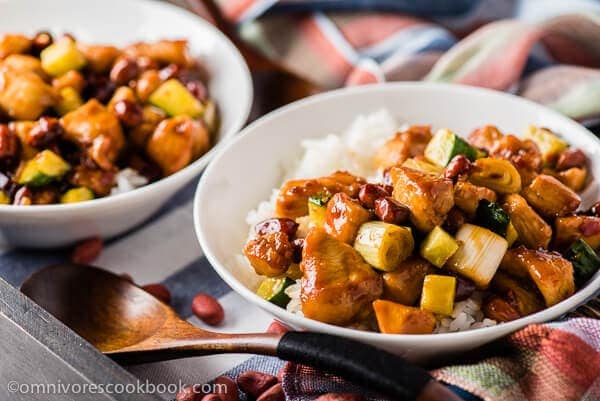
By the way, I added cucumber in this recipe. This makes it much like the classic Beijing style kung pao chicken. Cube the cucumber into small pieces and add it at the end. You’ll be surprised how flavorful it tastes. It also adds a great crisp texture to the whole dish.
You might complain that it’s too much trouble to cook the chili garlic sauce in the first place! If you only cook Sichuan food once a month, maybe this is not the best choice for you. In this case, go straight to my older version of kung pao chicken which doesn’t require that sauce.
However, if you like spicy food and cook it more than once a month, try out the master sauce, and you’ll thank me later.
A few words about this super sauce. It is a basic sauce to help you create super flavorful spicy dishes effortlessly. I use it as a master sauce to create various Sichuan style sauces, by adding it to a dish at the end of cooking, or simply by adding a few more ingredients to it to create a new sauce.
The great things about the master sauce are:
- It saves you 10 minutes every time you cook a Sichuan style stir-fry.
- It helps you to create no-fail spicy dishes that your family loves.
- The sauce will keep for 3 months in the fridge, but you’ll probably use it all before it goes bad.
- It does not contain any additives or preservatives.
If you don’t feel comfortable cooking up a big batch of chili sauce, cut the the recipe in half and try cooking one dish with it. It’ll only take you 40 minutes altogether.
So far, I have used the sauce to create Sichuan spicy shrimp stir-fry, spicy beef stir-fry with pepper, and Sichuan shredded chicken stir-fry.
Can’t find your favorite Szechuan dish here? Drop me a note below and I’ll create a recipe for you!
If you cook this recipe, don’t forget to take a picture and post it to my Facebook fan page. I love seeing your photos!
Chinese Cooking Made Easy
Are you new to this website? This free email series is a great place to start. I’ll walk you through a few of my most popular recipes and show you how and why they work. You’ll quickly start to cook better Chinese food in your own kitchen.
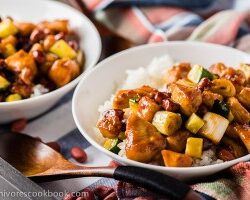
Easy Kung Pao Chicken
Ingredients
Peanut
- 1 tablespoon peanut oil (or vegetable oil)
- 1/3 cup raw peanuts
Chicken
- 1 (250 grams) chicken breast , cubed
- 1 tablespoon light soy sauce
- 2 teaspoons cornstarch
Sauce
- 1 tablespoon light soy sauce
- 1 and 1/2 tablespoons Chinkiang vinegar
- 2 tablespoons sugar
- 4 tablespoons all-purpose chili garlic sauce 2 - 3 tablespoons for a less spicy dish
- 1 teaspoon cornstarch
Stir Fry
- 1/3 cup Chinese scallion , chopped (or green onion)
- 1/2 cup cucumber , cubed
Instructions
- Heat peanut oil in a nonstick skillet over medium high heat until warm. Add raw peanuts and turn down to medium heat. Stir occasionally, until the peanuts turn brown and have a nice nutty aroma. Transfer the peanuts to a plate lined with several layers of paper towel to cool. Save the rest of the oil in the skillet for later use.
- Cut chicken breast into 1 to 1.5 cm (1/2 inch) cubes and transfer to a bowl. Add 1 tablespoon light soy sauce and mix well. Add 2 teaspoons cornstarch. Mix by hand until the chicken is evenly coated with a thin layer of starch. Set aside.
- Combine the remaining 1 tablespoon light soy sauce, Chinkiang vinegar, sugar, chili garlic sauce, and the remaining 1 teaspoon cornstarch to a small bowl. Mix well.
- Cut and prepare the rest of the veggies.
- Heat the same nonstick skillet again, over medium high heat. If there is not enough oil to cover the bottom of the skillet, add a bit more. When the oil is hot, spread the chicken across the skillet without overlapping the . Let it cook without stirring for 20 seconds. Flip to cook the other side for another 20 seconds. Stir a few times until all surfaces are cooked and slightly browned, but the inside is still raw.
- Add the scallion and stir another few times. Mix the kung pao sauce again and pour it over the chicken. Immediately stir a few times to mix well until the sauce thickens, 20 seconds. Stop heat. Add peanuts and cucumber. Give it one last stir to mix well. Transfer everything to a plate.
- Serve warm over steamed rice.
Nutrition

Did you make this recipe?
I’d love to hear how it turned out for you! Please take a moment to leave a 5-star rating ⭐️ and share your thoughts in the comments further down the page. It really helps others discover the recipe too.
Easy appetizers to go with this dish:
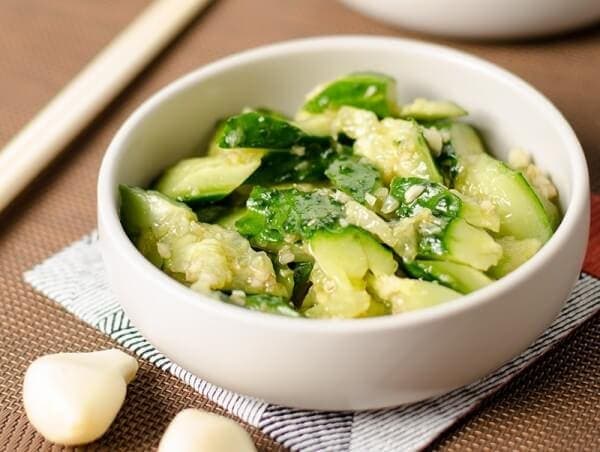
Easy Chinese Cucumber Salad (拍黄瓜)
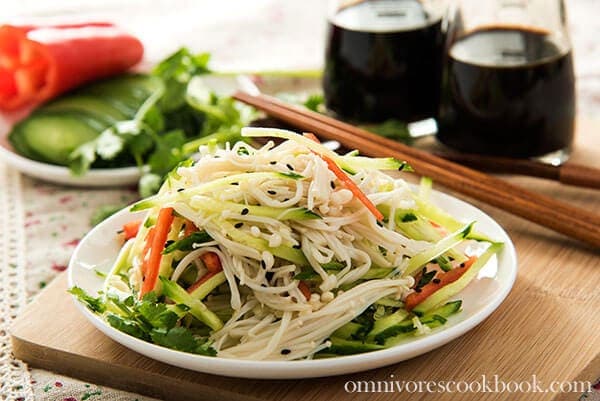
Golden Needle Mushroom Salad (凉拌金针菇)

Menolly
I really want to try this, (it’s one of my husband’s favorite take out dishes), but I won’t have time or the ingredients to do the chili garlic sauce this week. I have everything else, however. I also have a jar of sambal olek and a jar of your chili oil in the fridge. Can I sub any or both of these 2 ingredients to try and make this recipe? Thanks!
Maggie Zhu
Yes! You can use 2 tablespoons sambal olek and 2 tablespoons chili oil. It should be perfect 🙂
Robert Nieboer
Just cooked this for dinner today.. it’s fantastic! I left the sugar out because I’m a Type 2 diabetic. I didn’t have the vinegar so I used Shao Shing wine (please excuse the spelling).
I also added a fair amount of asparagus to increase the veggie content. Cooking the chicken in a single layer is key to this in my view. The chicken has a lovely silky texture, I presume because of the corn starch. I probably cooked the chicken longer on each side that the recipe recommends, but I loved the colour.
Just a wonderful dish and presents all the quality and taste of the restaurant version.
Thanks very much Maggie.
Rob
Maggie
Hi Rob, I’m so glad to hear you enjoyed the dish! Changing the vinegar will alter some flavor of the dish, but I’m glad to hear you like the result!
And great idea of adding asparagus. That sounds so yummy and it makes the dish healthier.
Thanks for taking time to leave a comment and can’t wait to hear what you will cook the next 🙂
Susan
Oh my goodness, I can’t wait to try this recipe! Thanks so much for posting it. Can I substitute your recipe for homemade Kung Pao sauce for all of the sauce ingredients listed here? You don’t mention it in this post, so I thought I should ask. Thanks!
lisa
Omg i just made the Kung Pao and it is friggen awesome. Yum Yum
nancy
Hi, could I use whole dried chilli peppers as substitute for the chilli sauce?
thanks!
nancy
Maggie
Hi Nancy, if you don’t have the chili sauce, you can use this recipe instead: https://omnivorescookbook.com/recipes/perfect-kung-pao-chicken-recipe/
JulieY
Forgot to rate in my previous post. It was Amazing!
Maggie
You’re so nice Julie 🙂 Have a great day!
JulieY
I made this recipe and it was awesome!! I questioned the cucumbers, but they were great … who knew? I plan on making it again soon.
I did have one problem. I doubled the recipe and may have done that incorrectly because it was really really hot. (I love spicy, but this was over the top.) I made the chili garlic sauce myself and followed the recipe exactly. Question, should I alter the chili garlic sauce recipe, or alter the amount of chili garlic sauce I add to the dish in order to reduce the heat?
Maggie
Hi Julie, if the garlic sauce is too spicy for you, chances are, you used the real Sichuan peppers. They are so spicy and will make the sauce too hot. If you’re going to make a new batch of chili garlic sauce, I suggest you to try Korean chili peppers. They are much milder in flavors. Or you can use several types of chili peppers, including the mild type. Yes, if you will keep using the super hot chili garlic sauce, you will need to use less in the dish. Hope this is helpful!
JulieY
Are you referring to the whole dried chili peppers, or the Sichuan peppercorns?
Maggie
I was referring to the whole dried chili peppers. Sichuan peppercorns actually do not add much spiciness. The spiciness of whole dried chili peppers varies a lot though. Right, I forgot to mention last time. The other method is, remove the seeds of the whole chili peppers when you cook the chili garlic sauce. The seeds are the most spicy part.
Emily
The kung pao chicken is AMAZING and you are absolutely right that it is worth it to make the garlic chili sauce from scratch. This was one of my favorite dishes when I lived in Beijing so I love being able to “visit” with this recipe.
Maggie
Hi Emily, I’m so happy hear you tried my recipe and liked it! The garlic chili sauce is really versatile and you can use it to cook all sorts of Szechuan dishes. Thanks for taking time and let me know the cooking result! Have a wonderful week 🙂
Shareba @ In Search Of Yummy-ness
I love Kung Pao chicken! I’ve never attempted to make it at home before, but your recipe looks pretty straight forward. Thanks for sharing this!
Maggie
Thanks for stopping by and leaving a comment Shareba! Kung Pao chicken is actually super easy to make once you tried it. Glad to hear you like this one. It’s a classic 🙂
Melissa | Bits of Umami
I have never tried kung pao chicken at home. You make this look so easy. Those photos are gorgeous!
Susan
I’ll be without a stove for the next two months, but when I get home I’m definitely going to try this. Actually, I might be able to make it in an electric skillet… (then all I’d have to do is find a way to cook rice. Really glad to see this recipe.
Maggie
Hi Susan, I never tried to cook stir fry with an electric skillet. If it’s almost the same with cooking with an electric stove, just heat up the skillet until hot and cook with medium high heat all the way through. If you only need a small amount of rice for this one dish, I think the packaged rice in supermarket is the easiest way 🙂
Marissa | Pinch and Swirl
I LOVE Kung Pao Chicken – and this looks so simple! I think I’ll even try it on a weeknight!
Helen @ Scrummy Lane
You know, Maggie, I have never tried Kung Pao chicken. I’ve heard of it but this post has made me realise I didn’t even know what it was! Wouldn’t it be great if the first kung pao I tried was this wonderfully authentic one from you! And especially with that fabulous-sounding sauce. Definitely pinning this one for later!
Kathleen | HapaNom
YES! I SO need this in my life! I’m a huge fan of Kung Pao, but never made it at home, thinking it would be too difficult. But this looks so quick and easy! Thanks for this incredible recipe.
Nancy | Plus Ate Six
I’ve only started eating Kung Pao chicken since we moved to Shanghai – and love it. I need to start making it myself instead ordering it in!!!!
Lisa @ Healthy Nibbles & Bits
I always love trying new kung pao chicken recipes! This 20-minute version is just what I need for busy weeknights!
Jasline (Foodie Baker)
My husband likes rice with gravy side dishes, so this will definitely appeal to him, looks delicious!
Meggan | Culinary Hill
Kung Pao Chicken is definitely one of my Top 3 Chinese dishes I might order for takeout. It’s so good, even when it’s not yours! But yours is obviously superior in every way, and I had no idea this was so easy to make. Thank you so much for sharing another great recipe, Maggie! Pinning!
Shinee
When I go to Chinese restaurant here in the US (quite rare occasion!), Kung Pao chicken is the first thing I reach! It’s my favorite. Thanks for sharing such an amazing fool-proof recipe! I suspect, it’ll be a frequent dinner in my house!
Prash@YummilyYours
I so love kumg pao that I believe one can never have enough kung pao recipes! 😀 This one makes it to the top few. Loved it! 🙂