
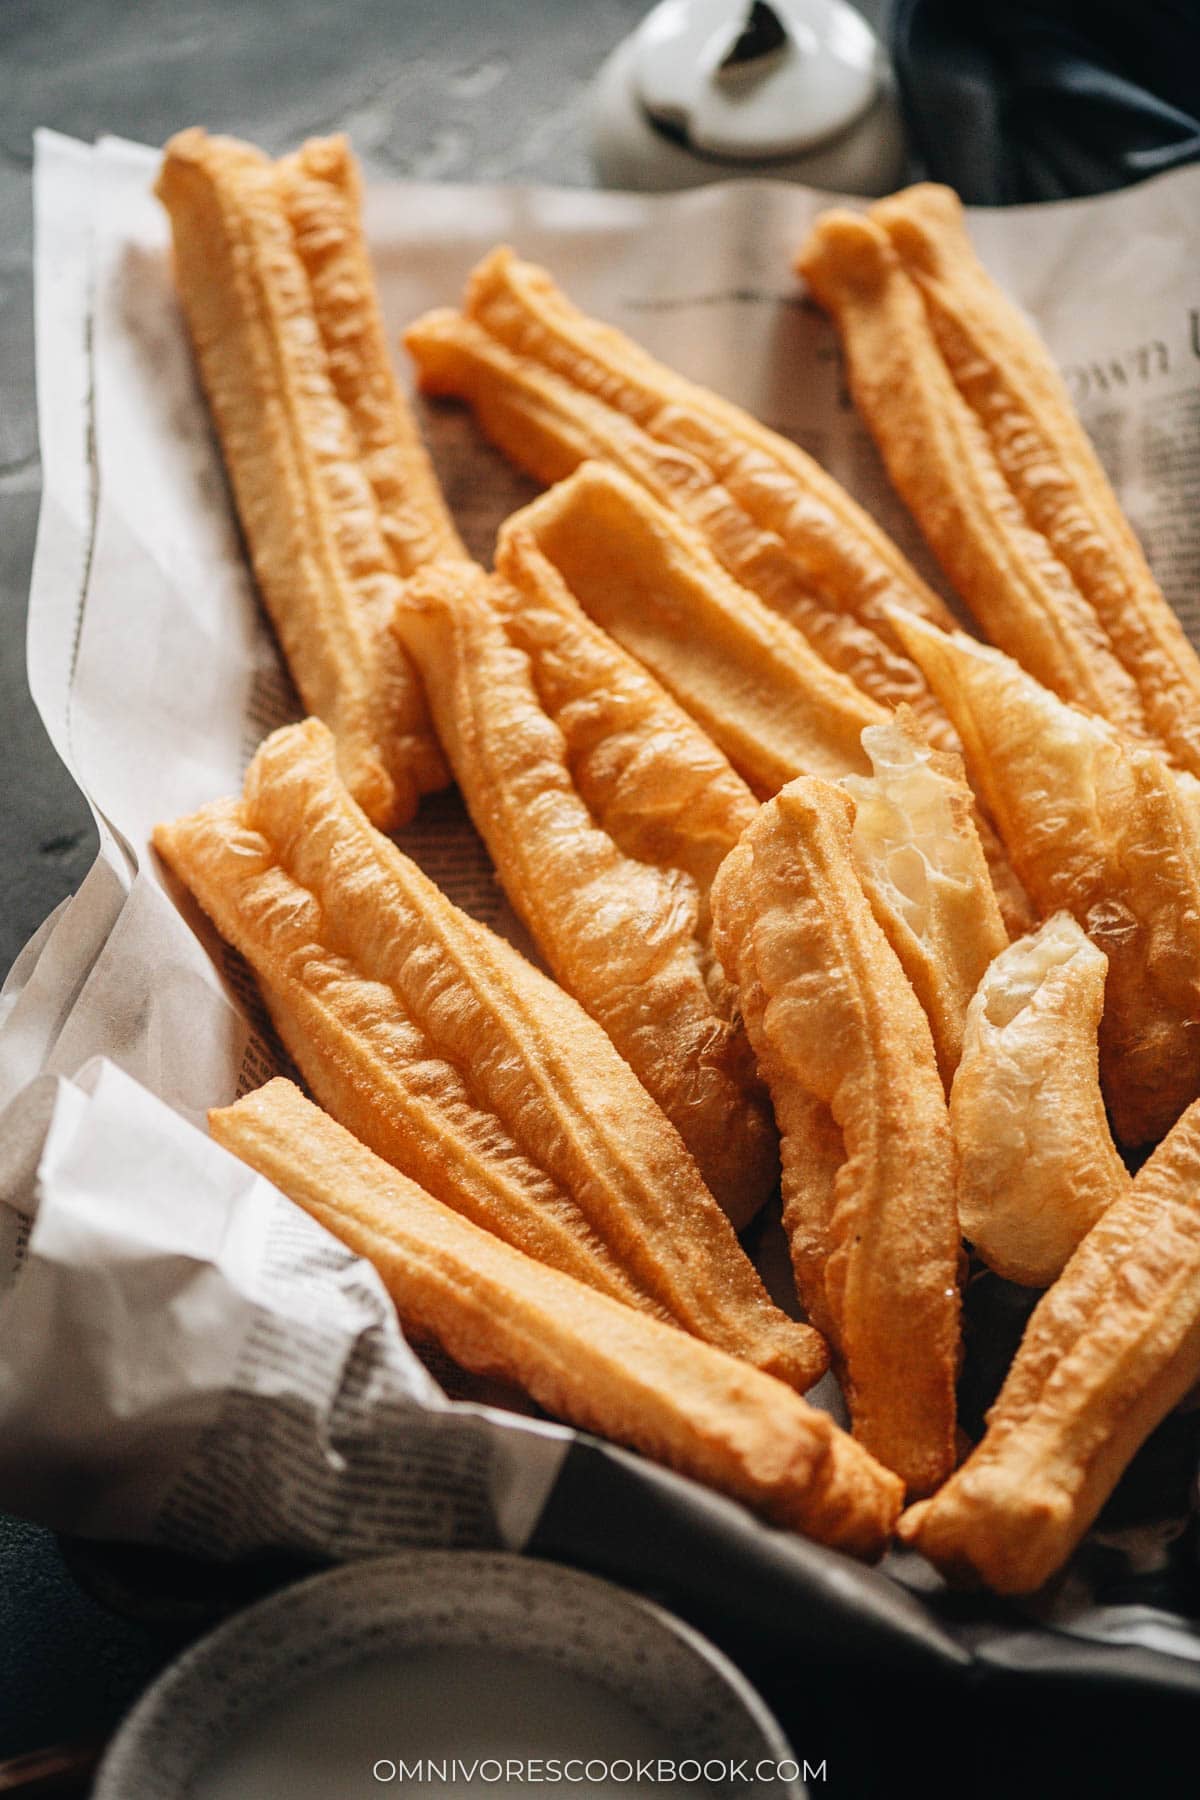
In the old days You Tiao was a street food you bought at a cart on the way to school, but the crispy airy texture came from alum and other chemicals that no home cook would touch. Most of those carts have disappeared in China now, and even the restaurant versions do not match the fresh-fried texture of the ones I remember eating warm out of the oil. This home recipe rebuilds the same crispy airy texture with pantry ingredients, using an egg white and a long fridge rest to lift the dough without the ammonia and alum the old vendors relied on.
The Chinese breakfast I miss most from Beijing is a paper bag of hot You Tiao dunked into a big bowl of freshly made soy milk or a bowl of dou fu nao, the Beijing-style tofu pudding with a savory gravy. I have been chasing that memory in my New York kitchen for a long time, and I tested this dough through many rounds before I got to a home version that puffs up crispy and hollow the way the street-cart ones did. The overnight fridge rest is the trick that separates a home You Tiao from a doorstop, and this recipe is what convinced me I could make them any Sunday morning I want.
This is a make-ahead dough, and the overnight rest in the fridge is what gives me the best crumb. I mix and knead the dough on a Saturday night, rest it briefly on the counter, then knead a second time and rest it overnight in the fridge before rolling and cutting the strips the next morning, when the paired dough goes into hot oil and puffs hollow at the surface. So good! I definitely encourage you to make this over a weekend using my directions below, the dough does the slow work in the fridge while you sleep.
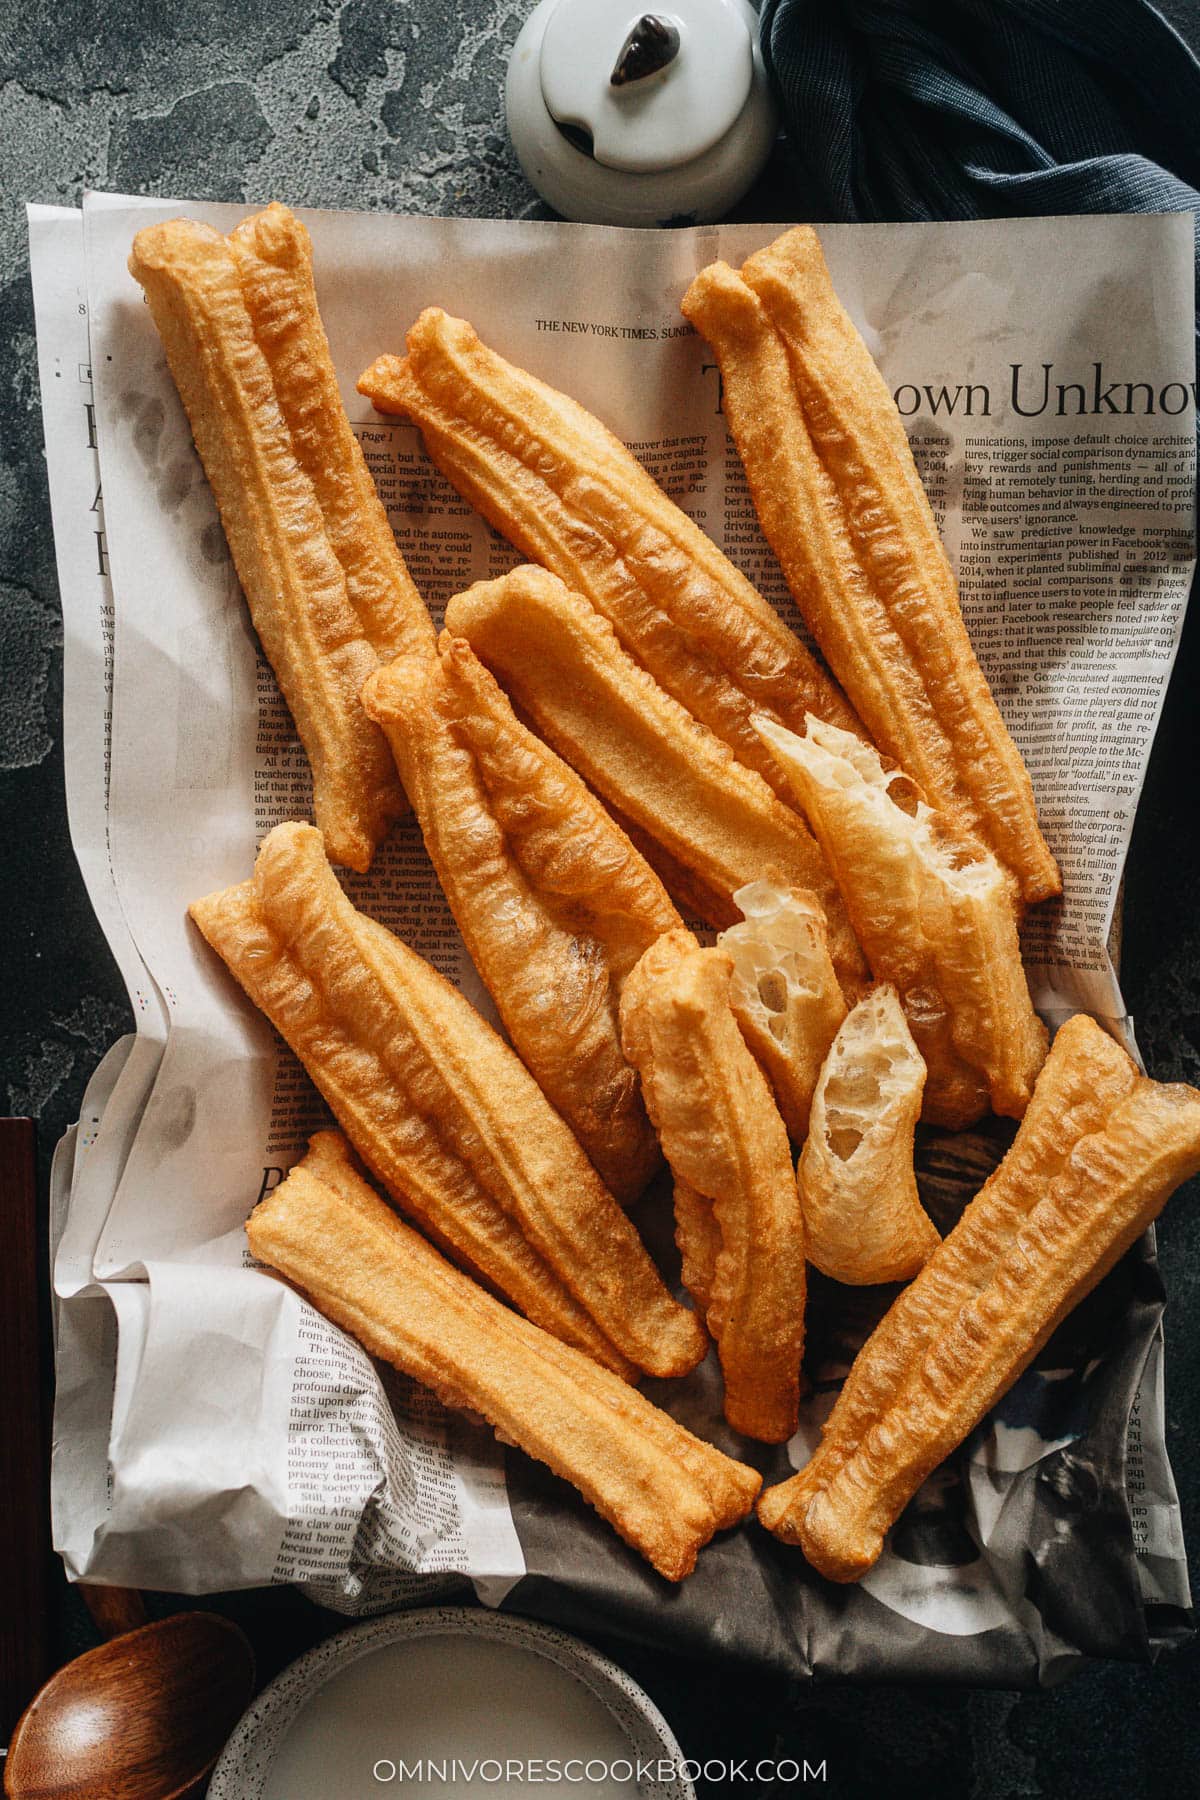
Ingredients
The ingredients for You Tiao are super simple. You probably already have them in your pantry. Here is what I use:
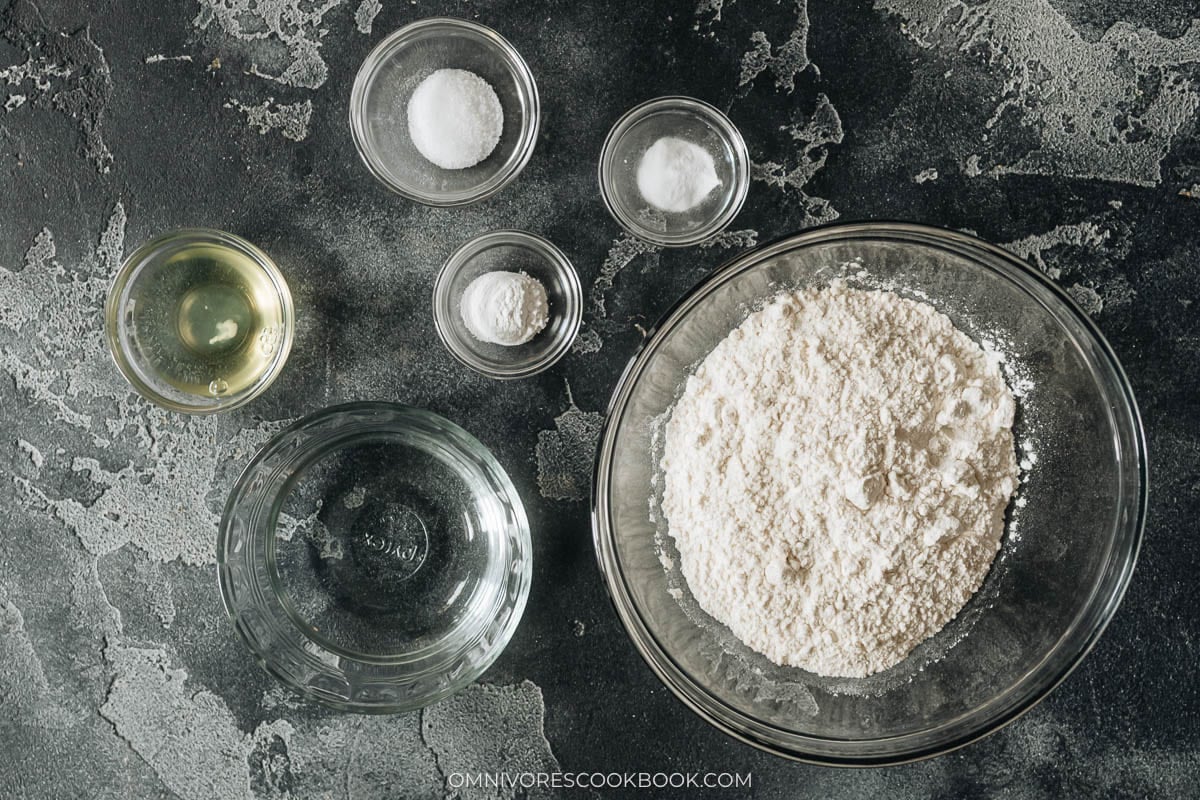
Dough
I use all-purpose flour as the base, and I measure by weight when I can because a cup of flour scooped straight from the bag runs heavier than the same cup lightly spooned in. The water goes in at room temperature so it does not shock the leaveners, and I keep the dough on the wet and sticky side on purpose since a wet dough puffs hollower in the oil than a firm one.
Leaveners
The lift comes from a small dose of baking powder and a smaller dose of baking soda, both dissolved into the water before they meet the flour so they activate together.
Egg white and salt
I use only the egg white and skip the yolk because the white gives me the fluffier crispier texture I want, while a whole egg makes the crumb heavier and closer to a bread. The salt goes in with the egg white, and I reach for kosher salt as the default since the crystals are easy to portion, with sea salt as a backup at a smaller volume.
Frying oil
I use a neutral vegetable oil for deep frying, and I pick a smaller tall pot so I need less oil to reach a 3 inch depth. The pot I use is about 9 inches across and 4.5 inches tall, which is deep enough to fry a stretched You Tiao without spitting oil across the counter and small enough to keep cleanup short.
How to Make
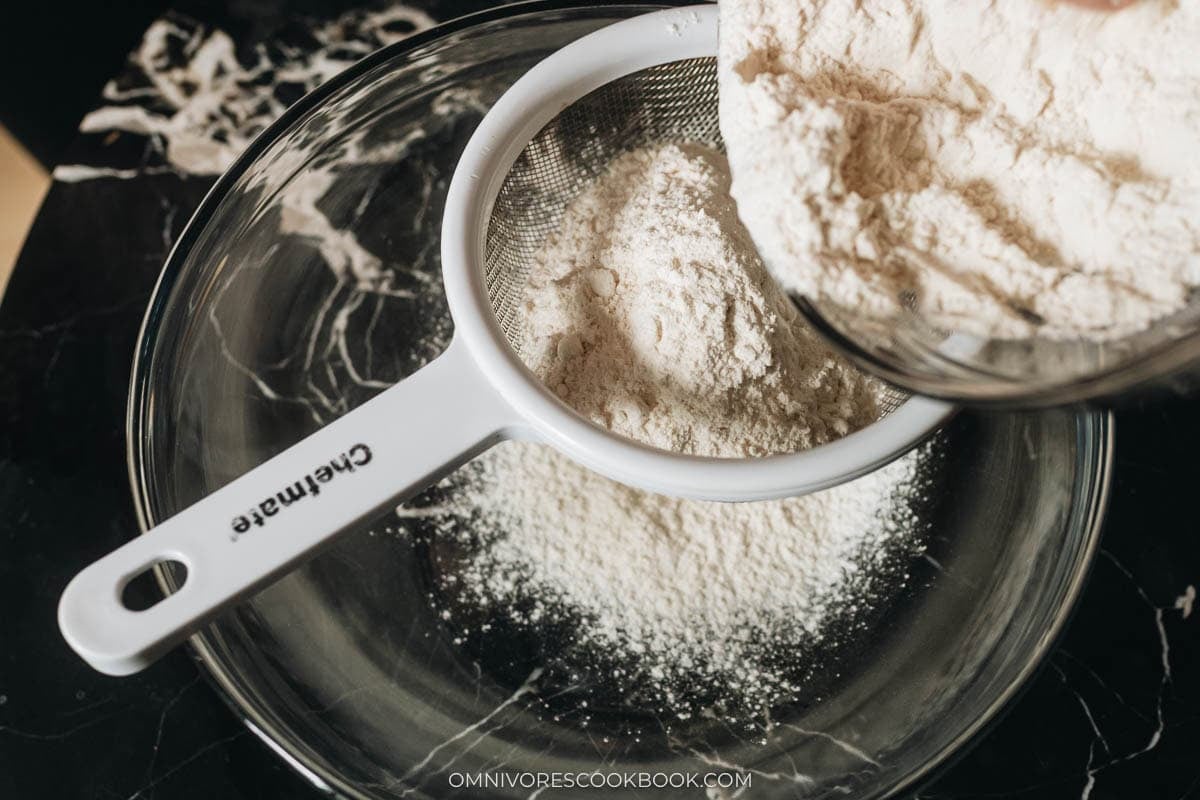
1. Sift the flour: Sift the all-purpose flour into a large bowl through a mesh strainer. Sifting breaks up any packed flour so the dough hydrates all the way through.
2. Dissolve the leaveners: Combine the room-temperature water, baking powder, and baking soda in a small bowl and stir until fully dissolved. The leaveners need to be dispersed in the liquid before the flour goes in, so they can lift the dough uniformly during the rest and the fry.
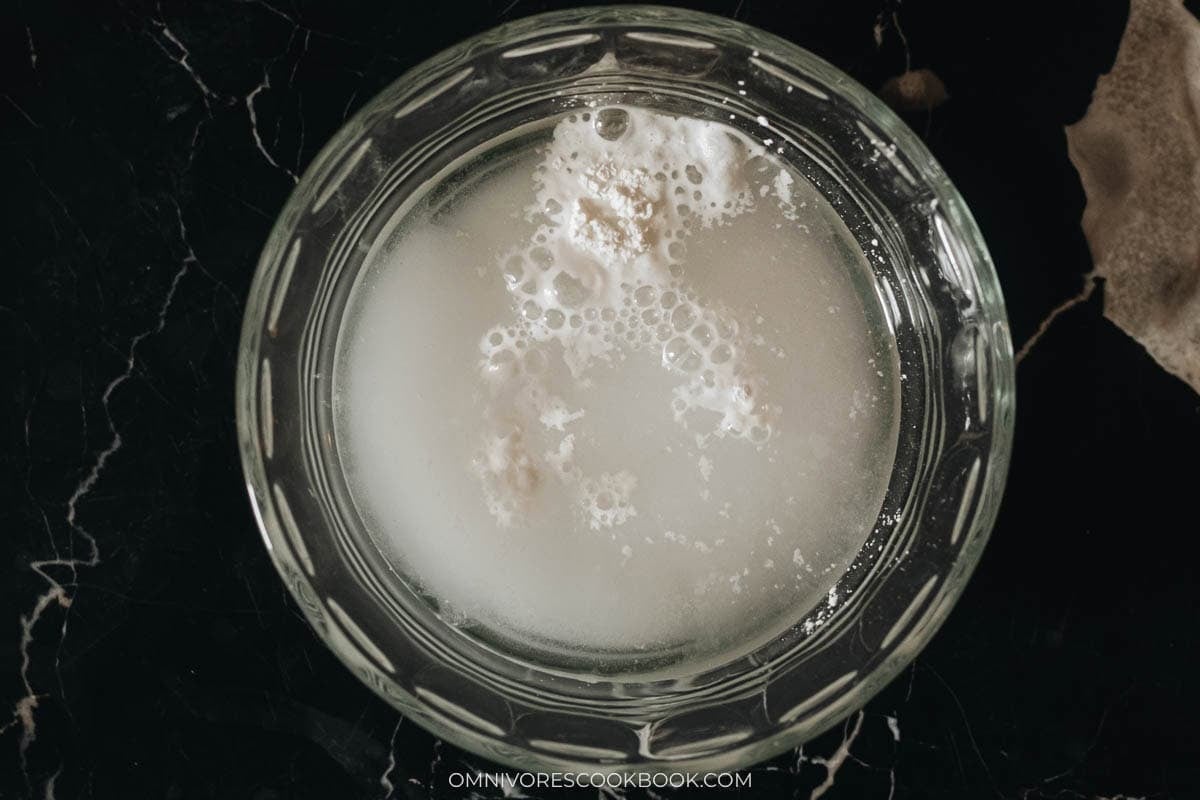
3. Mix the dough: Add the water mixture, egg white, and salt to the sifted flour. Stir with a fork until a coarse shaggy dough forms. The dough will look wet and sticky at this stage, and that is exactly what you want.
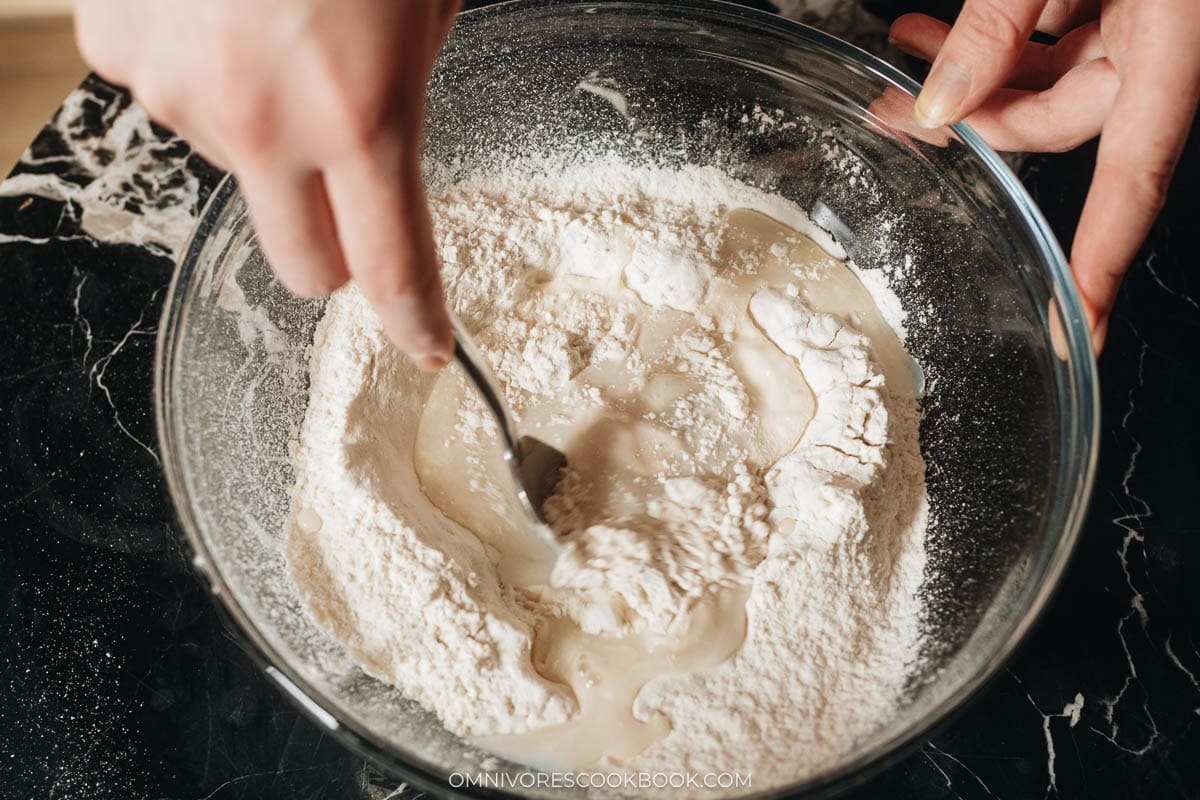
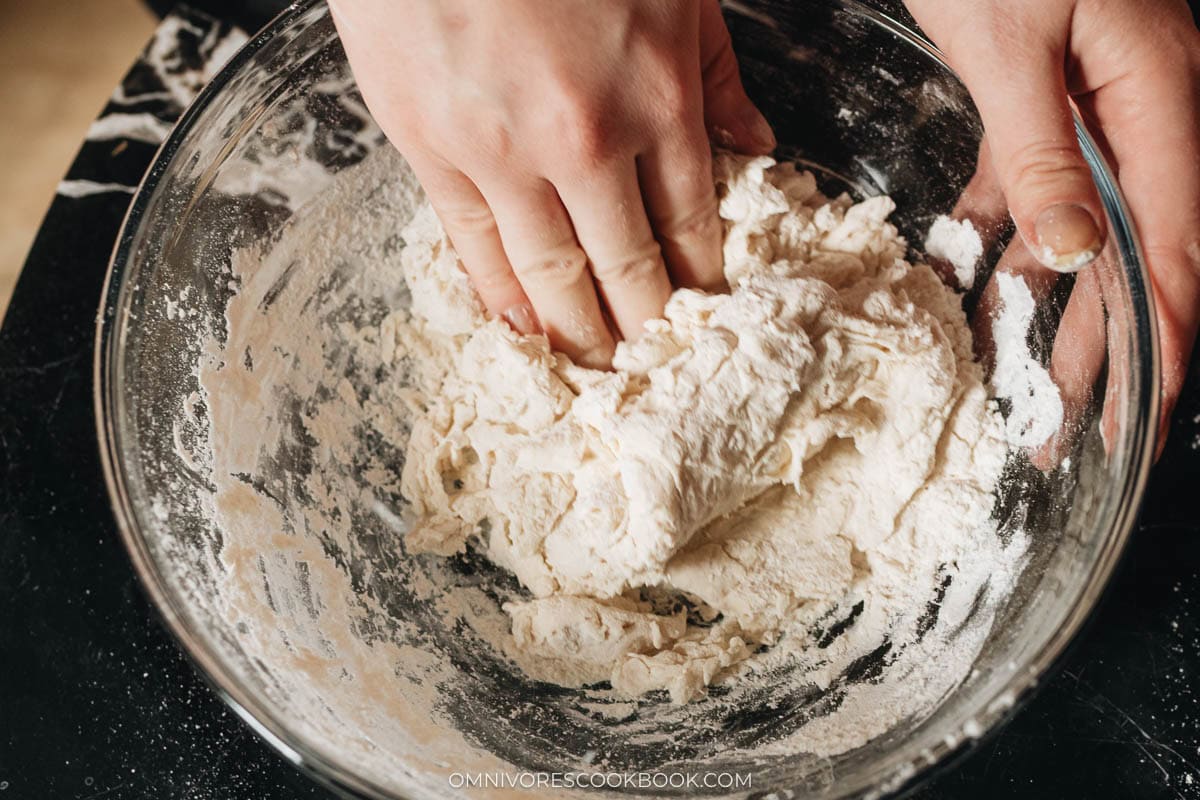
4. First knead and rest: Knead the dough in the bowl for 5 minutes, until it pulls into a rough mass. Cover with plastic wrap and let it rest at room temperature for 30 minutes. The dough will relax and become easier to handle.
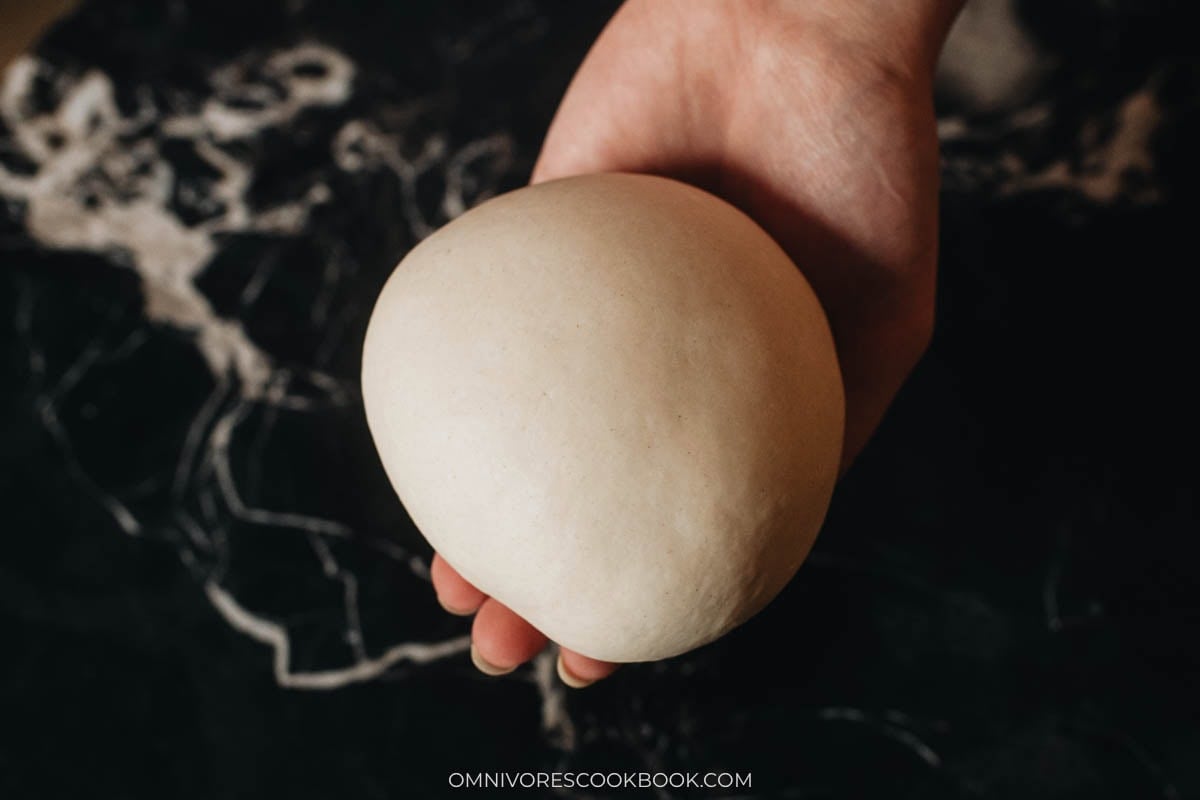
5. Second knead and long rest: Turn the dough onto a clean work surface and knead a second time for 2 minutes. The dough will look noticeably smoother than at the start. Cover again with plastic wrap and rest for at least 2 hours at room temperature, or overnight in the fridge for the best texture.
6. Shape the strips: On a lightly oiled surface, divide the dough into 2 equal pieces and work with 1 at a time.
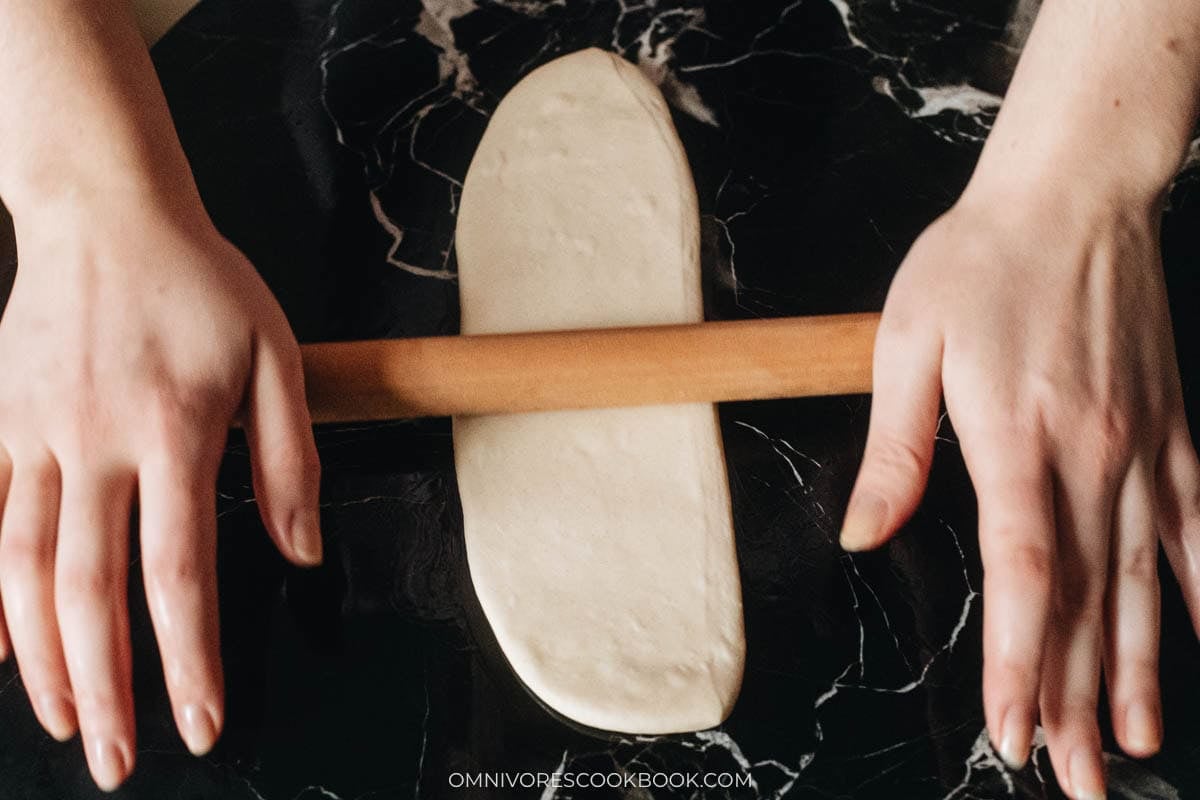
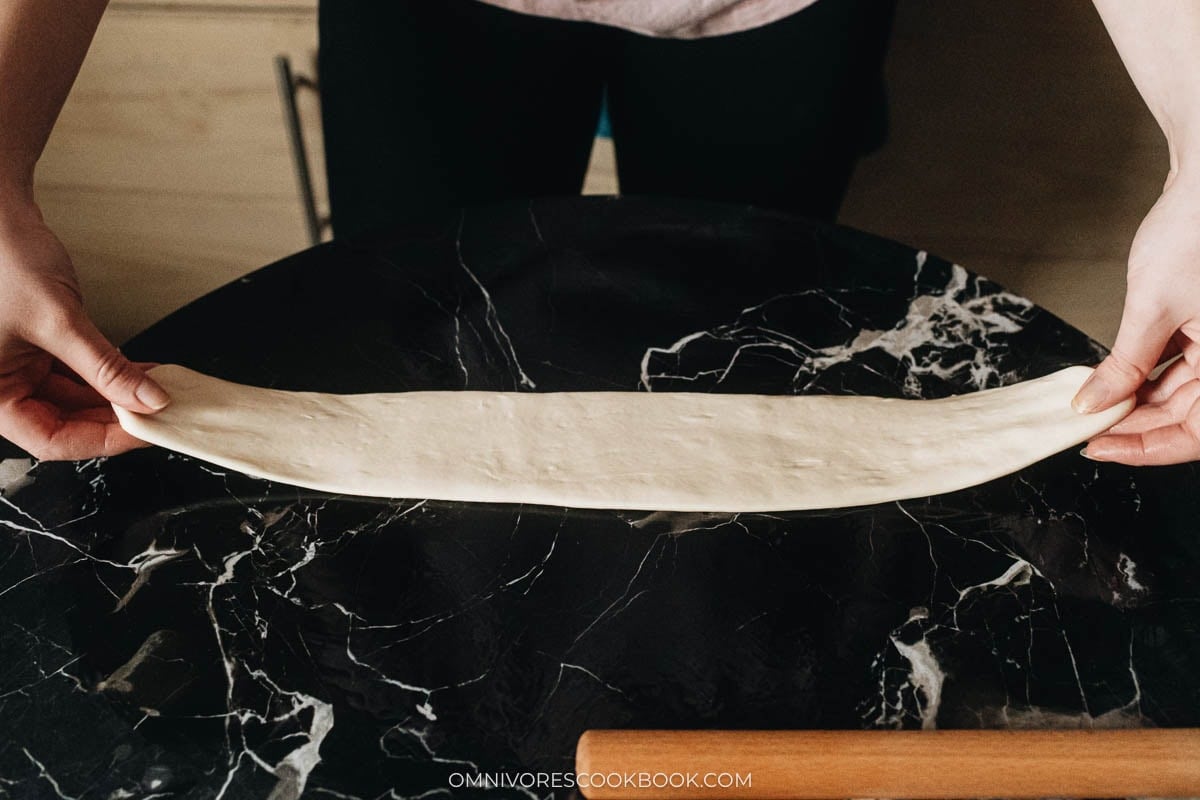
7. Roll and stretch the piece by hand into a long strip that is about 4 inches wide and 1/4 inch thick.
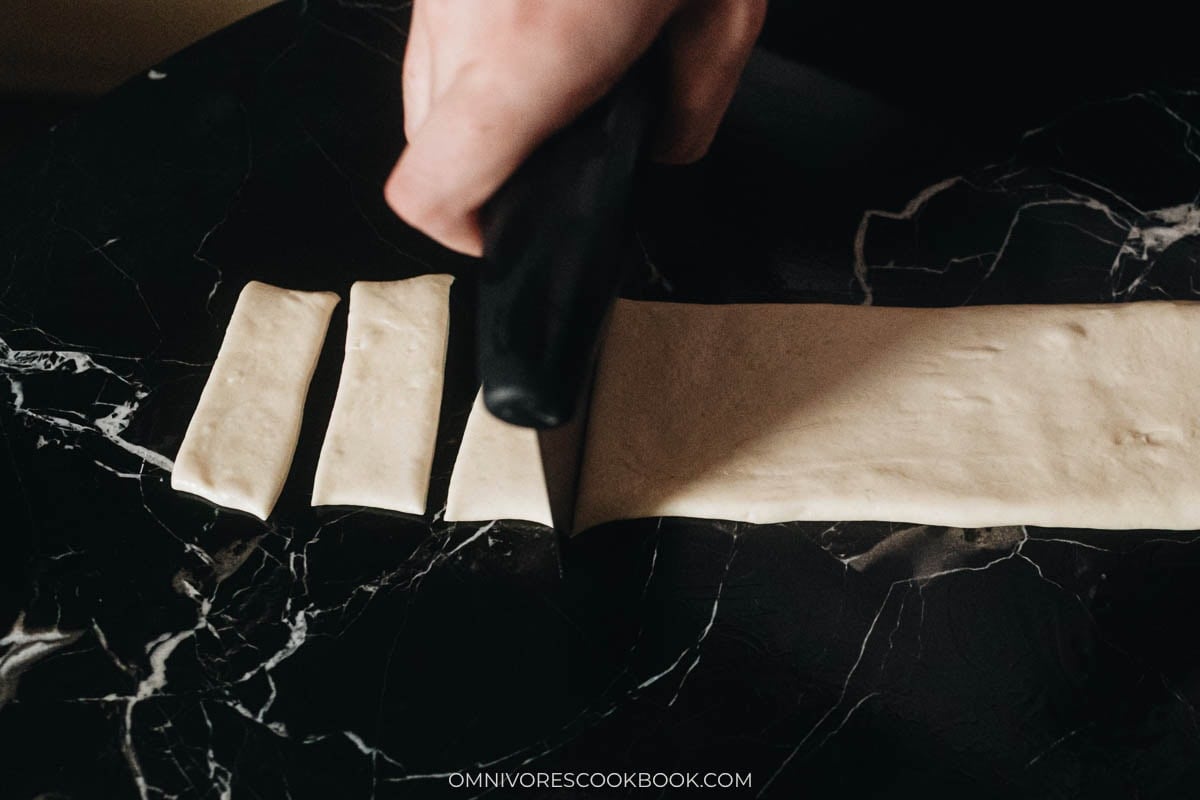
8. Divide into rectangles: Cut off the uneven ends so you have a clean rectangle, then cut across into strips that are 1 inch wide and 4 inches long.
9. Stack and press: Dip a skewer or the back of a knife into water, then press it lengthwise into the center of half of the strips to make a shallow groove.
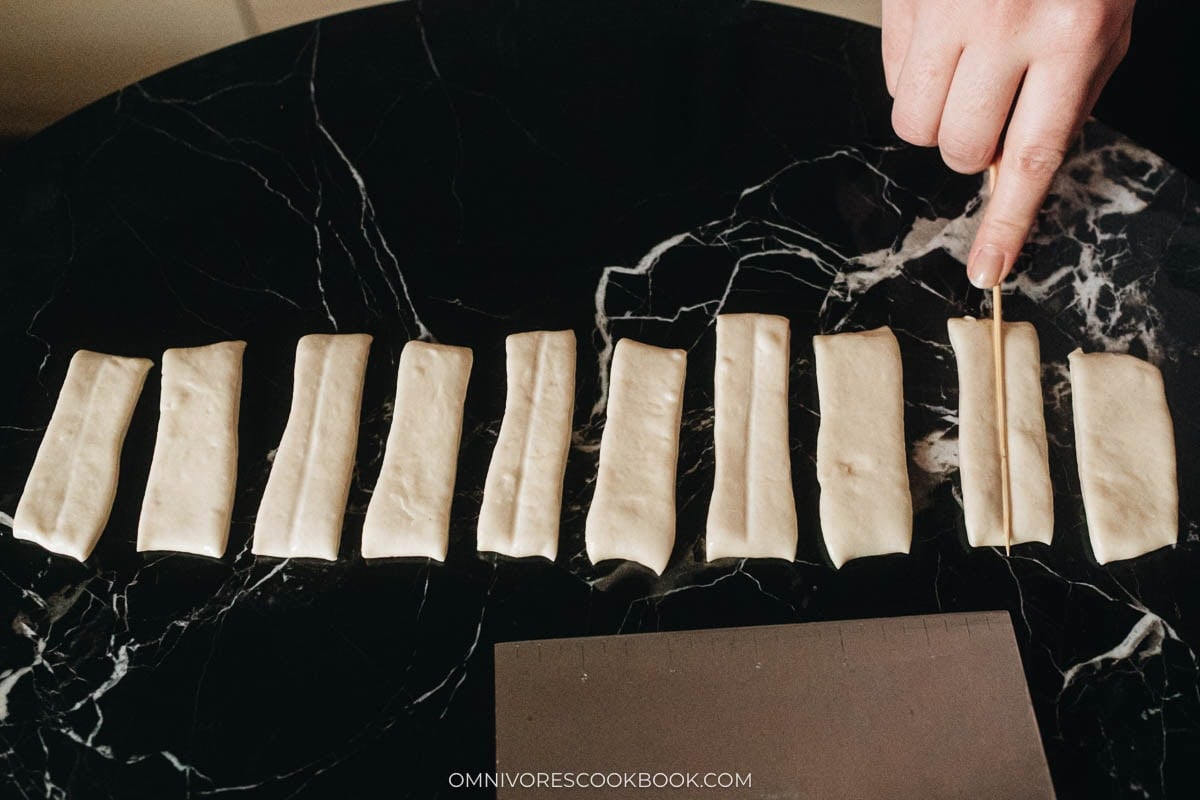
10. Topping: Place an unpressed strip on top of a pressed one
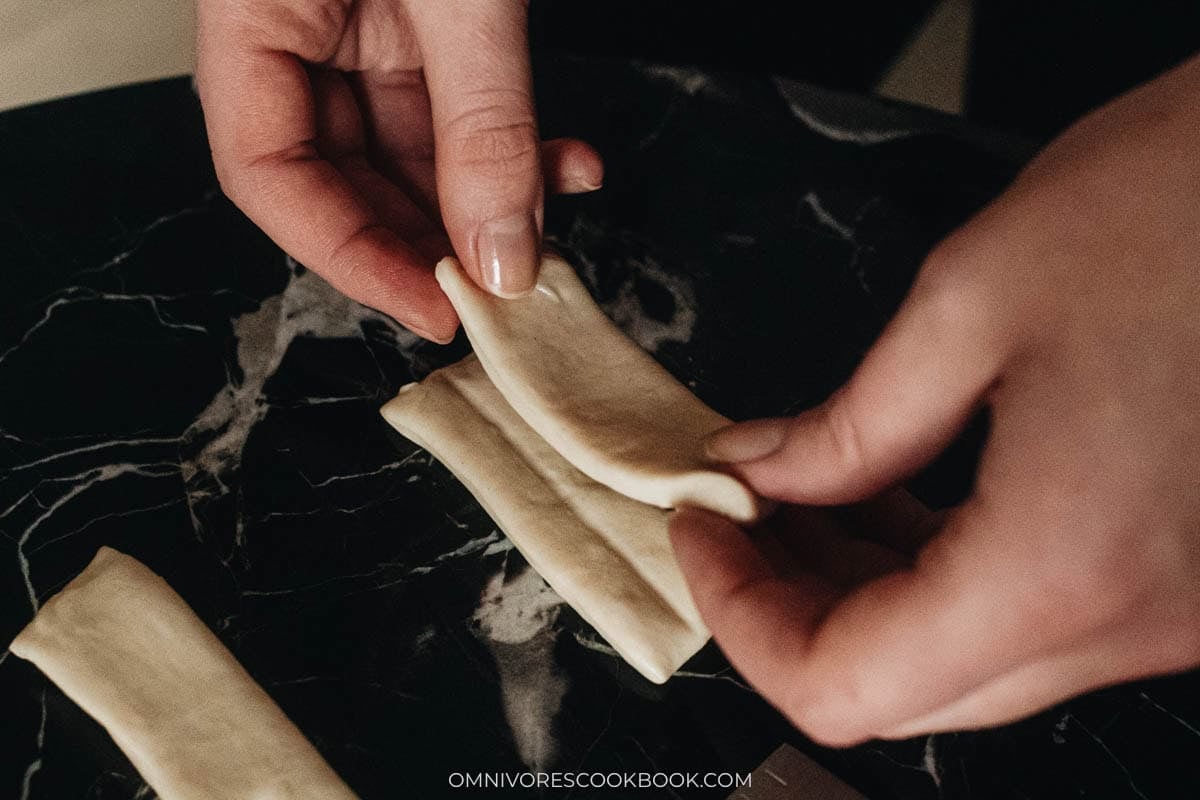
11. Press the skewer through the center of both together. The 2 pieces should stick to each other during the fry and pull apart in one motion once cooked.
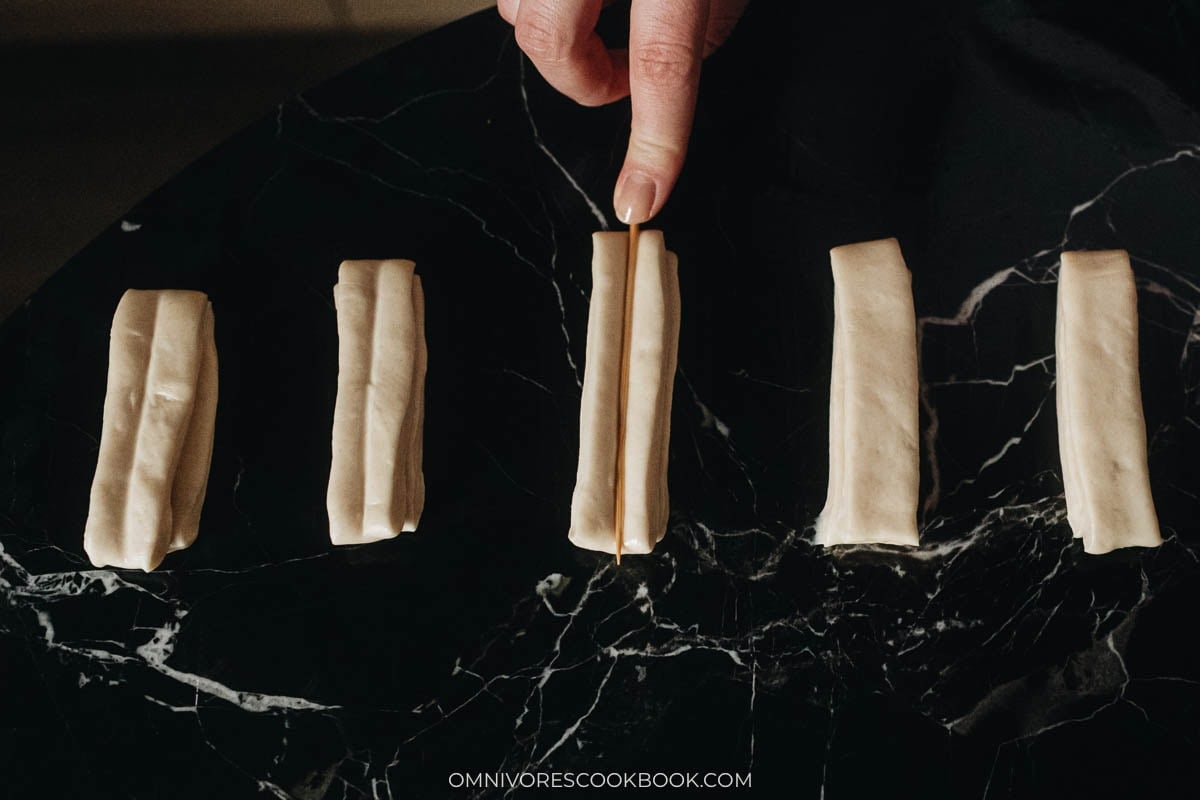
12. Stretch and work with 1 shaped strip at a time. Pinch both ends and pull the pair by hand into a thin long strip about 8 inches long, then lower it into the hot oil.
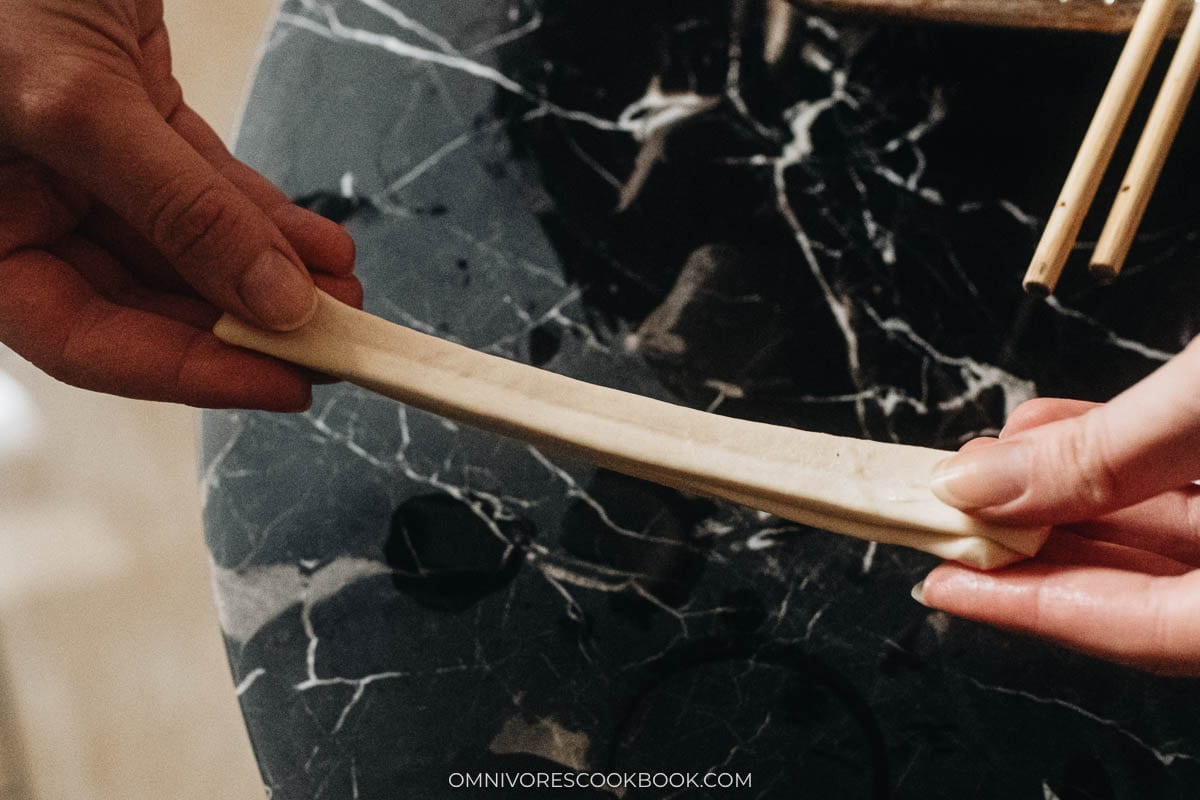
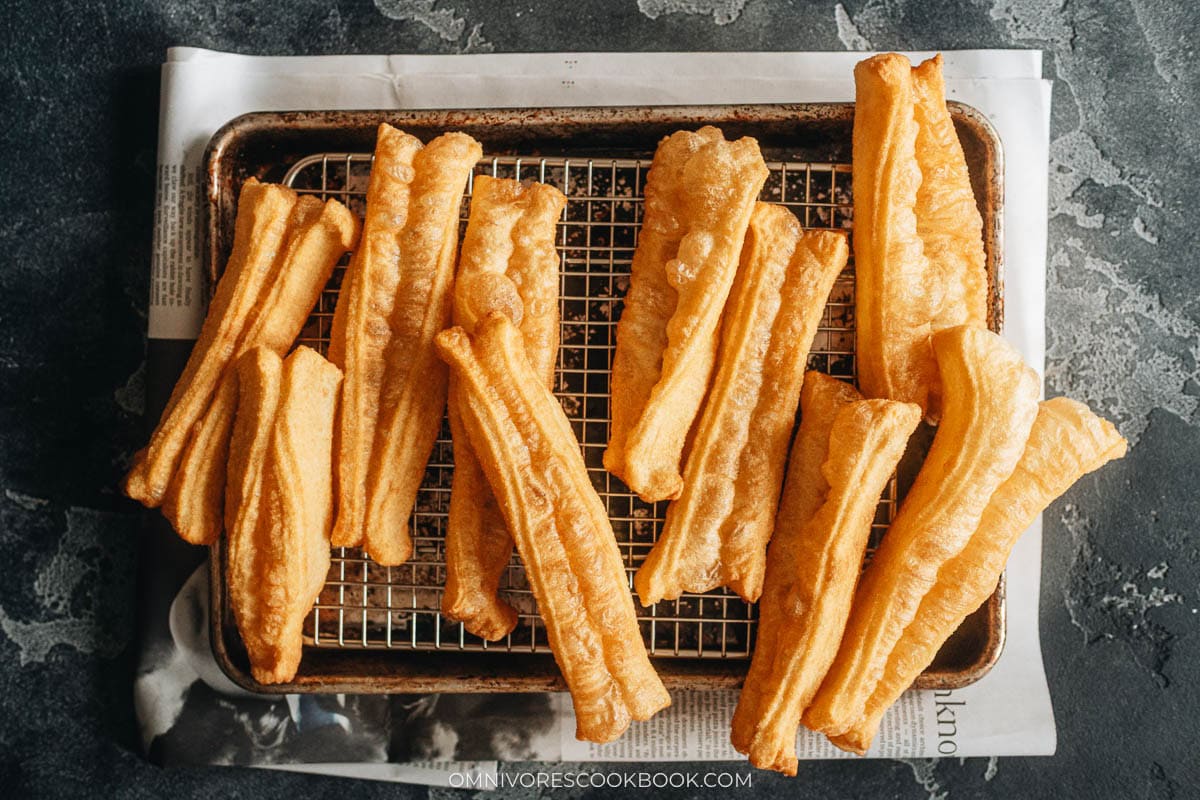
13. Time to fry: Fry 2 to 3 strips at a time, depending on the pot size, and cook each side for about 2 minutes until light golden for a soft-crispy texture or golden for an extra-crispy one. Be careful not over fry the dough, because the result will be tough and chewy instead of light and crispy.
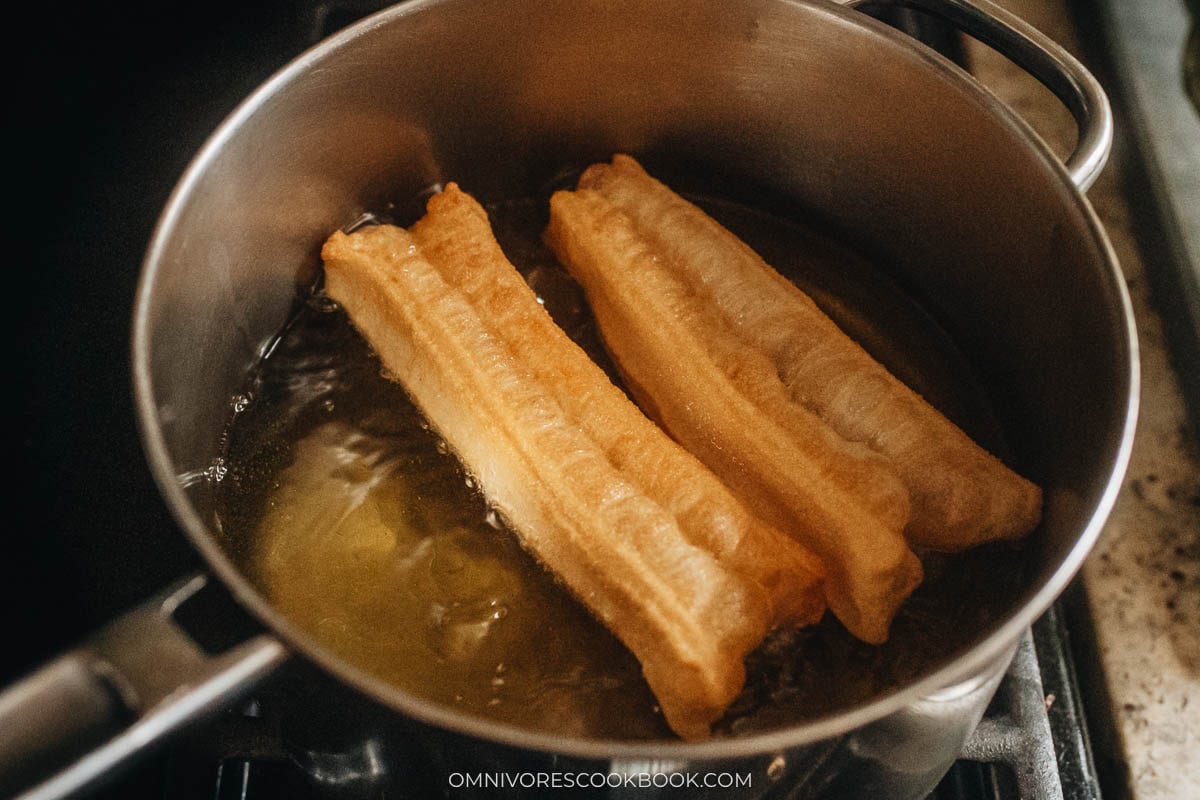
14. Drain and serve: Lift the fried You Tiao out with tongs, shake off the excess oil over the pot, and transfer to a cooling rack set over a baking sheet. Serve hot or warm.
My Cooking Tips
Keep the dough wet and sticky on purpose: The dough should look almost too wet to knead, and that is by design because a wetter dough puffs hollower and lighter during the fry. If you keep adding flour to make the dough easier to handle, the finished You Tiao will come out dense and chewy instead of airy.
Rest overnight in the fridge for the best texture: The 2 hour room-temperature rest works in a pinch, but an overnight fridge rest gives the leaveners more time to relax the dough and the finished donut a noticeably lighter crumb.
Weigh the flour if you have a scale: A cup of flour scooped from the bag is not the same as a cup lightly spooned in, and a small amount of extra flour is the difference between a light hollow donut and a dense one. I weigh out the flour whenever the scale is on the counter.
Do not press the paired strips too hard: The goal is to attach the 2 strips of dough so they fry together into 1 donut, but not so firmly that they cannot pull apart at the table. Press just deep enough for the strips to stick together, and skip the urge to seal them like a dumpling.
Watch the oil temperature the whole fry: A drop in oil temperature is the fastest way to a greasy heavy donut, so I set my thermometer in the pot and adjust the heat between batches. If the oil gets too hot the crust browns before the inside puffs, and if it is too cool the donut soaks up oil before the crust sets.
How to Serve
You Tiao belongs on the breakfast table, I tear a donut in half with my hands at the table and dunk one end into the bowl of milk until the crust softens just enough to bite, since the pleasure of You Tiao is as much about the dunking action as it is about the fry. When I want something heartier than soy milk, I break the donut into pieces and float them on top of a bowl of hot chicken congee or century egg congee so the fried crust takes on the porridge and softens into it.
A Beijing-style breakfast set up around You Tiao usually runs 3 or 4 dishes for a bigger table. I pair the donuts with a bowl of savory tofu pudding with warm gravy, a stack of hot scallion pancakes, and a small bowl of savory Chinese oatmeal. I admit that you’ll need to spend some time and effort to make this Chinese breakfast classic. But the result is so rewarding!
Frequently Asked Questions
Can I use a whole egg instead of just the egg white?
You can, but the texture will change. I tested both, and the whole egg gives a heavier crumb that is closer to a bread than to a street You Tiao, while the egg white on its own delivers the fluffy crispy texture I am after. I recommend the egg white for the closest match to the street-cart original.
Can I make You Tiao in an air fryer?
I do not recommend the air fryer for this recipe. The airy hollow texture depends on the hot oil hitting the dough from all sides at once, and an air fryer cannot deliver the same puff. If you want a fried donut this is the recipe to fry in a pot.
How long do these keep in the fridge and freezer?
Cooled You Tiao keep in a ziplock in the fridge for 2 to 3 days or in the freezer for up to 1 month, and the freezer is where I always store the leftovers because frozen donuts reheat closer to fresh than fridged ones. To reheat, bake in a 400 degree oven for 5 minutes from the fridge or 8 minutes from the freezer, until the crust crisps back up and the inside is hot all the way through.
Want to Save This Recipe?
Enter your email below & we’ll send it to your inbox. Plus get great new recipes from us every week!
You Tiao (Chinese Donuts) 油条
Ingredients
- 200 g (1 1/2 cups) all-purpose flour
- 115 g (1/2 cup) water , cool to room temperature
- 4 g (1 teaspoon) baking powder
- 2 g (1/2 teaspoon) baking soda
- 1 teaspoon kosher salt (or 1/2 teaspoon sea salt)
- 1 egg white
- Vegetable oil for deep-frying
Instructions
Prepare the dough
- Prepare a large bowl with a mesh strainer on top. Sift the flour into the bowl.
- Combine the water, baking powder, and baking soda in a small bowl. Stir to mix well.
- Add the water mixture, egg white and salt into the flour. Stir with a fork until a coarse dough forms.
- Knead the dough for 5 minutes. Cover the dough with plastic wrap and let it rest for 30 minutes.
2nd Rise
- On a clean working surface, knead the dough the second time for another 2 minutes. Cover it with plastic again and let it rest for at least 2 hours or overnight in the fridge (*See Footnote 1).
Make donuts (see the blog post above for step pictures)
- While heating the oil, prepare the donut dough: Divide the dough into two even pieces. Work on them one at a time.
- On a lightly oiled surface, roll the dough into a long strip. You can use your hands to hold both ends of the dough and stretch it gently so it’s easier to form a long shape. Once the dough is 4” (10 cm) wide and 1/4” (0.5 cm) thick, cut off both ends so it forms a rectangle.
- Cut across the rectangular sheet, making 1” (2.5 cm) width 4” (10 cm) rectangles.
- Dip a skewer or the back of a knife into water. Press it into the center of half of the rectangles. Place the unpressed strips on top of the the pressed strips and press into the center again, so the two pieces of dough are attached to each other. (*Footnote 2)
- Once the donuts are formed, let them rest for another 10 minutes.
Fry the donuts
- Heat a tall medium-sized pot or a wok with 3” (7 cm) of oil over medium heat until it reaches 375 °F (190 °C).
- Line a cooling rack on top of a baking sheet.
- Work on the donuts one at a time. Use your fingers to pinch the two ends, and gently stretch it into a thin long strip that is about 8” (20 cm) long. Then gently lower it into the oil. You can cook 2 to 3 donuts at a time, depending on the size of your pot.
- Cook each side for 2 minutes or so, until it turns light golden color for a soft crispy texture, or a golden color for a crispier texture. Do not over fry, which result in chewy and tough you tiao.
- Use a pair of tongs to remove the donuts from the oil, gently shake off the excess oil, then transfer them onto the cooling rack.
- Enjoy the donuts while they’re hot or warm.
Store
- To store the leftover donuts, wait until they cool down completely, then transfer them into a ziplock bag. Store them in the fridge for 2 to 3 days or in the freezer for up to a month.
- To reheat the donuts, preheat the oven to 400 °F (200 °C). Place the donuts on a baking tray and bake until heated through, 5 minutes for refrigerated or 8 minutes for frozen donuts.
Notes
- We found that the flavor and the texture of the donuts will be slightly better if the dough rests in the fridge overnight. However, 2 hours’ resting works well enough.
- The goal is to attach the two pieces of dough to fry them together. But the dough shouldn’t be pressed too much, because you also want to be able to easily separate them after frying.
Nutrition

Did you make this recipe?
I’d love to hear how it turned out for you! Please take a moment to leave a 5-star rating ⭐️ and share your thoughts in the comments further down the page. It really helps others discover the recipe too.
Sathya Kuy
I followed the recipe gram by gram put 6g of salt without questioning it and I ended up eating fried salt bread for dinner
Emily
i didnt try it yet, but can i make this in the air fryer?
Maggie Zhu
I’m afraid this one won’t work in the air fryer.
Tang
Hi Maggie, how long can it rest in the fridge for? I made some dough yesterday, and it’s been in the fridge but I don’t have time to make it today. Is it alright to leave it in the fridge and make them tommorow?
Maggie Zhu
I’ve never tried refrigerate this one for two days but I think it should work.
Wennie K
Hi, I tried this recipe 2x and both yielded very wet and sticky dough which I needed to add so much extra flour to make it pilable. Is it meant to be wet and sticky? Or what went wrong? I tried second thinking perhaps I made a mistake first time round but I got the same sticky and wet dough. Nevertheless, with the additional flour, I still managed to make yummy chewy youtiao.
Maggie Zhu
Yeah the dough is left quite wet intentionally so the you tiao texture will be fluffier after frying. That being said, the dough might be borderline too wet depending on the brand of flour you use. Glad to hear it still worked with the extra flour.
ElColadorChino
Stunning recipe! I tried to do it but I failed with that dough. I think quantities in grams are incorrect compared to “cups”. For example (6 units): 1,5 cup of flour and 0,5 (aprox) cup of water (so, x3 times) is not 100 gr of flour and 56 of water (less than x2)
Kristina P
These turned out great, thank you, Maggie! It did take time but largely unattended. I didn’t see any significant “rise” in either of the two resting stages, but they did indeed puff up nicely when fried. Another great recipe, will share and make this again.
MY
Hello Maggi, your site looks delicious. Have pinned a few recipes to try out this weekend, I do have 1 comment and 1 question. The 1-1/4 tsp of salt on the ingredients list is not mention in your dough prepping . Question…can I combine H2O ,B/P, B/S, salt n egg white together…or do I need to separately mix them in the flour?
Maggie
Thanks for noticing it! I just added the salt to the instructions. Re your question, the water helps activate the baking soda and baking powder so I wouldn’t mix it with the salt and eggs.
alex
i couldn’t find any baking powder in the supermarket nearby and was wondering if substitutes would work for this recipe. what substitutes can i use to make up for not using baking powder?
Maggie
Hi Alex, I think you might able to use baking soda with certain amount of vinegar (the vinegar will neutralize the alkaline), but the vinegar might mess up the dough texture, so you need to slightly increase the wheat flour amount. I’m afraid I cannot provide a more clear answer without testing the recipe.
Sophie
Hi Maggie, your recipe was great. I just wanted to let you know that reheating oil can be carcinogenic and so to be on the safe side, I always get rid of my oil after cooking instead of keeping it to use again. I know it can be very wasteful, but it’s better to be safe than sorry 🙂 here are some links about it if you would like extra information:
https://consumer.healthday.com/vitamins-and-nutrition-information-27/food-and-nutrition-news-316/reheating-vegetable-oil-releases-toxin-study-525569.html
and
https://www.sciencedaily.com/releases/2012/02/120222093508.htm
Thanks for your recipe!
Amy
Hi Maggie, I am Amy and trying to do Yao Tiao. Is there any difference if we use 1 egg instead of 1 egg white. Please explain.
Maggie
Hi Amy, it will slightly change the texture. We tested different dough and the one using egg white is more fluffy crispy, the texture we like the most.
Becca
Hi Maggie, would I use a stand mixer to make the dough? Thanks.
Maggie
Hi Becca, you can use a stand mixer. I didn’t because the dough is super easy to put together and it doesn’t require a lot of kneading. Happy cooking!
JACQUES
Dear Maggie, I love all your recipes and enjoy many of them
Concerning deepfrying oil in your doughnut recipes, what I do,is once the oil is cool,I use a paint Filter to strain it in a glass jar
that I keep in the refrigerator and that way, I can use it several times to deepfry other delicaticies
LOVE YOUR RECIPES