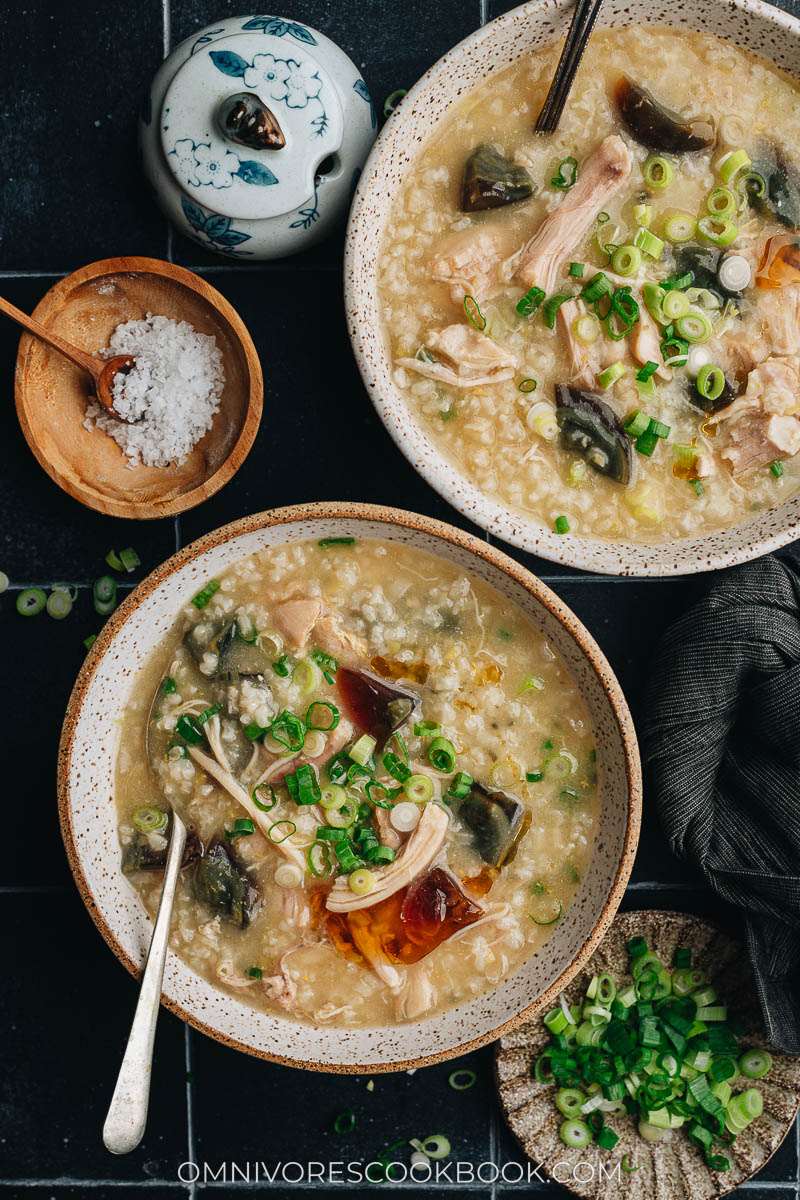
Century egg congee, or 皮蛋瘦肉粥 (Pi Dan Shou Rou Zhou), is one of the most comforting authentic Chinese soup recipes I have enjoyed since I was very young. My mom would usually cook plain congee or millet congee for everyday dinners. But once in a while when she had extra time, she would cook the century egg congee for me as a treat.
Why this recipe
To cook the traditional century egg congee, you need to simmer the congee on the stovetop until the grains are tender, then add the sliced marinated pork and the century eggs to finish it up. It requires quite a bit of prep and hands-on cooking, because you will need to monitor the congee and stir it frequently.
When I cook it at home, I use a much more laid back approach using the Instant Pot (or pressure cooker). I also use chicken instead of pork, because it simplifies the cooking by skipping the cutting and marinating, and it tastes great. By using the Instant Pot, the grains will release more starch during cooking so you get extra silky and creamy congee. The chicken will be fork-tender so that it pretty much falls apart when you stir up the congee.
You only need 5 minutes to put everything together and the result is so good!
Century egg congee ingredients
Between packing up and settling into my new home, I’m super behind on recipe development and have somehow been craving comfort food like crazy. That’s why I want to share my favorite dish from when I was growing up.
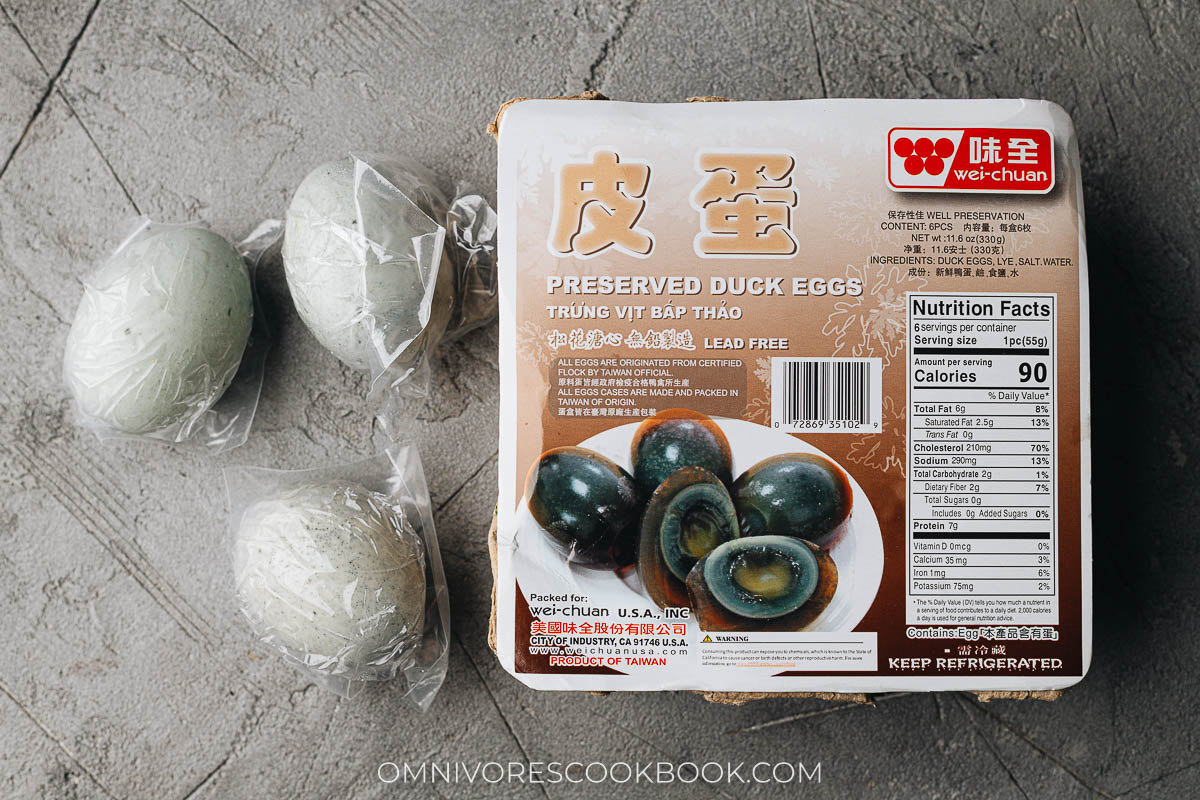
1. Century egg
The century egg (皮蛋), or thousand-year egg, is a duck egg preserved in a mixture of clay, ash, salt, quicklime, and rice hulls for several months. During the curing process, the yolk turns grayish dark green with a creamy consistency. The white of the egg becomes a dark brown translucent jelly with a salty taste. The eggs have a strong savory umami that’s similar to aged cheese.
In Chinese cooking, we use it to make century egg congee or make it into a cold appetizer.
You can easily find them at Chinese markets. My favorite brand is Wei-Chuan. You can even find them on Amazon these days.

2. Chicken vs. pork
Growing up in northern China, most of the century egg congee I had was made with pork strips. However, I really love the version served at Jin Ding Xuan (金鼎轩), a famous Cantonese dim sum chain that I used to visit frequently. Their congee is made with shredded chicken instead. I decided to make the chicken version for this recipe. It’s easier to make than the pork version and I love the taste.
If you prefer the pork version, what you can do is cook the congee first. Then use the method documented in my hot and sour soup recipe to add the pork at the end of cooking.
3. What type of rice to use
To make a very creamy congee, you should use short grain white rice. It creates a much creamier texture than other types of rice. Medium grain works as well, but the congee will be a bit thinner. I would avoid long grain rice.
4. Toppings
In China many restaurants add crispy fried chips (made from wheat flour) on top of their century egg congee. It adds such a great texture. To recreate those chips, you can bake some wonton wrappers until crispy and break them apart to top onto the congee. Check out my previous post on how to bake the wonton wrappers (you don’t need to make them into a cup shape; simply using a baking sheet is enough).
Of course, you can totally skip these chips and the result of the congee will still be super tasty.
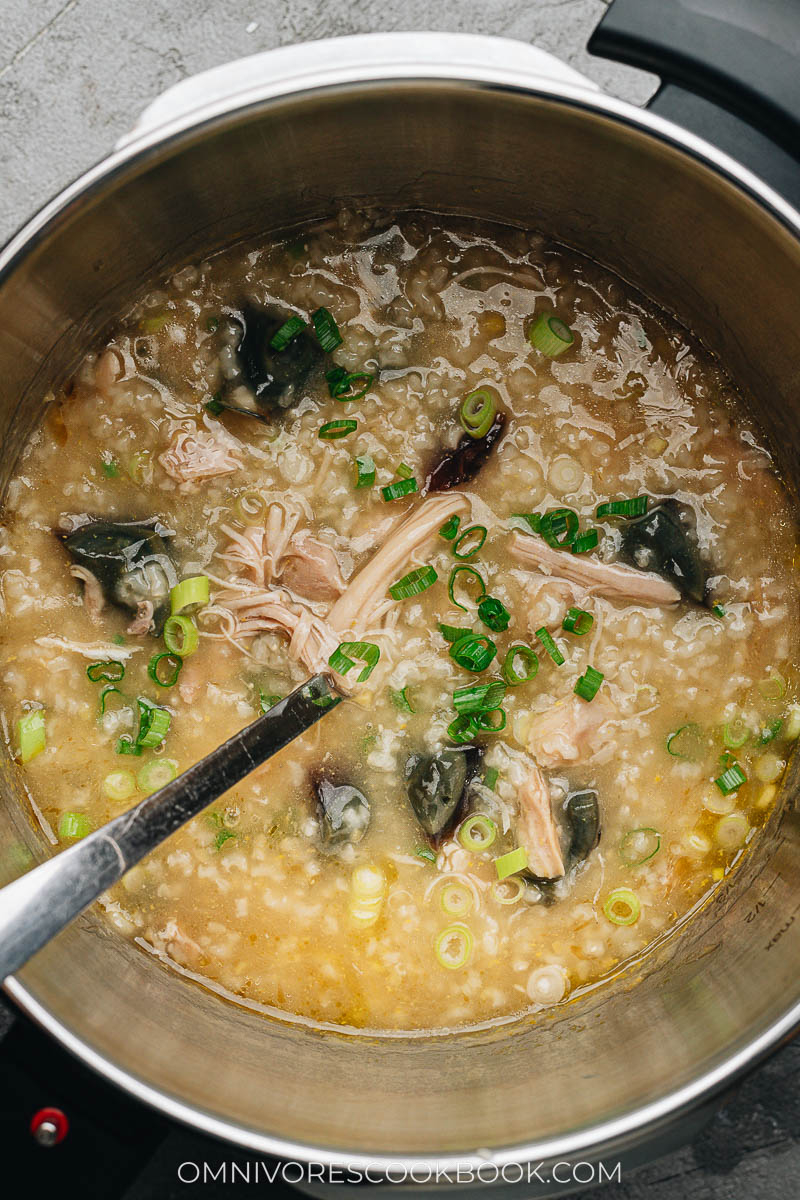
How to cook century egg congee
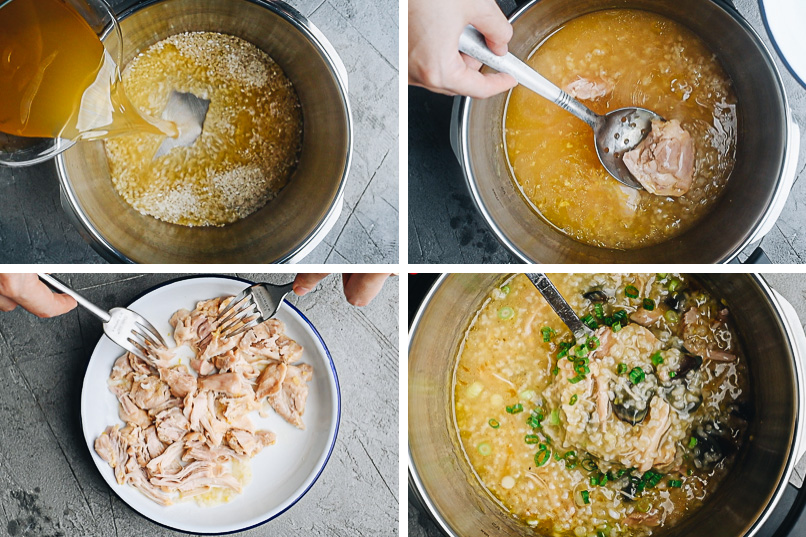
Cooking century egg congee in the Instant pot is super easy.
- Add the rice, chicken broth and seasonings
- Cook at high pressure for 15 minutes
- Shred the chicken (the chicken will be so tender that you can easily shred it in the pot)
- Add the century egg and green onion
The reason I love this century egg congee recipe is that it requires very little active cooking time. Unlike the pork version, which requires you to cut and marinate the meat, the chicken version doesn’t require any of that prep work. You can even use frozen chicken without defrosting it.
I hope you enjoy the dish as much as I do.
More traditional Chinese comfort food
- Scallion Pancakes
- Chinese Sliced Tofu Salad
- Chinese 4-Ingredient Fried Cabbage
- Mom’s Best Braised Pork Ribs
- Moo Shu Vegetables
Want to Save This Recipe?
Enter your email below & we’ll send it to your inbox. Plus get great new recipes from us every week!
Watch video

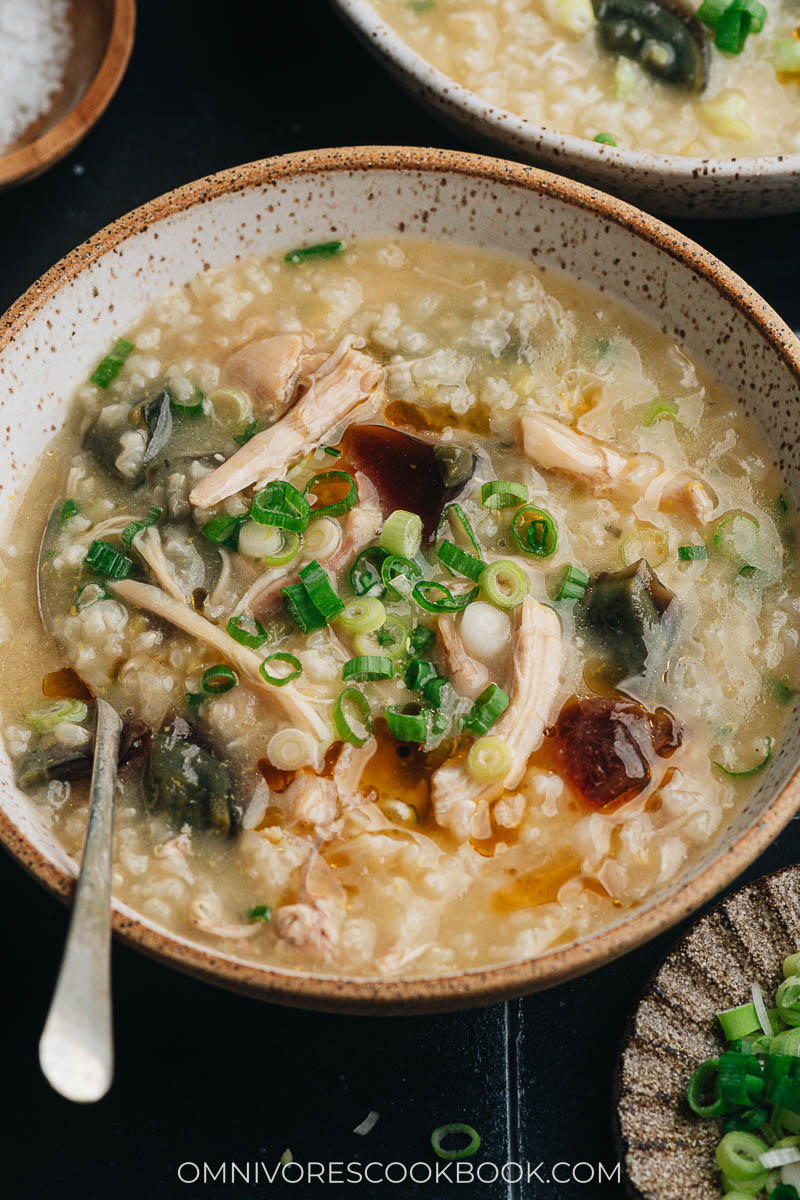
Century Egg Congee with Chicken (皮蛋瘦肉粥)
Ingredients
- 1/2 cup (120 ml) uncooked short grain white rice (or medium grain)
- 4 cups chicken broth (*Footnote 1)
- 2 (about 10 oz. / 300 g) chicken thighs , frozen cuts work, too, if using Instant Pot
- 1 tablespoon Shaoxing wine (or dry sherry)
- 2 teaspoons ginger , finely minced
- 2 century eggs , diced
- 2 green onions , thinly sliced
- 1/4 teaspoon salt , or to taste
- 1 teaspoon toasted sesame oil
- Fried wonton wrapper , for topping (*Footnote 2) (Optional)
Instructions
- Add the rice into a medium-sized bowl and water to cover. Gently rinse the rice a few times with your fingers and drain. Repeat one to two more times. Drain well.
Method 1 – Use an Instant Pot
- Combine the rice, stock, chicken, Shaoxing wine, and ginger in your Instant Pot. Set it to cook at high pressure for 15 minutes. If using a pressure cooker, cook over medium heat until pressure is added, then cook at low heat for 15 minutes. Once done, release the pressure naturally for at least 10 minutes before releasing it quickly. Note, do not use fast release right after cooking, because the congee is starchy and might cause the valve to clog.
- Once the pressure is released, uncover the pot, remove the chicken and place it onto a plate. Shred it with two forks.
- Add the century eggs, green onion, sesame oil (if using), and the shredded chicken to the pot. Stir to mix well. Taste the congee and add salt if needed.
Method 2 – Stovetop method
- Combine the rice, stock, Shaoxing wine, ginger, and 2 cups of water in a big pot.
- Cook over medium-high heat until brought to a simmer. Turn to low heat. Cover the pot and leave a finger-wide gap between the lid and the edge of the pot, to allow more steam to escape and prevent the congee from spilling or boiling over. Simmer for 25 minutes.
- Add the chicken. Cook for another 15 minutes. Remove the chicken breast and place it onto a plate.
- If the congee has reached the desired texture when the chicken is done, turn off the heat. Transfer the chicken to a plate and shred it with two forks. If you want a stickier and thicker congee, remove the chicken first, then keep cooking the congee for another 15 to 20 minutes. Note, the congee will get quite thick and sticky towards the end. Stay near the pot and stir frequently.
- When the congee reaches the desired texture, add back the shredded chicken. Add the century eggs, green onion, and sesame oil (if using) to the pot. Stir to mix well. Taste the congee and add salt to taste if needed.
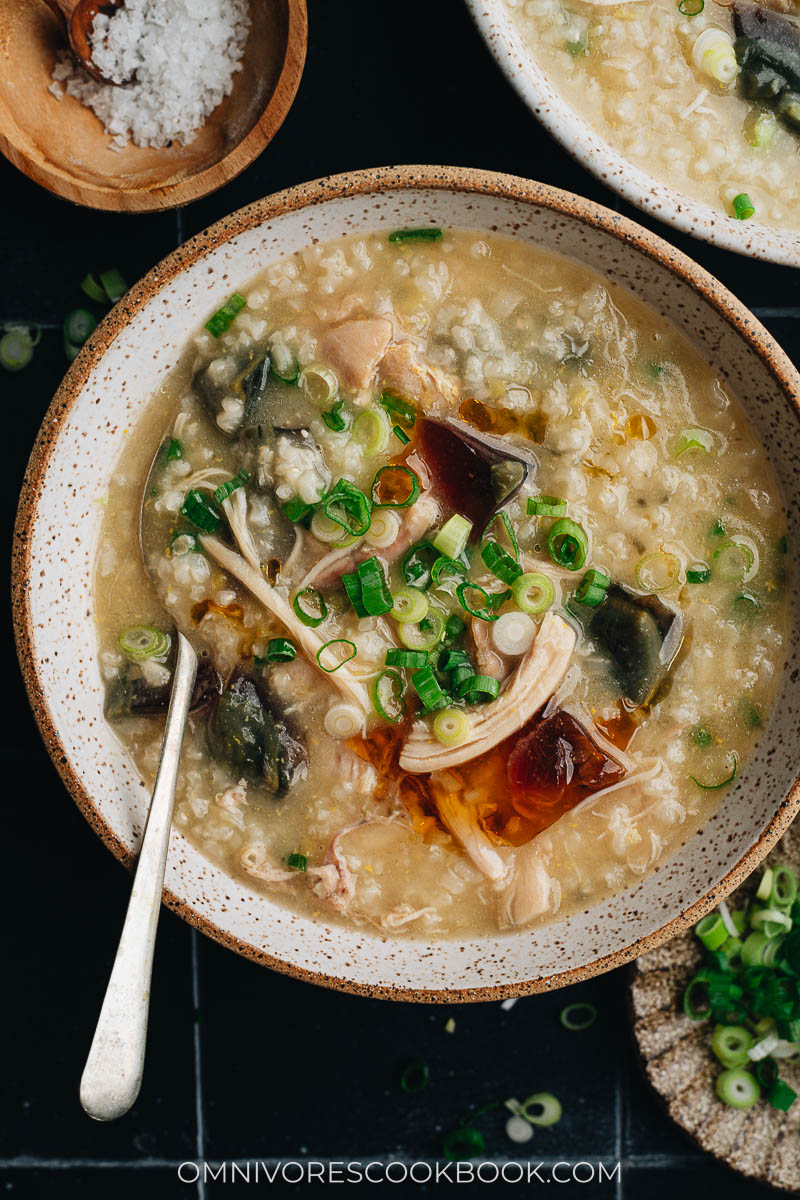
To serve
- Transfer the congee into small bowls. Top it with a spoonful of fried wonton wrapper chips, if using. Serve hot.
Notes
- If you cook the dish on the stovetop, you might need a bit more chicken stock or water, depending on how much liquid evaporates during the cooking process.
- Frozen chicken only works in the pressure cooker. You should not use frozen chicken if cooking on the stovetop, because the chicken won’t be cooked evenly.
Nutrition

Did you make this recipe?
I’d love to hear how it turned out for you! Please take a moment to leave a 5-star rating ⭐️ and share your thoughts in the comments further down the page. It really helps others discover the recipe too.
The blog post was published on March 17, 2019 and updated on Sep 10, 2022 with new photos and video.
Dee
Do you have a way to modify for rice cooker?
Maggie Zhu
This recipe uses 120 ml rice, which is about 3/4 of a rice cup (rice cup is 180 ml). So you should measure the same amount of rice, then add the chicken stock until it reaches the middle of 0.5 cup to 1 cup. Then add the chicken, wine and ginger. Set the rice cooker to cook on porridge mode. Then add the century egg, green onion and sesame oil once done.
AliceK
I bought the century eggs on your recommendation. They were about $5 for a package of 6 eggs. I was scared to death to try one! But they really aren’t as pungent as you say. The whites turn a beautiful clear amber, and don’t have much flavor at all. The yolks are a grey-green, and have a definite egg taste, with a little funk from the fermentation. Not nearly as strong as blue cheese. However, I am not sure they added much to the congee. The rest of the recipe was delicious. I added a small spoonful of chili crisp.
Michelle
do you still add ginger and shaoxing wine in the stovetop method?
Maggie Zhu
Yes I do.
Pearl
When do we add the ginger and wine in the stovetop method? These ingredients are not discussed in the stovetop method recipe.
Maggie Zhu
You can add both at the beginning of the cooking, when you add the rice and water to the pot.
Michelle
It’s not in the stovetop steps. Not sure if it’s intentional. BTW I love this recipe and make it all the time!
Maggie Zhu
That was a typo! I’m sorry. I just updated the recipe so now it includes the wine. I’m glad to hear that you enjoy the recipe 🙂
Nicole R
This was my first time eating either congee or century eggs, but it was all delicious! Will be enjoying more of both.
Jana Fong
This was so yummy! I used everything except the sesame oil. I did not have enough to toast it so I just put a few drops of oyster sauce on top as well and it was delish! Loved the fried scallions.
Ponceus
What role are the minced ginger for?
Maggie Zhu
The ginger adds a lot of aroma to the congee and it’s an important part of the flavor profile.
May
Hi Maggie! Your recipe calls for 5 cups of chicken stock. In the stove top version, your direction says to combine rice, stock and 2 cups of water. Does this mean it’s 1/2 cup of rice with total 7 cups of liquid in the pot? Thanks for your time in advance!
Maggie Zhu
Yes, it is 5 cups stock + 2 cups water (you can use all stock as well if you prefer).
The rice will expand and add thickness by a lot, so it needs a lot of liquid. I also personally prefer a slightly thin congee (much thinner than the average creamy oatmeal texture). If you are unsure about the texture you prefer, you can always start with 1 cup less liquid. And add it later (when you add the perserved eggs), to tweak the texture.
Kristine
Hi Maggie ,
I wanna make this for my 1 yr old so I don’t wanna use stock in it due to salt content. Am I able to swap it out for water and increase something else instead for taste ?
Maggie Zhu
I wouldn’t recommend giving the century eggs to small children (although one bite should be OK). The way it’s made, it contains chemicals that might harm small children because they absorb them faster.
That being said, you can totally use low sodium stock or water. I use water to make this dish too but I always add chicken bouillon and chopped pickles to add taste (kinda defeat the purpose if you try to lower the sodium). For adding taste without adding too much sodium, homemade chicken stock (no salt added) might be the best option.
Selina
Hi Maggie!
I just got my hand on a pack of century eggs and can’t wait to try this recipe out. I have a question though. Are century eggs safe to be consumed by very young children (my eldest is 2y9m)? Thank you in advance!
Maggie
I wouldn’t recommend giving the century eggs to small children (although one bite should be OK). The way it’s made, it contains chemicals that might harm small children because they absorb them faster. I’ve been eating century eggs since I can remember but my mom always told me to not over eat them. I love century eggs too much and I can eat them like popcorns, but I try not to finish up a carton at a time because what my mom told me 🙂
Selina
Thanks for your reply and advice! I made this porridge the other day and it was the best porridge I’ve eaten since I moved to Japan few years ago.
Andy
I love congee but can do without the century egg. Stove top pressure cooker works well too. So quick. I also put the frozen chicken in because on a cold night after work I’m too lazy to defrost it and cut it up. It works great. I wish I’d seen this recipe years ago.
TheMrs
Have been fantasizing about century egg congee for a while. You are a godsend to a Singaporean Chinese who’s been residing in the UK for 5 years and Australia for 20 years prior. Finally managed to locate my eggs and have found myself here at your website cos your preparations, recipes and ingredients are always accessible and authentic; it hits the spot for me the need for comfort food arises.
Mucho thanks, as always! Keep the creative juices flowing!😋
Barry chow
I use rotisserie chicken. My favorite breakfast!! Great recipe!
Bee
I just made this and it’s delicious! I had a look in the asian grocery for the crispy bits too, but no luck. The fried shallots work well though. Thanks for the recipe!
Kylee from Kylee Cooks
This looks so good!
Rose Mary George
This looks delicious!