
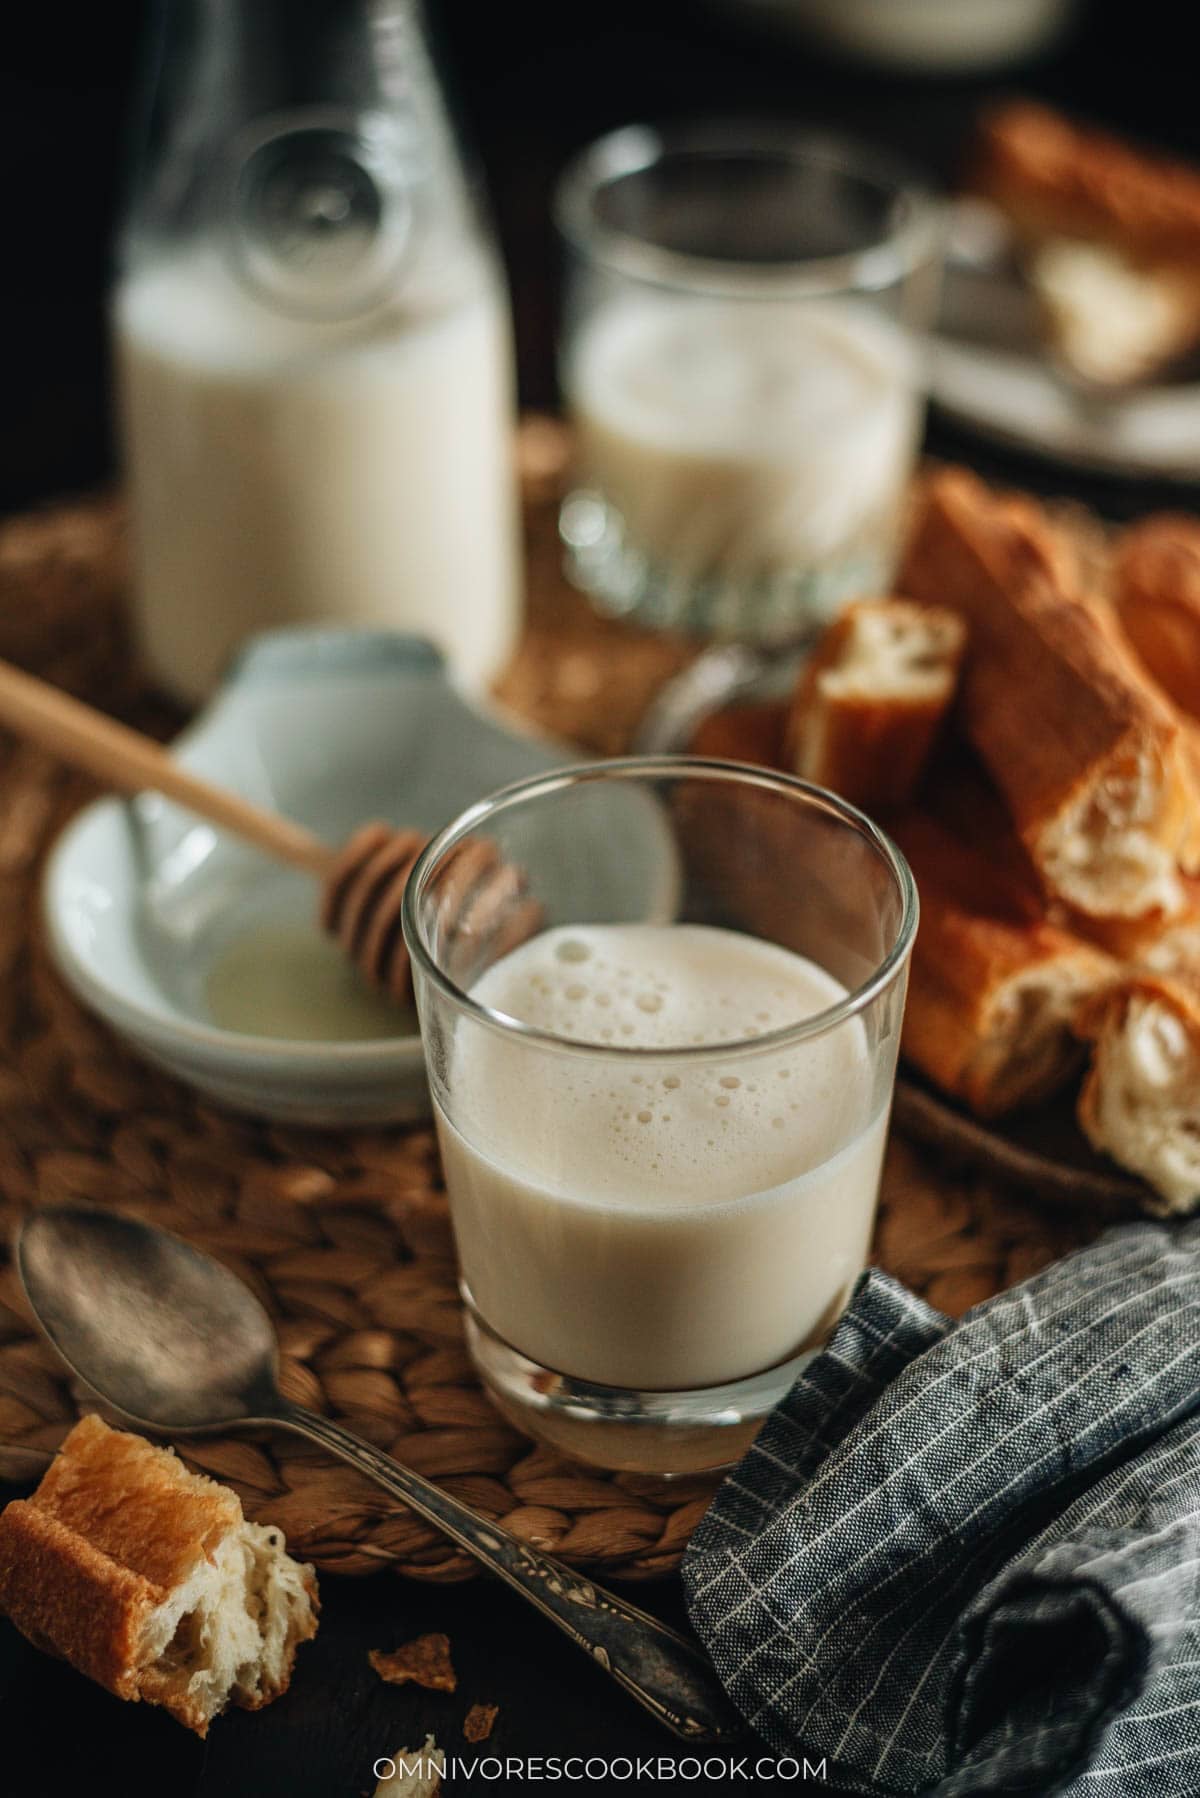
Soy milk is a morning drink that Chinese families have loved for generations. In Beijing it shows up next to fried dough sticks (油条) as the classic all-day breakfast pairing, and one of the most famous breakfast chains, Yung Ho Dou Jiang, even has soy milk in its name.
After I moved from Beijing to the US, the breakfast is the thing I missed most. In my parents home the soy milk maker sat right next to the rice cooker, and my mom ran it 2 to 3 times a week for fresh soy and multi-grain milk. I switched to boxed soy milk here for a while, until I left an open carton in the fridge for over a month and it still tasted fine, which told me exactly how much was in it that should not be.
That was when I went back to making my own. It costs me about $1 a gallon, roughly 8 times cheaper than the cartons, with no additives or chemical sweeteners in the jar.
I make this with a Joyoung Soy Milk Maker, the same brand my mom uses. I measure the beans, add filtered water to the mark, press one button, and 30 minutes later I strain the milk through the fine mesh. If you drink plant based milk most days, the machine below is the reason I make my own instead of buying it.
Ingredients
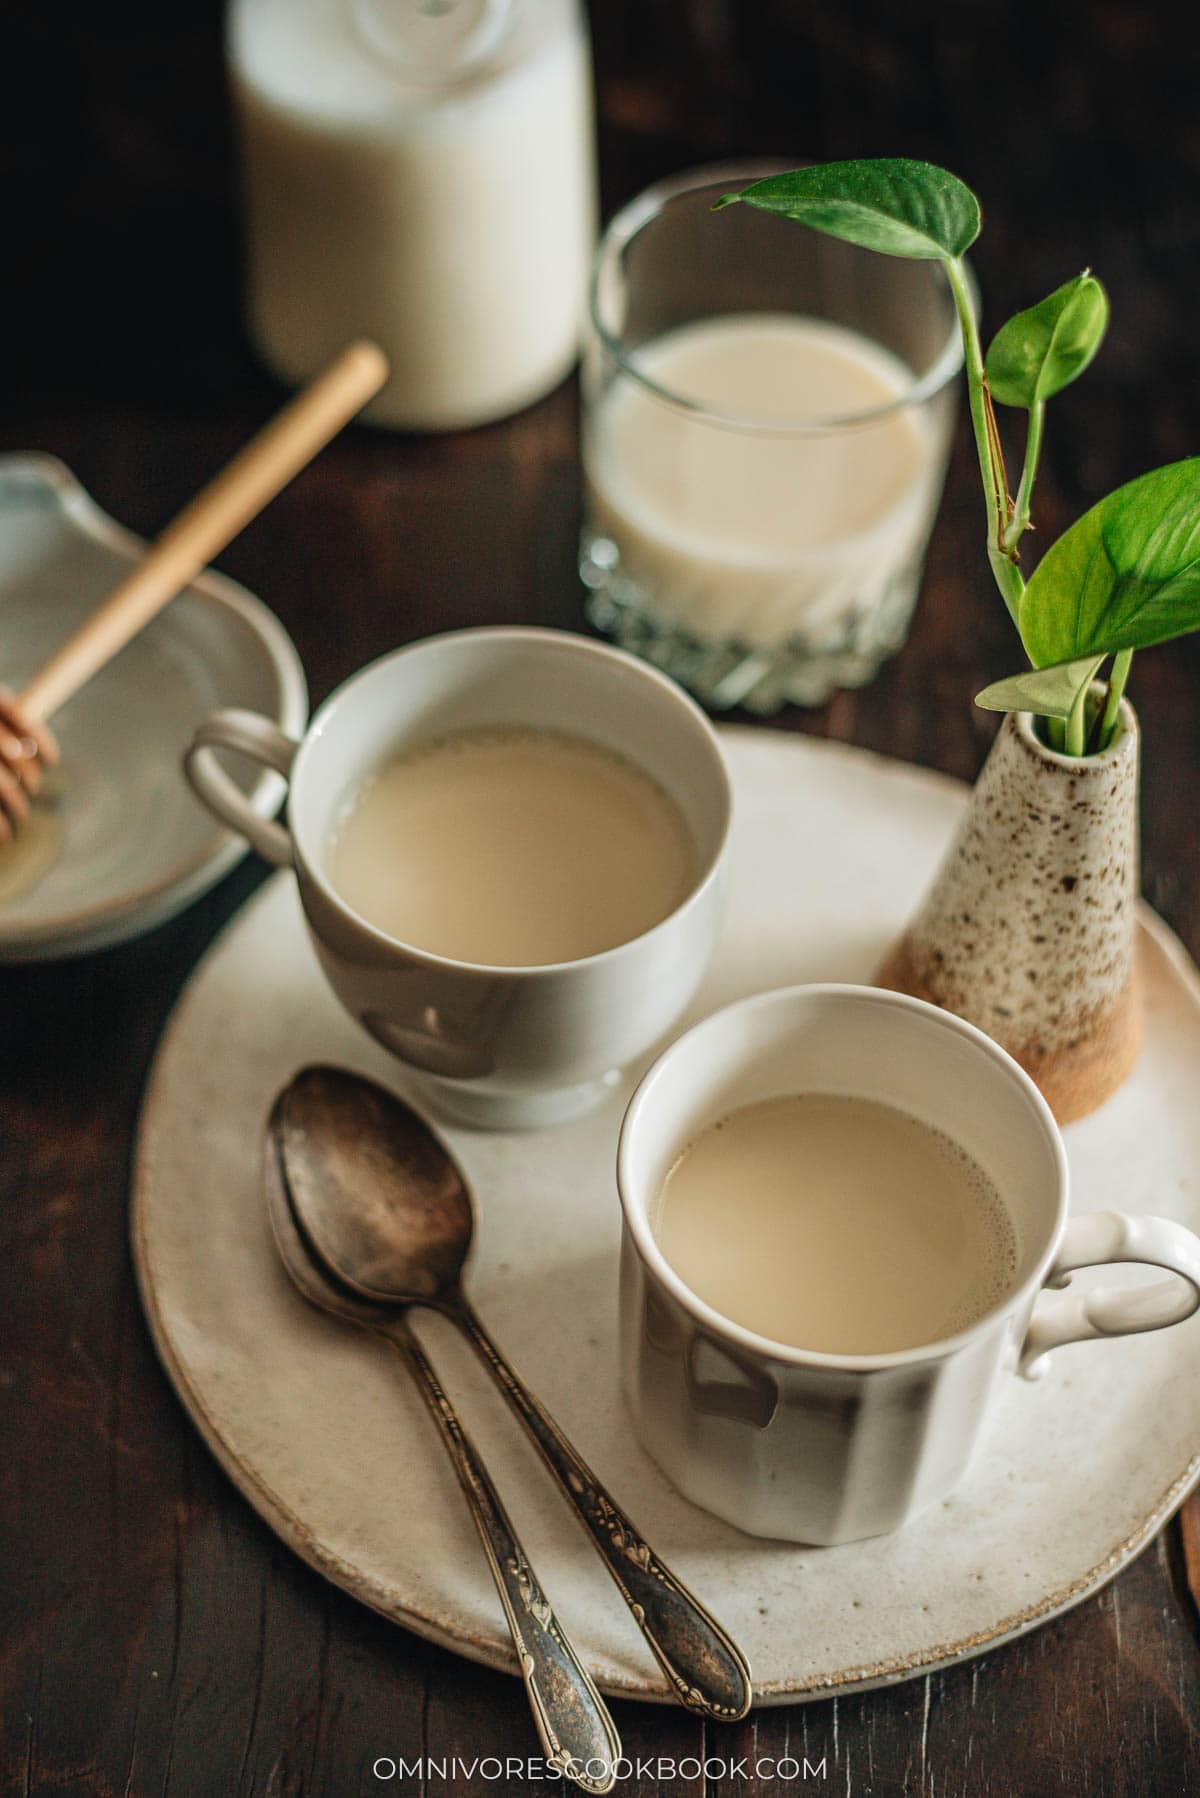
I keep this list to 3 key ingredients, and only the soy beans and water do any work in the machine. The syrup is a finish, not a requirement. Here is what I use:
Dried soy beans. I measure them with the little cup that comes with the machine so the ratio is always right. I rinse them once or twice to wash off surface dust before they go in.
Filtered water. I use filtered water rather than straight tap because the milk tastes cleaner and the flavor of the beans comes through better.
Sugar, honey, or maple syrup. I sweeten at the glass, not in the pot, so I can pour some plain and some sweet from the same batch. A drop or 2 of vanilla extract also softens the bean flavor if it tastes too strong for you.
How to Make Soy Milk with a Soy Milk Maker
1. Measure and rinse the beans: Use the soy bean cup that comes with the machine to measure the dried soy beans into a bowl. Rinse with tap water 1 to 2 times to remove surface dust, then drain.
2. Soak, or do not: For the smoothest milk, cover the beans with water at least 1 inch deep and soak overnight or at least 6 hours. If you are short on time, skip the soak and start right after rinsing.
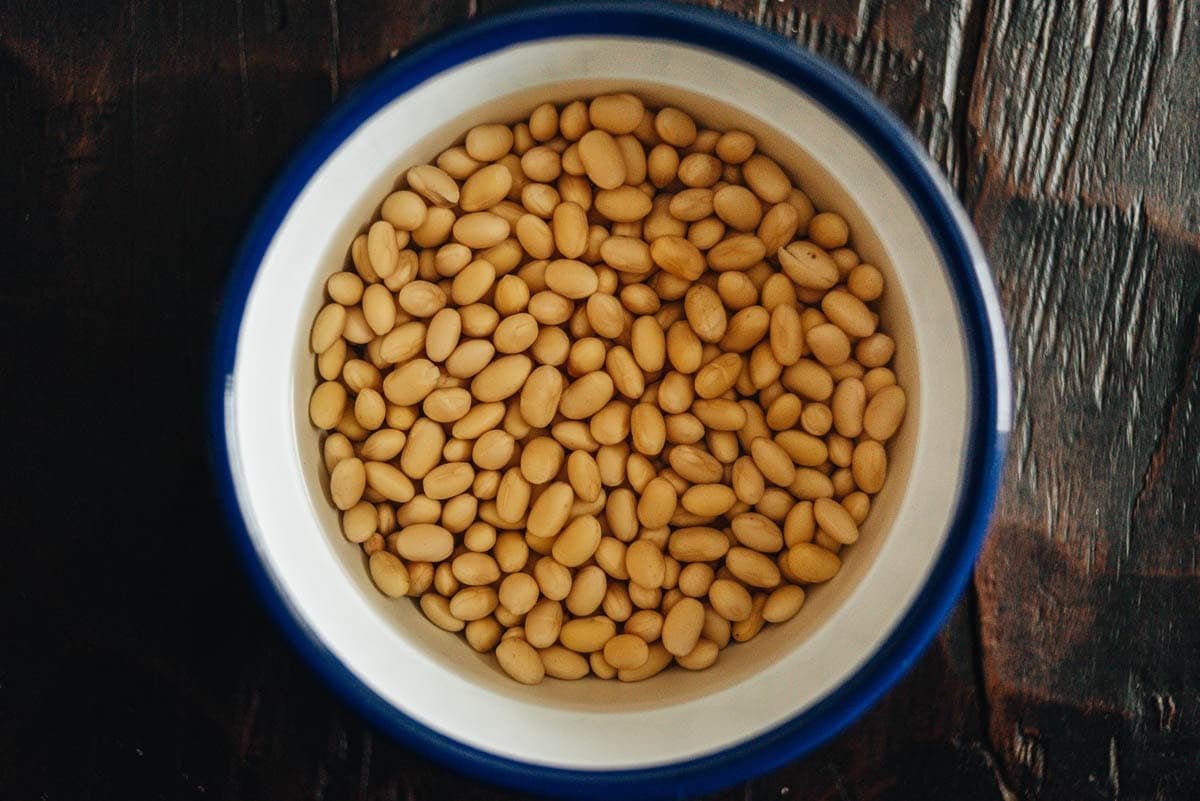
3. Load the machine: Drain the beans and add them to the soy milk maker. Add filtered water until it reaches the 1700ml mark inside the machine.
4. Start it up: Set the lid on firmly, then plug in the cord and confirm the lid reads Keep Warm. Choose the soaked or dry bean setting and wait for two beeps, which means it has started.
5. Let it run: The machine grinds and heats on its own for about 30 minutes. You will hear it mixing on and off at roughly the same volume as a blender, so there is nothing to watch or stir.
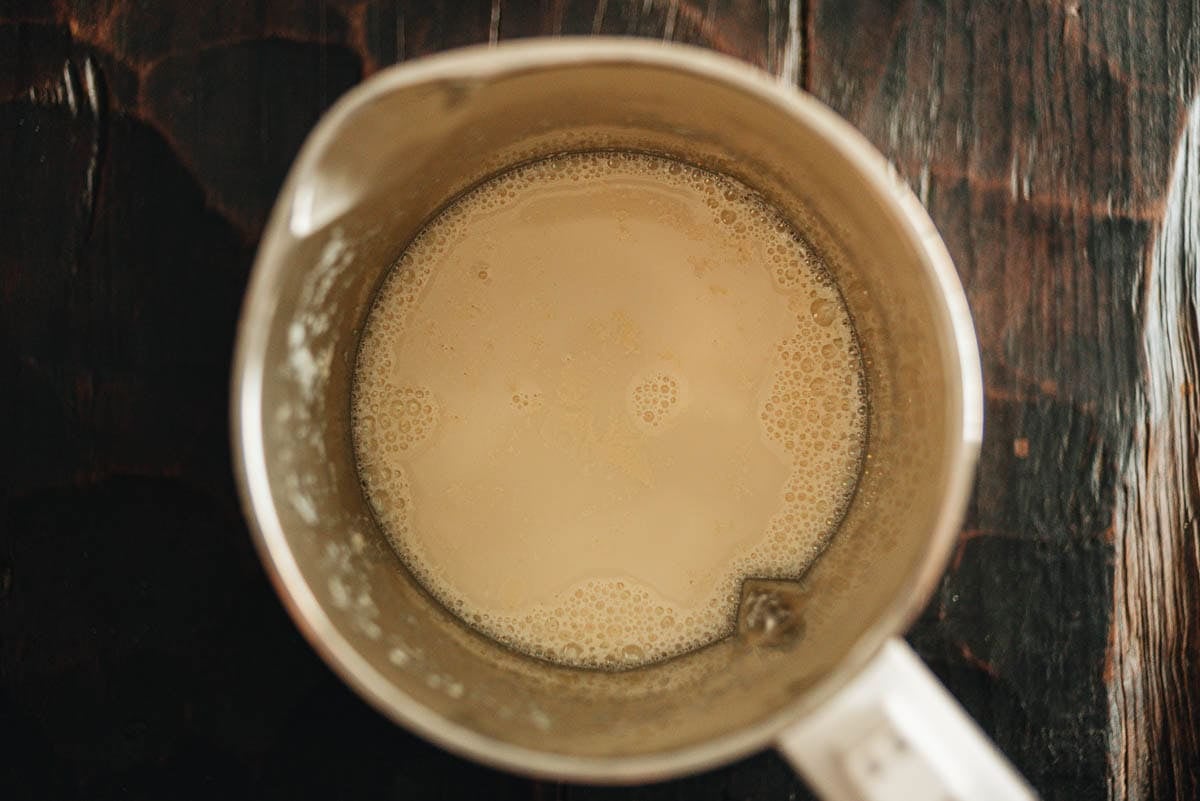
6. Strain the milk: When it beeps to finish, set the fine mesh over the jar that comes with the machine and pour the milk through to catch the soy pulp.
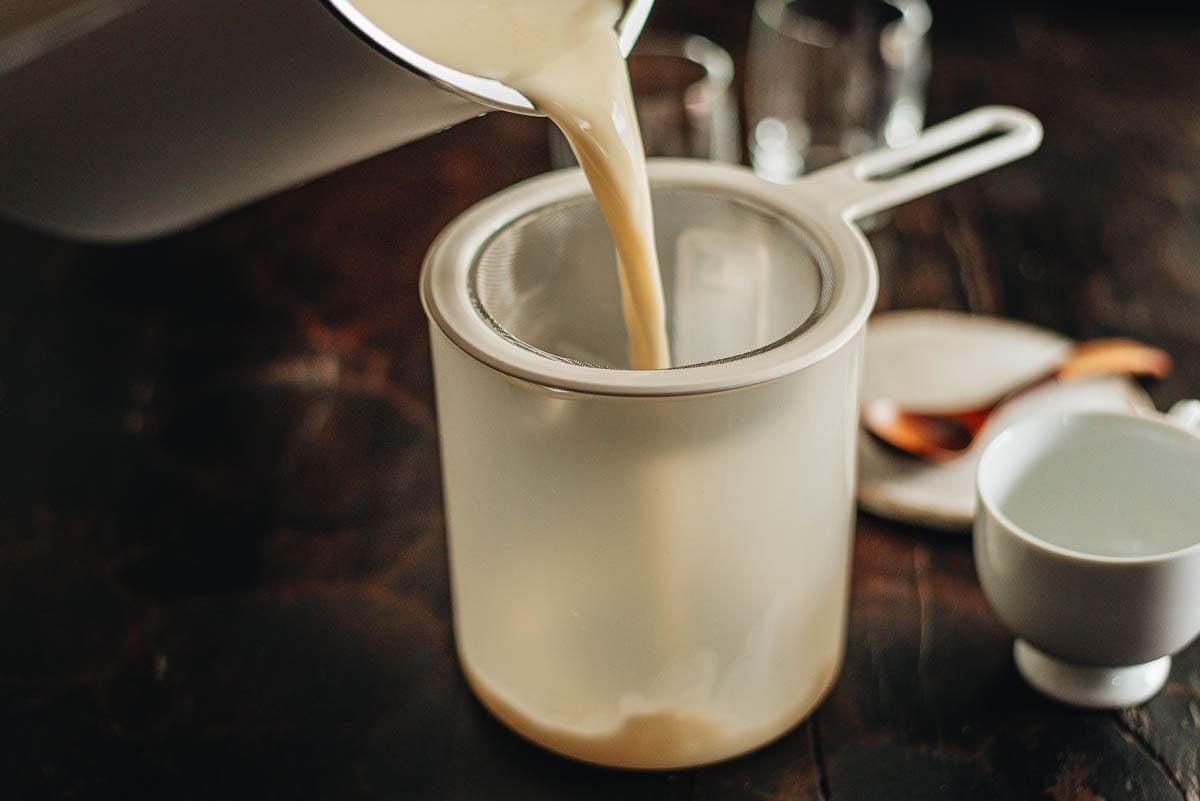
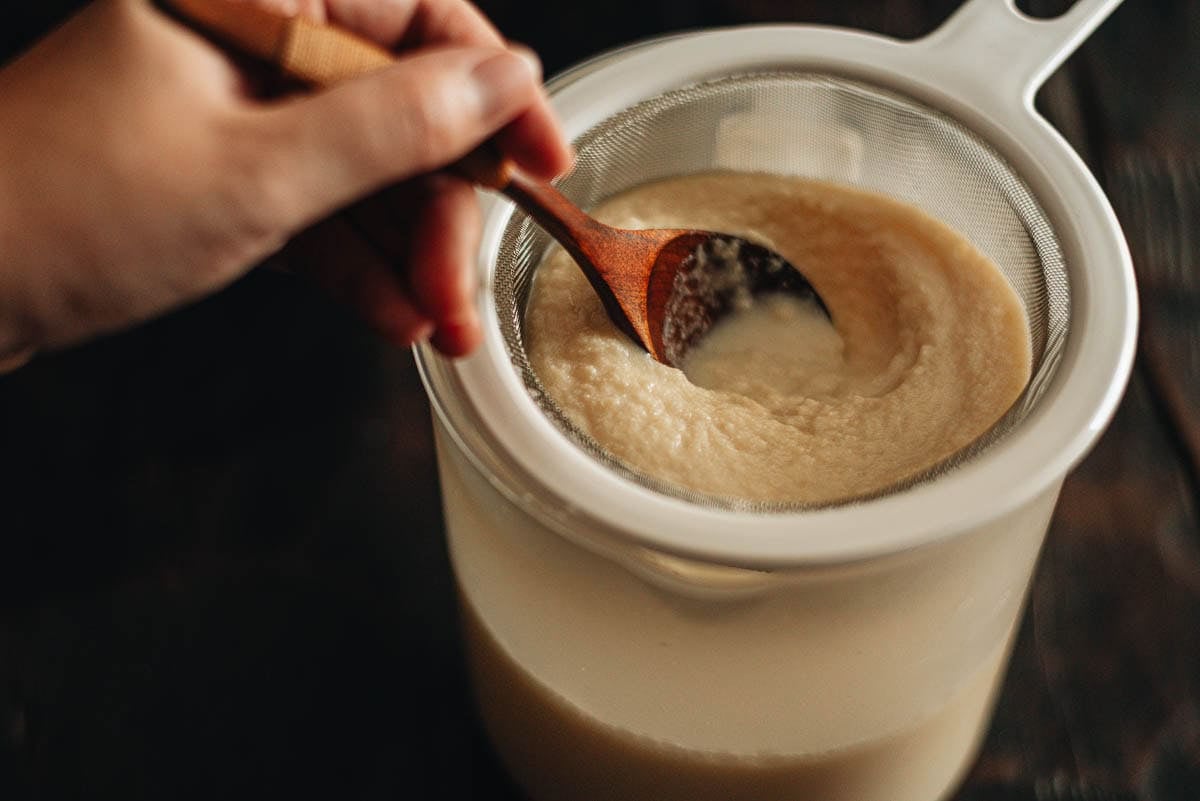
7. Press the pulp with the back of a small spoon to drain the milk fully.
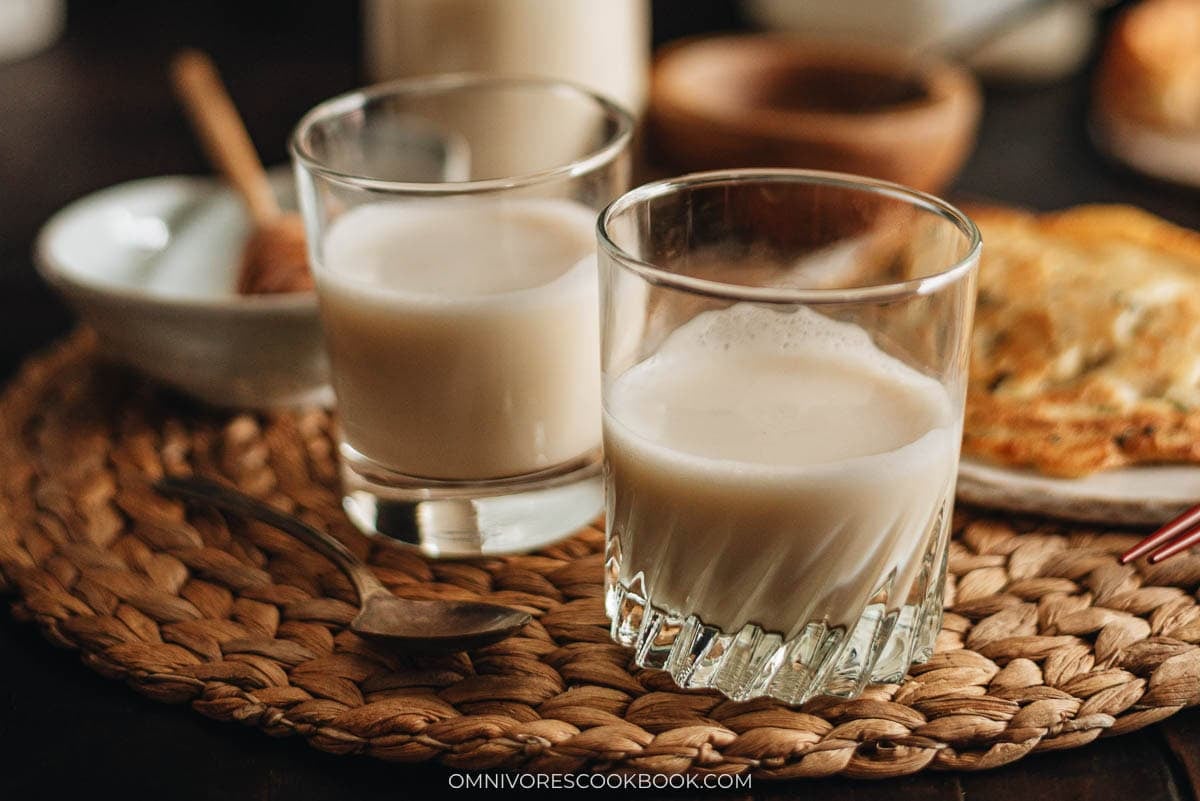
8. Sweeten and serve: Drink it hot or cold. Stir in agave or maple syrup at the glass, and add a drop of vanilla if the bean flavor is strong for your taste.
9. Store what is left: Let the milk cool to room temperature, then pour it into airtight jars and refrigerate.
My Cooking Tips
Use the machine’s own cup to measure. The bean to water ratio on this recipe is set for that cup, so measuring with a kitchen cup can throw off how thick the milk comes out.
Dry beans work, with one trade off. Skipping the soak is fine and tastes almost as good, but dry beans grind into a finer pulp that slips through the mesh. Strain, then let the milk sit so the fine pulp sinks, and pour off the smooth milk from the top.
Cool it before it hits the plastic jar. The straining jar is plastic, so I let the milk cool for a few minutes before pouring. If you would rather not pour hot liquid into plastic at all, strain into a ceramic bowl instead.
Do not leave it on Keep Warm too long. The machine automatically keeps the soy milk warm for 1 hour after the cycle finishes. For the best flavor and freshness, enjoy it during that time or refrigerate it once it has cooled slightly. Do not leave the soy milk sitting warm in the machine for more than 4 hours.
Wash the machine while it is still warm. The pulp residue rinses off far easier warm than dried on. If you cannot get to it, fill the machine with hot water, set the lid back on, and let it soak until you can.
Save the okara. The leftover bean pulp is high in fiber and protein. I mix it with egg and flour for quick green onion pancakes, which turns one batch of milk into breakfast and a snack.
Serving Suggestions
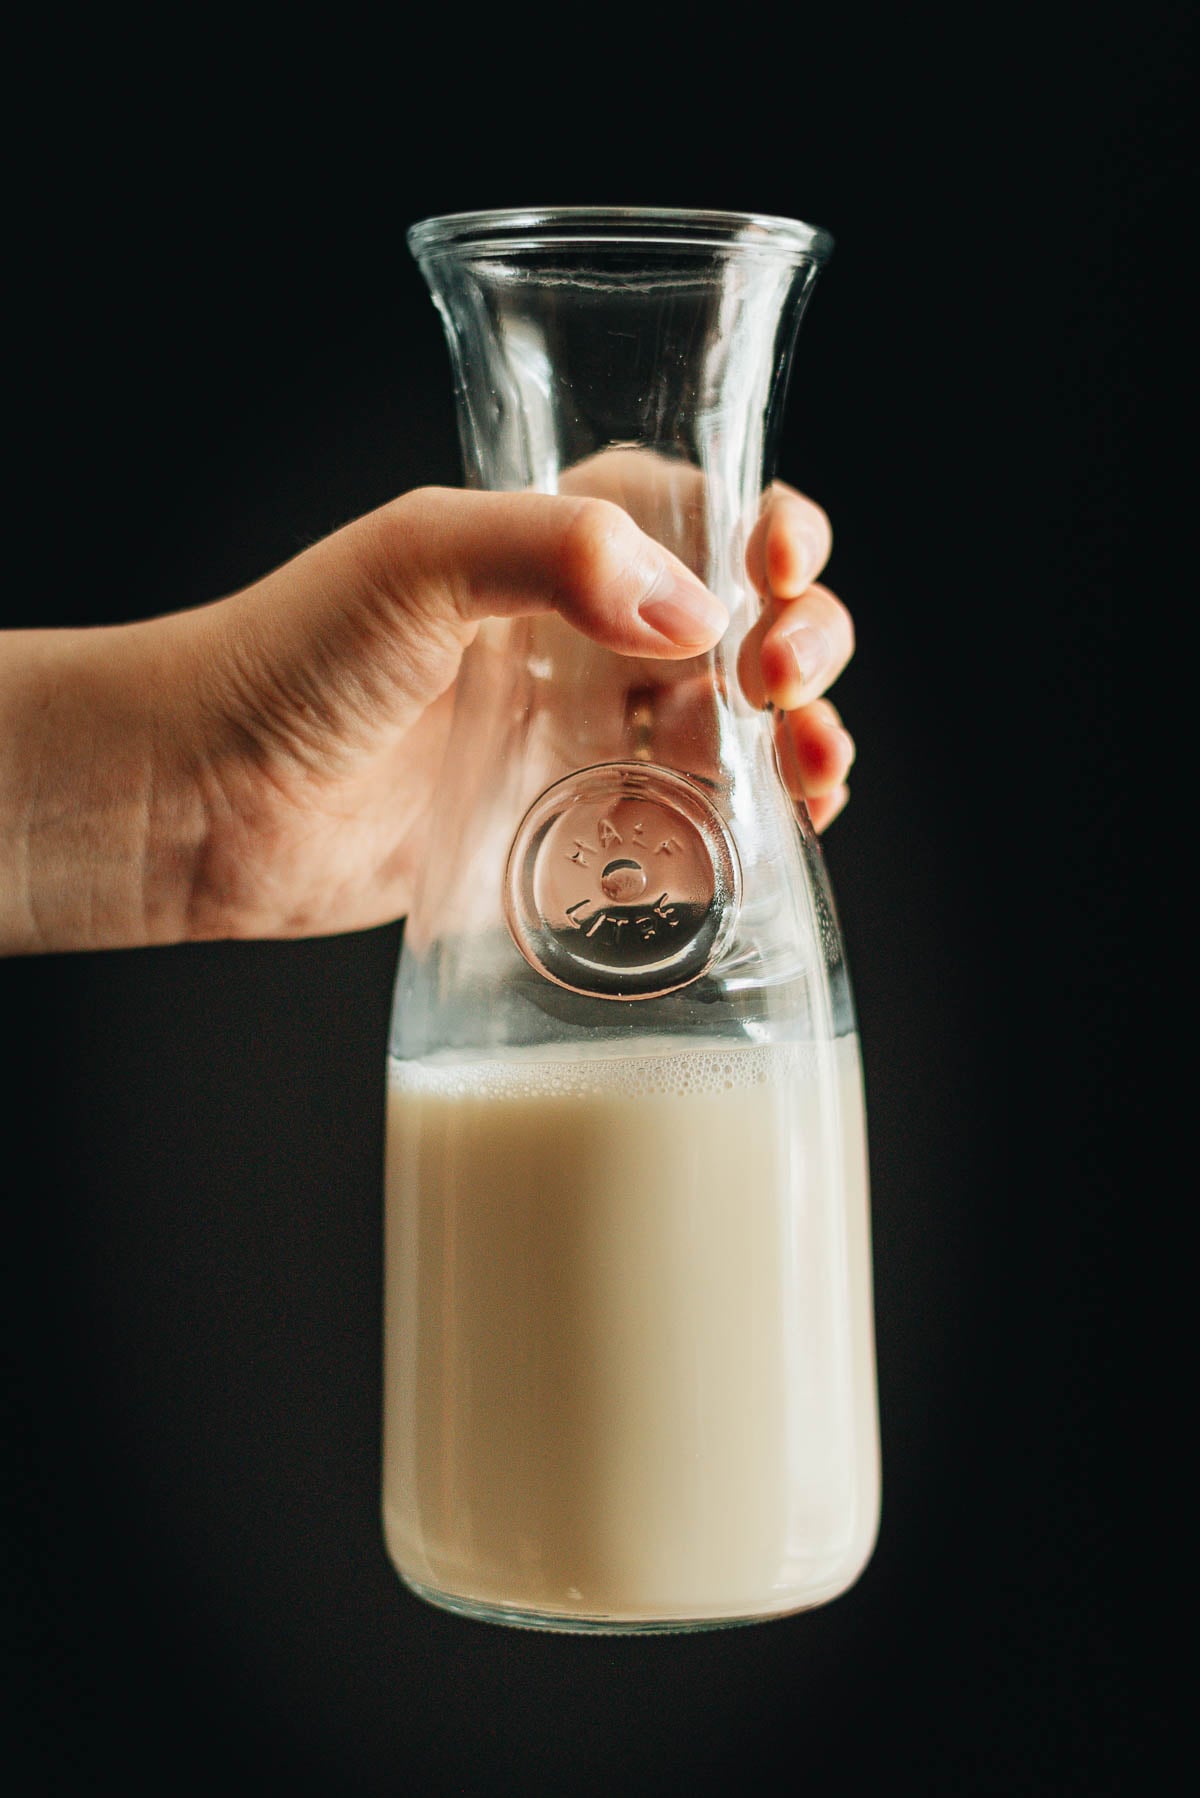
Hot soy milk with a little syrup is how I start most mornings, poured the way we drink it in China. On a slow weekend I enjoy it stack of Chinese scallion pancakes or a plate of You Tiao (Savory Fried Donuts), which is the closest I get at home to a Beijing breakfast counter.
When I want a bigger breakfast table for guests, I use the same soy bean two ways and make a batch of douhua tofu pudding alongside the milk. A pot of century egg congee is always a good idea for a proper sit down morning with your family.
Okara Pancakes (Bonus, Using the Leftover Bean Pulp)
Every batch of soy milk leaves behind a bowl of okara, and I turn it into green onion pancakes the same morning. It takes about 10 minutes and gives me a full breakfast next to the milk.
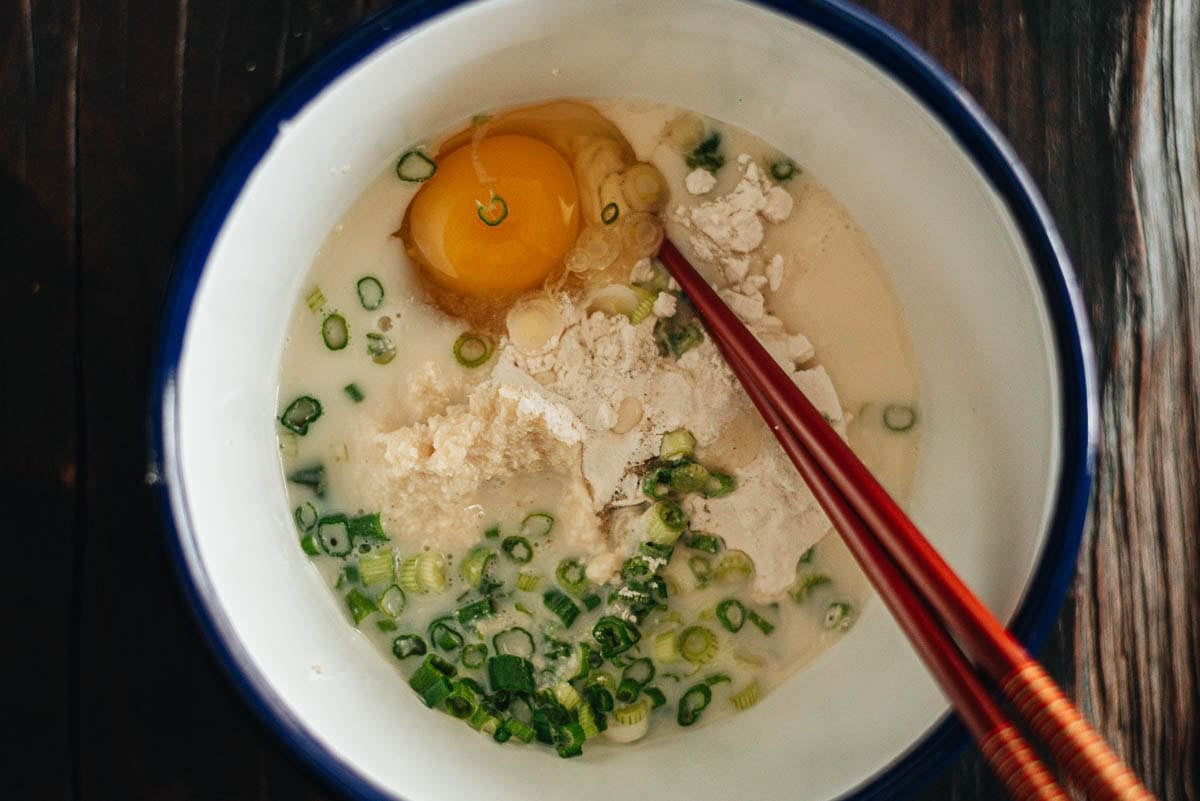
1. Mix the batter: Whisk the okara, flour, egg, chopped green onions, salt, and white pepper in a bowl until it just comes together into a runny smooth paste. Do not overmix, since working it too hard develops gluten and makes the pancakes tough.
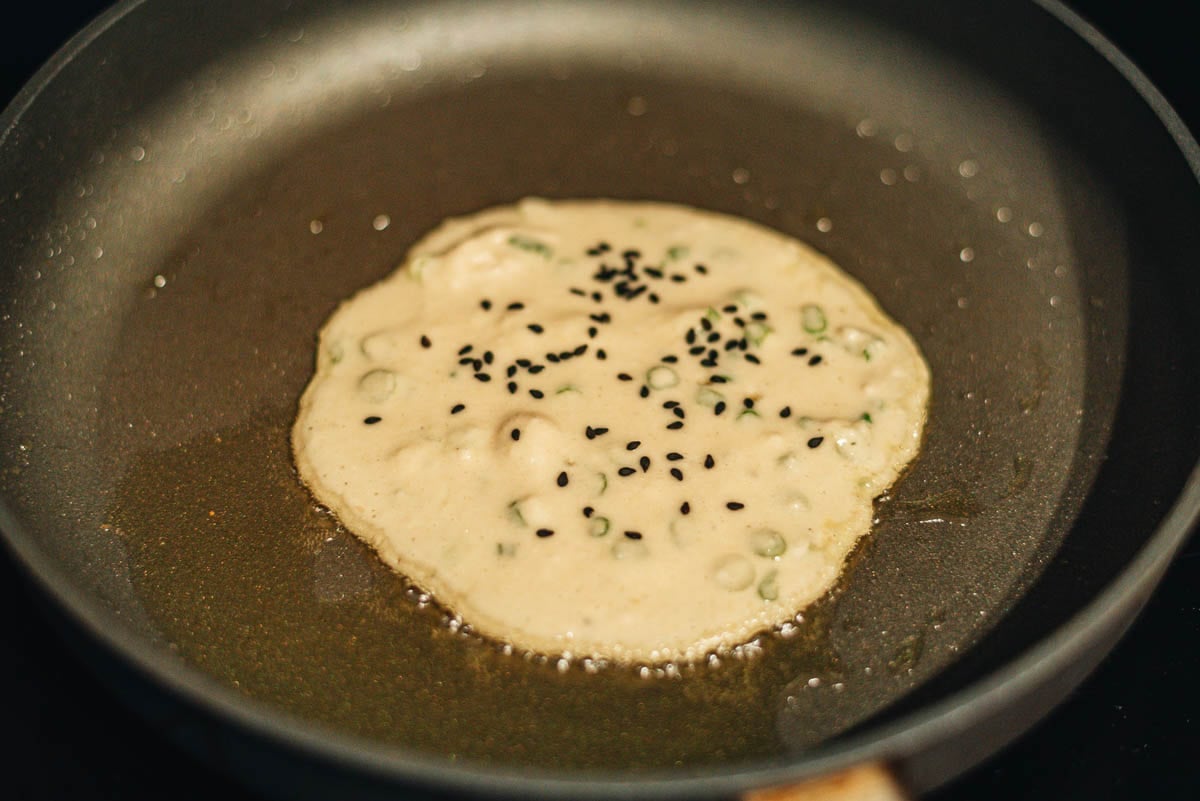
2. Cook the pancakes: Heat a little oil in a nonstick pan until hot, add a scoop of batter, and shake the pan to form a round pancake. Cook until the bottom sets, 30 seconds to 1 minute, add a pinch of black sesame if using, then flip and cook the other side about 30 seconds.
3. Serve with soy milk: Move the pancakes to a plate and serve them hot, with a glass of the fresh soy milk right next to them. That is the two part breakfast I make from one batch of beans.
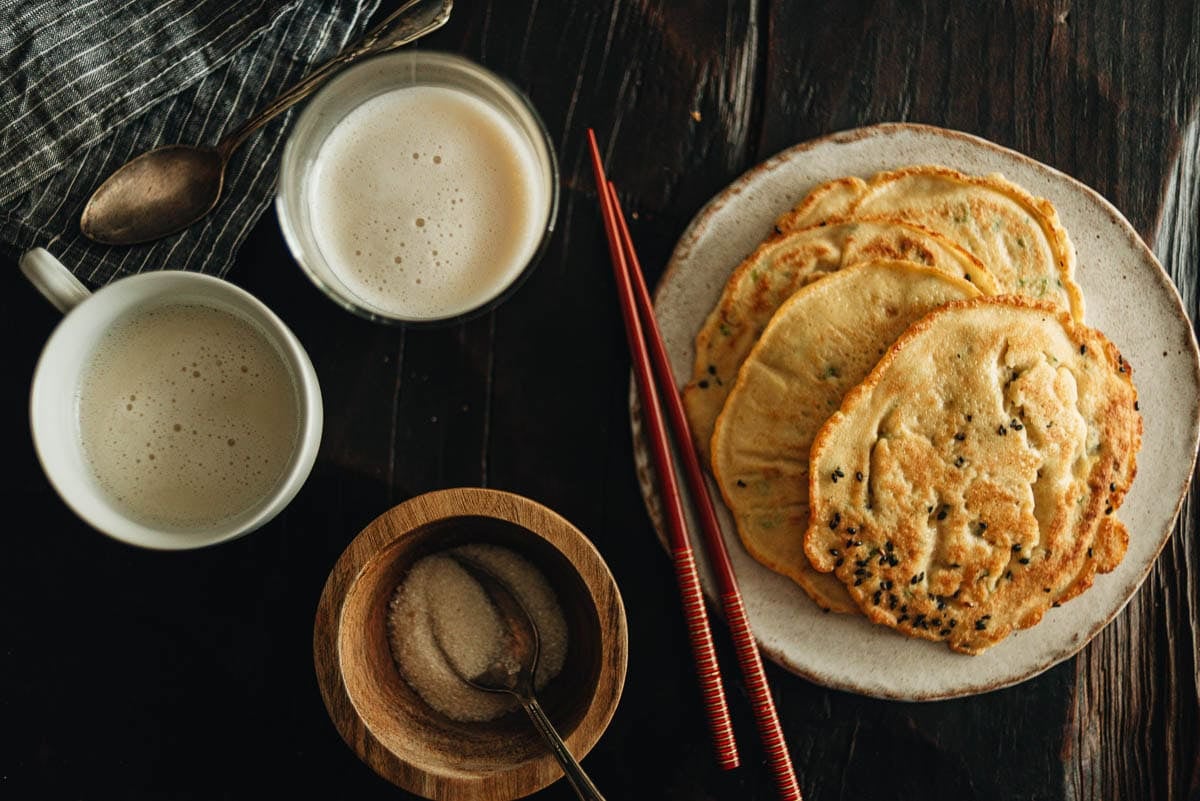
You can see the full okara pancake recipe right next to the homemade soy milk recipe below.
Frequently Ask Questions
Why use a soy milk maker instead of a blender and pot?
You can make soy milk the traditional way, and I did for years, but it means a powerful blender, close watching so the pot does not boil over, and straining the pulp before you even cook it. The machine grinds, heats, and cooks the pulp in with the milk in one step, so the milk is smoother and more nutritious with about 3 minutes of setup.
My milk tastes too beany, how do I fix it?
A drop or two of vanilla extract stirred into the finished milk softens a strong bean flavor without making it taste like dessert. Straining thoroughly and pressing the pulp also helps, since a lot of the raw edge sits in the leftover solids.
How long does homemade soy milk keep in the fridge and freezer?
Cooled and sealed in an airtight jar, it holds in the fridge for 3 to 4 days, and I shake it before each pour since it settles. I do not freeze the milk itself because it separates into a grainy, watery texture once thawed, so I make smaller batches every few days instead.
Want to Save This Recipe?
Enter your email below & we’ll send it to your inbox. Plus get great new recipes from us every week!

Soy Milk Maker Recipe
Ingredients
- 4.2 oz dried soy beans (1 1/2 cups that comes with the soy milk maker) (by using the cup comes with the machine)
- 7 cups filtered water
- Sugar, honey, or maple syrup (Optional)
Instructions
- Use the soy bean cup that comes with the machine to measure 1 and 1/2 cup dried soy beans. Add into a bowl. Rinse with tap water for 1 to 2 times to remove dust on the surface and drain. Add water to cover the beans at least 1-inch deep.
- (Cook with soaked beans) Soak the beans overnight or for at least 6 hours.
- (Cook with dry beans) Skip the soaking process above and start making the soy milk immediately after rinsing. (*Footnote 1)
- Drain the soaked soy beans and add to the soy milk maker. Add filtered water until it reaches the 1700ml mark.
- Place the lid of the soy maker on and adjust so it’s firmly attached. When you plug in the cord, you should hear a beep and the soy maker shows “Keep Warm” on the lid. This means you’ve set up the machine properly. Choose “soaked beans” and you will hear two beeps. This means the machine has started. Soon after you start the machine, you will hear a loud noise for a few seconds, which means the machine has started to grind the beans while heating up.
- Now your job is done and you can relax. A big jar of freshly made soy milk will be ready in 30 minutes. During that time, you will hear the machine mixing from time to time; the noise is about same level as your blender.
- Once the soy milk is done, the machine will beep for 1 minute and automatically switch to “keep warm” for an hour. Please note, you should not leave the hot soy milk in the machine for more than 4 hours.
- Place the fine mesh over the jar that comes with the machine (*Footnote 2). Pour the soy milk into the jar to remove the soy pulp. You can use a small spoon to stir and press the soy pulp, so it speeds up the process and lets the milk drain thoroughly.
- Now the soy milk is ready to drink. You can enjoy it hot or cold. My favorite sweetener is agave nectar or maple syrup. If you feel the bean flavor is too strong, adding one to two drops of vanilla extract will even it out a bit.
- To store the milk, let it cool to room temperature, then transfer to airtight jars. Store in the fridge for 3 to 4 days.
Notes
- The soy milk made with dry beans tastes almost as good as with soaked beans. However it generates a very fine bean pulp that is difficult to remove using the fine mesh, so the milk is not as smooth as a result. You can strain the milk first and let sit for a while. The bean pulp will sink to the bottom; then you can pour the milk into glass without pouring the bean pulp.
- The jar is plastic. I always let the the soy milk cool down for a bit before draining. If you do not like pouring hot liquids into a plastic jar, you can use a ceramic bowl instead.
Nutrition

Did you make this recipe?
I’d love to hear how it turned out for you! Please take a moment to leave a 5-star rating ⭐️ and share your thoughts in the comments further down the page. It really helps others discover the recipe too.
Want to Save This Recipe?
Enter your email below & we’ll send it to your inbox. Plus get great new recipes from us every week!
Green Onion Okara Pancakes (Pancakes made with soybean pulps)
Ingredients
- 1/4 cup soy bean pulps (okara)
- 1/2 cup flour
- 1 large egg
- 2 green onions , chopped
- 1/4 teaspoon salt
- 1/8 teaspoons white pepper
- 2 to 3 tablespoons peanut oil (or vegetable oil)
- Black sesame for garnish (Optional)
Instructions
- Whisk everything in a big bowl until it just form a runny smooth paste. Do not mix too fast or over mix, which develops gluten and will yield tough pancakes.
- Heat a nonstick pan with 2 teaspoons oil until hot. Add 1/4 cup pancake mixture and gently shake the pan to form a round pancake. Cook until the bottom set, 30 seconds to 1 minute. You can add a small pinch of black sesame onto the pancake, if using. Flip to cook the other side until the pancake just set, for another 30 seconds. Transfer to a plate and cook the rest pancakes by using the same method.
- Serve hot as breakfast.
Did you make this recipe?
I’d love to hear how it turned out for you! Please take a moment to leave a 5-star rating ⭐️ and share your thoughts in the comments further down the page. It really helps others discover the recipe too.
Toby
HI Maggie — this isn’t really a comment but more a question. Your post came up [although I subscribe to your site anyway] when I was trying to find out how much dried soybeans to put in my alfabot soymilk maker. I learned that 70 grams would be right. I have the N1 which makes about half what my Joyoung [which stopped working] used to make. It’s just me so it’s no problem but I have been using dry beans, and the okara is so fine it’s like sludge. I usually freeze it and then incorporate it into breads and chapatis too.
The soymilk was very thick — I put it in my vitamix and let it run a few minutes and then poured it out. I made some coffee which I reheated — I spoon in thick foamy soymilk, added some maple syrup, and I’m drinking it.
The thing is, when I followed the directions for the Joyoung the soy milk was not thick, and I was able to strain out the okara. You mention that dry beans result in finer okara. I’m wondering if by using the vitamix the okara will be so fine I will just drink it along with the milk. I actually do not know how thick it ought to be.
Any of your thoughts will be welcome. Toby
Maggie Zhu
I do think the Vitamix is way more powerful than Joyoung soy milk maker. So yes, there’s probably some finely blended soy beans (okara) that’s blended in the drink. And I think when you use a Vitamix and then cook over the stove, you lose a little bit more liquid from evaporation. And that will result in a thicker soy milk. I’ve tried both using Vitamix and Joyoung for making soy milk and I do think Vitamix makes a thicker soy milk. I personally like the slighly thinner one because I sometimes drink it by itself, or use it in cooking to replace milk. I imagine the thicker one would work better with coffee. The thinner one is closer to most of the commercial soy milk you purchase. I don’t think there’s a right or wrong answer in terms of how thick it should be, as long as you like the texture personally 🙂
Toby
Hi Maggie — I am using an alfabot soymilk maker to make the soymilk. After reading I’ve going to stop using dry beans and soak them first. I’m putting the produced soymilk when it’s cooled in my vitamix. It’s now a few days later and the soymilk is too thick [but I can use fewer beans — I used the max 70 grams]. What I’ve noticed is that the solids do not sink down. I just added a little water and blended it in. I think for me this is the answer as long as I don’t want okara but then I used it only not to waste it.
Yvonne
Hi! I tried making this with my okara today but I don’t understand where the liquid comes from to make the pancake batter so runny? I added the egg and oil, but my batter is so thick! Did you add soy milk or water into the batter?
Thanks!
Maggie Zhu
The batter wasn’t runny like a regular pancake batter. Because okara doesn’t have gluten, so you need a slightly thicker batter so the pancake hold together.
I remember mine was more of a soft doughy texture. Also, I think it also depends on how much you extract soy milk from the okara. I think mine was quite wet when I made those pancake.
If the batter is too dry, you should definitely try to add some soy milk to it.
Rick
Soak the beans overnight in water along with a half teaspoon of baking soda. Pour off the water before using the beans to make soy milk. It will change your life. The baking soda neutralizes the enzyme that causes off flavors and makes a creamier soy milk. Also add about 1/8 tsp salt per liter for even more flavor.
Ann Worrall
Going to try this recipe.
Joshua D.
Hi Maggie, I just got a soy milk maker second hand and it’s actually exactly the same model. I saw your recipe and made it and it was amazing! I want to make all kinds of other good things, but unfortunately my machine did not come with the manual. Do you know where I can get a copy of the manual for this specific model? Also do you have any good recipes for this machine or just for a soy milk maker in general? Maybe for other types of milks, porridges, or soups?
Maggie Zhu
Unfortunately I don’t know where you can get a manual of this model. I saw online that people said you can contact the seller and they will send a copy of the manual to you.
For this soy milk maker, I remember you can use it to cook a few types of bean milk – for example, you can use a blend of beans, sesame and rice to make a very delicious and nutty milk (or a thin porridge). I think the manual should have some instructions on the ingredients and ratio.
I didn’t bring the soy milk maker with me when we moved and downsized. So I don’t have the manual with me either.
Geri
Both the soy milk and pancakes are great recipes. No waste! Thanks.
Susan E
I just received my Joyoung soy milk maker. Yes, the instruction manual and recipe book are not very helpful. Thanks so much for the further information. Do you know if the milk maker simmers the soy beans to neutralize the enzymes, or should I add this to the process?
Can you tell me the process for making Congee in the milk maker? What are the measurements ? Which buttons should be selected?
Also, same for oat milk— measurements? Process?
Maggie Zhu
The soy milk maker will simmer the soy beans during the process, so you don’t need to add this step to the process.
I haven’t tried making congee yet because my old soy milk maker doesn’t have the function. Which soy milk maker you’re using?
For oak milk, I didn’t create a recipe because heating up is not needed. You can blend the oats with water and strain them, which takes much less time than running it through the soy milk maker.