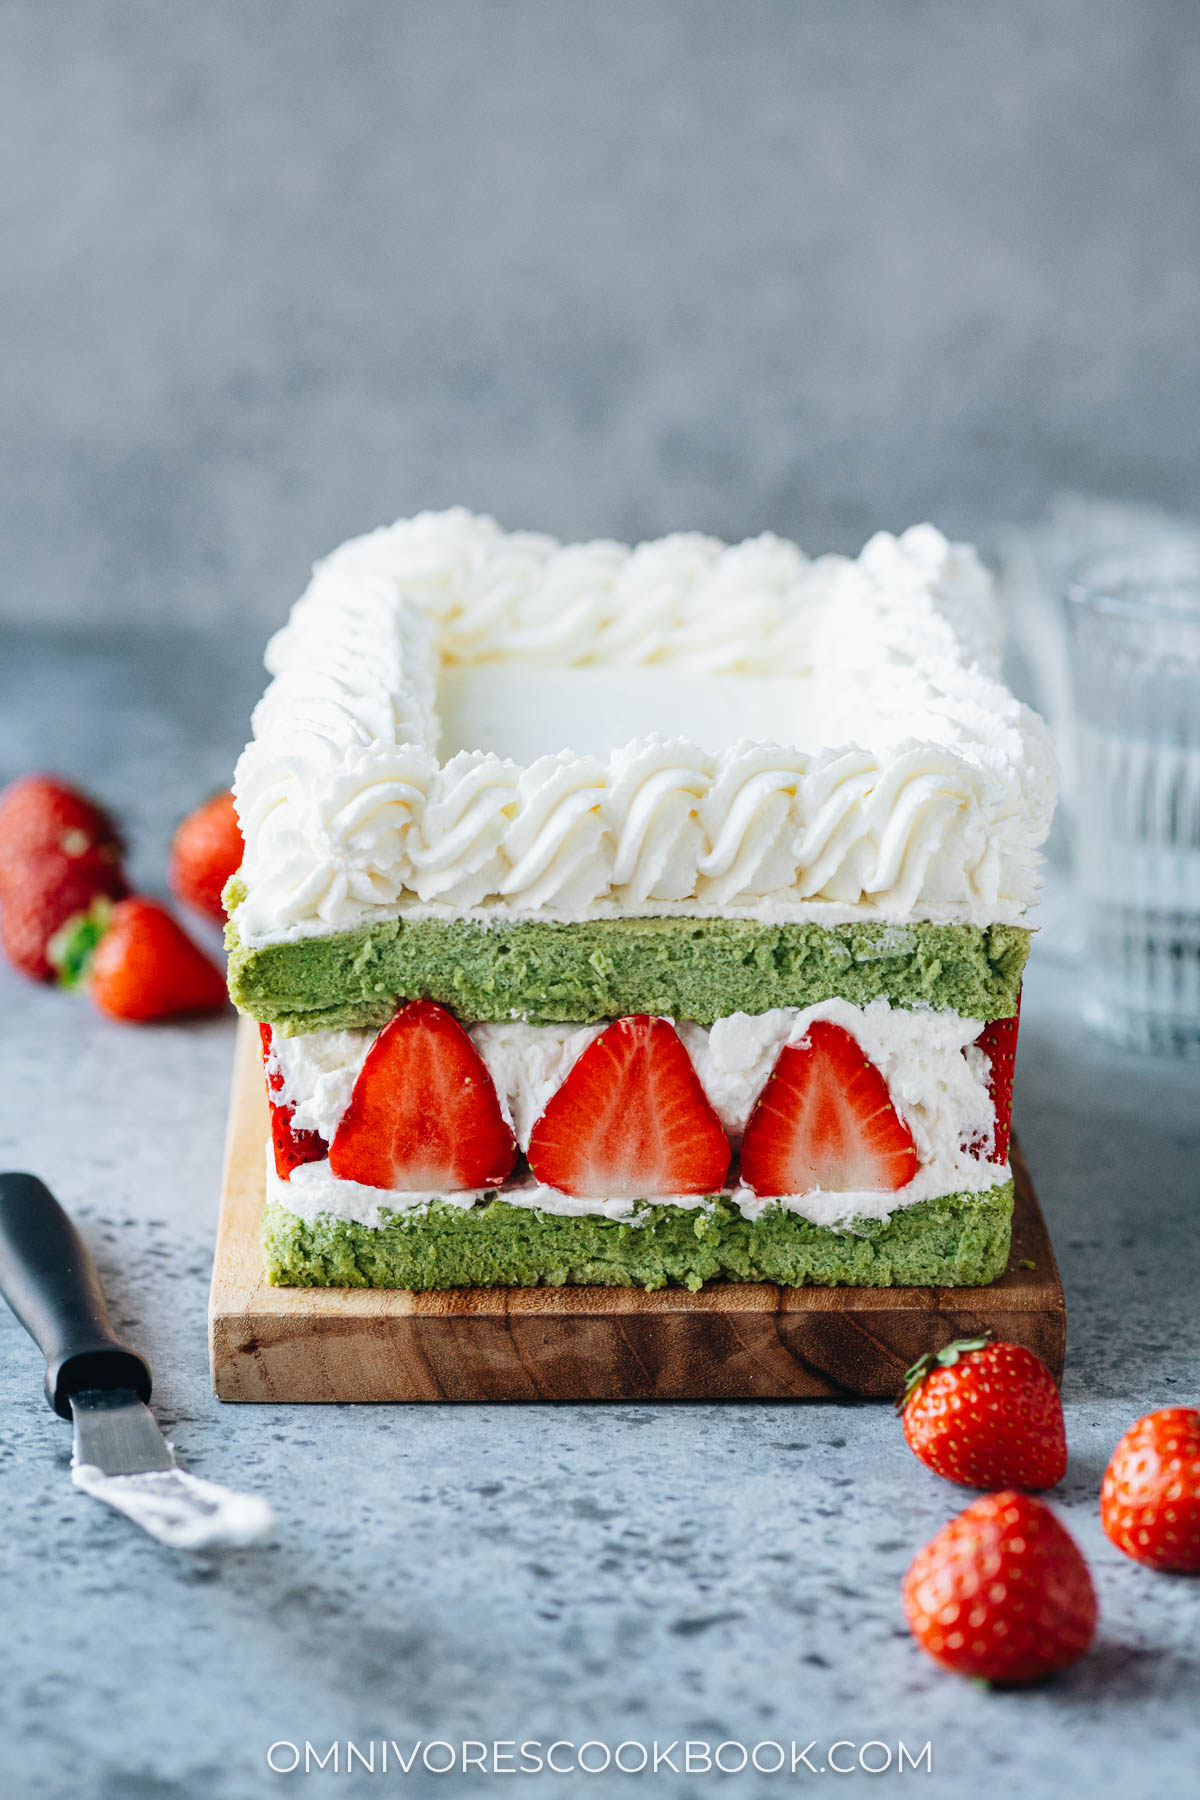
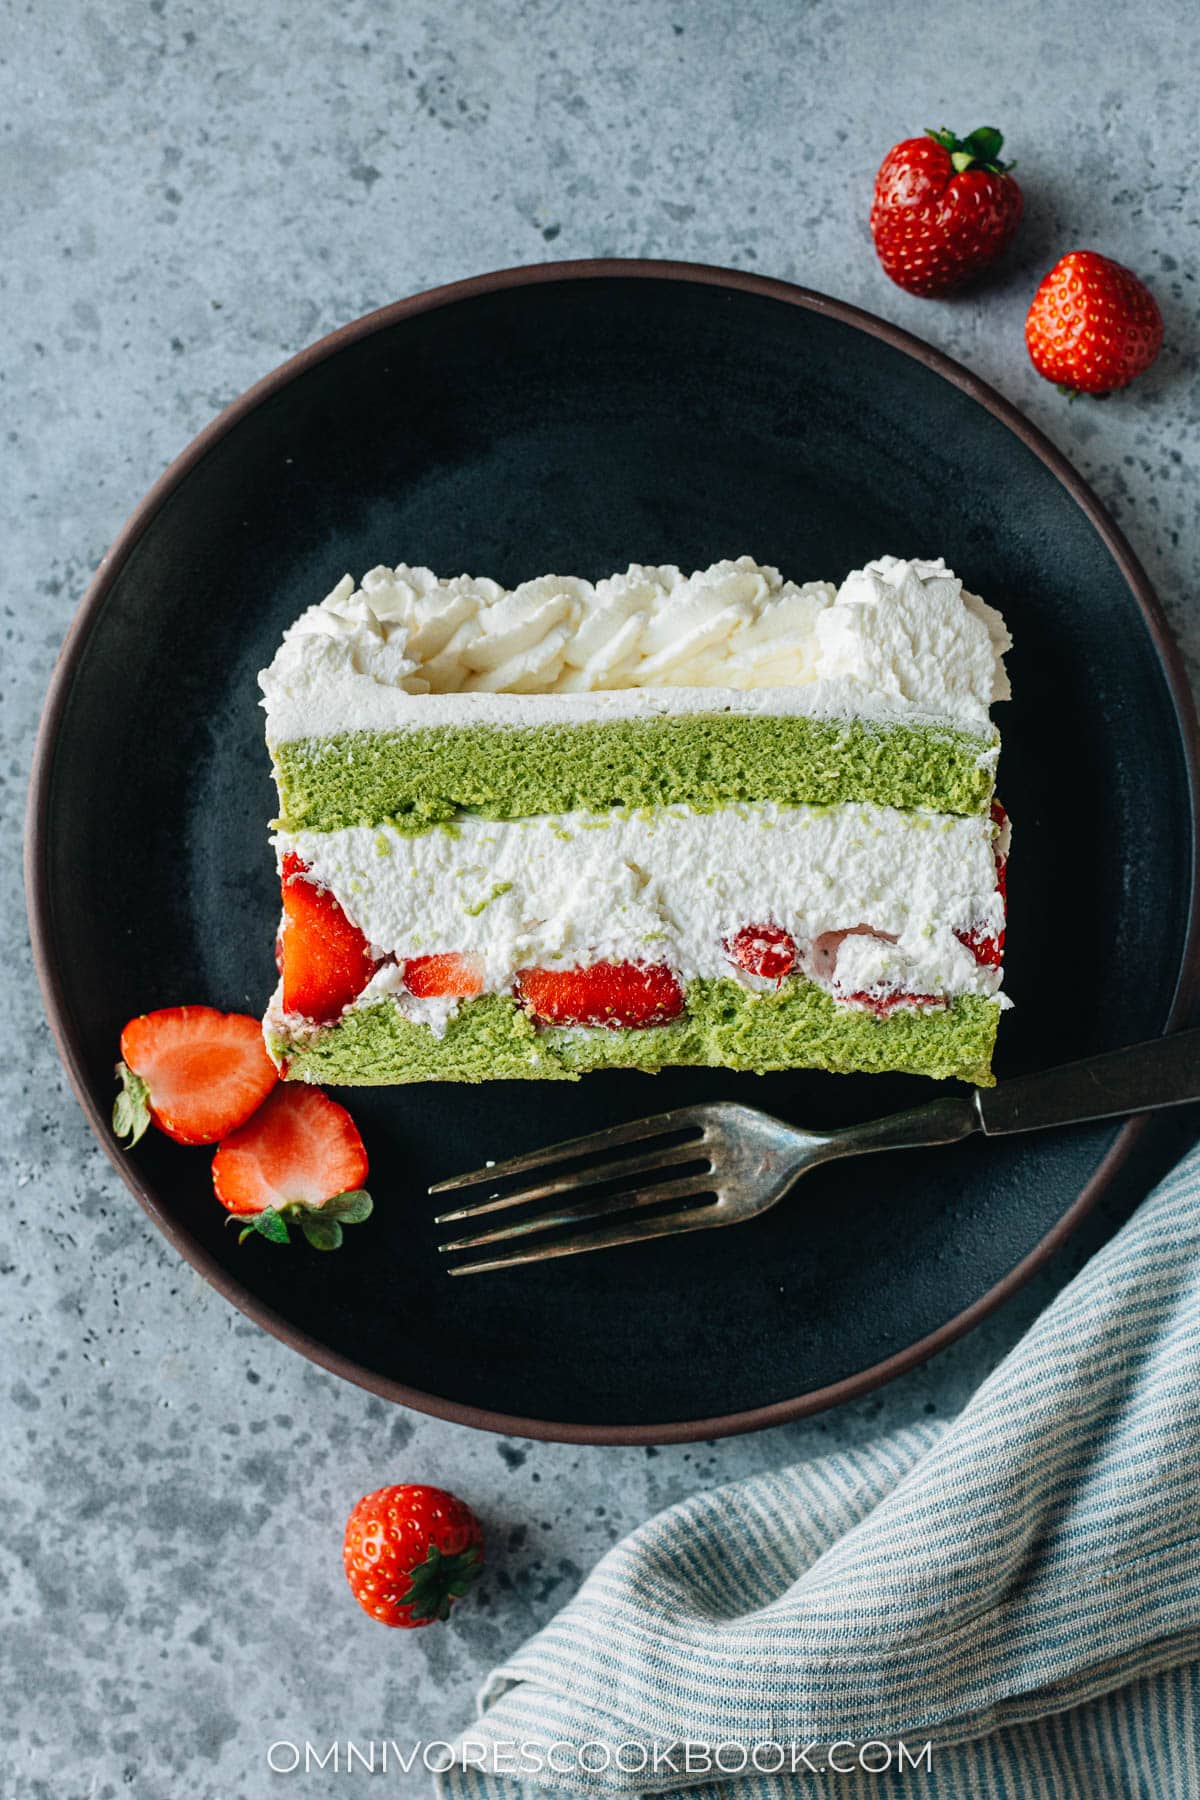
Now is the time of year for cozy family gatherings, abundant feasts, and delightful treats. This year, why not add a unique twist to your holiday dessert spread with a luscious Matcha Cake? For Christmas, matcha’s natural green shade is perfect for evoking the colors of holly, Christmas trees, and wreaths. Pair it with creamy white frosting and ruby-red strawberries for a holiday-ready dessert.
Why this recipe
- An easy cake recipe that creates a super light and moist cake base like a Japanese bakery.
- A balanced taste with mild matcha flavor, juicy fruit, and whipped cream that is not too sweet.
- A stabilized whipped cream using cream cheese for an enhanced taste.
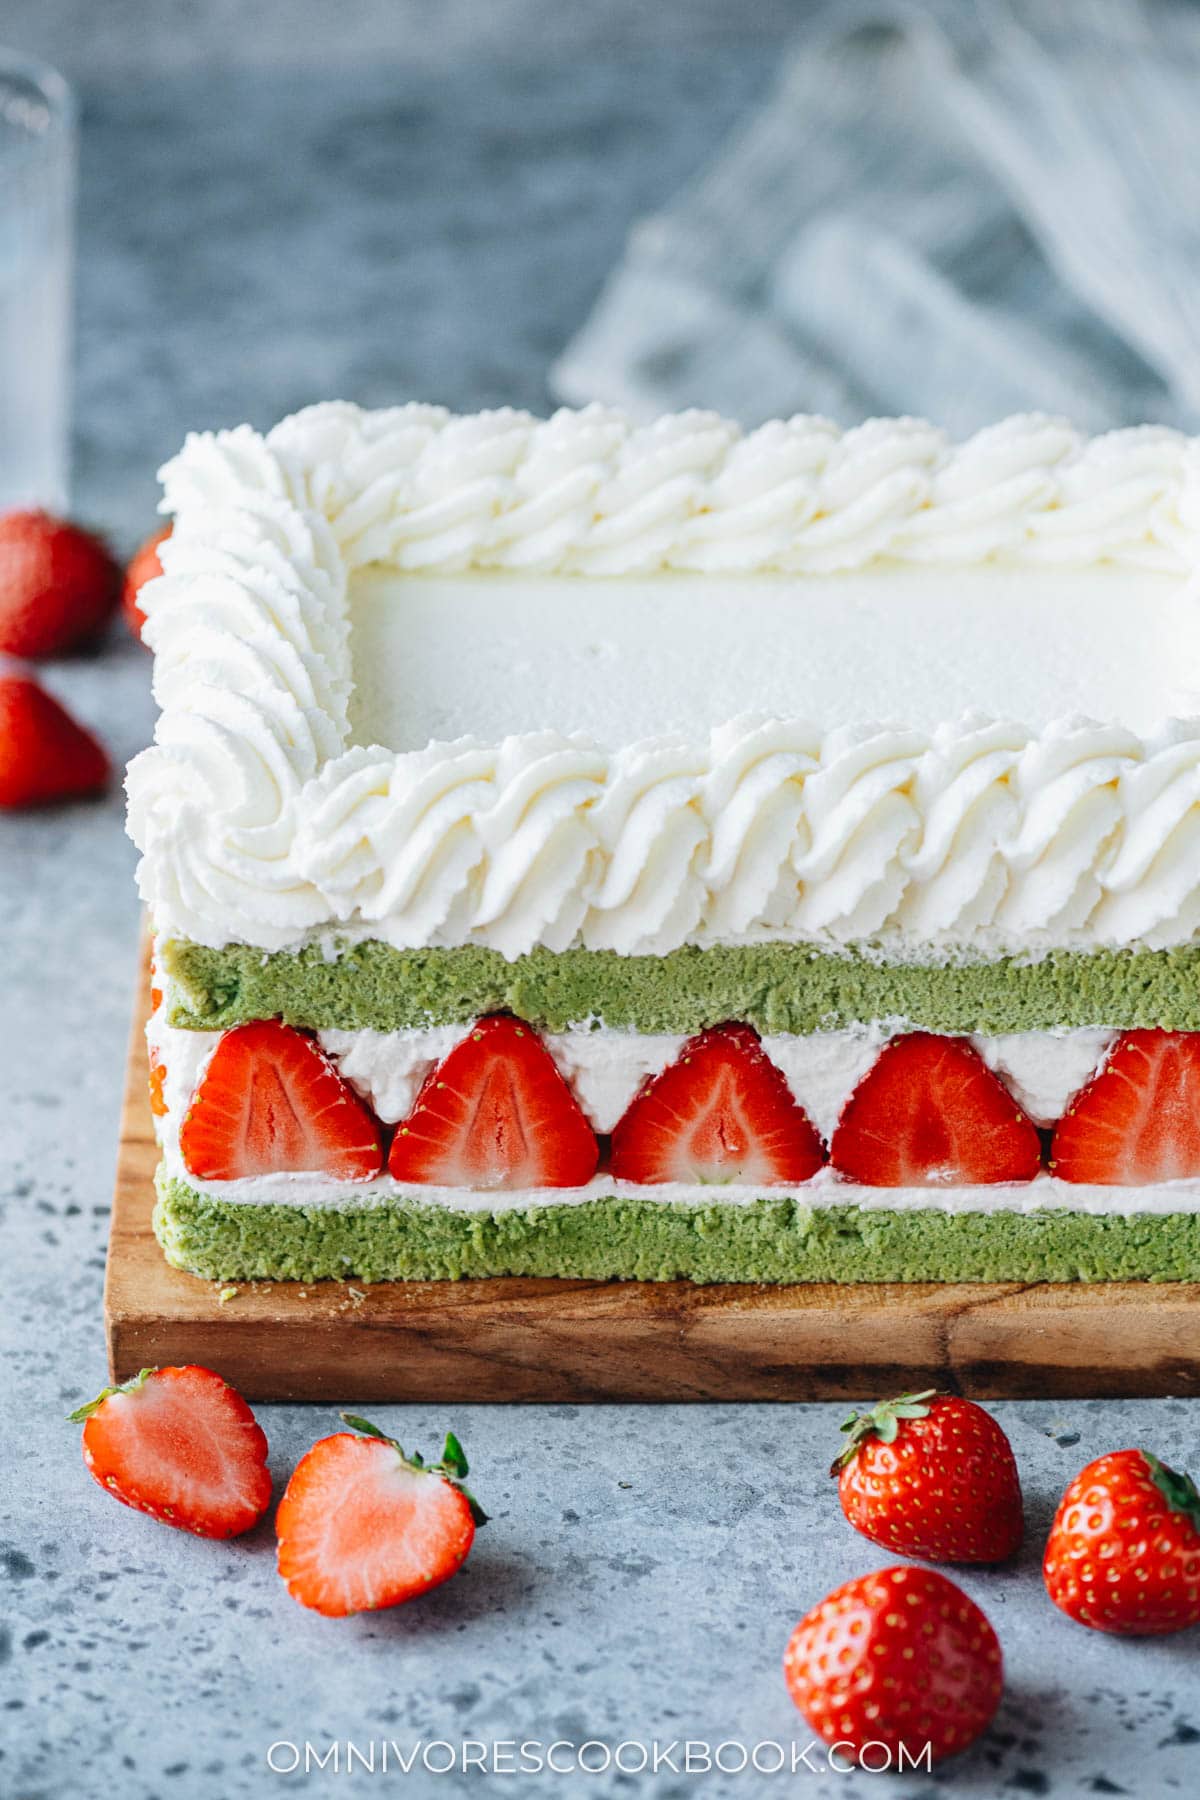
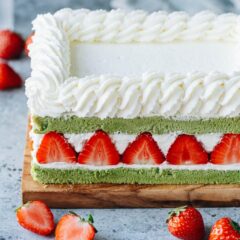
- Create a festive look with a beautiful strawberry display, without using acetate cake collars.
- The cake can be made ahead of time and it holds up well during transportation.
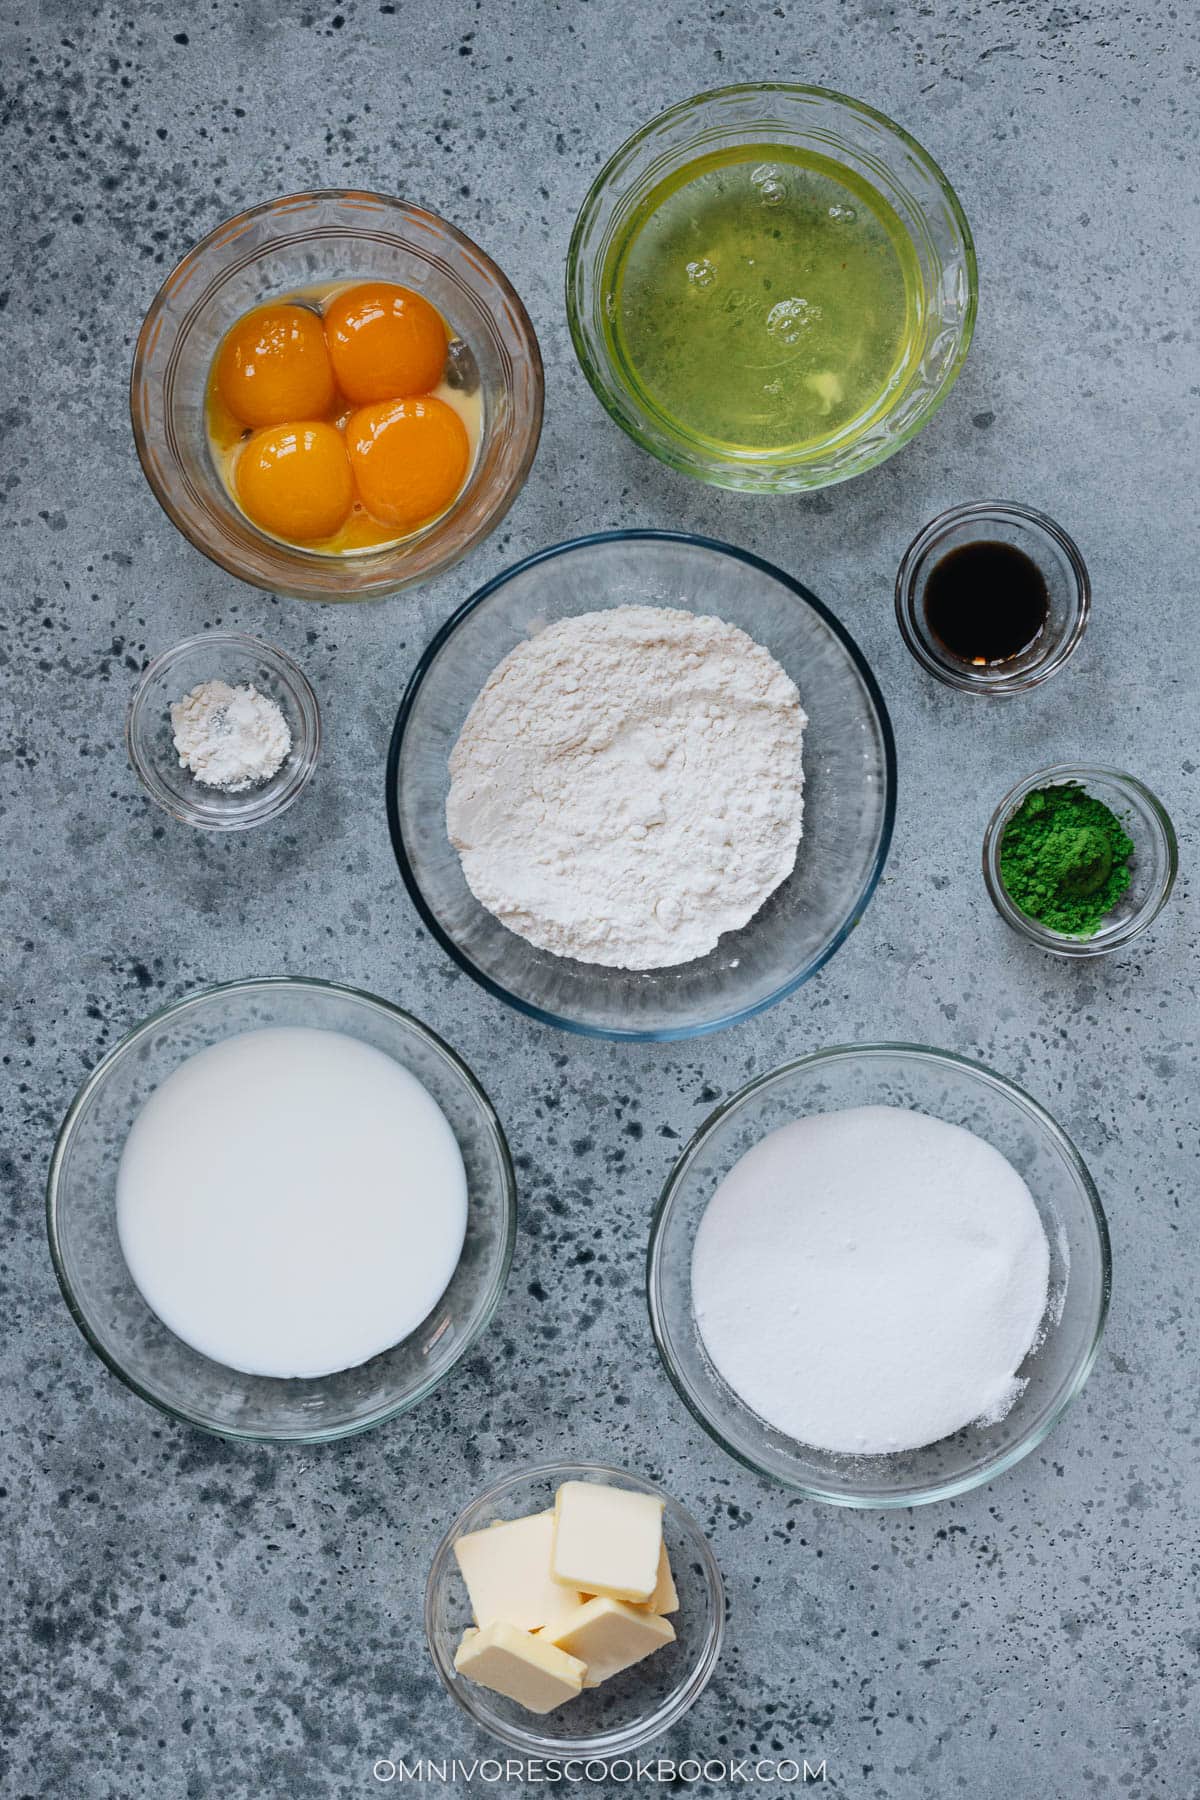
Matcha cake ingredients
Ingredients for the cake
- Whole milk
- Unsalted butter
- Vanila
- Sea salt
- Cake flour: cake flour creates a very moist cake. If using all-purpose flour, the cake will come out much denser and dryer. If you use all purpose flour, I recommend creating the cake syrup from my strawberry cake recipe and brushing it onto the cake for a better texture.
- Matcha powder: see my recommendation for matcha powder below
- Eggs (yolks and whites separated)
- Cream of tartar or white vinegar: it acts as a stabilizer for the cake
- Caster sugar (or regular sugar): a fine white sugar is critical for a light and smooth cake texture. I highly recommend caster sugar, but you can also use regular granulated sugar as long as the grains are not very large.
Choose a good matcha powder
Matcha is a key ingredient in this recipe. Although most bakers would use culinary matcha powder for cakes, I recommend using a nicer matcha powder. Not only does it make your cake taste better, higher grade matcha powder usually has a much more vibrant color to make your cake look beautiful as well.
I drink a cup of matcha every morning, and have gone through matcha from many brands. Some of my favorite matcha powders are from Ocha & Co. Check out their Single Cultivar Organic Matcha for the premium quality and Kyoto Uji Matcha for a more affordable yet still high quality tea.
Whipped cream ingredients
I used three ingredients in my whipped cream:
- Cream cheese
- Confectioners sugar
- Heavy whipping cream
The cream cheese works as a stabilizer, making the whipped cream a bit more robust so it holds together better. It also adds a subtle tangy taste that I enjoy.
Equipment you need
This recipe does not require many special equipment and you probably already have most of these in your kitchen.
- Quarter sheet pan
- Off set spatula
- Stand mixer or a hand mixer
- Piping bag – I used an Ateco 16” pastry bag, but you can use a ziplock bag as well.
- Piping tip – I used Wilton #32 Piping Tip, but you can also choose to skip adding frosting to the cake.
How to make matcha cake
Make the cake
Start by melting the butter in the whole milk, then add vanilla and salt. Sift the flour and matcha powder into the liquid, and mix well. Then add the egg yolk and mix again.
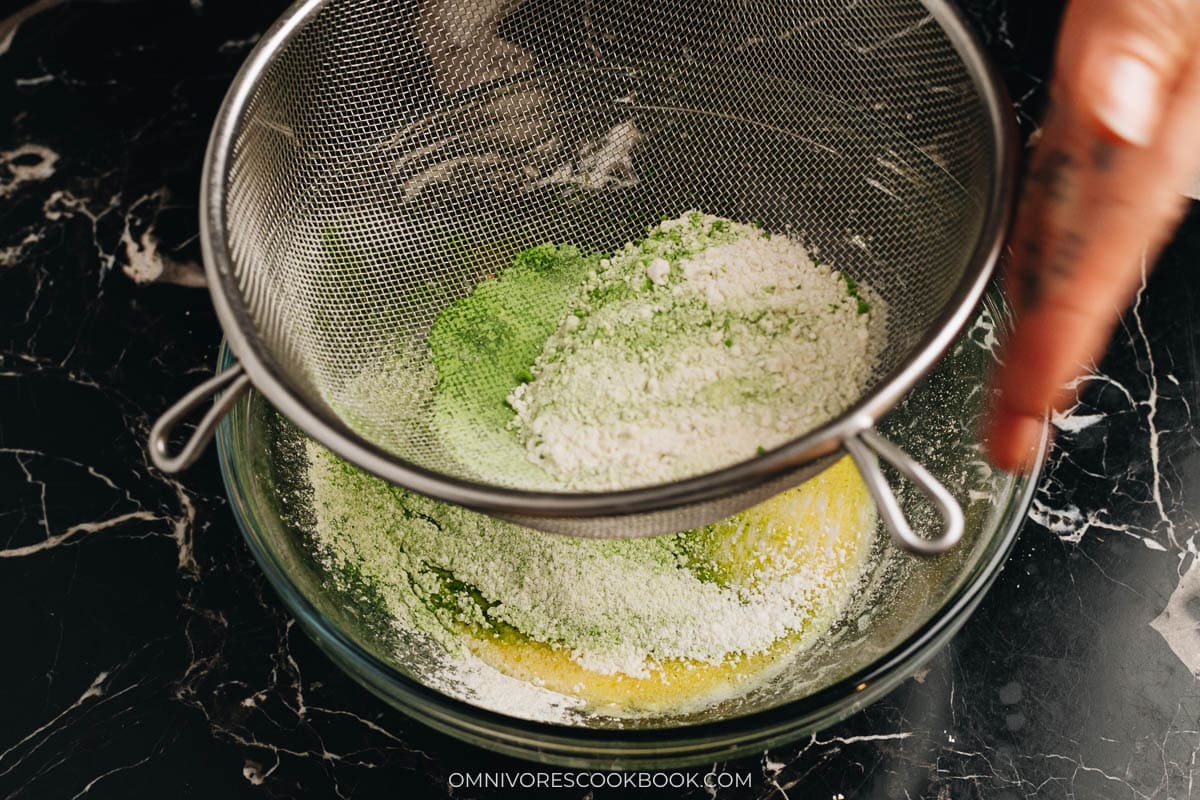
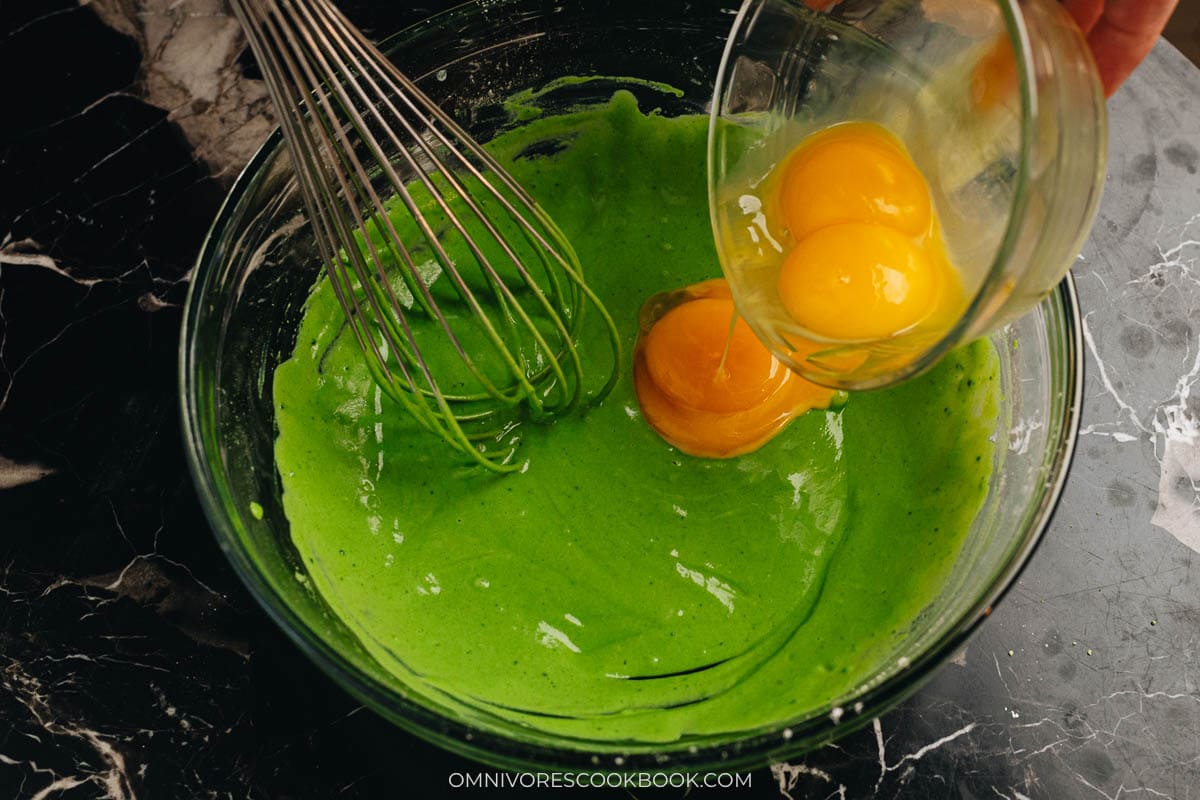
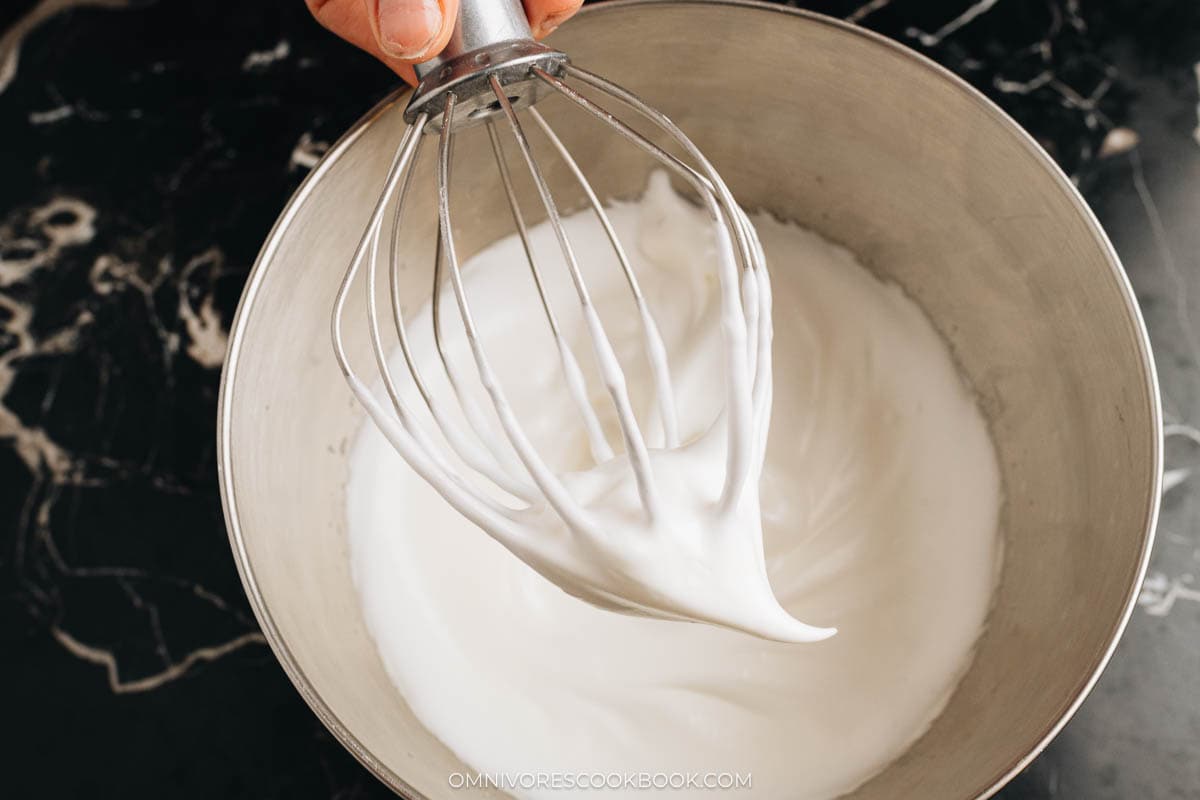
Add the egg whites and cream of tartar to your mixer bowl. Whip until frothy, then add the sugar while whipping, until medium peaks form.
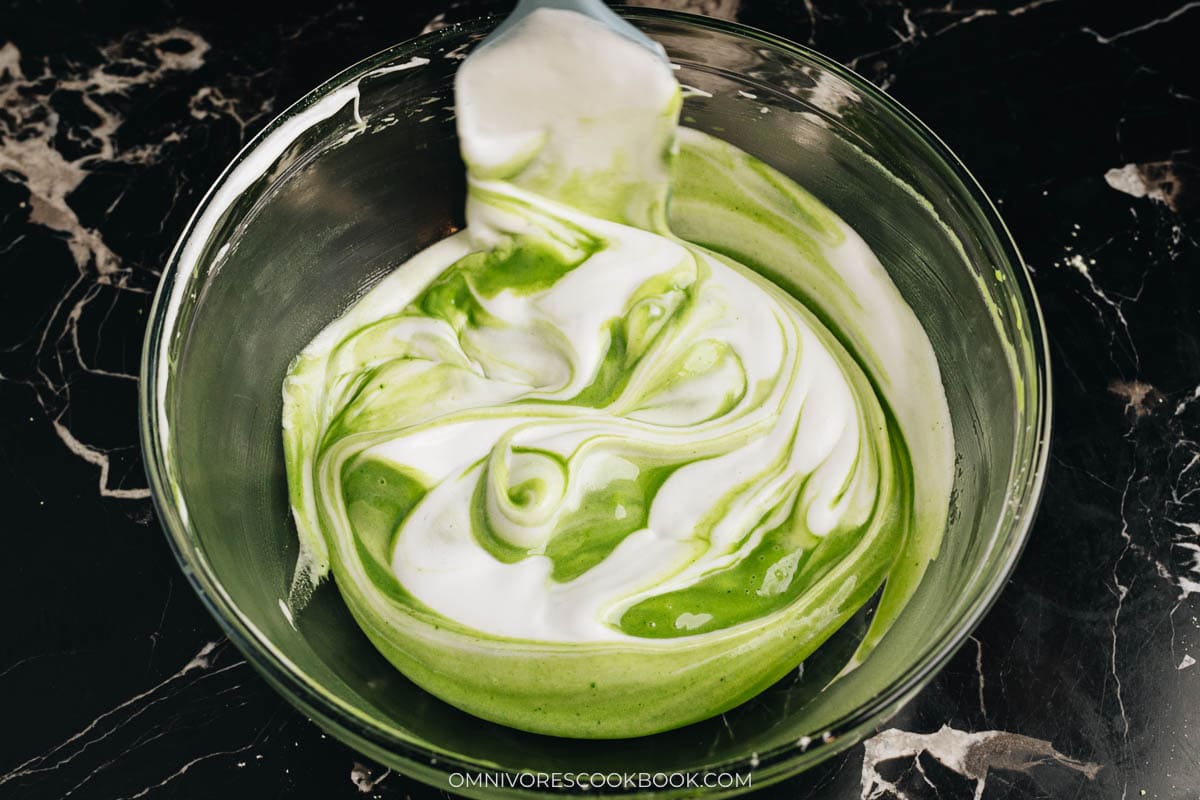
Add 1/4 of the beaten whites to the yolk mixture, fold until smooth. Pour the mixture back into the egg whites. Fold everything together until just smooth. Don’t overmix. Pour the batter into the lined sheet pan.
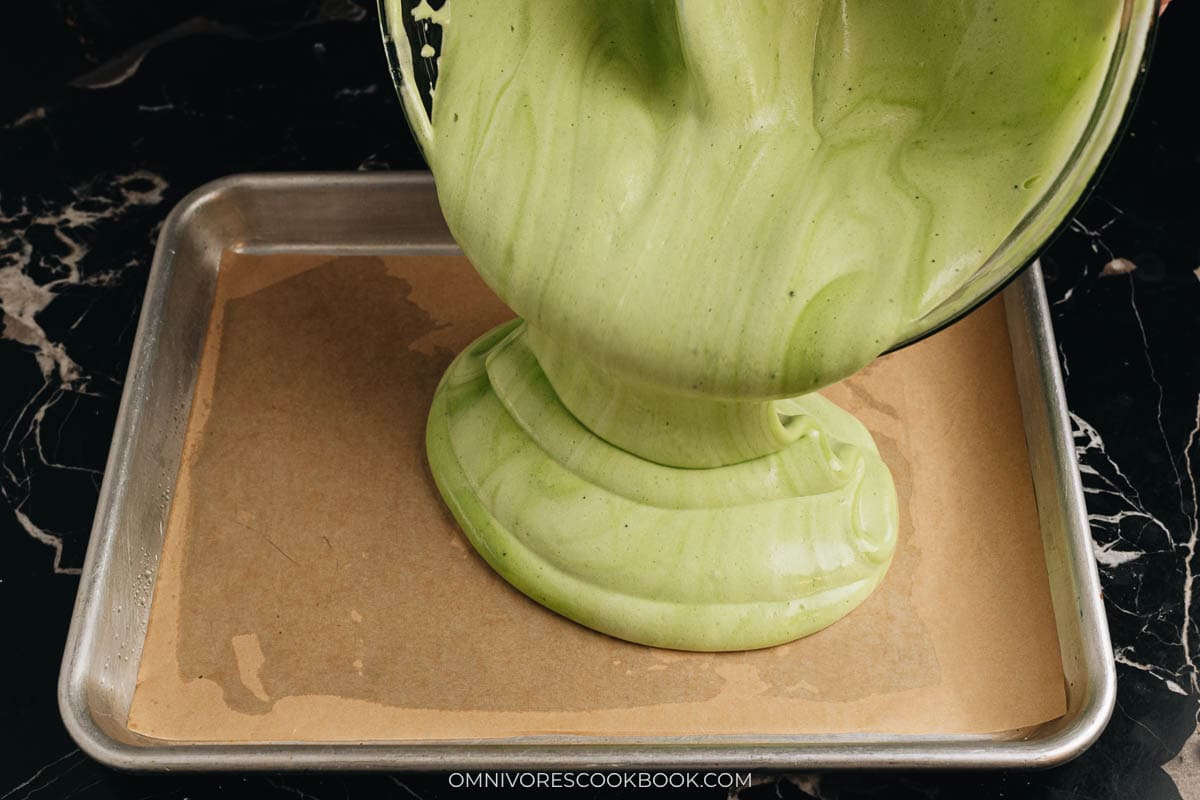
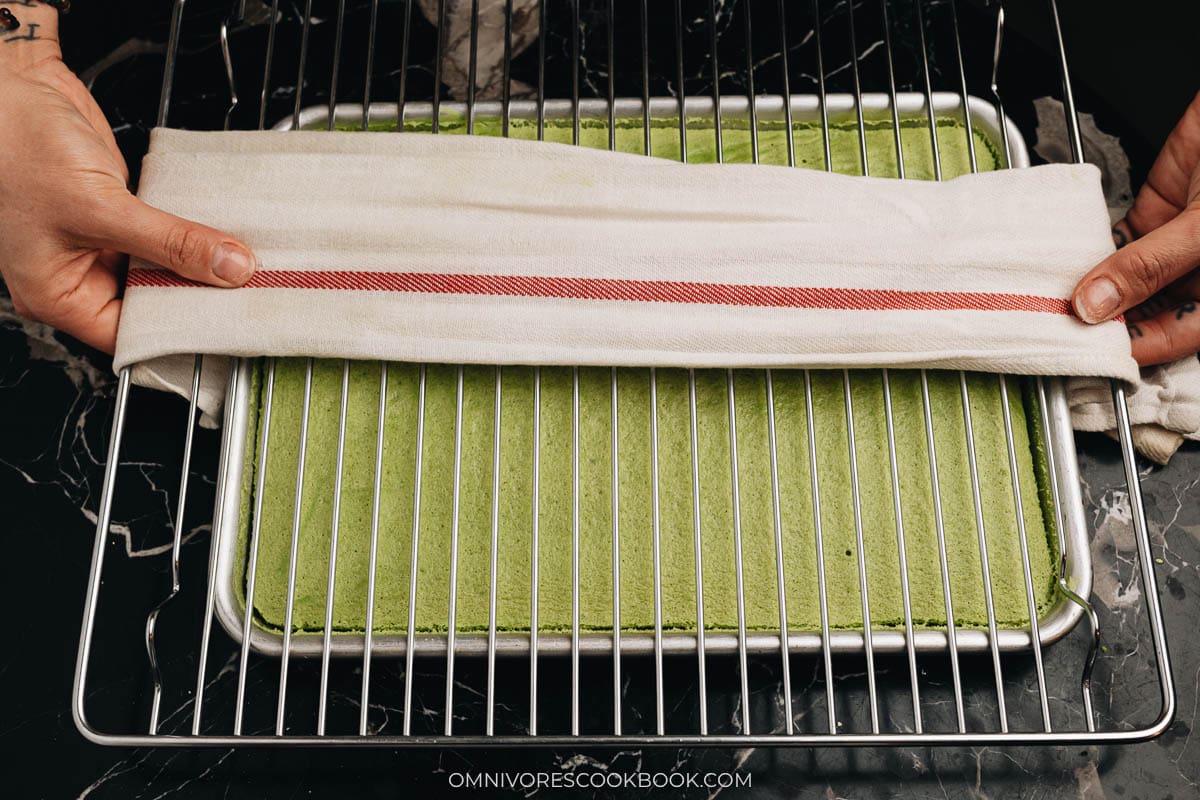
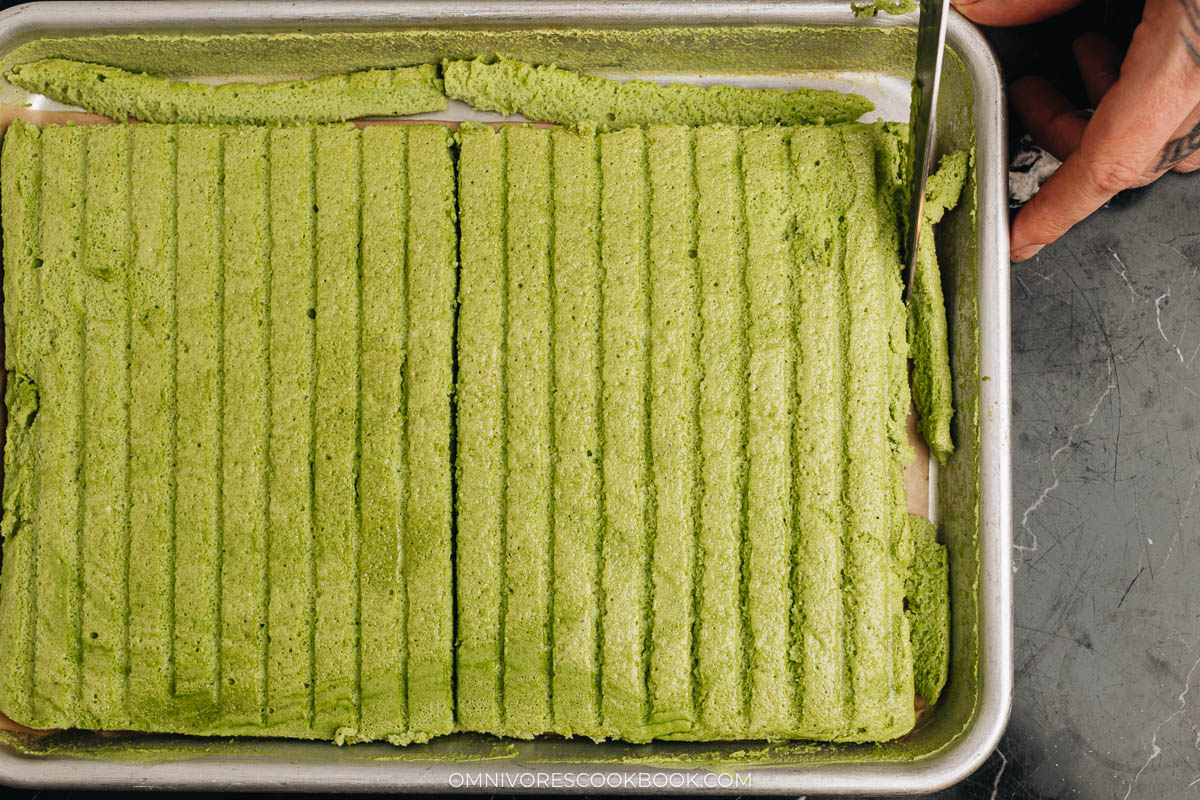
Bake at 325°F (160°C) for 15 to 20 minutes, transfer to a wire rack to cool completely. Then divide the cake into two even pieces and trim off the edges.
Prepare the whipped cream
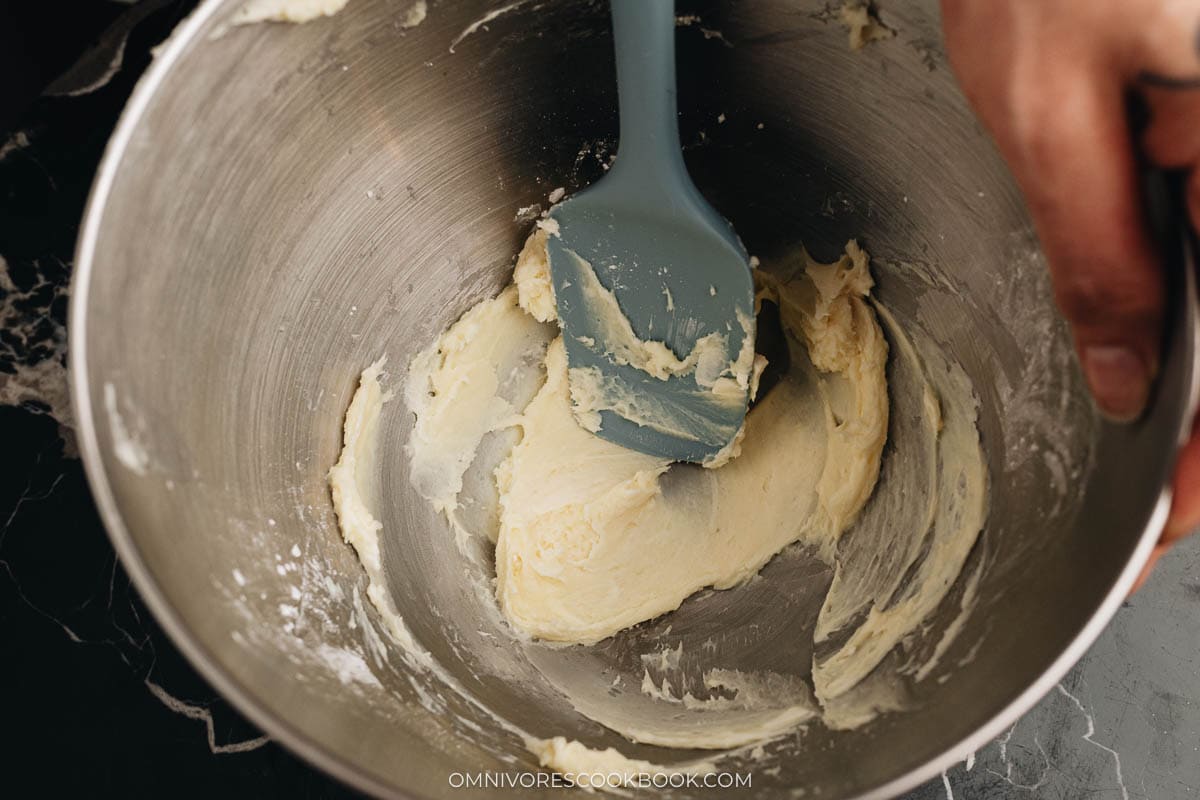
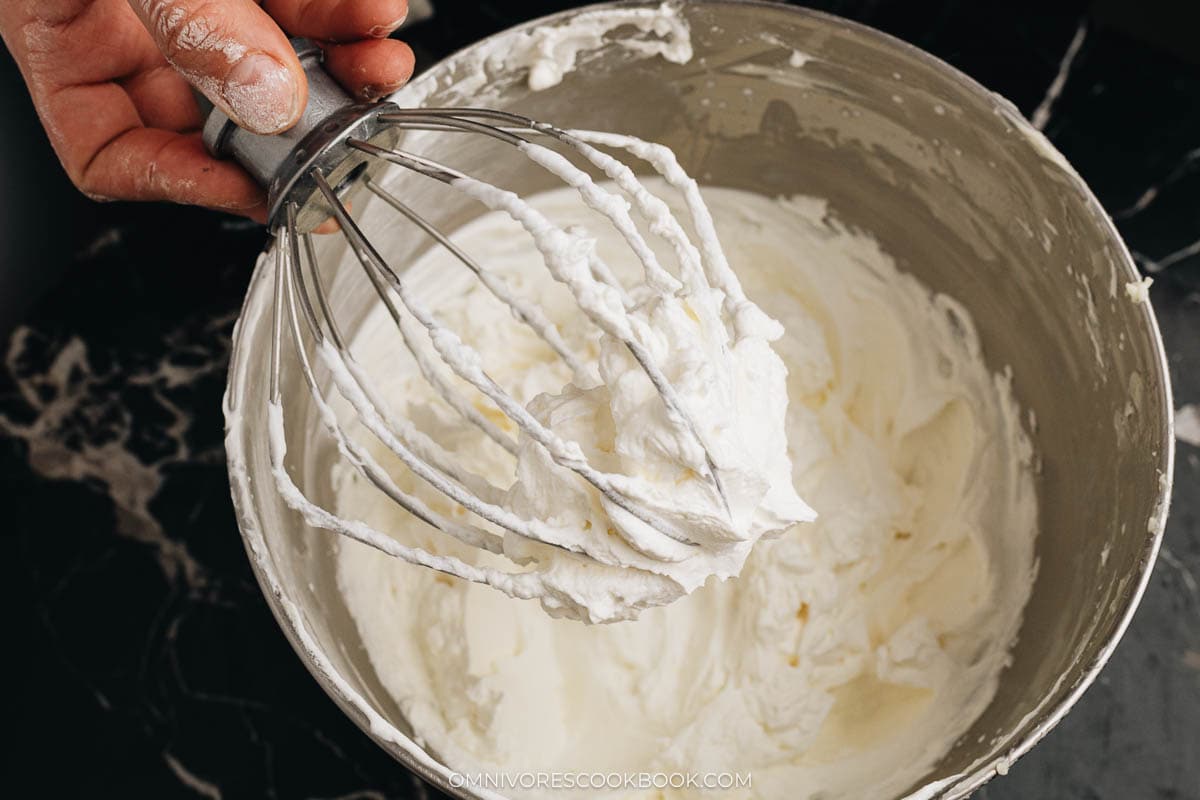
Mix the sugar with the cream cheese in your mixing bowl. Then add whipping cream and beat until firm peaks form.
Assemble and decorate the cake
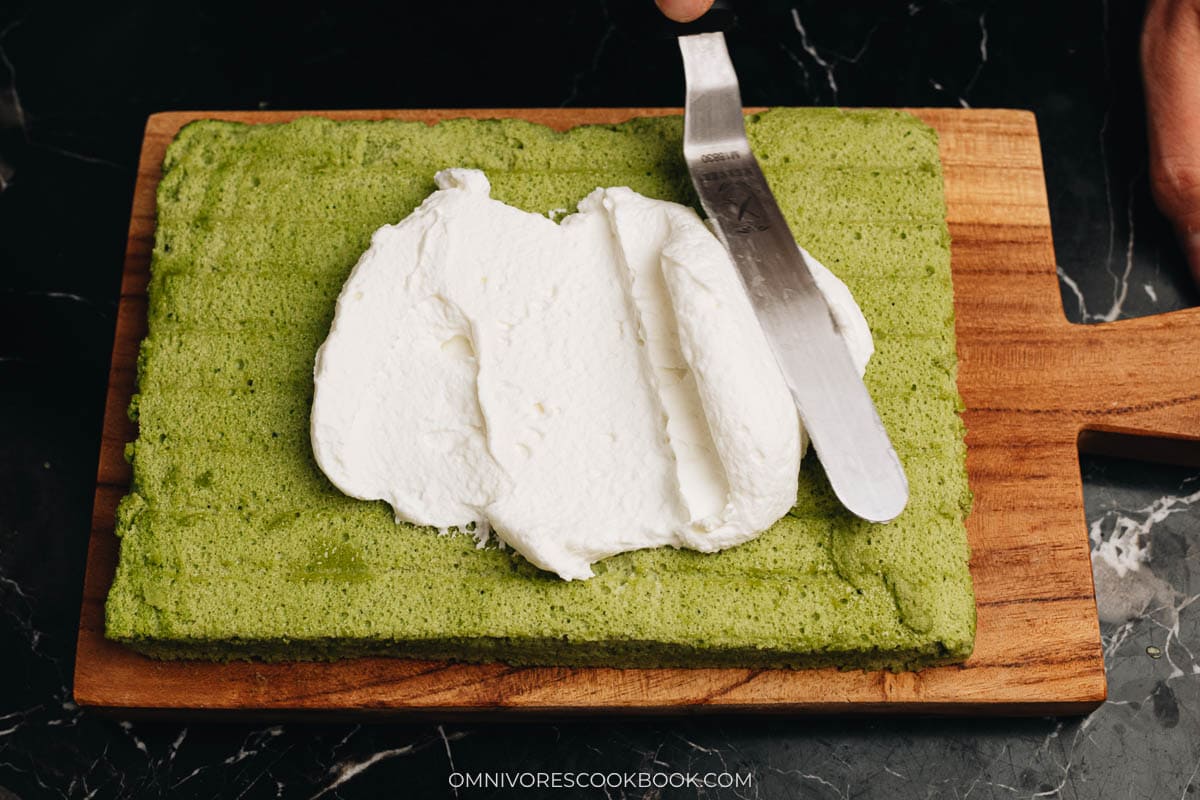
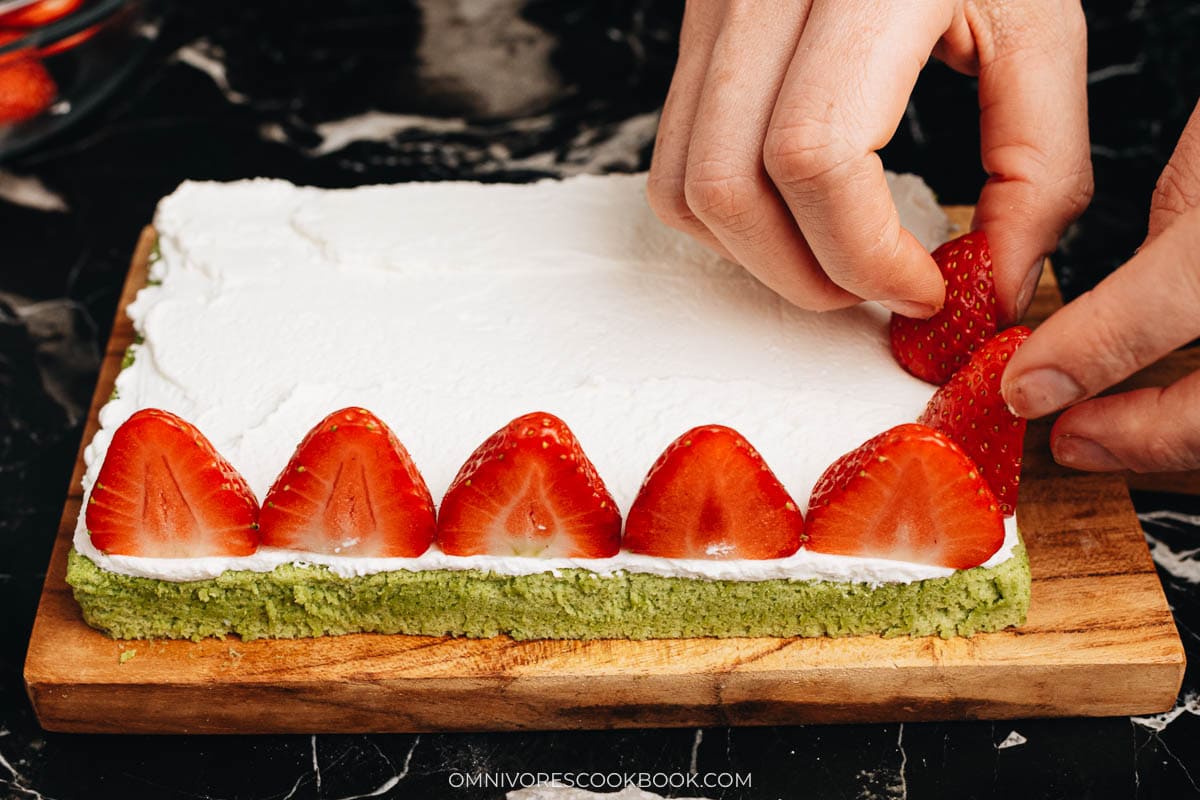
Add a thin layer of whipped cream onto the bottom layer of the cake. Create the strawberry wall by lining up the halved strawberries along the edges of the cake.
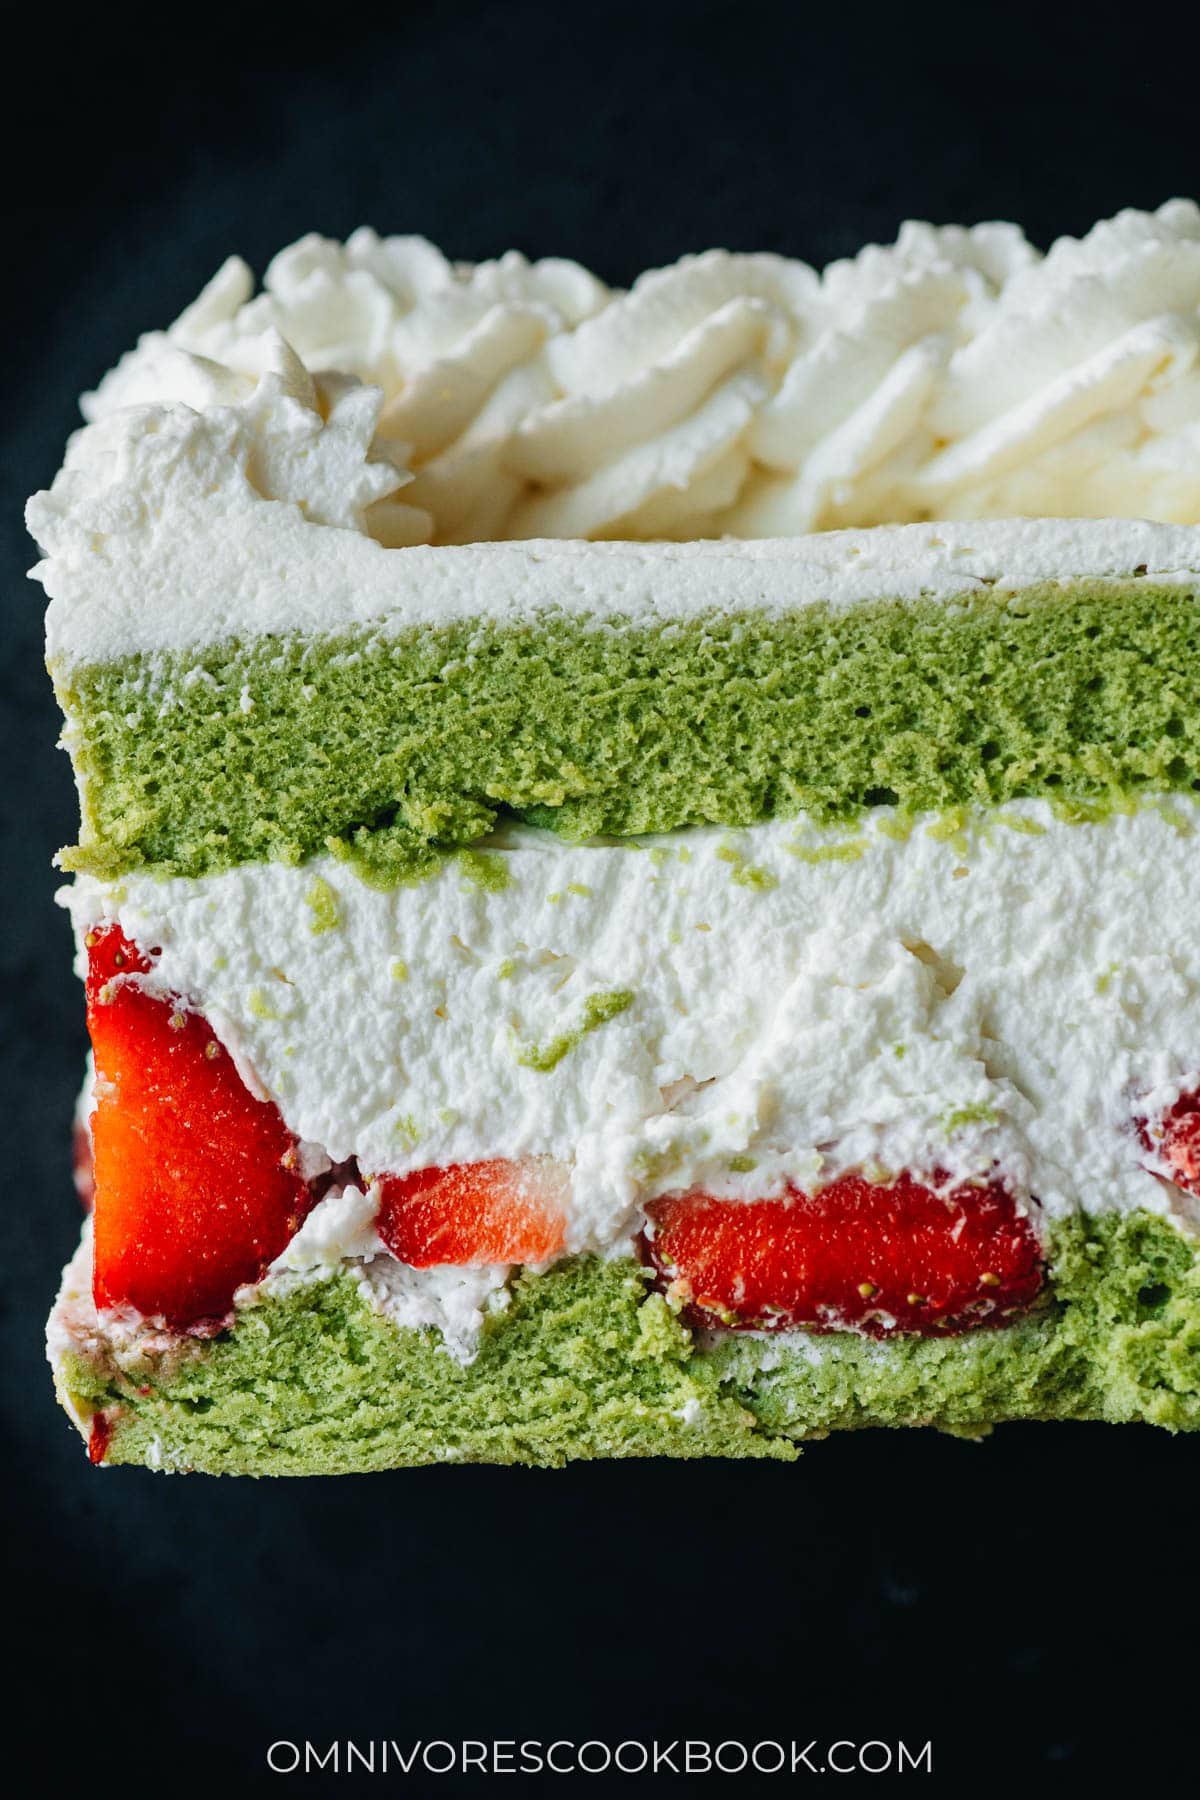
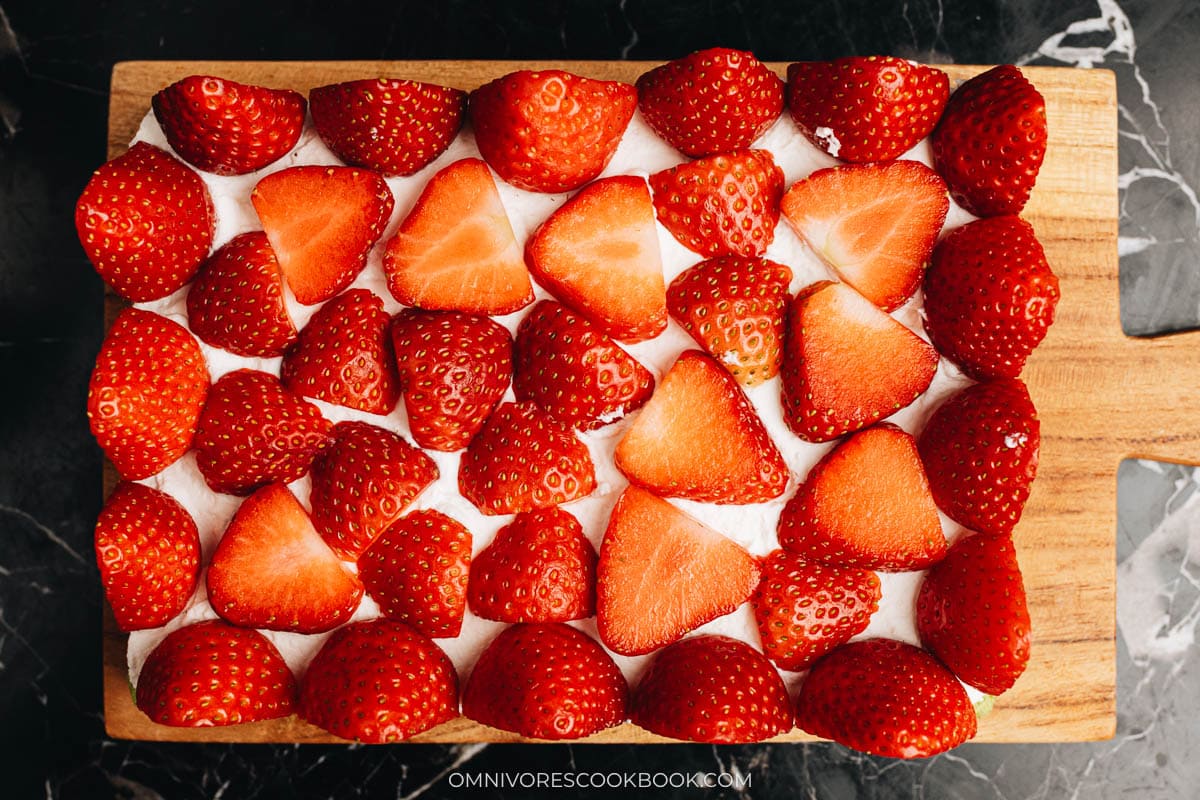
Fill the center of the cake with more strawberry slices. Fill up the center of the cake with more whipped cream.
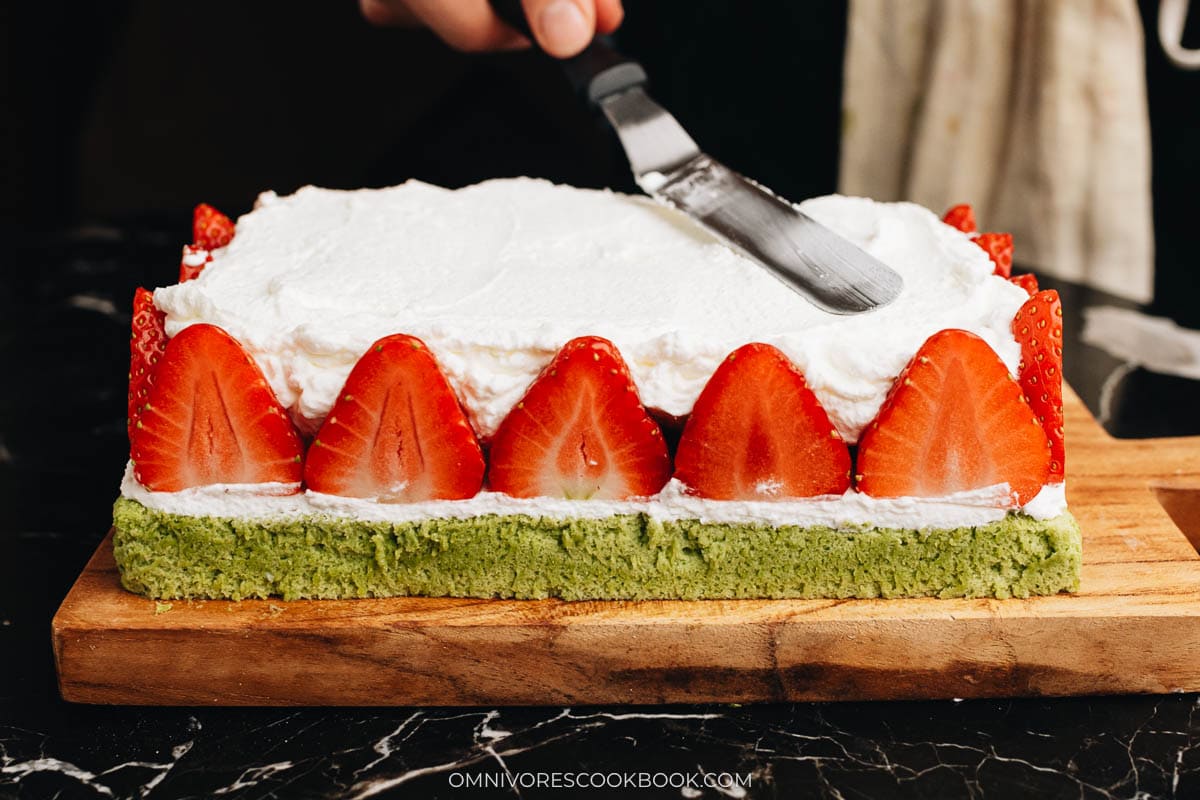
Place the top layer of the cake in alignment with the bottom layer. Add another layer of whipped cream on top, then add frosting if desired.
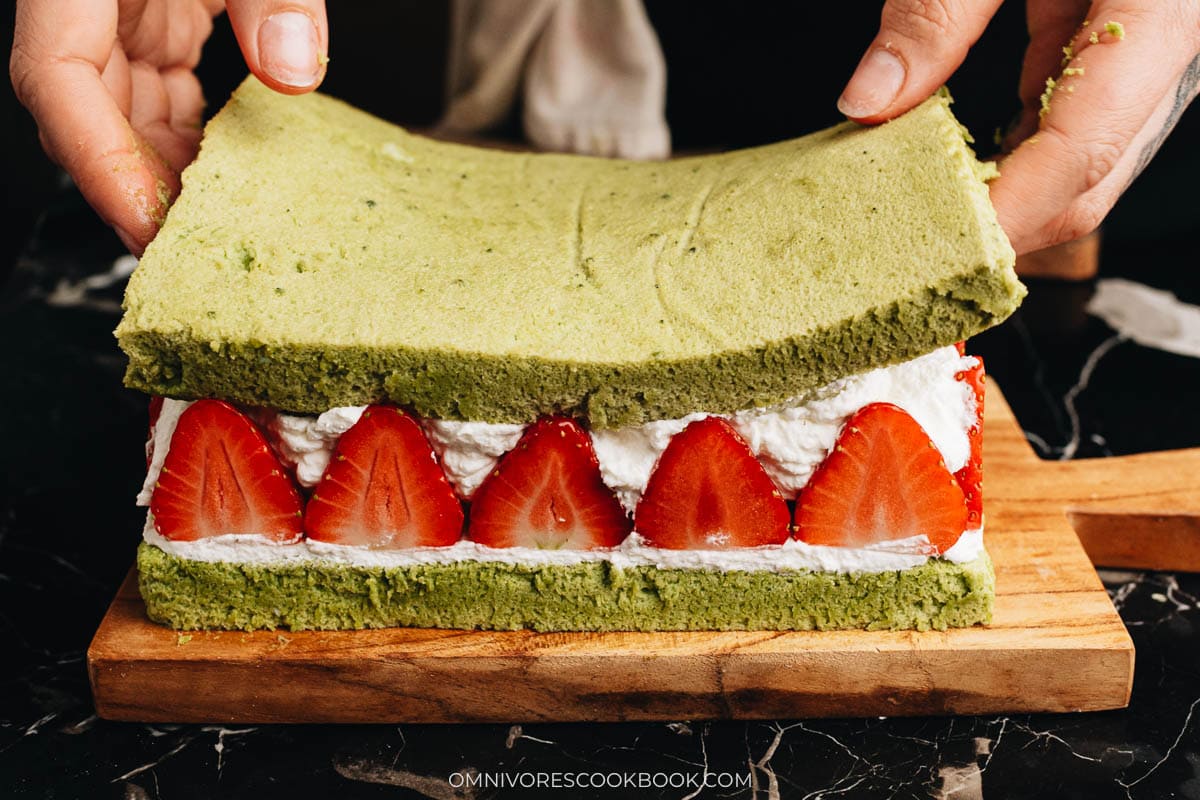
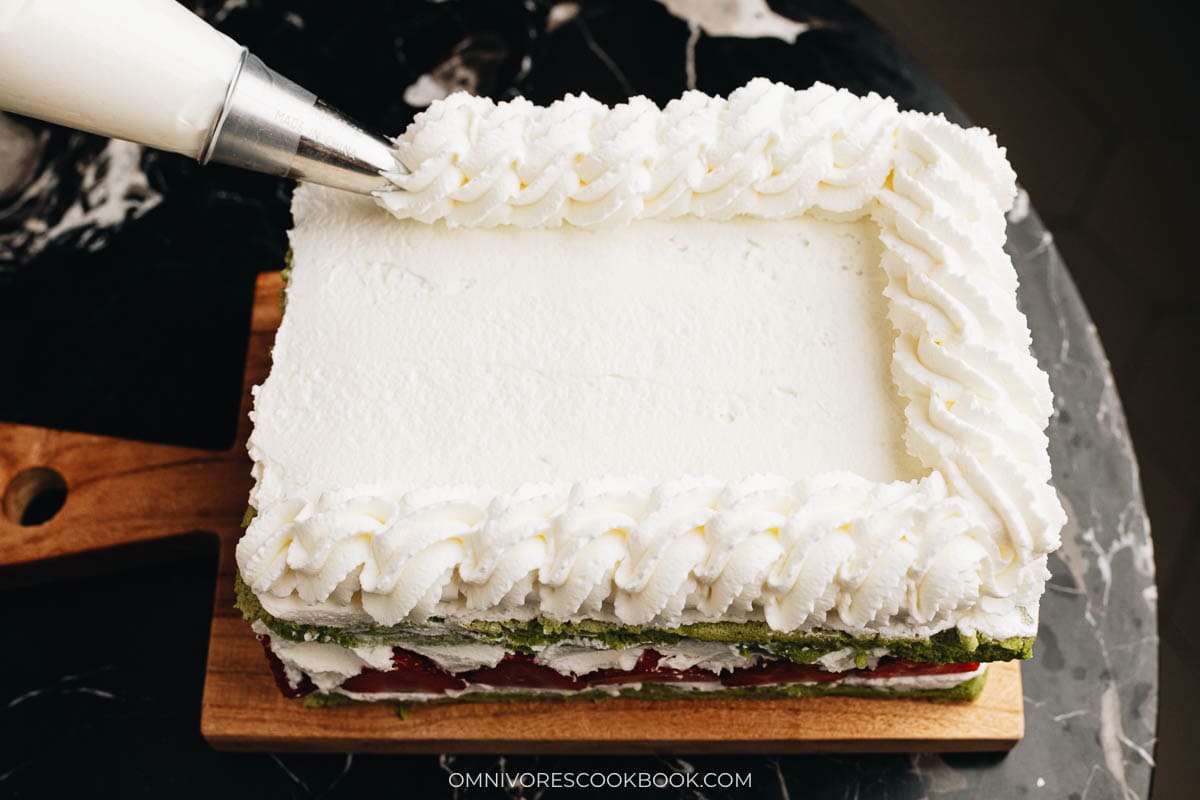
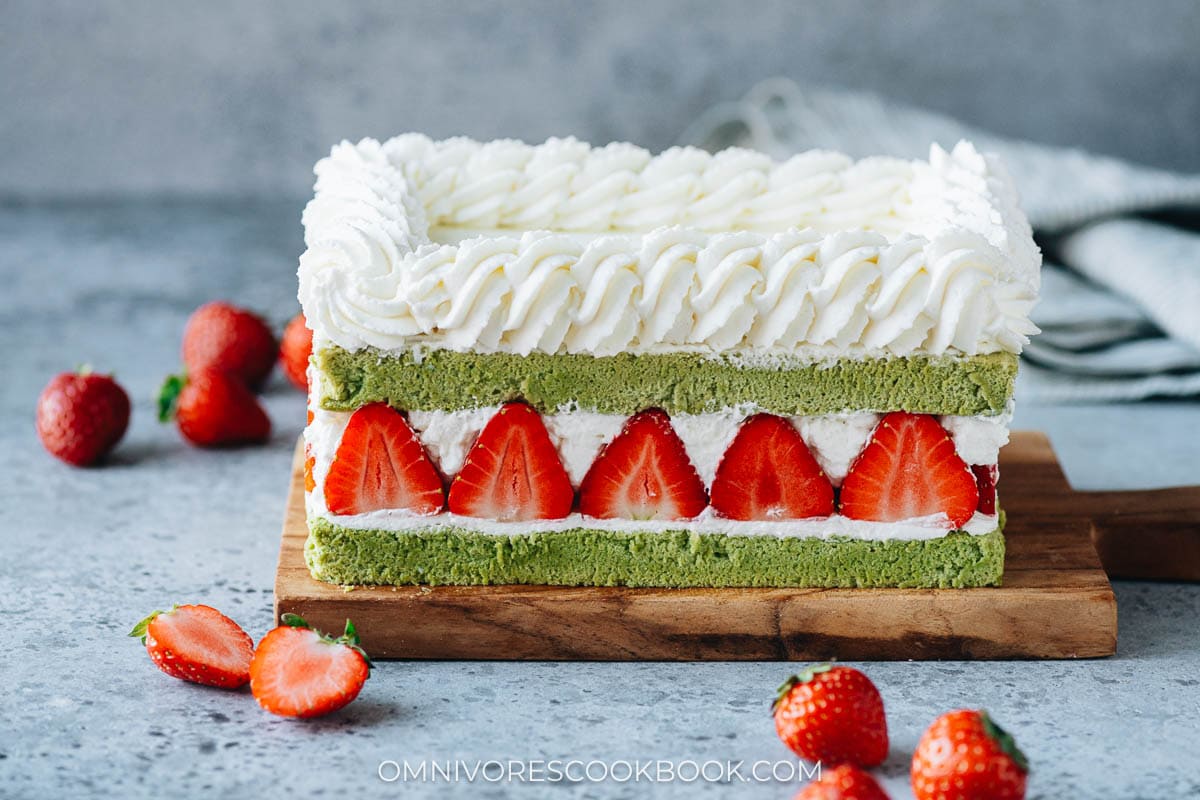
And that’s it. Now you have a very festive looking cake that tastes like the ones you get from a Japanese bakery.
Store and transportation
This matcha cake is quite delicate in texture, but it stores wonderfully in the fridge and transports well. When the cake is just made, it will be a bit hard to slice it and keep the slices intact. But once you store the cake in the fridge to cool, the whipped cream will stabilize, making the cake much easier to cut.
Whether you choose to refrigerate the cake or not, you can transport the cake to a different location without worrying about it falling apart (we’ve tested both ways).
I’ve tried storing the cake for two days in the fridge in a sealed container, and the cake still tasted great.
Other amazing baked goods for holiday season
- Black Sesame Babka
- Fluffy Monkey Bread with Jujube Syrup
- Japanese Strawberry Cake
- Strawberry Thumbprint Cookies
- Portuguese Egg Tart (葡式蛋挞, Pastel de Nata)
- Pineapple Cake (凤梨酥), A Simplified Version
Chinese Cooking Made Easy
Are you new to this website? This free email series is a great place to start. I’ll walk you through a few of my most popular recipes and show you how and why they work. You’ll quickly start to cook better Chinese food in your own kitchen.
Matcha Cake
Ingredients
Cake
- 80 g (1/3 cup) whole milk
- 50 g (3 1/2 tablespoons) unsalted butter
- 1 teaspoon vanilla
- 1/2 teaspoon sea salt
- 70 g (1/2 cup + 1 teaspoon) cake flour
- 5 g (2 teaspoon) matcha powder
- 4 large egg yolks
- 4 large egg whites
- 1/4 teaspoon cream of tartar (or 1/2 teaspoon white vinegar)
- 85 g (6 tablespoons) caster sugar (or regular sugar)
Strawberries
- 12 oz to 1 lb (340 g to 450 g) strawberries
Whipped Cream Frosting
- 4 tablespoons cream cheese
- 4 tablespoons confectioners sugar
- 473 g (1 pint) heavy whipping cream
Instructions
Prepare the cake
- Cut a piece of parchment paper to fit the bottom of a quarter sheet pan (13”x9”) and line the pan with it.
- Preheat the oven to 325°F (160°C).
- Combine the milk and butter in a medium-sized heatproof bowl. Microwave until melted. Add the vanilla and sea salt. Stir to mix well.
- Sift the cake flour and matcha powder into the mixture. Mix gently with a spatula until smooth.
- Add the egg yolks. Mix again until evenly combined.
- Add the egg whites and the cream of tartar into the clean mixing bowl of a stand mixer, or a clean bowl using a hand mixer. Beat at speed 4 until the egg whites are frothy. Slowly add the sugar while continuing to beat, until glossy and medium peaks form.
- Scoop 1/4 of the beaten whites out and add it to the yolk mixture, Fold using a spatula until smooth. Pour the mixture back into the egg whites. Continue to fold everything together until just smooth. Don’t overmix but also avoid leaving large pieces of egg white.
- Pour the batter into the lined sheet pan. Drop the pan from 5” (12 cm) onto the table twice to release any extra large bubbles.
- Bake 325°F (160°C) for 15 to 20 minutes. Test the doneness by gently pressing the cake, and it should slowly bounce back.
- Release the sides of the cake from the sheet pan using a sharp paring knife. Place a cooling rack over the cake. Wearing a pair of oven mitts or using kitchen towels, pat the baking sheet with a swift motion to flip the cake onto the cooling rack. Let it cool completely before cutting and decorating.
- Once the cake has cooled, place it back in the sheet pan by placing the pan upside down to cover the cake, then flipping it over. Use a sharp paring knife to divide the cake into 2 even pieces across the long side. Then slice off about 1/4” (0.5 cm) from the four sides to form a straight-cut cake.
- With a large enough cutting board (or a flat plate, or a cake stand), place it over the sheet pan. Flip it in a swift motion again to transfer the cake onto it. Set aside until you’re ready to decorate the cake.
Prepare the strawberries
- While the cake cools, select 8 to 10 medium-sized strawberries that are similar in size. Cut off the ends with the stems, then slice into halves (this is for the outside edges of the cake).
- For the rest of the strawberries, remove the stem then slice into three even pieces (this is for the inside of the cake).
Prepare the cream
- Add the cream cheese and the confectioners sugar into the clean mixing bowl of a stand mixer, or a bowl and use a hand mixer. Mix with a spatula until the sugar is mixed in.
- Add the heavy cream into the mixing bowl. Whip at medium speed until firm peaks begin to form, then stop immediately.
Decorate and assemble the cake
- Working on the bottom cake layer: Add a large dollop of the whipped cream onto the cake. Spread the cream with an offset spatula into a thin even layer across the top until the cream just comes to the edge.
- Creating the strawberry wall: Arrange the halved strawberries, stem-side down and cut side facing out, over the edge of the cake. Align the cut side of the strawberries as straight as the edge of the cake. There should be no gaps between the strawberries.
- Once the strawberry walls are created, fill the center with the strawberry slices.
- Put another large dollop of cream on top of the strawberries. Spread evenly and fill all the gaps both on top and on the sides of the cake.
- Gently place the top layer of the cake on top and line it up with the bottom layer.
- Add another dollop of cream onto the cake and spread again. Smooth out the sides of the cake.
- Fill the rest of the cream into a piping bag or ziplock bag with the corner cut off for decorating the top and/or sides if desired.
- You can serve the cake now or store it in the fridge for 2 to 3 days. To serve, slice the cake using a serrated knife or a sharp paring knife.
Storage
- Use a cake stand with a cover if you have it. Or choose a container (a tall baking dish works as well) that can fit the cake. Place the cake on the lid that comes with the container, then carefully lower the container so it covers the cake. Store it in the fridge for 2 to 3 days. The cream will stabilize once refrigerated and the cake will become easier to cut and transfer.
Notes
- Special tools (affiliate links): Quarter Sheet Pan (13”x9”) | Quarter Sheet Pan Liner | Electric Mixer (Stand or Handheld) | Offset Spatula | Piping Bag | Rectangular Cake Carrier (for storage and transportation)
Nutrition
Have a question or feedback? Add a Comment
Did you make this? I want to see! Tag @OmnivoresCookbook on Instagram, and rate the recipe below.


Katherine Nguyen
Hi there,
Thank you for sharing your recipe with us. I’m just wondering if I could use all-purpose flour and baking powder instead of cake flour since I don’t have it on hand. And if I could, how much should I use?
Thank you.
Han
Used this recipe to make tiramisu for my school fair (I used matcha syrup recipe from another source) and it was amazing. Definitely going to make this again if I have the chance (and will, ofc lol) 😀
Mark
Hi! I love your recipe for this cake! It’s amazing, and I tried variations with other flavors with this recipe. Thank you for making this post!
oyachumichan
Hello!
Hope you had a lovely birthday and I’m so glad you focused on the positivity instead of the negatives! And the positives far outweigh the negative! In this age, it’s so easy to just ignore what we are blessed with especially in comparison! (:
Hope you’re well so far! (:
The cake looks amazing! Just one quick question, how big/deep is the cake pan you’re using? 😁
Bam’s Kitchen
生日快乐 Maggie! Love this 3 layered dessert of deliciousness. I love red beans and also only like my desserts only delicately sweet so this perfect for me. I don’t know where your photography was a few months ago but it is beautiful now. You know we are own worst critics. Just pinned! Take Care
Christine | No Gojis No Glory
Maggie, I’ve learned that you have to define your own level of success…otherwise, you’ll drive yourself crazy trying to live up to everyone else’s standards of success. Like many people, I learned that the hard way. But happy birthday again! Turning 30 was a bit of shocker to me too. It definitely took some time to sink in, but now that I think about it, there’s no way I’d ever want to go back to my 20s…talk about being lost! lol This cake looks awesome btw, and “not too sweet” desserts are right up my alley!
Michelle @ Healthy Recipe Ecstasy
I can’t believe I didn’t know it was your birthday last Friday!!!! Happy Birthday!!! Turning 30 is a big milestone and I know I had a lot of the same thoughts….I still do. But I’m glad to see all those positives because your blog is doing great and your photography is awesome!!!!
Kelly
Happy belated birthday, Maggie! I had a mini panic attack when I turned 30 as well but I’m glad you can also look on the positive side of things. I think your photography is gorgeous and you’re doing an awesome job so far. As for everything else, it will all fall into place sooner or later. This cake is gorgeous and so are the photos 🙂
K / Pure & Complex
When I turned 30 I had a mini panic attack. I didn’t like where my life was headed, I didn’t accomplish everything I wanted too, and I was not where I wanted to be. I get it girl. But at the same time, you have to know.. what’s waiting for you have not reached you yet. So now, all you have to do is prepare for what will happen. As far as the blog, do what you love, and it will show. Things will change. And Happy Birthday :). You made it 30 years in this life and you’re still here :).
Maggie
Thanks for the kind words! Yeah, I have mini panic attacks once in a while. But I was always trying to stay positive and as you said, get prepared. 🙂
Elaine
Happy birthday! I will turn 30+ very soon. And it is a good idea to think about the progresses and what to improve in the following years.
Katie Pierce
Glad you have listed more positives than negatives! And another positive, that cake looks amazing! Stumbled 🙂
Maggie
Hi Katie, thanks for sharing! Hope you have a great day ahead! 🙂