
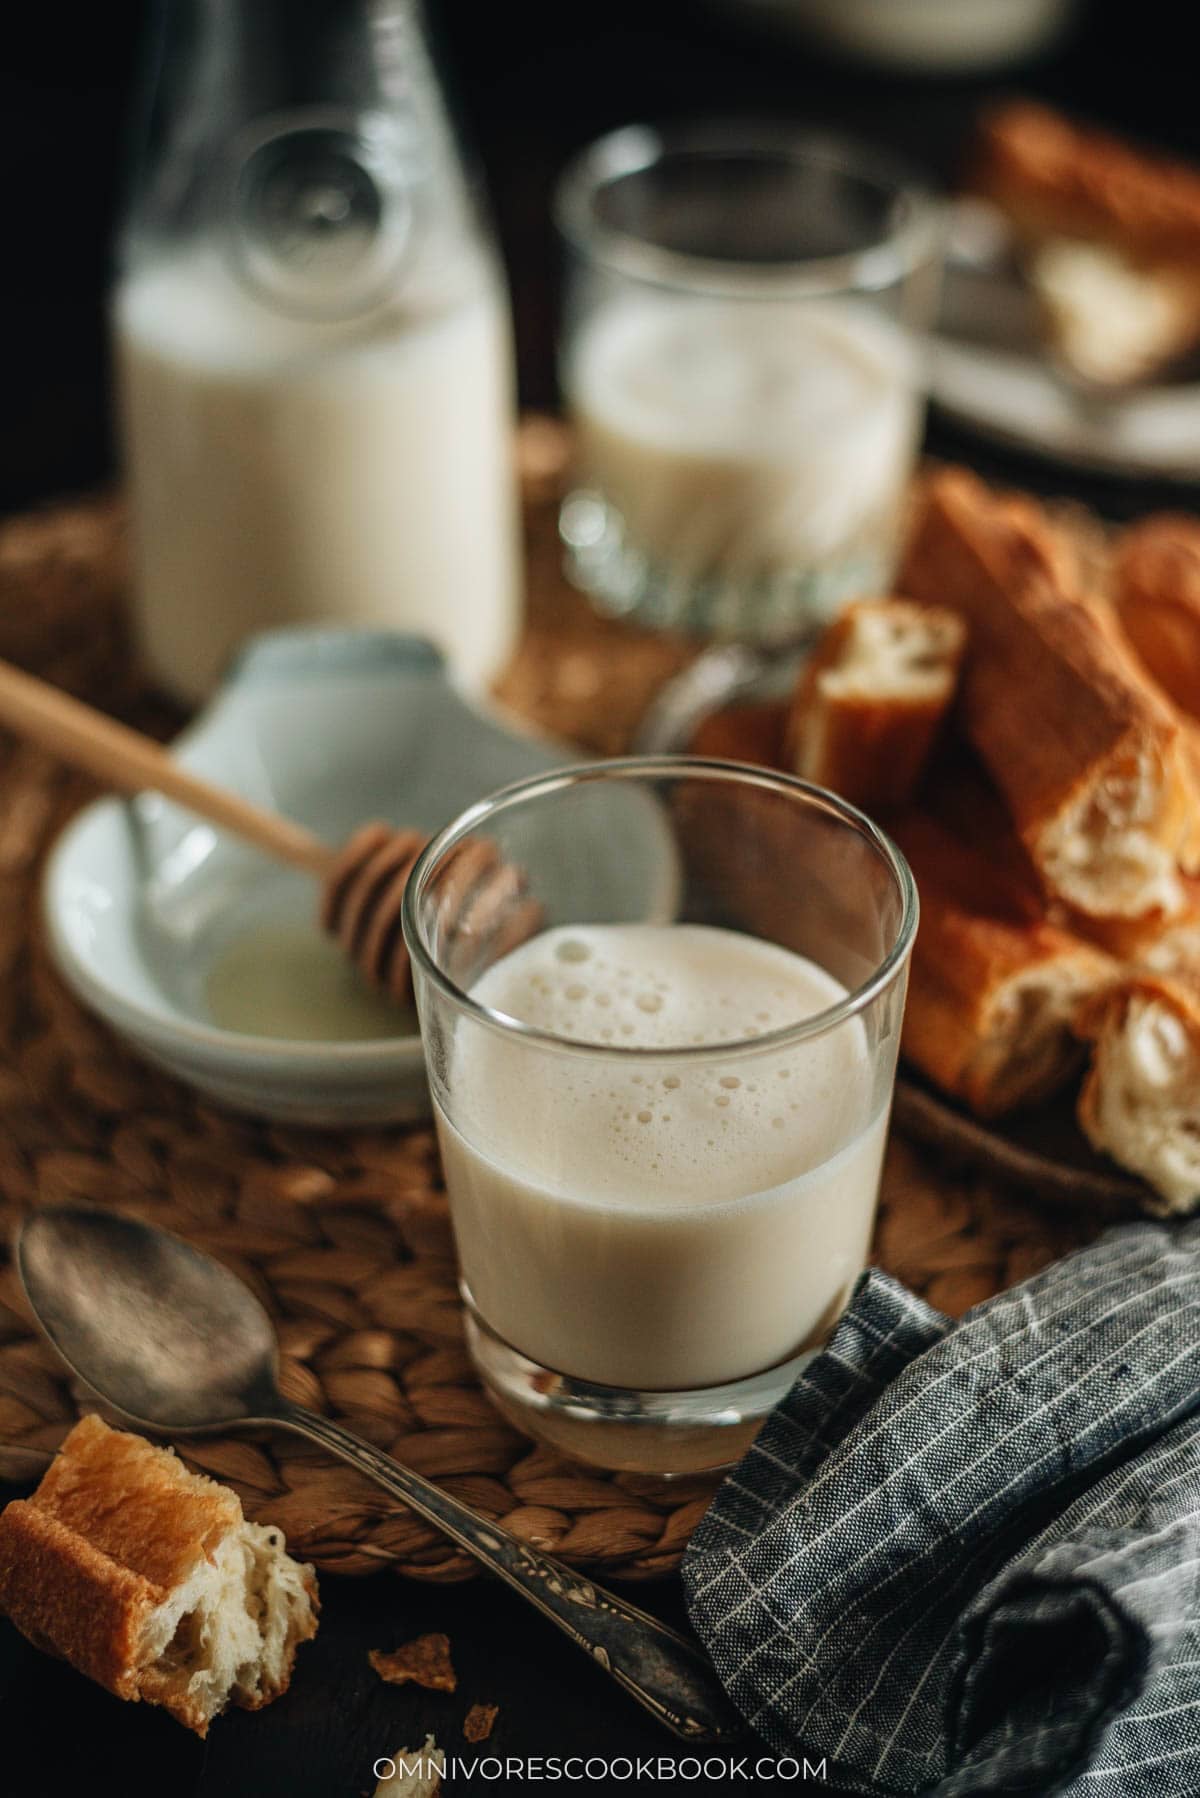
Soy milk is a morning drink that Chinese families have loved for generations. In Beijing it shows up next to fried dough sticks (油条) as the classic all-day breakfast pairing, and one of the most famous breakfast chains, Yung Ho Dou Jiang, even has soy milk in its name.
After I moved from Beijing to the US, the breakfast is the thing I missed most. In my parents home the soy milk maker sat right next to the rice cooker, and my mom ran it 2 to 3 times a week for fresh soy and multi-grain milk. I switched to boxed soy milk here for a while, until I left an open carton in the fridge for over a month and it still tasted fine, which told me exactly how much was in it that should not be.
That was when I went back to making my own. It costs me about $1 a gallon, roughly 8 times cheaper than the cartons, with no additives or chemical sweeteners in the jar.
I make this with a Joyoung Soy Milk Maker, the same brand my mom uses. I measure the beans, add filtered water to the mark, press one button, and 30 minutes later I strain the milk through the fine mesh. If you drink plant based milk most days, the machine below is the reason I make my own instead of buying it.
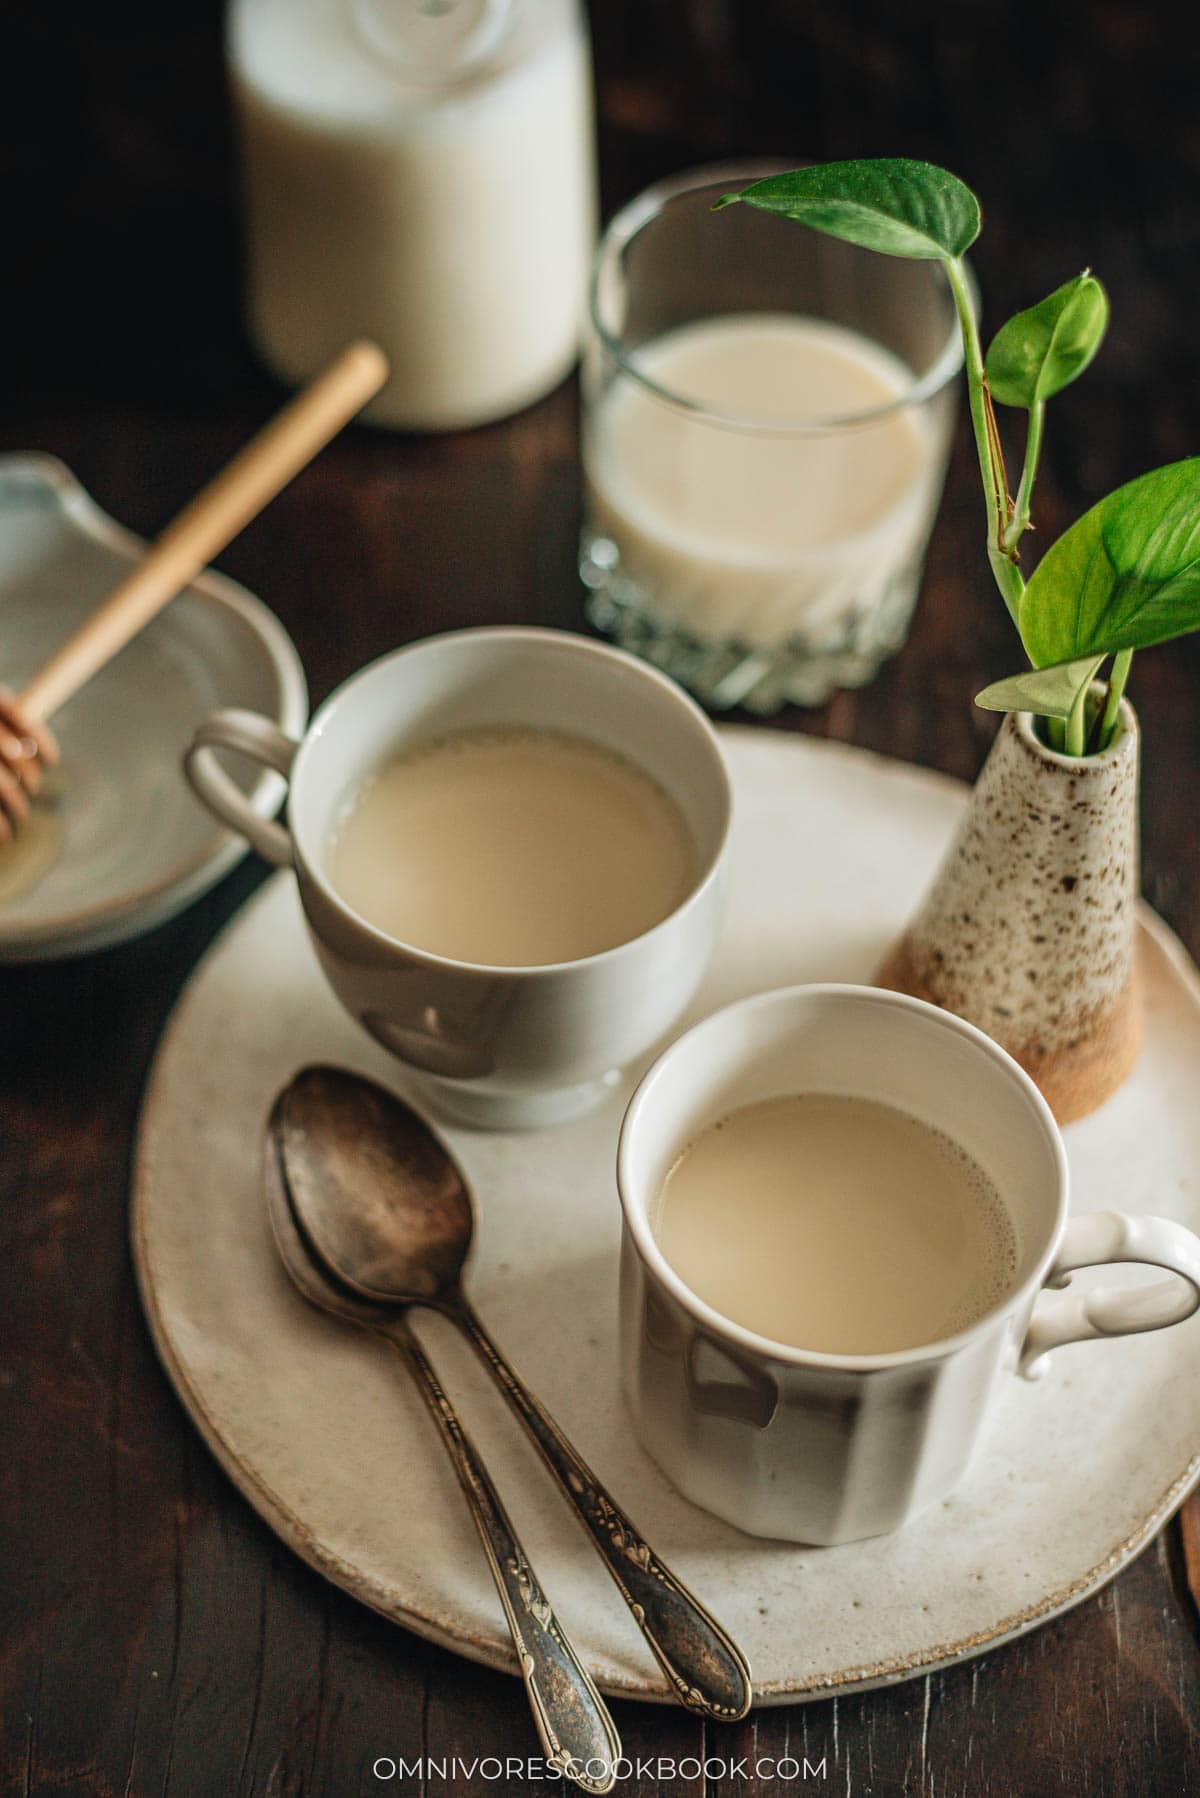
Ingredients
I keep this list to 3 key ingredients, and only the soy beans and water do any work in the machine. The syrup is a finish, not a requirement. Here is what I use:
Dried soy beans. I measure them with the little cup that comes with the machine so the ratio is always right. I rinse them once or twice to wash off surface dust before they go in.
Filtered water. I use filtered water rather than straight tap because the milk tastes cleaner and the flavor of the beans comes through better.
Sugar, honey, or maple syrup. I sweeten at the glass, not in the pot, so I can pour some plain and some sweet from the same batch. A drop or 2 of vanilla extract also softens the bean flavor if it tastes too strong for you.
How to Make Soy Milk with a Soy Milk Maker
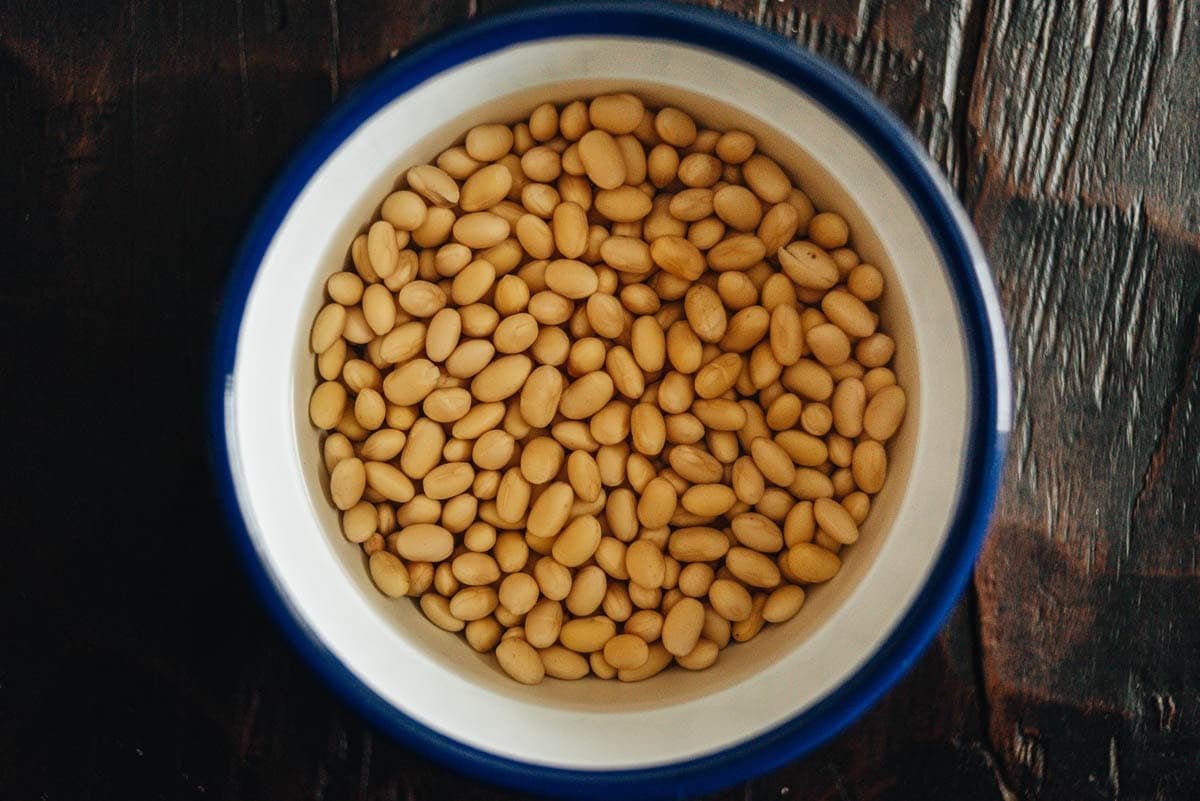
1. Measure and rinse the beans: Use the soy bean cup that comes with the machine to measure the dried soy beans into a bowl. Rinse with tap water 1 to 2 times to remove surface dust, then drain.
2. Soak, or do not: For the smoothest milk, cover the beans with water at least 1 inch deep and soak overnight or at least 6 hours. If you are short on time, skip the soak and start right after rinsing.
3. Load the machine: Drain the beans and add them to the soy milk maker. Add filtered water until it reaches the 1700ml mark inside the machine.
4. Start it up: Set the lid on firmly, then plug in the cord and confirm the lid reads Keep Warm. Choose the soaked or dry bean setting and wait for two beeps, which means it has started.
5. Let it run: The machine grinds and heats on its own for about 30 minutes. You will hear it mixing on and off at roughly the same volume as a blender, so there is nothing to watch or stir.
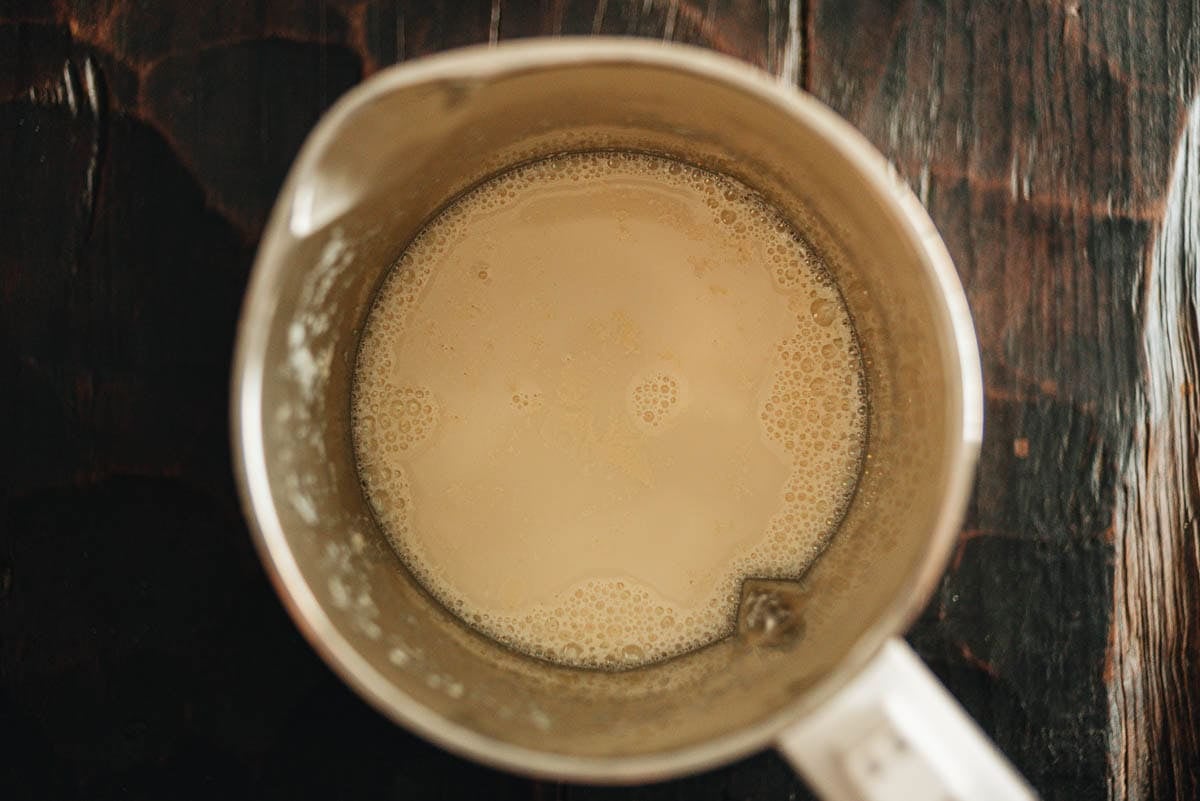
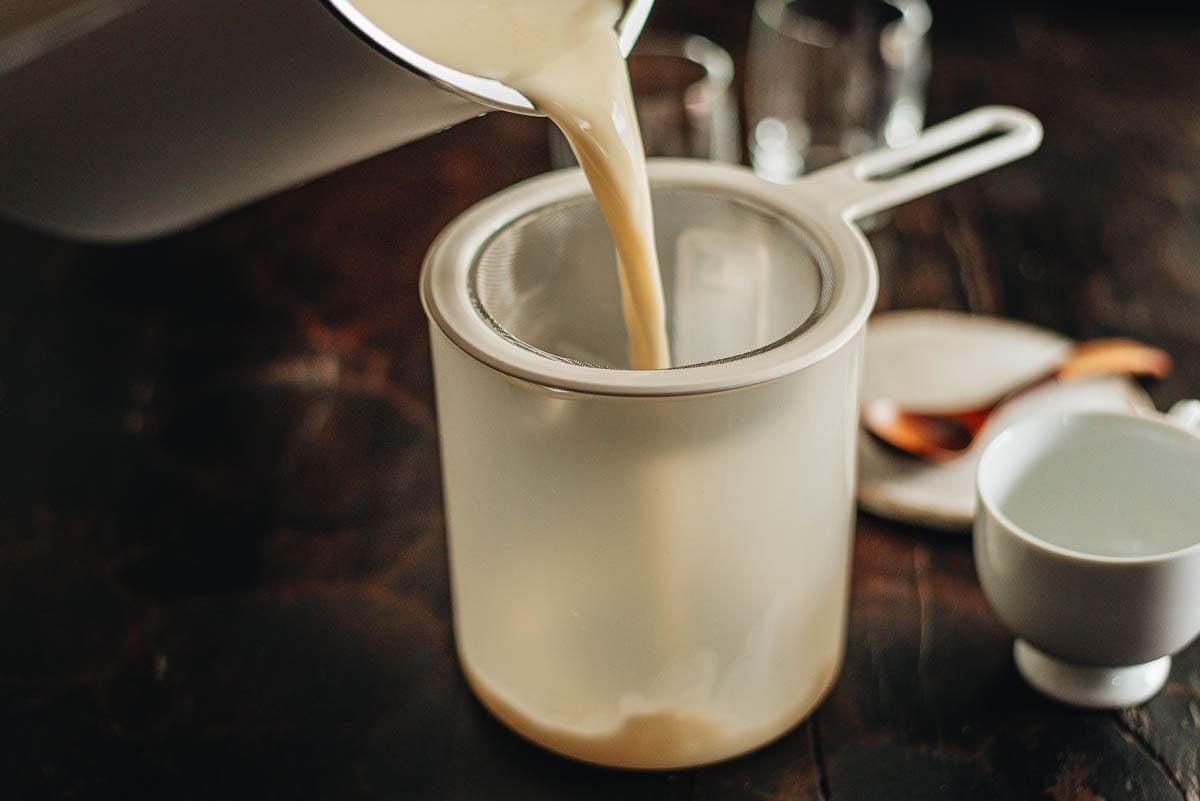
6. Strain the milk: When it beeps to finish, set the fine mesh over the jar that comes with the machine and pour the milk through to catch the soy pulp.
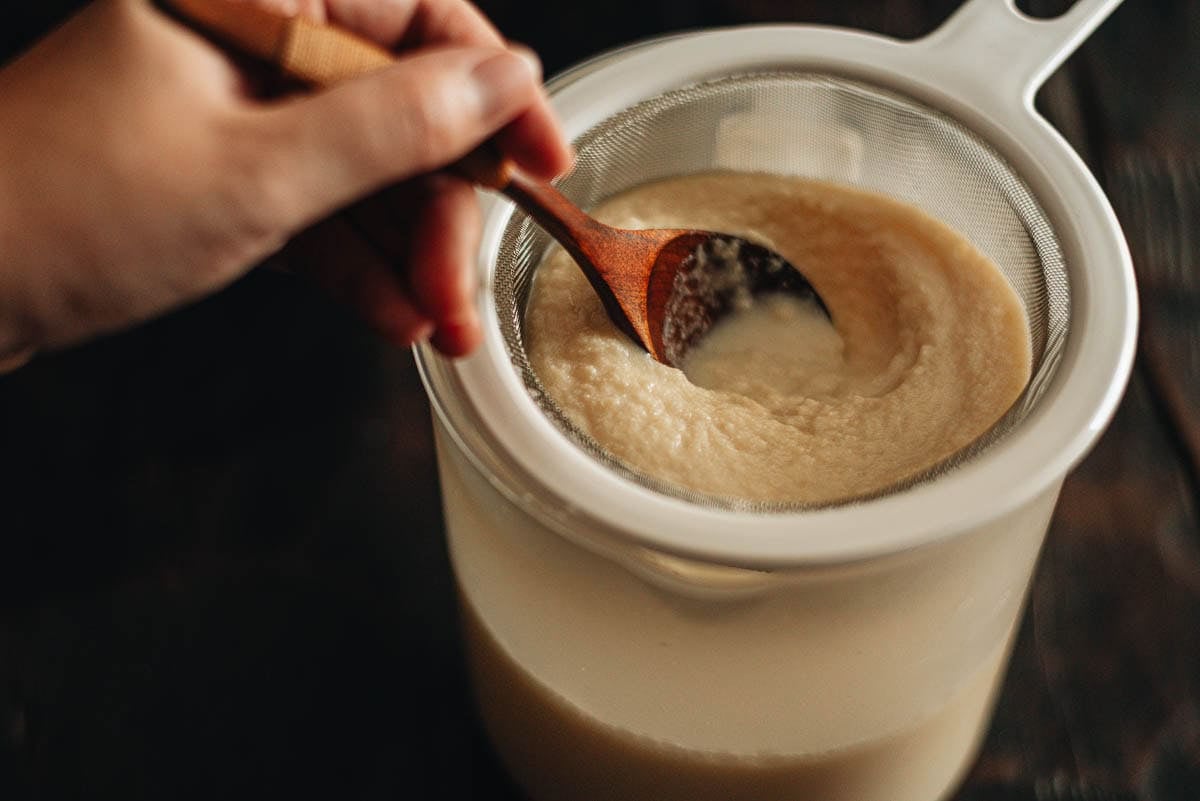
7. Press the pulp with the back of a small spoon to drain the milk fully.
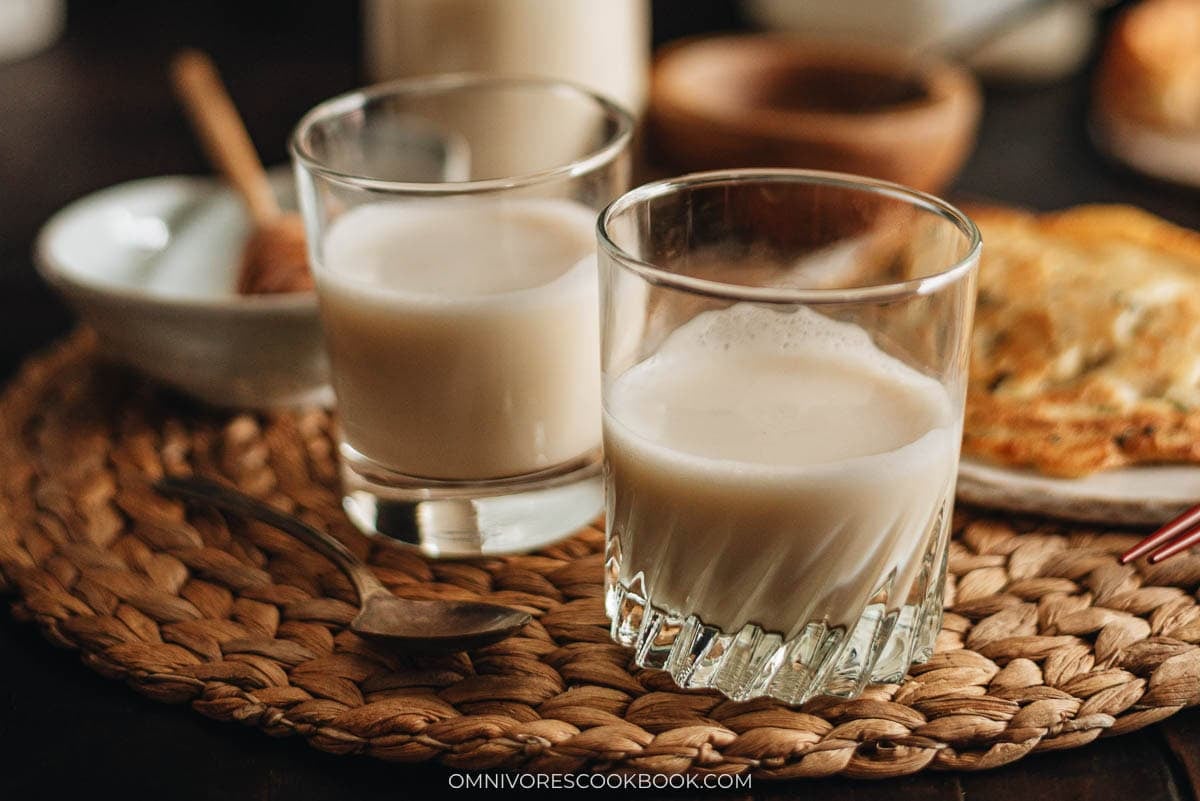
8. Sweeten and serve: Drink it hot or cold. Stir in agave or maple syrup at the glass, and add a drop of vanilla if the bean flavor is strong for your taste.
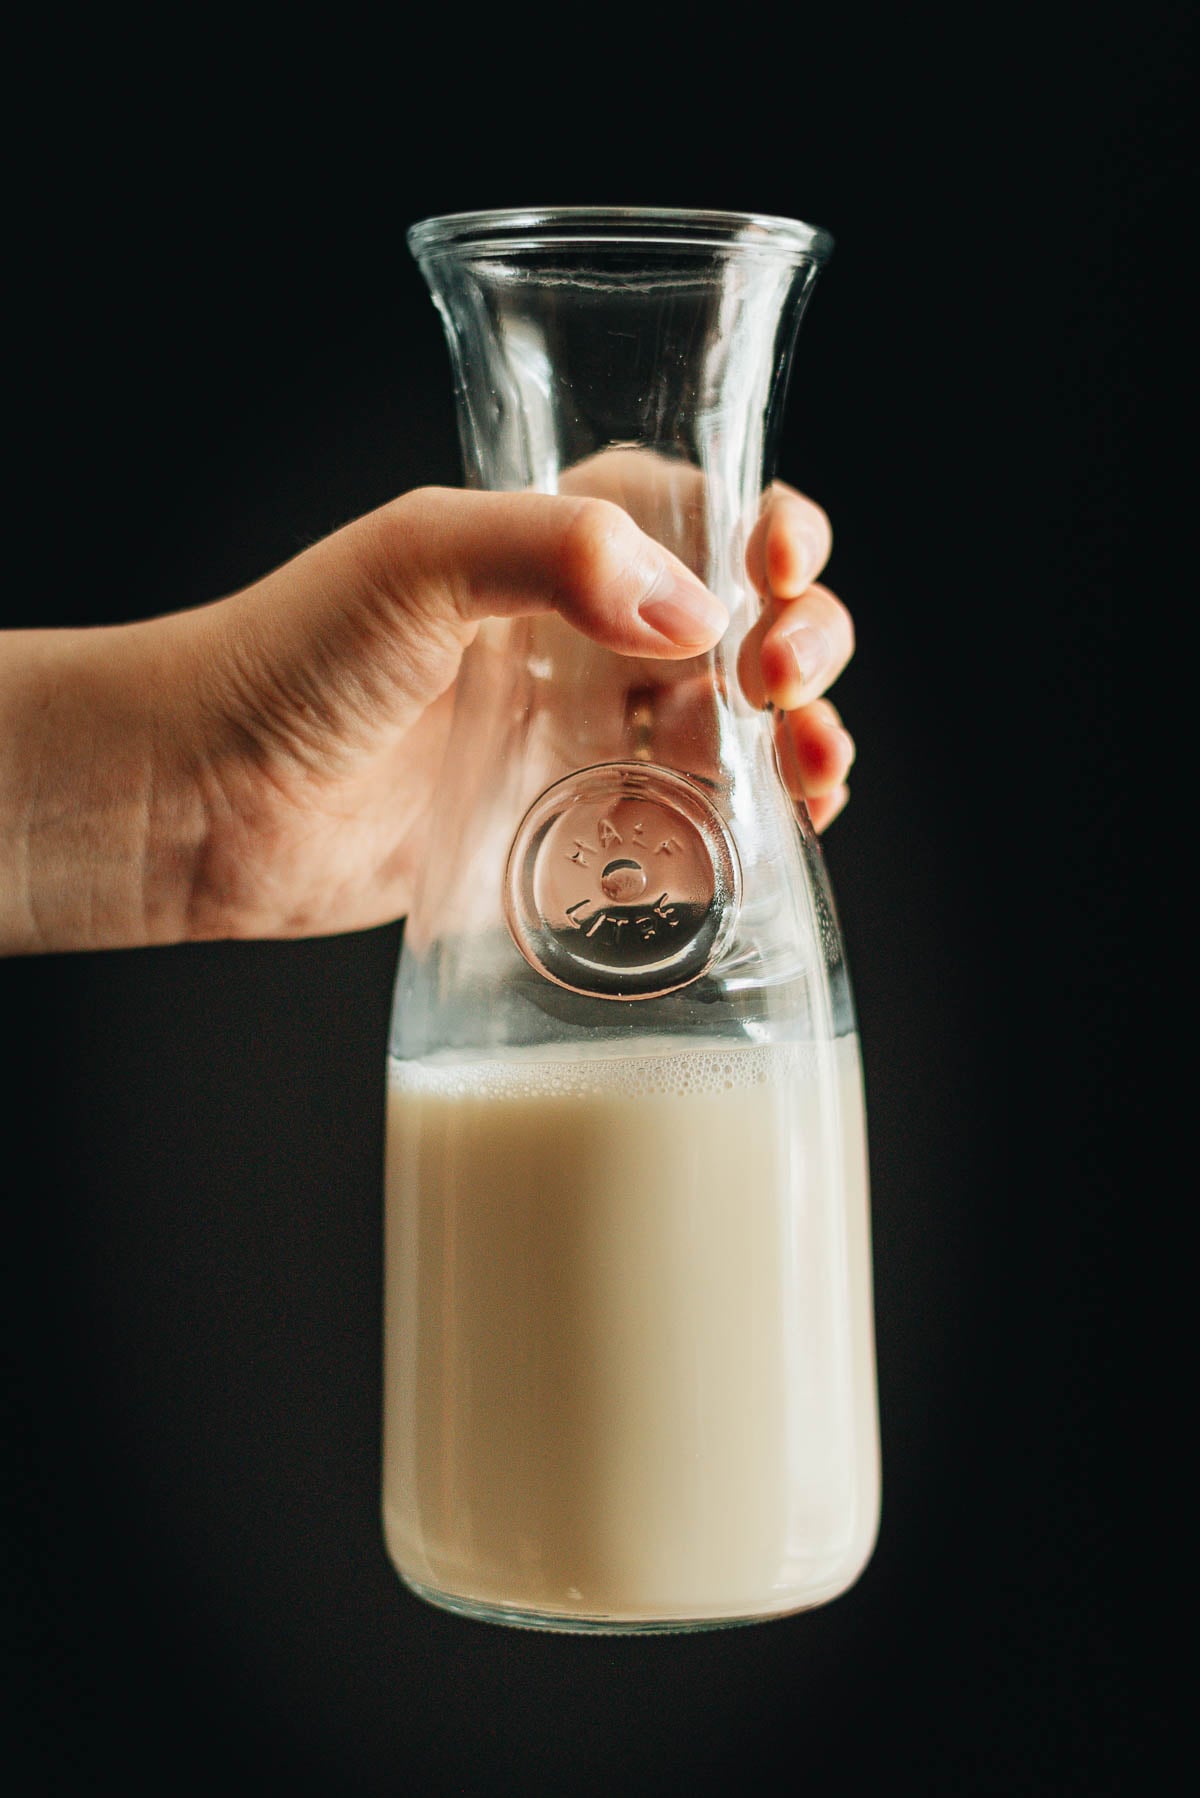
9. Store what is left: Let the milk cool to room temperature, then pour it into airtight jars and refrigerate.
My Cooking Tips
Use the machine’s own cup to measure. The bean to water ratio on this recipe is set for that cup, so measuring with a kitchen cup can throw off how thick the milk comes out.
Dry beans work, with one trade off. Skipping the soak is fine and tastes almost as good, but dry beans grind into a finer pulp that slips through the mesh. Strain, then let the milk sit so the fine pulp sinks, and pour off the smooth milk from the top.
Cool it before it hits the plastic jar. The straining jar is plastic, so I let the milk cool for a few minutes before pouring. If you would rather not pour hot liquid into plastic at all, strain into a ceramic bowl instead.
Do not leave it on Keep Warm too long. The machine automatically keeps the soy milk warm for 1 hour after the cycle finishes. For the best flavor and freshness, enjoy it during that time or refrigerate it once it has cooled slightly. Do not leave the soy milk sitting warm in the machine for more than 4 hours.
Wash the machine while it is still warm. The pulp residue rinses off far easier warm than dried on. If you cannot get to it, fill the machine with hot water, set the lid back on, and let it soak until you can.
Save the okara. The leftover bean pulp is high in fiber and protein. I mix it with egg and flour for quick green onion pancakes, which turns one batch of milk into breakfast and a snack.
Serving Suggestions
Hot soy milk with a little syrup is how I start most mornings, poured the way we drink it in China. On a slow weekend I enjoy it stack of Chinese scallion pancakes or a plate of You Tiao (Savory Fried Donuts), which is the closest I get at home to a Beijing breakfast counter.
When I want a bigger breakfast table for guests, I use the same soy bean two ways and make a batch of douhua tofu pudding alongside the milk. A pot of century egg congee is always a good idea for a proper sit down morning with your family.
Okara Pancakes (Bonus, Using the Leftover Bean Pulp)
Every batch of soy milk leaves behind a bowl of okara, and I turn it into green onion pancakes the same morning. It takes about 10 minutes and gives me a full breakfast next to the milk.
1. Mix the batter: Whisk the okara, flour, egg, chopped green onions, salt, and white pepper in a bowl until it just comes together into a runny smooth paste. Do not overmix, since working it too hard develops gluten and makes the pancakes tough.
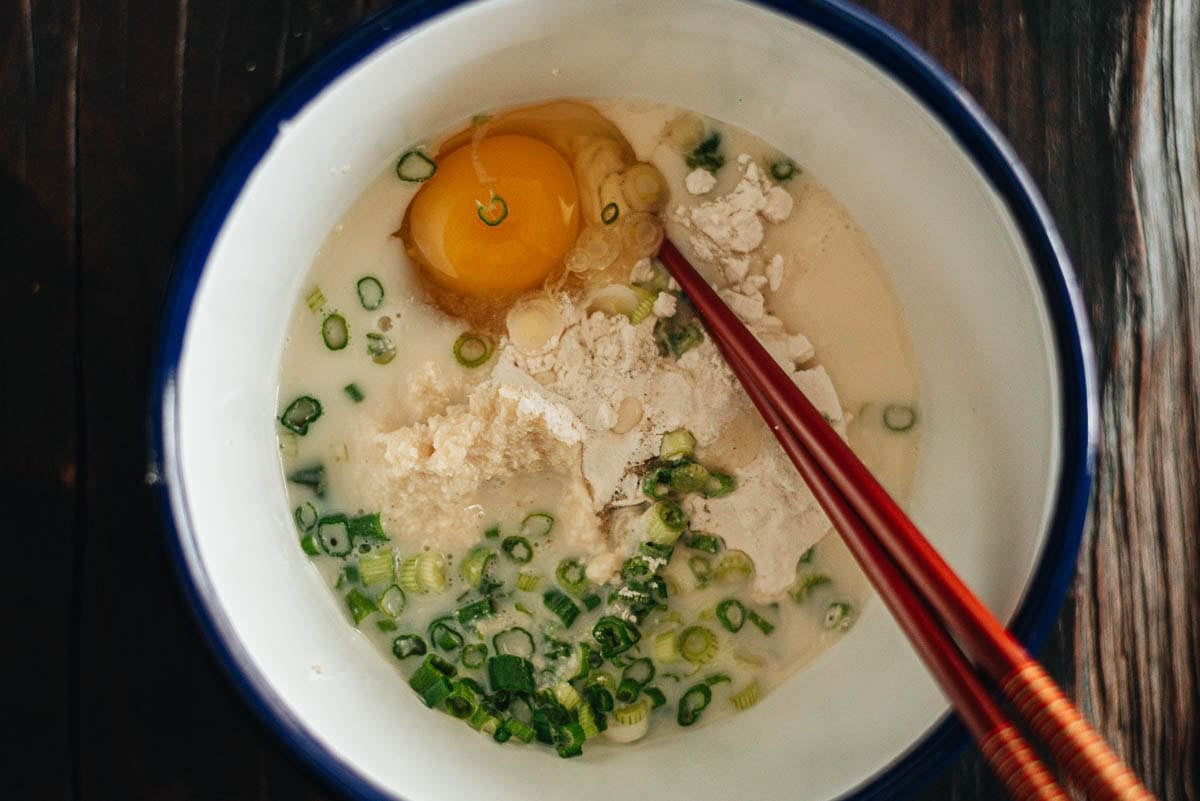
2. Cook the pancakes: Heat a little oil in a nonstick pan until hot, add a scoop of batter, and shake the pan to form a round pancake. Cook until the bottom sets, 30 seconds to 1 minute, add a pinch of black sesame if using, then flip and cook the other side about 30 seconds.
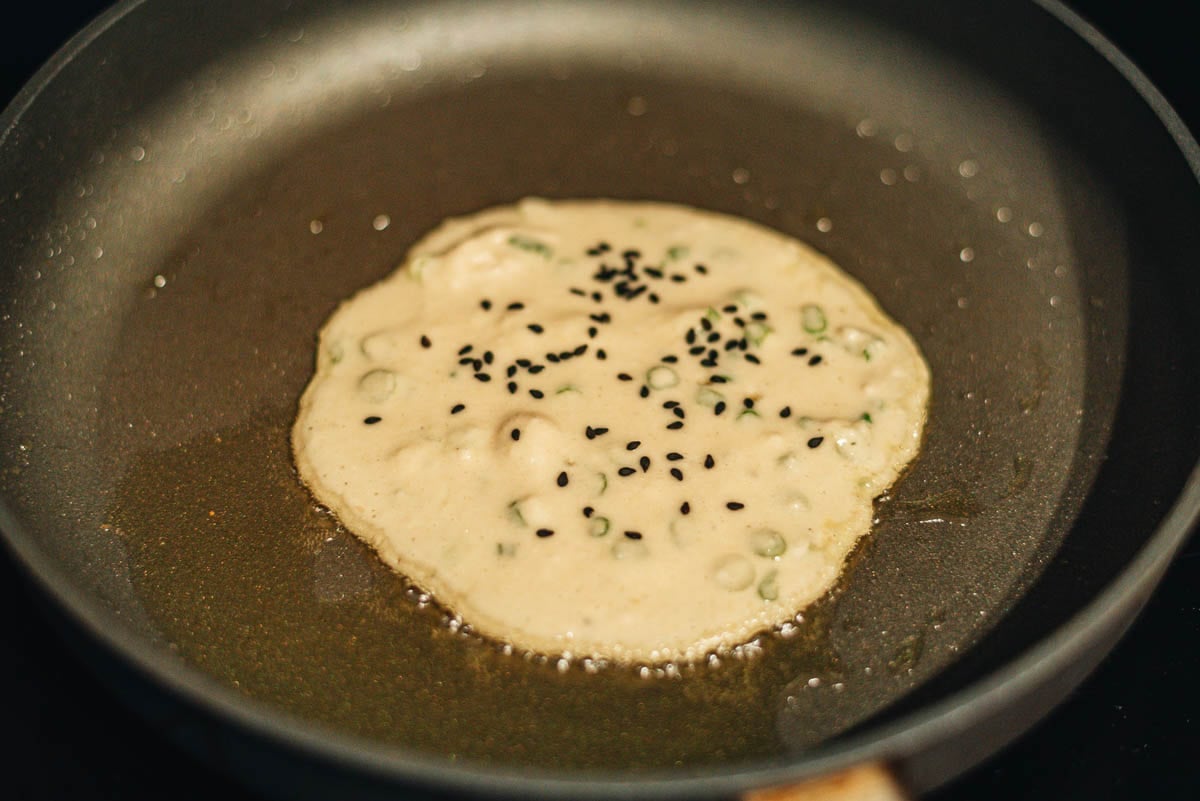
3. Serve with soy milk: Move the pancakes to a plate and serve them hot, with a glass of the fresh soy milk right next to them. That is the two part breakfast I make from one batch of beans.
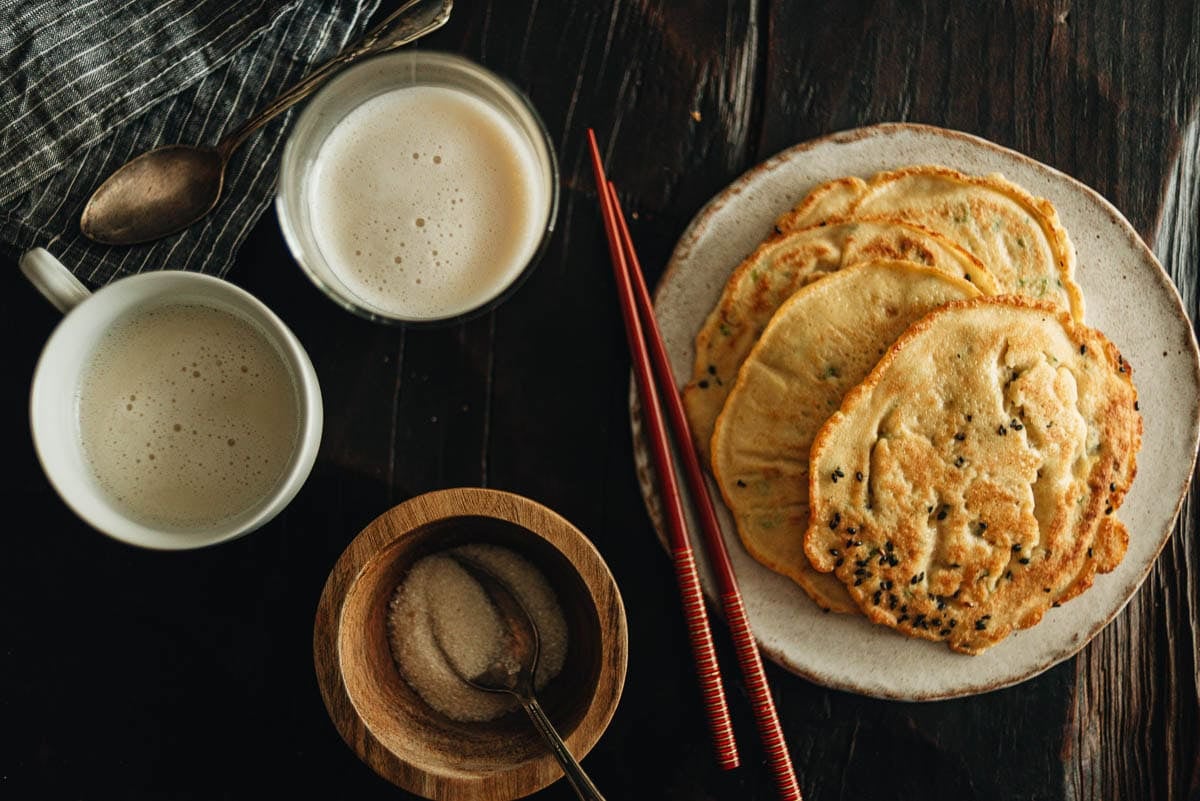
You can see the full okara pancake recipe right next to the homemade soy milk recipe below.
Frequently Ask Questions
Why use a soy milk maker instead of a blender and pot?
You can make soy milk the traditional way, and I did for years, but it means a powerful blender, close watching so the pot does not boil over, and straining the pulp before you even cook it. The machine grinds, heats, and cooks the pulp in with the milk in one step, so the milk is smoother and more nutritious with about 3 minutes of setup.
My milk tastes too beany, how do I fix it?
A drop or two of vanilla extract stirred into the finished milk softens a strong bean flavor without making it taste like dessert. Straining thoroughly and pressing the pulp also helps, since a lot of the raw edge sits in the leftover solids.
How long does homemade soy milk keep in the fridge and freezer?
Cooled and sealed in an airtight jar, it holds in the fridge for 3 to 4 days, and I shake it before each pour since it settles. I do not freeze the milk itself because it separates into a grainy, watery texture once thawed, so I make smaller batches every few days instead.
Want to Save This Recipe?
Enter your email below & we’ll send it to your inbox. Plus get great new recipes from us every week!
Soy Milk Maker Recipe
Ingredients
- 4.2 oz dried soy beans (1 1/2 cups that comes with the soy milk maker) (by using the cup comes with the machine)
- 7 cups filtered water
- Sugar, honey, or maple syrup (Optional)
Instructions
- Use the soy bean cup that comes with the machine to measure 1 and 1/2 cup dried soy beans. Add into a bowl. Rinse with tap water for 1 to 2 times to remove dust on the surface and drain. Add water to cover the beans at least 1-inch deep.
- (Cook with soaked beans) Soak the beans overnight or for at least 6 hours.
- (Cook with dry beans) Skip the soaking process above and start making the soy milk immediately after rinsing. (*Footnote 1)
- Drain the soaked soy beans and add to the soy milk maker. Add filtered water until it reaches the 1700ml mark.
- Place the lid of the soy maker on and adjust so it’s firmly attached. When you plug in the cord, you should hear a beep and the soy maker shows “Keep Warm” on the lid. This means you’ve set up the machine properly. Choose “soaked beans” and you will hear two beeps. This means the machine has started. Soon after you start the machine, you will hear a loud noise for a few seconds, which means the machine has started to grind the beans while heating up.
- Now your job is done and you can relax. A big jar of freshly made soy milk will be ready in 30 minutes. During that time, you will hear the machine mixing from time to time; the noise is about same level as your blender.
- Once the soy milk is done, the machine will beep for 1 minute and automatically switch to “keep warm” for an hour. Please note, you should not leave the hot soy milk in the machine for more than 4 hours.
- Place the fine mesh over the jar that comes with the machine (*Footnote 2). Pour the soy milk into the jar to remove the soy pulp. You can use a small spoon to stir and press the soy pulp, so it speeds up the process and lets the milk drain thoroughly.
- Now the soy milk is ready to drink. You can enjoy it hot or cold. My favorite sweetener is agave nectar or maple syrup. If you feel the bean flavor is too strong, adding one to two drops of vanilla extract will even it out a bit.
- To store the milk, let it cool to room temperature, then transfer to airtight jars. Store in the fridge for 3 to 4 days.
Notes
- The soy milk made with dry beans tastes almost as good as with soaked beans. However it generates a very fine bean pulp that is difficult to remove using the fine mesh, so the milk is not as smooth as a result. You can strain the milk first and let sit for a while. The bean pulp will sink to the bottom; then you can pour the milk into glass without pouring the bean pulp.
- The jar is plastic. I always let the the soy milk cool down for a bit before draining. If you do not like pouring hot liquids into a plastic jar, you can use a ceramic bowl instead.
Nutrition

Did you make this recipe?
I’d love to hear how it turned out for you! Please take a moment to leave a 5-star rating ⭐️ and share your thoughts in the comments further down the page. It really helps others discover the recipe too.
Want to Save This Recipe?
Enter your email below & we’ll send it to your inbox. Plus get great new recipes from us every week!
Green Onion Okara Pancakes (Pancakes made with soybean pulps)
Ingredients
- 1/4 cup soy bean pulps (okara)
- 1/2 cup flour
- 1 large egg
- 2 green onions , chopped
- 1/4 teaspoon salt
- 1/8 teaspoons white pepper
- 2 to 3 tablespoons peanut oil (or vegetable oil)
- Black sesame for garnish (Optional)
Instructions
- Whisk everything in a big bowl until it just form a runny smooth paste. Do not mix too fast or over mix, which develops gluten and will yield tough pancakes.
- Heat a nonstick pan with 2 teaspoons oil until hot. Add 1/4 cup pancake mixture and gently shake the pan to form a round pancake. Cook until the bottom set, 30 seconds to 1 minute. You can add a small pinch of black sesame onto the pancake, if using. Flip to cook the other side until the pancake just set, for another 30 seconds. Transfer to a plate and cook the rest pancakes by using the same method.
- Serve hot as breakfast.
Did you make this recipe?
I’d love to hear how it turned out for you! Please take a moment to leave a 5-star rating ⭐️ and share your thoughts in the comments further down the page. It really helps others discover the recipe too.
Mary Strong
I never thought about making my own soy milk I’m going to order the recommended maker and give it a go!
Linda C
The okara pancakes turned out delicious!! Thank you so much for sharing! I added some milk and water to get pancake batter consistency and then poured the whole thing into a frying pan – quick and easy!
C Lam
Hi, can you use this soy milk to make tofu fa?
Liz Bullock
I lost my instruction maual! Any chance you could please please please email me recipe to make oatmilk in my soymilk maker? And, I’m so glad it was easy to find you by googling!!! Thanks!
Linda
Thank you for sharing your great information. I read your blog daily . It give me so much knowledge and ideas.
Linden
Been making soymilk using your recipe for a while but would like to try a multi grain milk, using rice, oats other grains. Any tips on amounts of differing grains you or your mom used? Is the cups to water ratio the same in your soymilk maker as soy beans? Any tips would be appreciated. Ps.love your recipes.
Claire Goyette
Hi, Do you know if the % of the milk is 11%, like the Banrai milk and if we can make soft tofu with it ?
Maggie
Unfortunately you don’t. I’ve tried using the soy milk from this method to make tofu and failed many times. It’s very hard to nail down the correct ratio.
For tofu making, I would not use a soy milk maker and instead use the traditional method: https://omnivorescookbook.com/how-to-make-soy-milk/
You will get a much thicker milk this way and it’s more suitable for soft tofu making.
I’ll look into this and hopefully post a recipe about it in the near future.
Jenbro
Hi, I see in your post that I’ll still need to strain away the okara myself even with this machine, but some soy milk makers appear to also do the straining based on what people say in reviews…? Should I expect to do this straining step with all soy milk makers? Thanks so much for this post!
Maggie
I don’t have one of the fancier version so I’m not 100% sure. But based on what I’ve read, the no-straining machine simply blend the soy beans very fine so you can drink the milk directly. I think some people like it but some people find it still taste too beany. It’s hard to tell until you try it out.
Dorothy (in Australia)
Hi, I know this thread is a couple of years old, but I’m hoping you can help me with several points.
I was very excited to receive my joyoung soy milk maker yesterday. It’s one of the more expensive models which supposedly grinds finely.
I made my first batch last night and didn’t strain it.
I didn’t presoak the beans. The milk was delicious hot, but this morning the sludge had settled, I shook it up but it was still grainy in texture.
My machine has a 22 minute cycle and a 50 minute cycle for soymilk. I used the longer one, any advice on which is better? The book is very basic and not much help!
I’m wondering if anyone can help with how to stop it from curdling when making coffee with an espresso machine?
Thanks in advance!
Maggie
Hi Dorothy, do you have a link to the product so I can check out the model?
I’ve never used one of the fancier version before so it’s hard for me to provide a good answer.
I wonder if you used more soy beans than suggested? Have you tried heating up the soy milk the next day and see if you can resolve the issue?
When making soy sauce using the traditional method, the residual (okara) is always strained and separated due to their gritty texture. Maybe the cold soy sauce amplify the okara so it tastes less nice than the hot one.
Also, most traditional soy milk need 20 mins or so to cook so I’m not sure if the 50 minutes would make any difference.
I think the best way is to contact Joyoung (or leave a question on the website you purchased it).
I’m looking at upgrading my soy milk maker too and this is very useful information. But until I got one and tried it out my hands are tied.
Dorothy Williams
Hi Maggie, thanks for your quick response.
I bought it on eBay from a local Asian kitchen supplier.
https://www.ebay.com.au/itm/363030838637
I made a second batch yesterday. It’s much nicer, but I still have the problem with it separating the moment the frothed milk hits the espresso coffee, and then goes really thick even after stirring.
This time I presoaked the beans for about 8 hours and used the 22 minute cycle. I then strained it and added a pinch of salt while still hot. The result was smoother and very creamy. I read somewhere that you get a creamier texture if you presoak.
I made the pancakes this morning, very nice!
It seems to not be a very common model, JOYOUNG DJ13S-P90
I’ll need more help on using it for its other functions, but apart from the coffee problem, I’m now happy with the soy milk results.
Maggie
Ooohh, that is a great one! I’ve been looking at the same model as well and was thinking about getting it.
I’m glad to hear that your second try turned out better.
So I’ve had problem with plant-based milk curdling when I add it to my coffee or tea sometimes, using the store-bought one.
I did a bit research and found out that the reason is the plant milk reacting with the acid in the coffee. The acid acts as a coagulant and turned the soy milk into tofu curd. I read the best way to avoid it is to add some coffee to the soy milk to slowly heat it up, then add the soy milk to the coffee (I know it sounds weird!). The other way is to use less acid coffee.
I think the soy maker can make other grain milk too. My mom likes to make black soy milk (by adding sesame seeds I remember) and sometimes multigrain milk. Let me know if you need further help!
Dorothy
Hi Maggie,
I wrote a detailed reply to your response to my first post.
It’s not showing up now. Has it got lost or is it waiting for you to approve it?
Thanks,
Dorothy
Maggie
Just approved!
Dorothy
Hi Maggie, still no luck with the coffee. I added a couple of tablespoons of coffee to the soy milk before frothing the milk. Maybe not enough.
I’ve just read a couple of suggestions which I’ll try over the next couple of days.
One is to add the coffee to the milk, not the other way around as is traditional with espresso.
If that doesn’t work, the other suggestion is to add a tiny pinch of bicarbonate soda to the coffee before adding the milk. I’ll let you know how I go.
Cheers, Dorothy
Dorothy
Hi Maggie, just to update you again!
This morning I tried adding a tiny pinch of bicarbonate soda to the espresso coffee, then frothed the soymilk, poured it into the espresso, and it worked!! Hooray!
Hope this helps you and others 🙂
Maggie
I’m glad to hear it worked out eventually! I can’t wait to buy the new soy maker and try it out myself 🙂
Dorothy
Hope you’re not sick of my updates!?!
Today I had the best result yet.
I made what in Italy is called a ‘latte macchiato’
Frothed the soy milk first, poured it into the cups, then expressed the coffee adding a pinch of bicarbonate of soda, then poured that into the cups, which leaves the stain (macchiato) on the top.
In the soy recipe I only added a pinch of salt, no sweetening which I’d been doing in my efforts to prevent curdling.
Good luck with your new soymilk maker!
I’m looking forward to sharing experiences and recipes with you.
Dorothy
BTW, I don’t get notifications of responses, so I’ve been keeping the tab open and checking back every now and then
Maggie
Hi Dorothy, no worries at all! Always happy to discuss and I’m glad to hear you finally got the result you wanted.
I wonder why you don’t add any sweetener? I think it’s OK to add some sugar or syrup since it should not affect curdling.
I think pour the coffee into the milk might be the way to go. I’ve read it online too and it’s good to hear it’s working 🙂
Dorothy Williams
Hi Maggie, just to answer your question about sweetening the soy milk….my husband is type 1 diabetic, also we both prefer the flavour of the milk unsweetened.
Cheers, Dorothy
Maggie L
I have been making soymilk with dried beans soaked overnight and then if I’m making tofu I grind beans in the blenderthen strain out the okara that I then have to cook the okara before eating the okara and I have to cook the soymilk separate and then add the coagulant and make tofu. If I make the soymilk to drink I soak beans overnight, then drain then cook for 20 minutes, then drain, then I grind in blender with spring water and strain. I tried a couple times to make tofu with the milk after I had cooked beans together for soymilk but it wouldn’t coagulate properly so I am wondering if I buy the machine, the Joyoung Soy Milk Maker to make soymilk will I be able to use that soymilk to make my tofu? Thank you for your time reading this and thank you for the wonderful pancake recipe I will have to try that!
Maggie
Hi Maggie, thanks so much for sharing your process. I used to experiment with making tofu with the soy milk from my Soy Milk Maker, but it never coagulates properly. I thought it’s probably because my soy bean to water ratio is off, since most of the tofu recipes call for a different ratio. Now hearing your process, I think it’s might be the way that the soy milk is cooked does not work for tofu making. The Soy Milk Maker uses the second approach you mentioned – it cookes the bean and milk together while grinding them. I don’t think it’s a good idea to purchase it for tofu making. At least I never succeeded.
pym
i am just about 2 minutes away from buying a soya maker because of your great video.
i like choc.soya milk. what would i add ? powder or syrup and where and when?
thanks
Veronica
I have a Joyoung soy milk maker too but the capacity is not as big. Mine has a capacity of 1300 ml. Do you think that the little measuring cup that comes with the soy milk maker is smaller than Yours? Should I still measure 1.5 cups of beans?
I’ve been weighing 90g on my scale but am tired of pulling it out Everytime I make soy milk!
Thanks
VeggieVal
OMG! I just made my first batch of soy milk using my SoyaJoyG4 soy milk maker and made the Okara pancakes afterwards. Delicious! My rather picky husband LOVES the Okara pancakes. The soy milk tastes so much lighter than the store-bought brand. So very easy and totally worth the overnight soak. I actually enjoyed the hot soy milk as well, which normally I avoided in the past. I can’t wait to make other kinds of nutmilks 😍😘💖💘
Jim
Thanks for the Tong Yau Bing Recipe I have been making soymilk for many years as my wife loves it She is from Shanghai and also likes tong yau bing for which I use a different recipe but I will try your recipe for breakfast tomorrow ( I usually compost the okara)
Jane
I just got one of these machines and was wondering if you have or can make other plant based milks in it? My husband is allergic to soy.
Maggie
Hi Jane, yes, you can totally make other types of plant-based milk and the method stays the same.
Ashley
Hello,
I just bought the Joyoung soy milk maker and made my first batch of soy milk last night using your instructions. Thank you for your helpful page! I made the pancakes this morning, but using the recipe, my batter was extremely dry and crumbly. I wonder if my okara wasn’t as liquidy? My fiance really went to town trying to filter every last drop of milk out of it haha! Although not listed on the ingredients, did you add soy milk or water to the recipe? I ended up adding 1/4 cup soy milk and 1/4 cup apple sauce to make the flour:liquid ratio closer to 1:1. They turned out pretty good but still thick. Any suggestions? I enjoyed them with soy sauce, and my fiance used ginger syrup.
Thanks, and I look forward to exploring your page more!
Ashley
Maggie
Hi Ashley, I’m glad to hear the post was helpful! As for the okara pancakes, I do remember they are on the drier side. I needed to use a bit more oil to obtain the crispy texture. Yes I did add soy milk to the pancake batter. So sorry I forgot to mention it in the recipe! The amount depends on the dryness of the okara, but at the end, you should add enough liquid to make a rather runny batter.
Mark Stifler
amazing!!! This can replace fresh cow milk’s existence
Laura
This post is extremely helpful. I just received the Joyoung soy milk maker today. The instructions do not translate well to English. This clarifies many things for me. Thank you. Of course, now I am curious about rice paste. What do you do with rice paste?
Maggie
Hi Laura, I’m glad to hear you found my post helpful! The rice paste is more like a blended congee, which we sweeten with sugar and serve as a snack. I know it does not sound so appetizing, but it tastes way better than it looks. The translation is a bit off. I think it’s closer to “rice smoothie” or “rice soup”. The one I like the most is the black sesame, which was a snack I ate growing up. If you’re curious, check out this recipe: https://omnivorescookbook.com/recipes/breakfast-smoothie-with-walnut-peanut-and-rice It is a very close thing to the “rice paste”, with a rich nutty flavor when you add the nuts. I made it a long time ago before I purchased the soy milk machine.
linda
one thing I couldn’t figure out is how to get rid of those “Beany taste” in homemade soy milk (not via machine). it’s kind of bitter taste left in your throat after drink down.
I soaked them 24 hours and took off bean skins and washed and raised multiple times—didn’t help. I blend them after soaking and cook about 30 min. and sequeeze the milk out.
What is the Chinese old folk way to make tasty milk without those unpleasant taste? I don’t like machine as it doesn’t really taste like milky because it’s not coming out from pressure.
thanks
Maggie
Hi Linda, hmmm, I’ve never really had the bitter taste when drinking the homemade soy milk. It is quite a bit beany, but it is not in a pleasant way. Nowadays I mostly cook directly from dry beans.
I’ve seen other recipes (without machine) indicate that you should press the milk first before cooking it. Have you tried it?
Some readers mentioned that adding a bit cinnamon and nutmeg will be helpful to eliminate the beany taste. And always sweeten your milk, even just for a bit. It will be helpful too.
Dean Clark
you want to cook in boiling water for about 5 minutes to deactivate the enzyme that is responsible for the beany taste. If you blend/damage the bean prior to deactivating the enzyme then you will get the nasty taste.
Pey-Lih
I am SO impressed! You recycled the kara and made it into scallion pancakes that is more healthy for you! Thank you so much for this recipe and introducing the soy milk maker. I will consider buying one, because I would love to make my own soy milk for the very reasons you explained. I found an asian market that sells dried soybeans the other day.
Maggie
Hi Pey-Lih, I’m glad to hear you’re interested in the recipe and trying out the machine. My family really love soy milk so I’ve been making many times a week. If you drink it frequently, it’s definitely a great investment. Plus, you can make tofu at home as well!
Cal
I have this soy milk maker. I purchased it to make home made tofu but I have been so unsuccessful for over a year now. I really need help on how to use the soy milk from this Joyoung to make tofu. Can you help?
Dean Clark
Hey Cal, when I make tofu I generally use 500g of dried soy bean (a few batches in the maker) and strain the milk into a large pot as I go. Usually the milk will still be hot when I add the nigari or calcium carbonate but if not I will heat it a bit on the stove prior to adding. I use 2 tbsp of nagari powder to coagulate the milk. The nagari is dissolved into 1/4 or 1/2 cup of water and added in the following manner to the pot of milk. Stir the milk rapidly with a spoon then add half of your nagari. Use your spoon to stop the milk swirling just as you add your first half nagari. Wait about a minute then gently swirly your spoon through the milk whilst adding the rest of your nagai – you don’t want to go mental at this point as you are hoping that soy curds are forming and you don’t want to be destroying them. Wait a few more minutes then use a slotted spoon to remove the curds into a press lined with a couple of layers of cheese cloth and press for about 15 – 30 minutes. This amount makes about 2 shop sized blocks of tofu usually.
Cakespy
NICE!! I would typically file soy milk under “things I buy” versus “things I make”. Thanks for shifting my thought on that – this looks amazing!