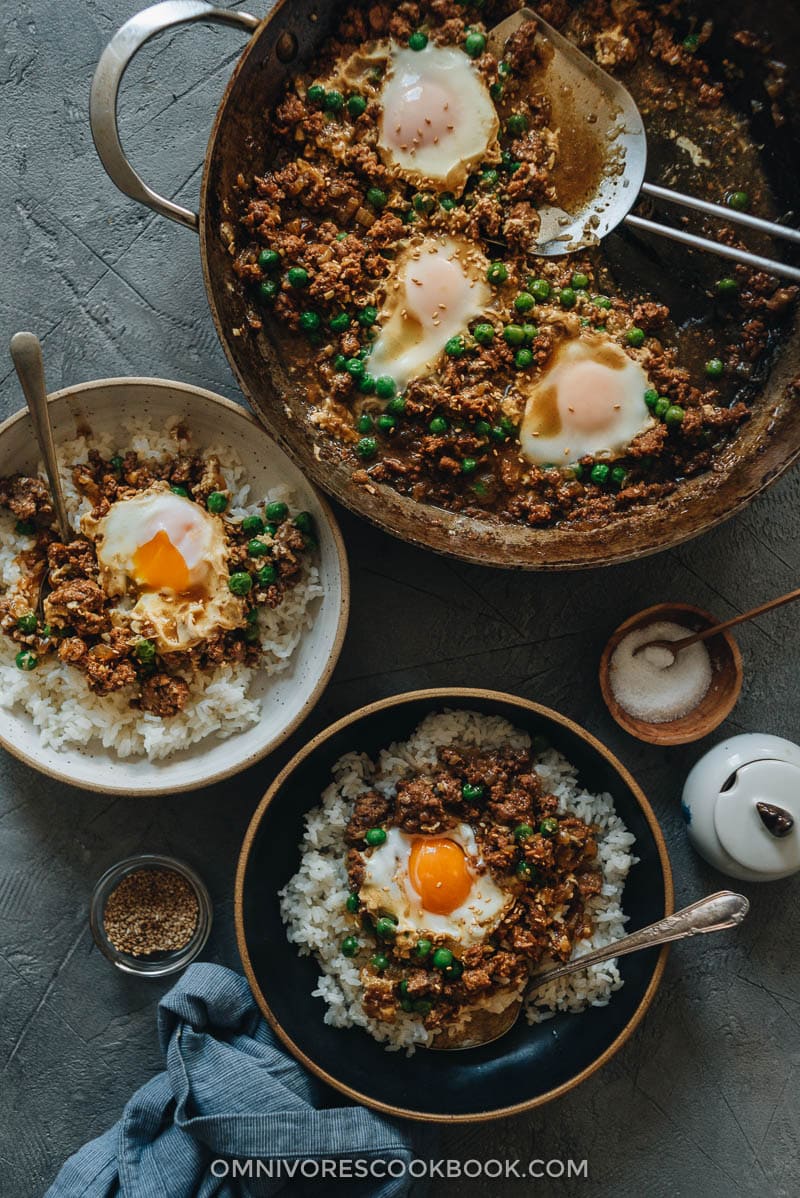
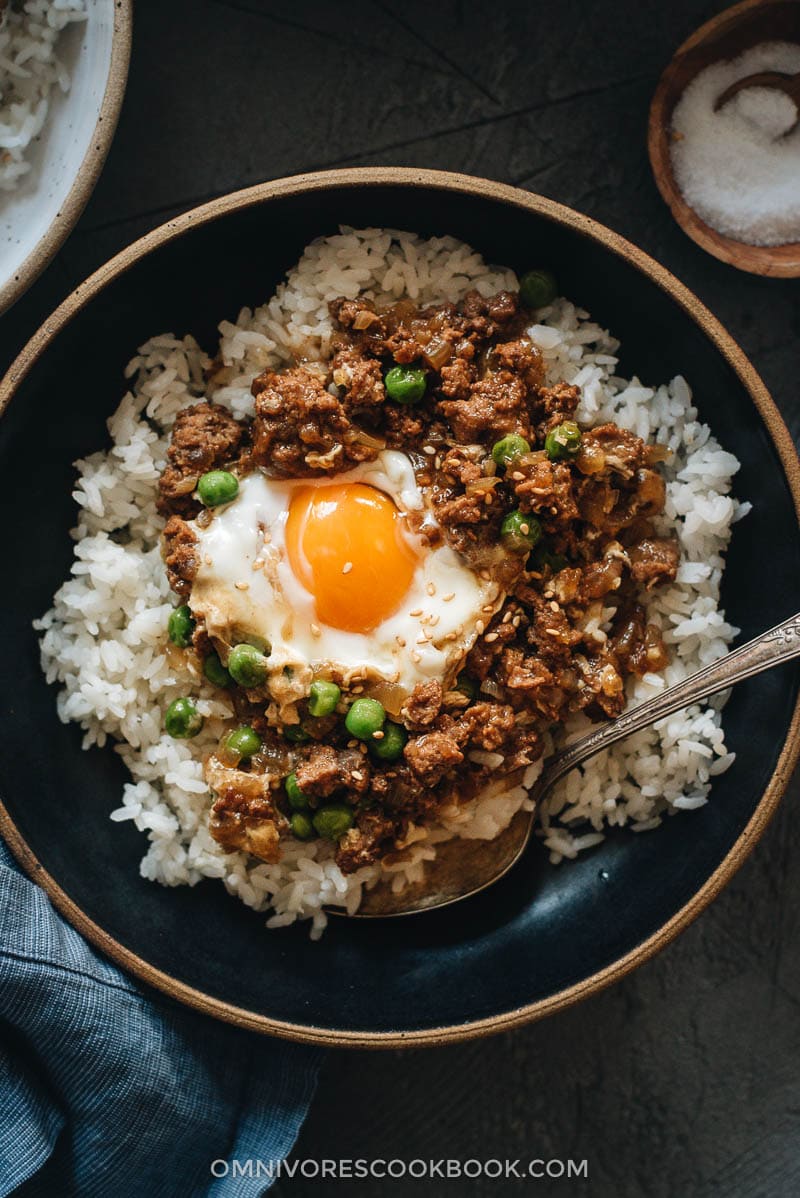
The Cantonese ground beef and egg bowl is somewhere between Shakshuka and shepherd’s pie. It is a one-pan egg dish that is bright and bursting with flavor, so you’d feel comfortable eating it for breakfast, lunch, dinner, or any snack time in between. The sauce is made from oyster sauce and soy sauce – savory with a slight hint of sweetness. Braised with ground beef, onion, ginger, and green peas, it produces a hearty flavor that you won’t mind eating again and again.
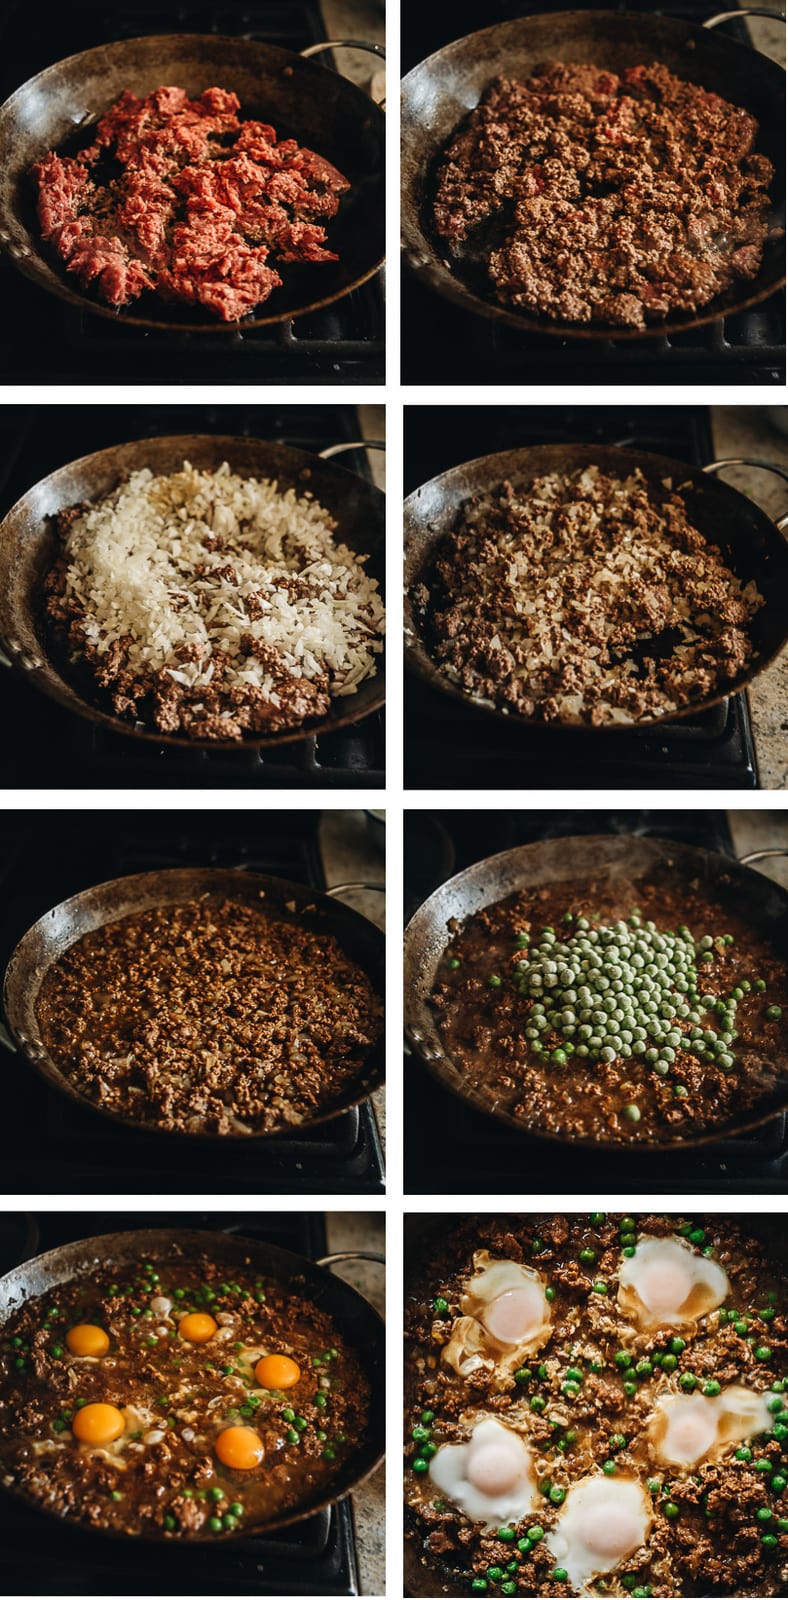
The dish is so easy to prepare. You simply brown the ground meat, saute it with aromatics, briefly braise it in the sauce, then crack a few eggs into the pan and add some frozen peas. Instead of moving the pan into the oven, you simply need to cover the pan and let the eggs cook to your preferred texture. The prep and cooking takes about 30 minutes total. You can serve some steamed rice on the side. Start the rice right before you start the beef and they’ll both be ready at the same time.
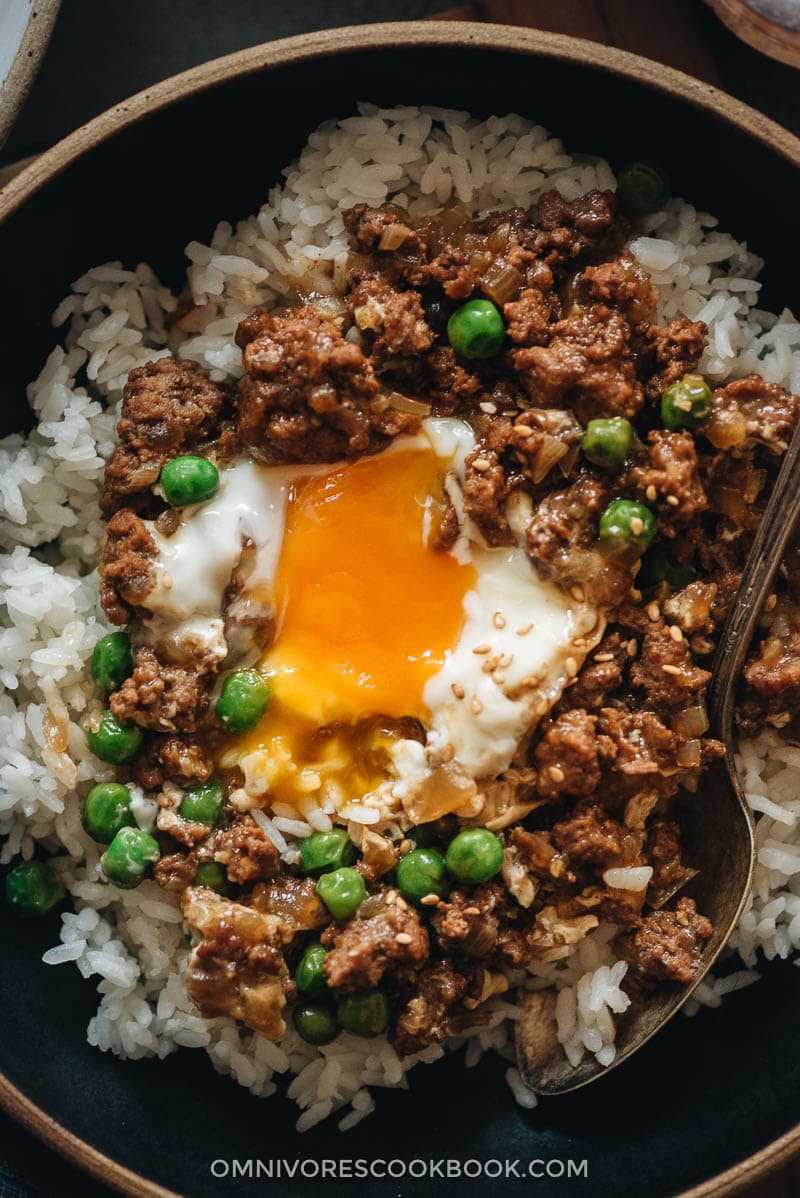
Cantonese Ground beef rice bowl cooking notes
1. Traditional approach vs. this recipe
The traditional approach to making the Cantonese ground beef rice bowl is to marinate the beef in the sauce and cornstarch, then cook it in a wok. The marinating process is intended to eliminate the gamey taste of the beef, impart some flavor, and tenderize it a bit.
However, I found that step a bit redundant. The quality of ground beef in the US is so high that the result is great if you simply simmer the meat.
2. Top it with an egg
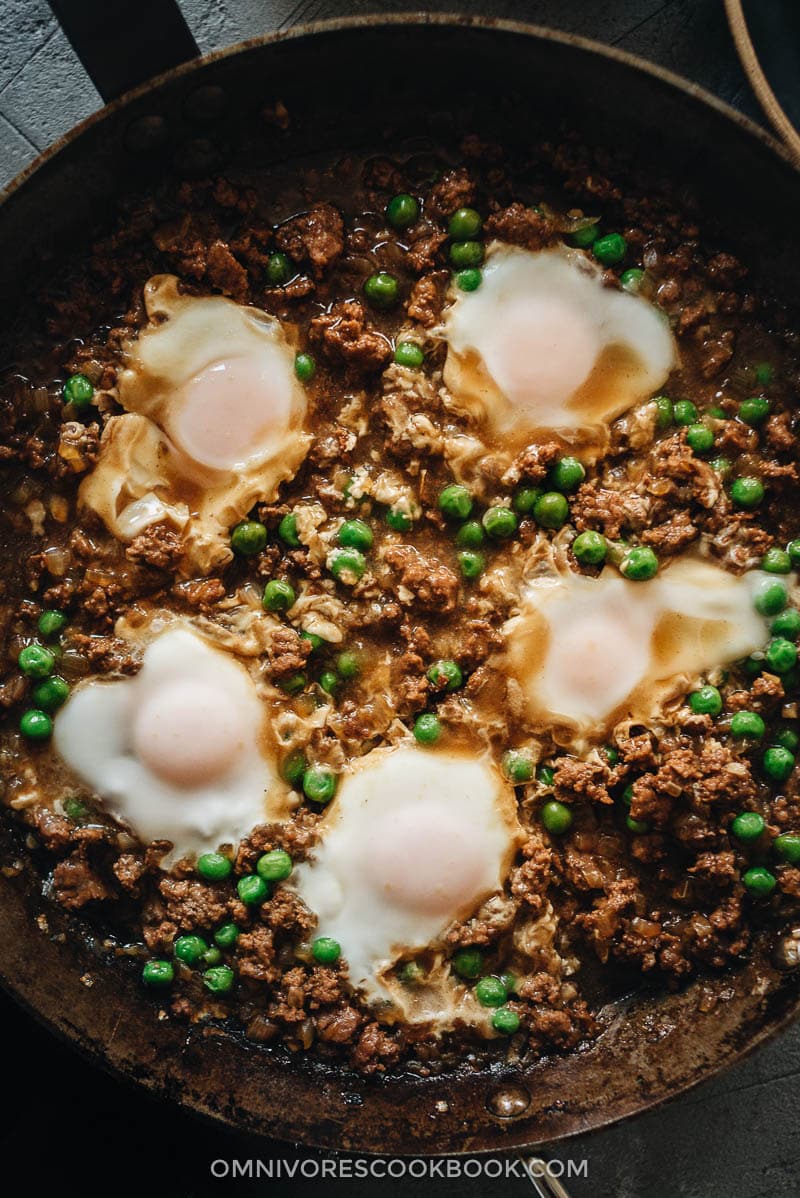
Many traditional recipes have you crack the eggs at the very end of the cooking, after you dish the beef onto the rice. The idea is to use the hot beef to quickly cook the egg, which forms a semi-raw texture. I personally prefer my eggs cooked to the point where the white is set and the yolk is sticky and runny. So I used a totally different approach and cooked the eggs with the beef and sauce. The end product looks a bit like shakshuka and is pretty stunning, if I do say so myself.
3. How to tweak this recipe
The traditional Cantonese minced beef and eggs are usually braised with green peas. But you can use any veggies you have on hand to add some color and nutrition to your dish. For example, broccoli florets, sliced carrots, baby bok choy, and spinach all work very well. Or you can also use frozen veggie mix, frozen corn, or frozen green beans.
And of course, you can always use other types of ground meat. For example, ground chicken, ground turkey, and ground pork will work well with the sauce.
4. Ingredient replacement
The recipe uses both light soy sauce and dark soy sauce. If you only have regular soy sauce, that’s totally OK. The purpose of the dark soy sauce is to add an appetizing brown color to the dish. Replacing it with regular soy sauce won’t affect the taste, but your dish might look a bit lighter than in the pictures shown here.
You can replace the Shaoxing wine with dry sherry or even Japanese rice wine. I often get questions from readers asking if they can skip the wine to make the dish halal. You can totally replace it with more stock/broth in this recipe.
Oyster sauce is the key ingredient in the dish. In case you need to make the dish gluten-free, you can check out my homemade oyster sauce that’s made with mushrooms. You can also purchase bottled gluten-free oyster sauce.
More easy egg recipes
- Easy Egg Curry
- Easy Egg Foo Young
- Chinese Egg Drop Soup
- 3-Ingredient Egg Fried Rice
- Classic Tomato and Egg Stir-Fry
Chinese Cooking Made Easy
Are you new to this website? This free email series is a great place to start. I’ll walk you through a few of my most popular recipes and show you how and why they work. You’ll quickly start to cook better Chinese food in your own kitchen.
Watch video

Cantonese Ground Beef Rice and Eggs (窝蛋牛肉)
Ingredients
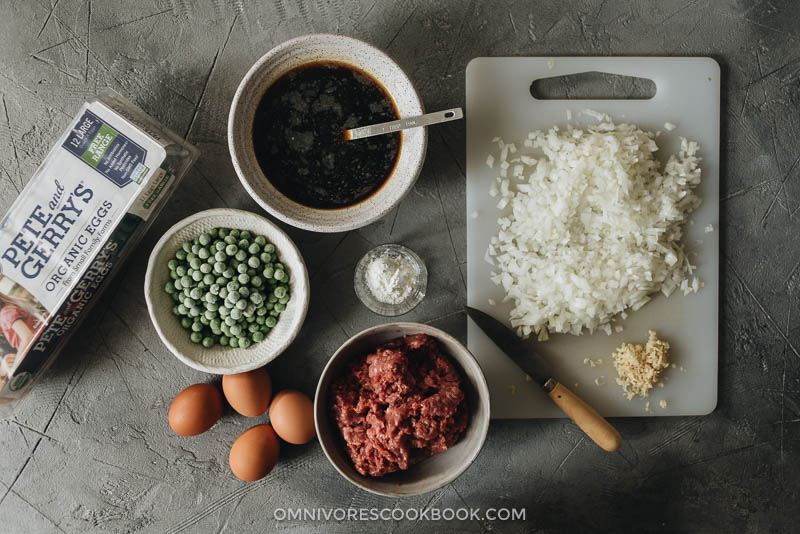
- 1 lb ground beef
Sauce
- 2 cups chicken stock (or beef stock, or veggie stock)
- 2 tablespoons oyster sauce
- 2 tablespoons Shaoxing wine (or dry sherry)
- 2 tablespoons light soy sauce (or soy sauce)
- 1 teaspoon dark soy sauce (or soy sauce)
- 1/8 tsp white pepper powder
Cooking
- 1 tablespoon peanut oil (or vegetable oil)
- 1 yellow onion , minced
- 2 teaspoons ginger , minced
- 2 tablespoons cornstarch
- 1 cup frozen green peas
- 1 teaspoon Sesame oil (optional)
- 5 large eggs
Serving
- 2 cups steamed rice
Instructions
- Mix the sauce ingredients together in a small bowl.
- Heat the oil in a large nonstick pan (or carbon steel paover medium heat until hot. Add the ground beef and spread it with your spatula. Let it cook without touching until the bottom is browned. Break up the beef into smaller bits.
- Add the onions and ginger. Cook and stir occasionally, until onion turns tender and the edges are lightly browned, 5 minutes or so.
- Pour in the sauce. Stir to mix well. Cover and simmer for 10 minutes. Your pan should still have some sauce left, just enough to cover the beef. If not, you can gradually stir in more broth.
- Meanwhile, whisk the cornstarch with 1/4 cup of water in a small bowl.
- Once the beef is cooked, add the frozen peas. Stir the cornstarch slurry again to dissolve the powder completely, and pour half of the slurry into the pot. Stir to mix well. The broth should thicken and will able to coat the back of a spoon. If the broth is still very thin, keep adding more cornstarch slurry to the broth and stir constantly, until it thickens.
- Crack 5 eggs onto the beef. Cover immediately and let it steam until the egg whites are cooked and the yolks are still runny, 2 to 3 minutes. Or you can cook the eggs to the degree you prefer. Make sure the sauce doesn’t come to a full boil, which will reduce the cornstarch's ability to thicken the sauce. Move the pan off the heat for a few seconds if the pan gets too hot.
- Once done, uncover the pan and remove it from the stove. Use a spatula or ladle to transfer the beef with an egg and some sauce onto a bowl of rice. Serve hot as a main dish.
Nutrition

Did you make this recipe?
I’d love to hear how it turned out for you! Please take a moment to leave a 5-star rating ⭐️ and share your thoughts in the comments further down the page. It really helps others discover the recipe too.

Errol
I had this dish last night and Maggie so delicious.I put the Baking Paper over to Steam it to.Thanks again Maggie as Love Your Dishes.
Kate
Thank you for sharing. This dish has become a staple in our home 💕
Julie
My family loved this dish. One tip is to make sure the chicken stock is unsalted. My dish came out salty because I forgot about the salt in the chicken stock, but I added more water and it turned out really delicious! Thank you for sharing this recipe.
Alicia B.
This was awesome! Added a couple splashed of fish sauce and sambal to the sauce mixture, garnished with green onion. Added to the weeknight dinner rotation. Your site and recipes are amazing!
angela howard
Very simple and very delicious!
Thankyou so much!
Kadi Startup
Very easy and quick , not too much broth at all as some reviewers said, but I also added one leek and a small Pok Choi. Garnished with spring onion and chilli flakes. Delish midweek meal! Thank you !
Alessandra Isgro
this was so yummy!!! – we used pork instead of beef, so i will definitely try it with beef
we would love to experiment with the sauce, maybe some spice/ curry spice
Lillian Yang
Great recipe! Thank you for sharing Maggie !! Instead of Shaoxing wine, I replaced it with white rice wine and it worked well! The one mistake I made was not removing the pan off the stove immediately after the egg was done cooking. My family weren’t ready to eat by the time the dish was done so the egg was over cooked ( no runny egg yolk =\ ) but other than that, it tasted amazing! I added some Japanese Furikake, and it was great with some Sriracha too!
Alisia
going to attempt this tonight – looks fab
Yvonne To
I find that if I “marinate” or pre-mix the ground beef with the soy sauce, sugar, wine, and corn starch prior to cooking, the meat is more tender and does not dry out and become gritty. The corn starch binds the meat and holds onto its moisture. I also use about half of the corn starch this way. I also cooked the aromatics first (ginger, garlic and onions) and added some diced carrots before adding the marinated ground beef, cooking at medium high to high. Once the meat is mostly cooked, I added about 1 cup of broth and simmered it after it boiled. I think a little tomato paste/ketchup (acid) would round out the flavors nicely. I also cooked the dish with some rendered beef fat from rendang beef so that it is mildly spicy.
Maggie
Thanks so much for sharing the tip Yvonne! Totally agree with you that marinating the ground beef will add a better texture and taste. I used to do that more often but I skip the step these days to shorten the prepping time. It’s a great practice when you have some extra time in the kitchen 🙂
Nicole
Excellent recipe. I did reduce the chicken broth to one cup. I added a bit more white pepper and ginger but that’s just because of preference. I love how easy the dish and and how’s it’s such a comfort meal.
Iain
A rich, hearty, tasty comfort food dish. Basic ingredients that I had never tried together before – and it works! I added pickled chillis, went heavy on the ginger and served it with coriander and spring onion garnish, and was pleased with the result.
Sooyoung Jung
I loved this! Just found your recipes and after trying your chicken udon (and it being an amazing success) I decided to try this out for dinner. It was amazing!!! I feel like the salt levels were riding the line between salty and perfectly seasoned, but otherwise this dish is so comforting. The flavors may be simple, but something about a warm bowl of runny yolk and lucious sauce is so warming on a gloomy day 🙂 I saw the comments that others had on there being too much stock- I think this has to do with how wide of a pan you use. I used a relatively large pan that gave the sauce more surface area. Nevertheless, I did keep this on the stove for about 7 minutes more than the 10 advised to get the consistency I wanted. Be patient and watch the heat! Listen to the author’s advice about keeping the heat from getting too hot to help the cornstarch do its thing.
HC
Recipe was delicious, but it was quite salty, and there was too much broth. I had to boil it down to reduce it. Next time, I think I will use only one cup of broth and salt-free or homemade chicken stock next time. My father (who is Cantonese) prefers his minced beef with some ketchup. 🙂 Also a delicious addition!
John
Family loved it even those who usually don’t like soy sauce based meals.
Kevin
This is awesome Maggie!!! I don’t know what happened with the previous reviewers, but I followed the recipe to the letter and the liquid is perfect at 2 C. After 10 minutes of covered simmering (I always leave a very small crack open when simmering covered), the liquid reduced to am amount just covering the beef. I’m using a 12.3″ carbon steel pan as yours appears to be as well.
This recipe reminds me a lot of the Thai dish Pad Ka-Prow in its composition (and a favorite around my house), minus the heat, and similar yet very different in taste, of course. The taste of this dish is delicious, rich and hearty, great on a cold evening, and has a great depth of flavor without being spicy. I’ve still yet to leave a review on the Char Siu Chow Mein, coming shortly (so good!!!), and dozens of other dishes I’ve made from your amazing recipes. Thanks again Maggie, still hoping for hardcover books at some point, I think it’s your destiny, immortalized in perpetuity with hard covers right next to the other great cooks!! 🙂
Kevin
This is awesome Maggie!!! I don’t know what happened with the previous reviewers, but I followed the recipe to the letter and the liquid is perfect at 2 C. After 10 minutes of covered simmering (I always leave a very small crack open when simmering covered), the liquid reduced to am amount just covering the beef. I’m using a 12.3″ carbon steel pan as yours appears to be as well. This recipe reminds me a lot of the Thai dish Pad Ka-Prow in its composition (and a favorite around my house), minus the heat, and similar yet very different in taste, of course. The taste of this dish is delicious, rich and hearty, great on a cold evening, and has a great depth of flavor without being spicy. I’ve still yet to leave a review on the Char Siu Chow Mein, coming shortly (so good!!!), and dozens of other dishes I’ve made from your amazing recipes. Thanks again Maggie, still hoping for hardcover books at some point, I think it’s your destiny, immortalized in perpetuity with hard covers right next to the other great cooks!!
David
I agree with the comment from Charistos on the amount of stock used. I’ve been simmering for 15+ minutes and have a broth, nowhere near a sauce yet. I’m wondering if maybe one cup of stock would be more suitable…
Sabrina
nice dish, love these ingredients but used to having them in separate dishes, so appreciate them together in yours, thank you for this recipe
Christos
Hi, Maggie
I think that the two cups of broth was too much. To get your desired look, I had to reduce the broth for a long while befor putting in the peas and starch and eggs.
In the end, the dish was a hit with my family