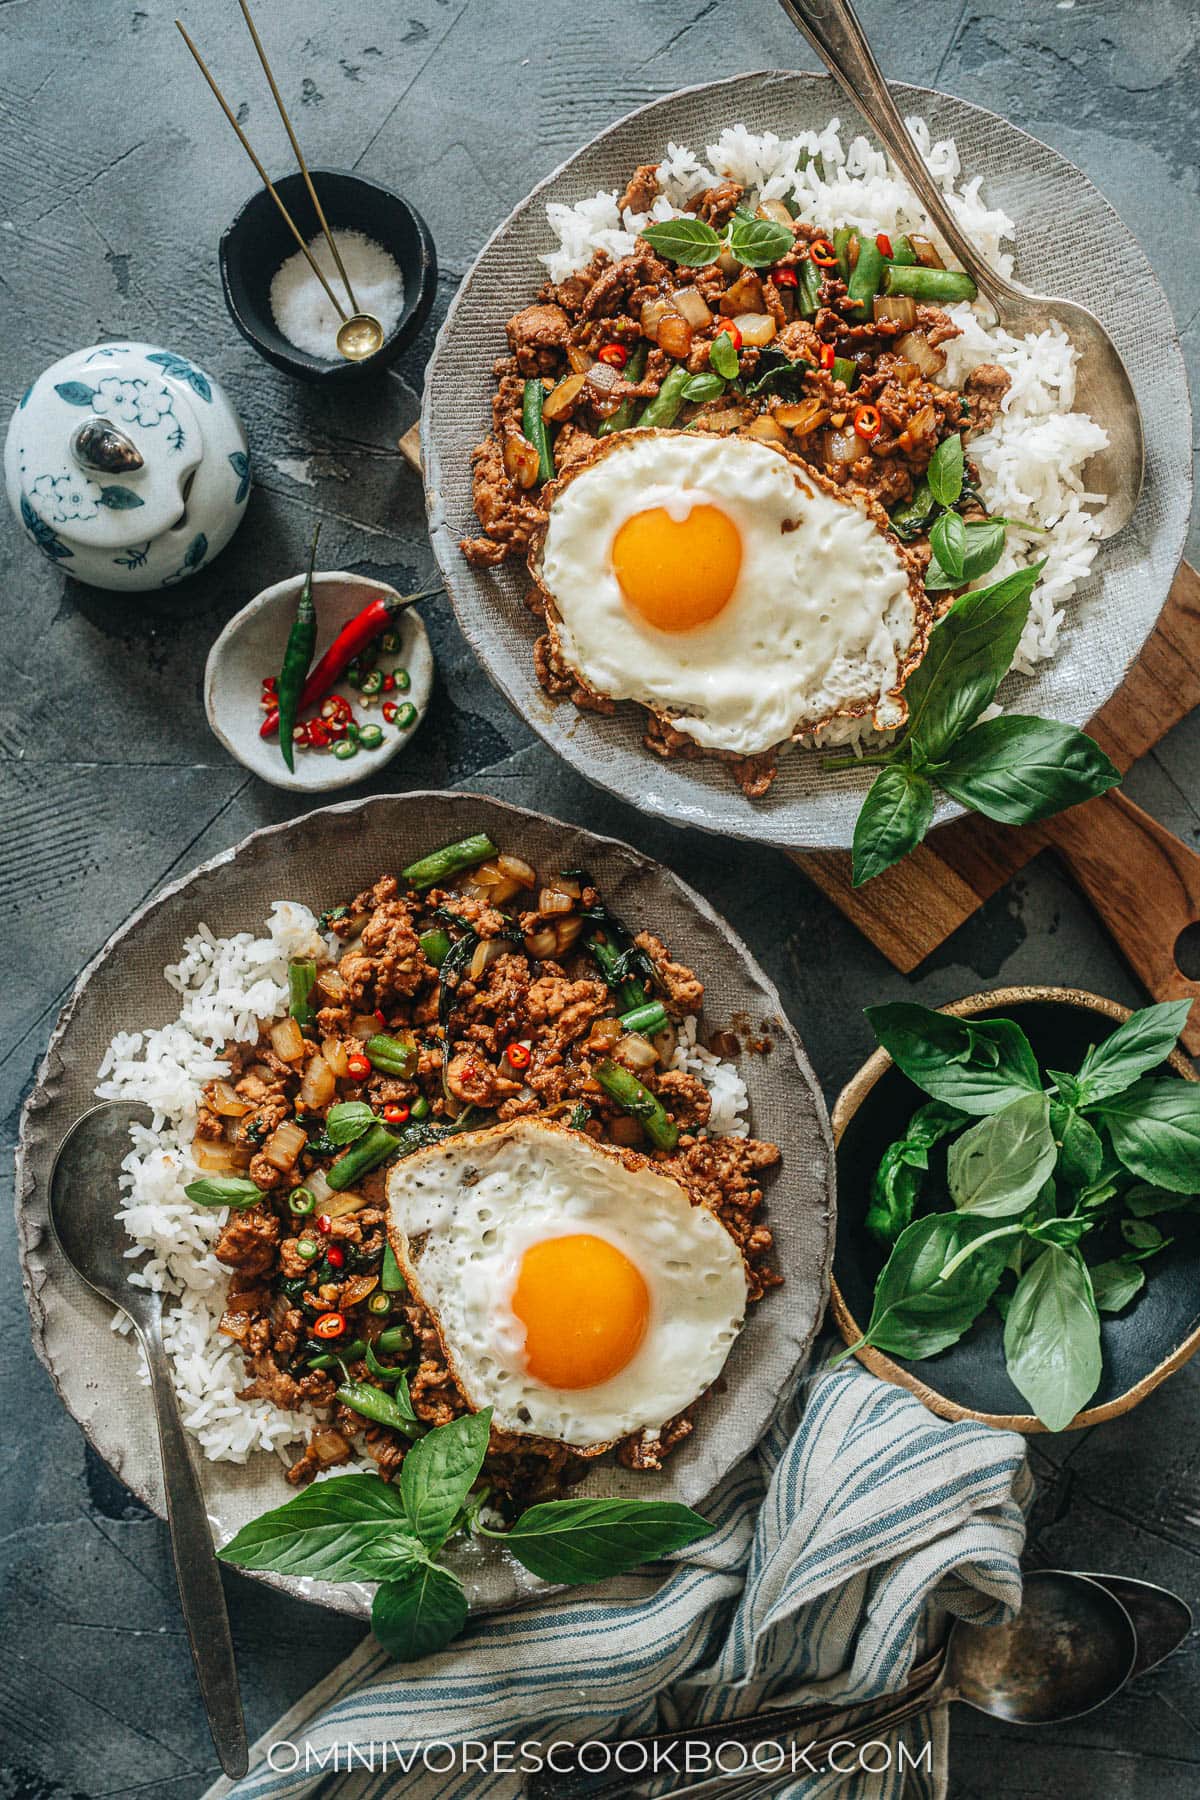
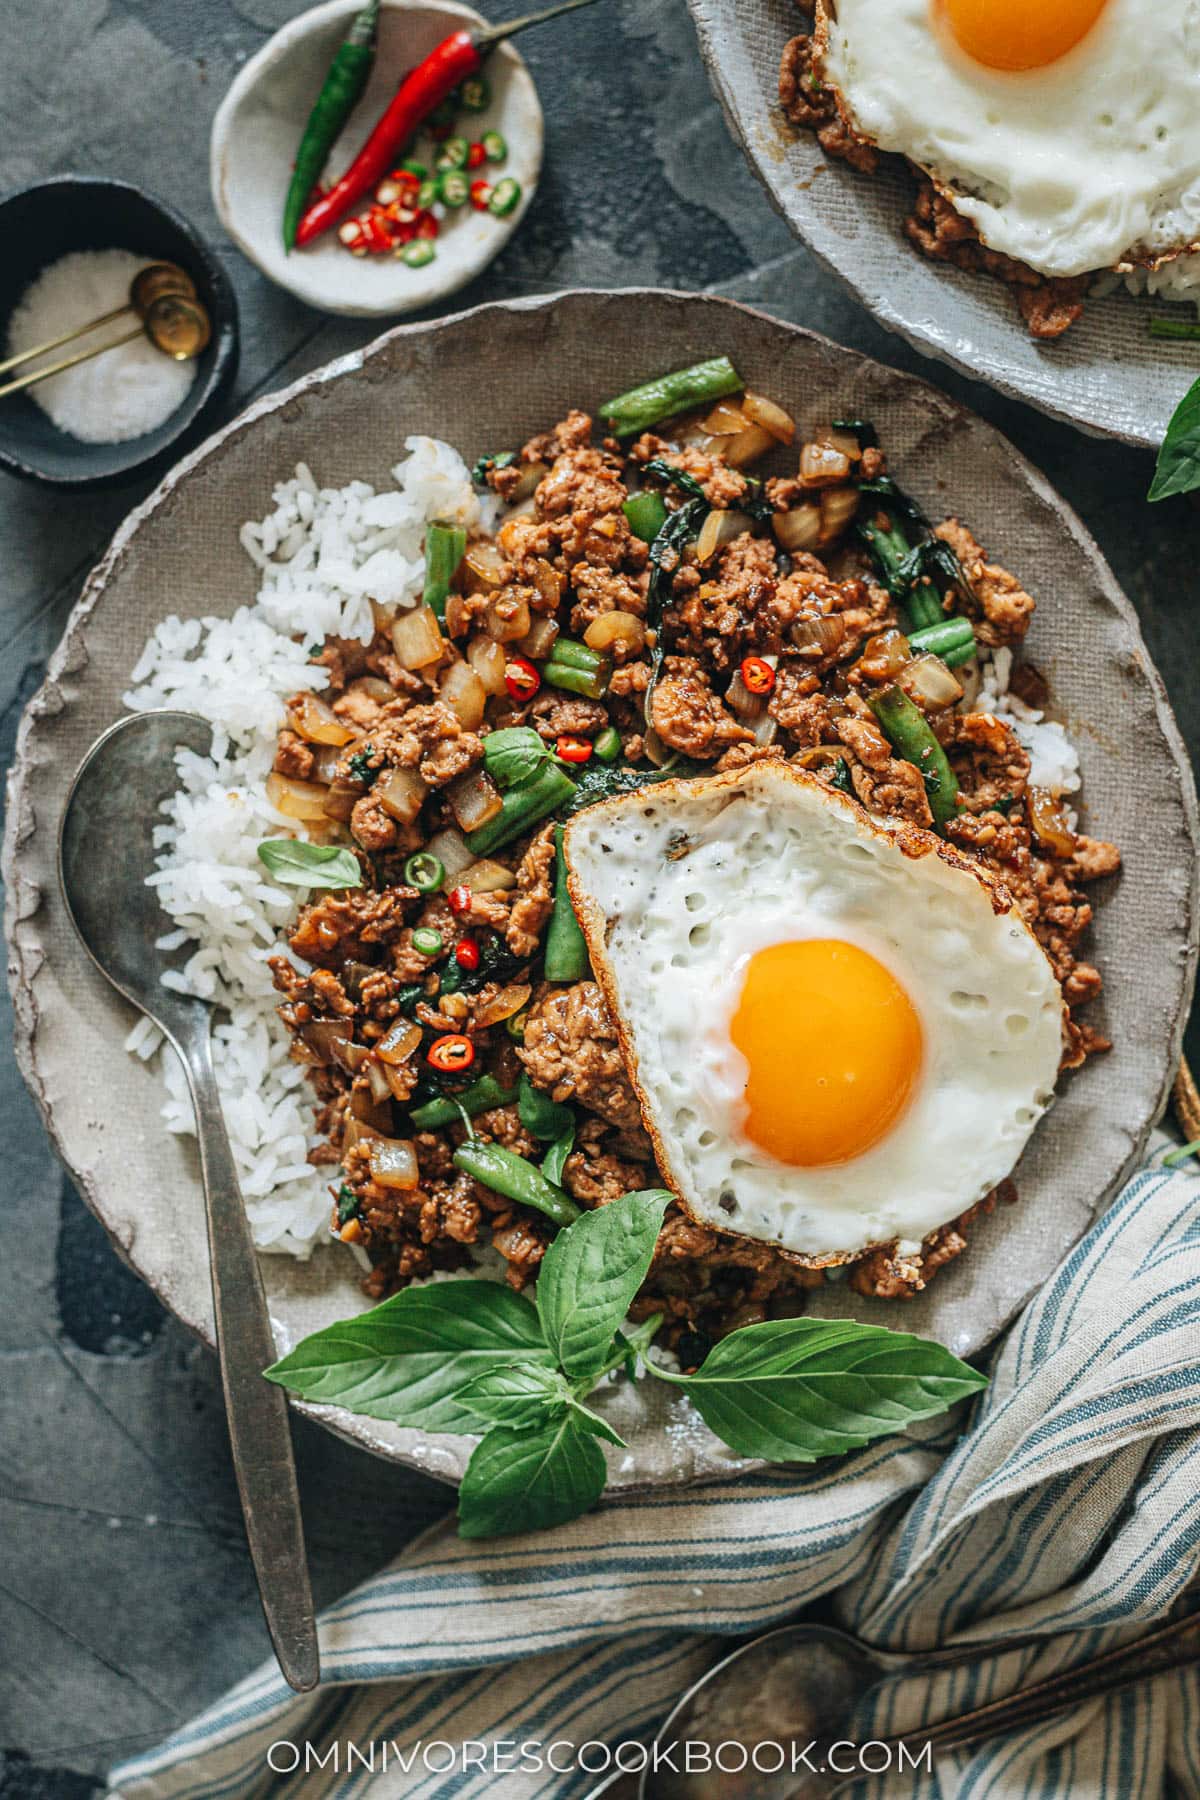
I love the wonderful aromatics that always hit you front and center when you walk into a Thai restaurant. They tingle all the senses with spicy, sweet, fragrant, and exotic notes all at once. And when you eat Thai food, you have the textural sensations to go along with the flavors. It’s really such a beautiful style of cuisine.
Thai cooking seems to really intimidate people which is why I’m sharing my easy Thai basil chicken recipe. This recreation of an authentic Thai dish is so easy and simple, you can get this ready in less than 20 minutes. Once you start eating it, it will probably disappear from your plate in 5 seconds. It’s got all the zest of Thai cuisine, simplified to be made any night of the week.
Thai basil chicken ingredients
Fresh herbs are the key
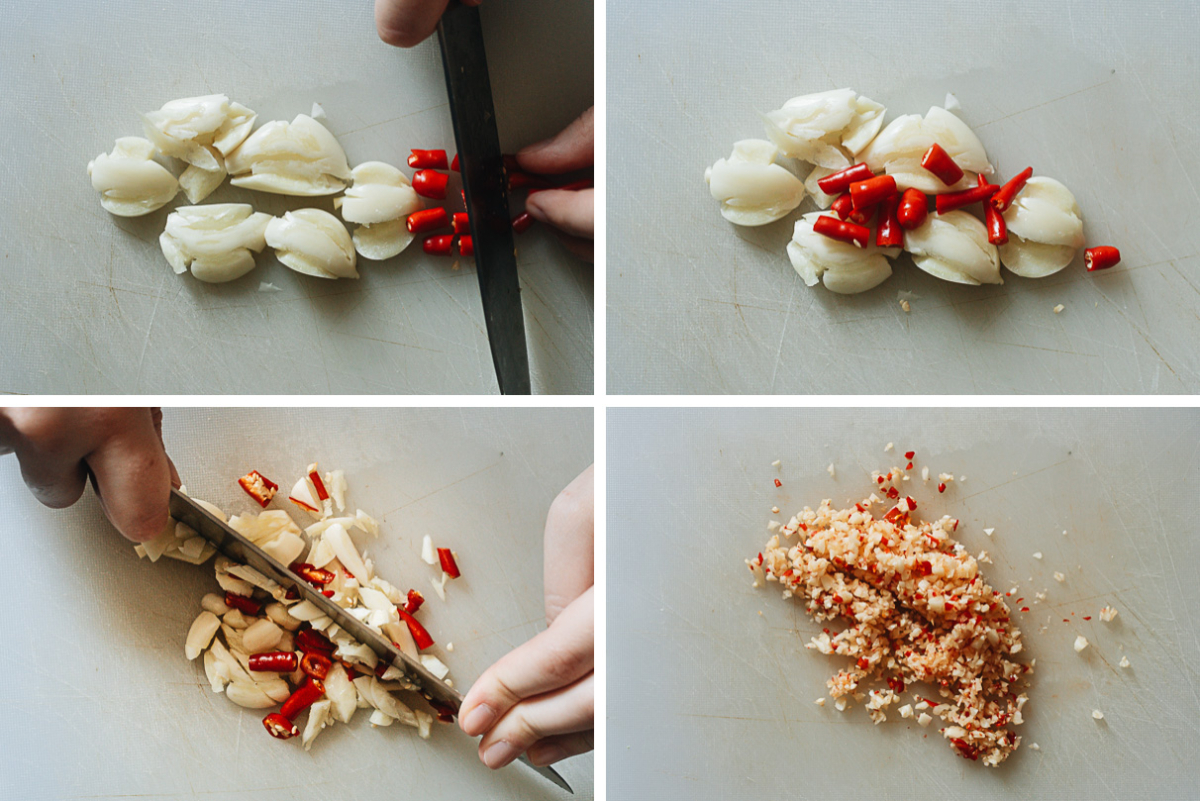
To get the best taste out of the aromatics, I chop the garlic and bird’s eye chili pepper together:
- Crush the garlic using the side of your knife so it’s super easy to peel
- Pile the chili pepper over the crushed garlic
- Mince the garlic and chili pepper
- I like my aromatics super fine so they fully release their fragrance
Which ground meat to use
My Thai basil chicken recipe calls for ground chicken, but feel free to use any other ground meat if you’d prefer. Ground beef and ground pork all work well in this recipe.
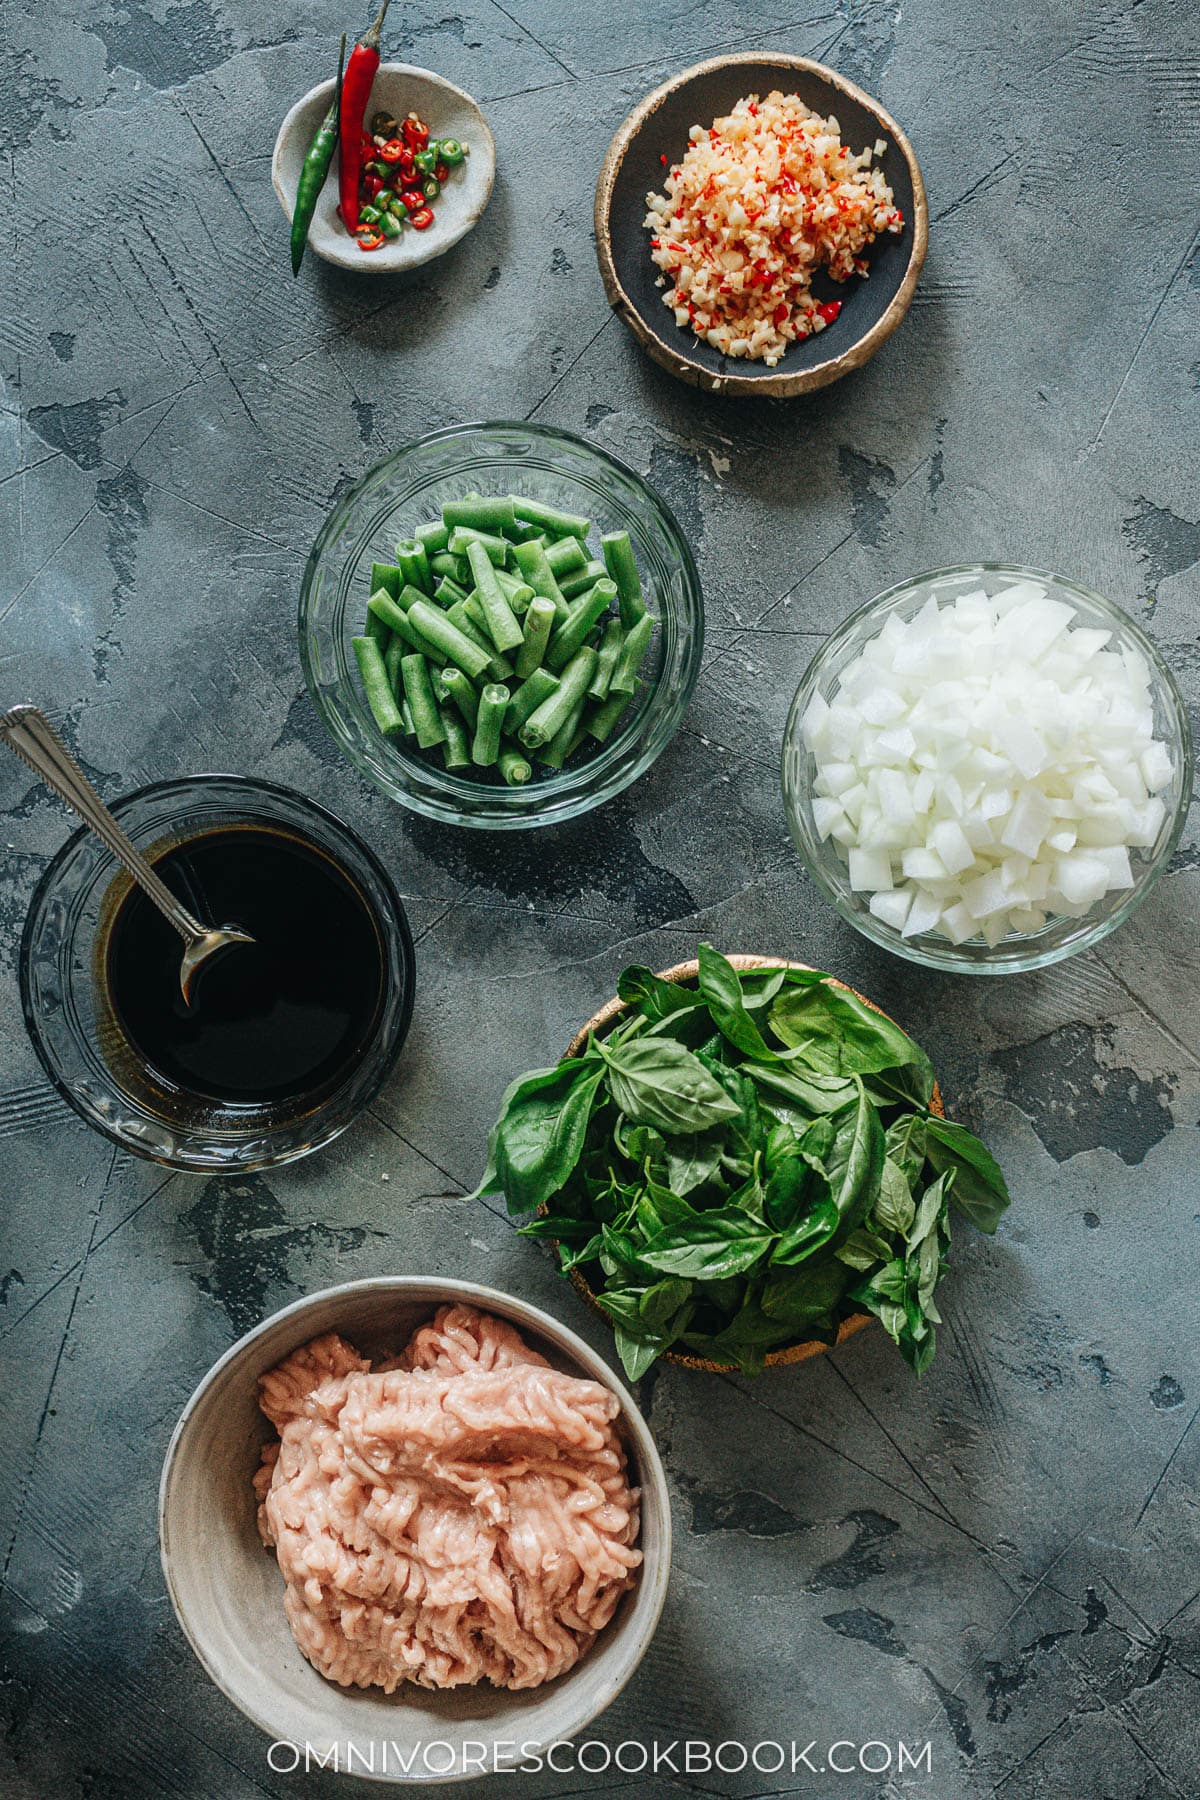
Mise en place
Your table should have these ingredients when you’re ready to cook:
- Ground meat of your choice
- Basil
- Chopped onion
- Chopped green beans
- Mixed sauce
- Minced chili pepper and garlic
- More sliced chili pepper for garnish
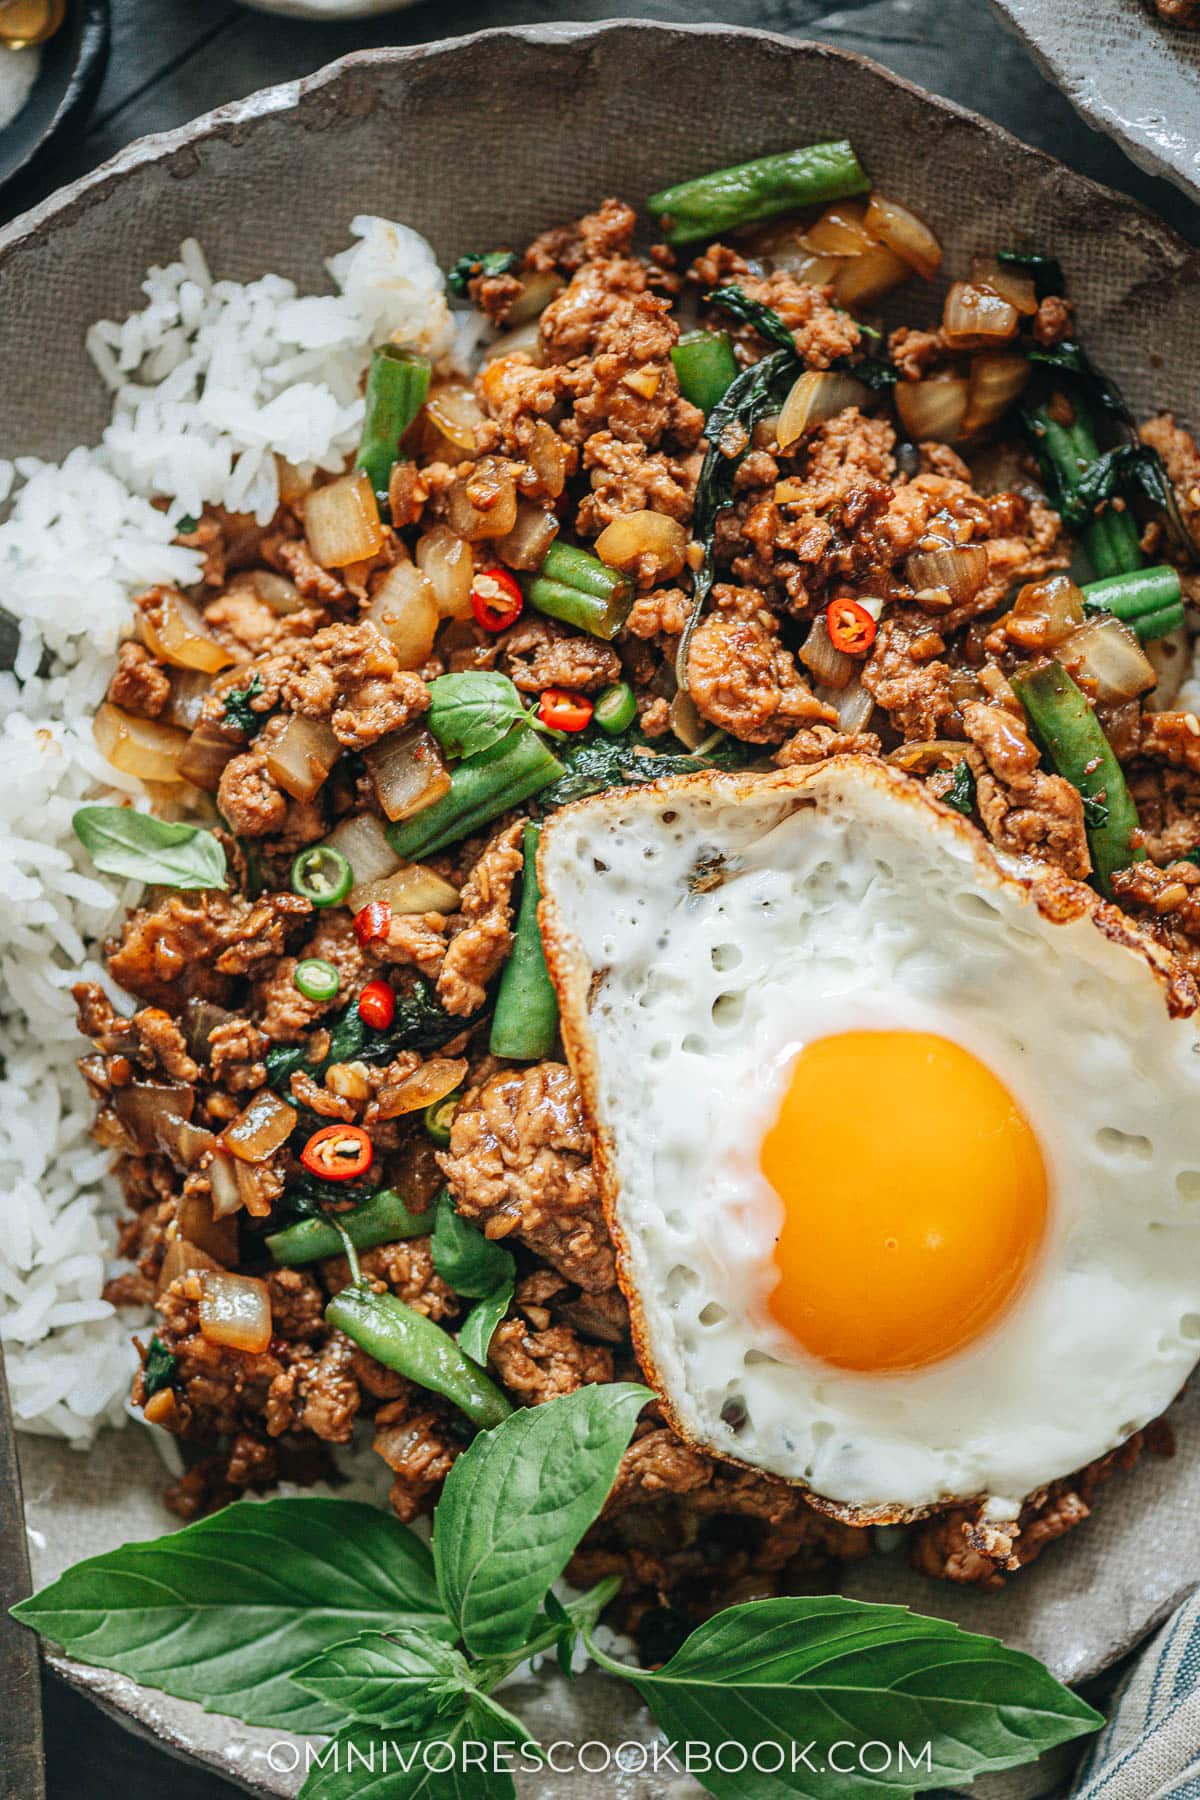
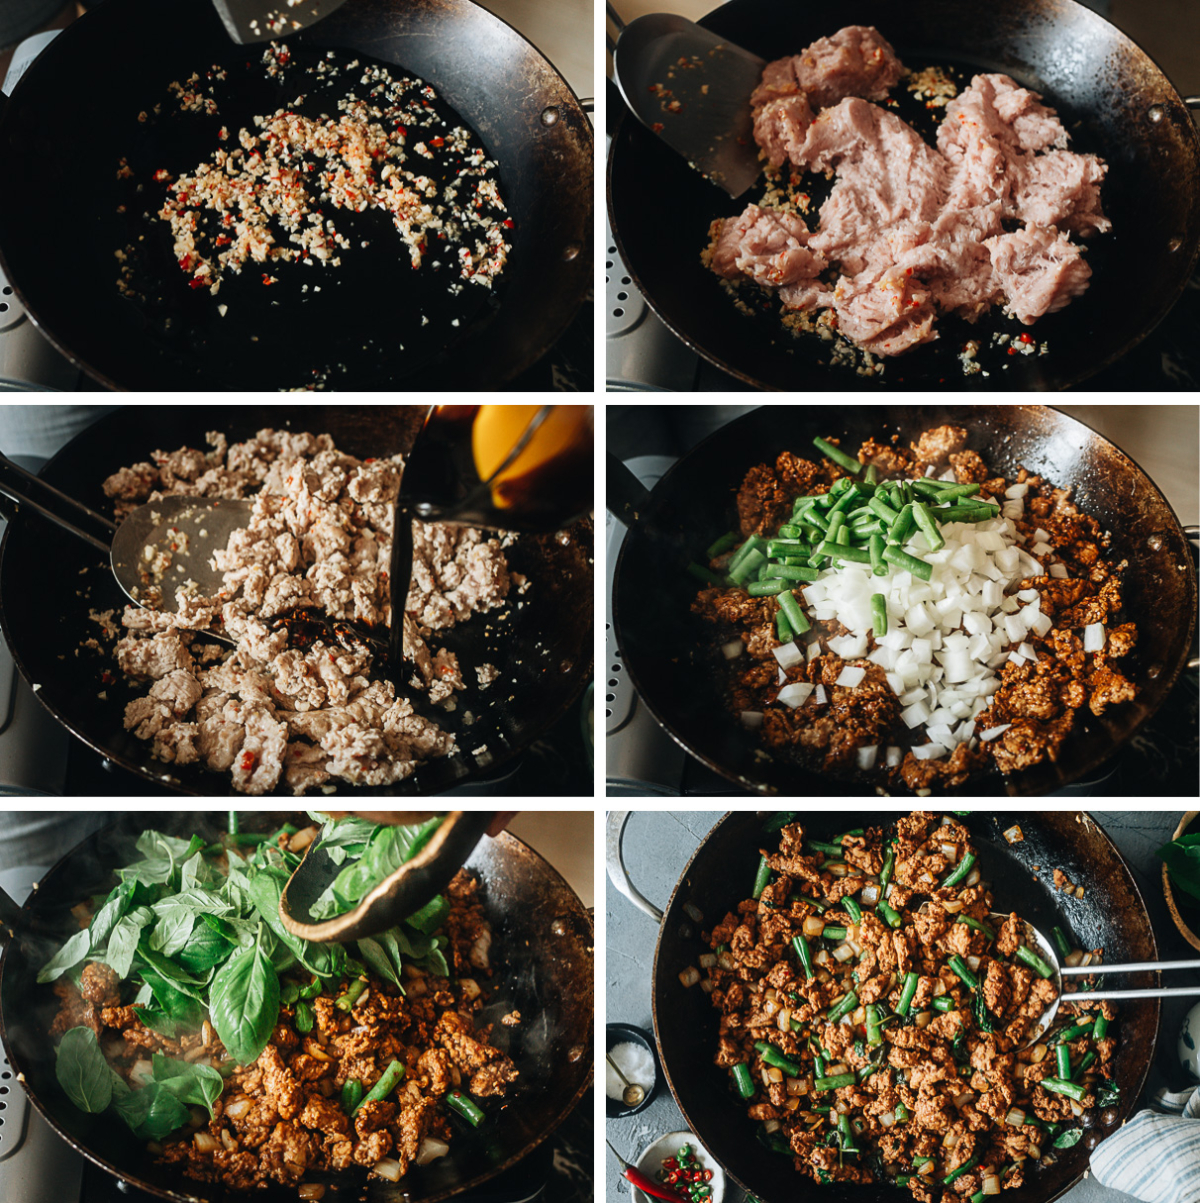
Cooking process
- Saute the aromatics
- Brown the ground chicken
- Add the sauce and mix
- Gently cook the veggies to preserve their crunchy texture
- Stir in the basil
- Give it a final stir to wilt the basil and you’re done!
To contrast with that meaty texture, the onions and green beans are lightly cooked so that they’re crunchy. The basil is what gives it that robust and memorable flavor. Once you’re done cooking, it’s wonderful to top onto steamed rice along with a fried egg.
The smells that will soon come from your kitchen as you make Thai basil chicken will have you salivating. If any is left over, you’ll have a wonderful lunch ahead of you too. With light and vibrant flavors coming together, I love it for spring and summer especially since basil tends to be extra fresh during this time, and more affordable too. This dish takes no time to cook, which is a bonus on a hot summer day.
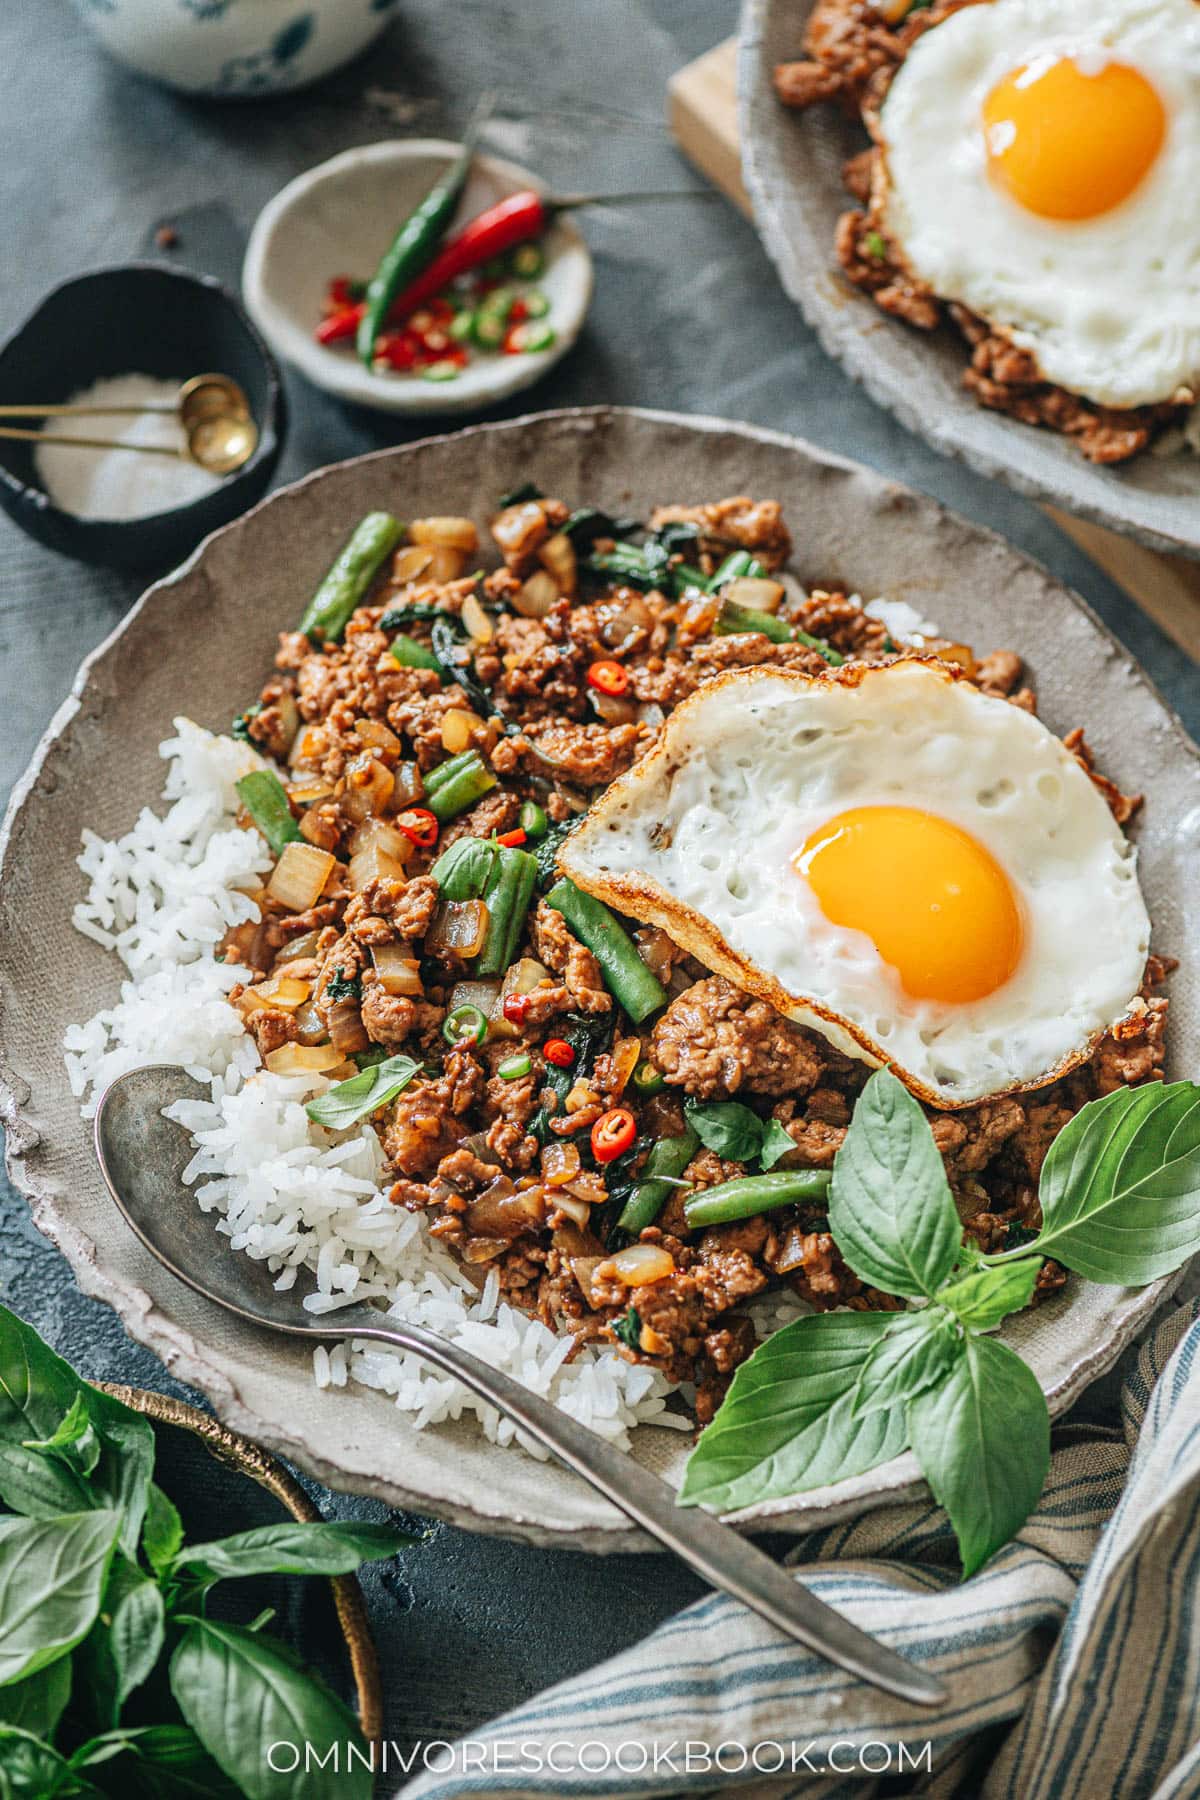
If you’re craving Thai food but are hesitant to eat out and don’t want to wait for takeout to arrive, try Thai basil chicken tonight!
More easy Thai recipes
- Thai-Style Salmon Curry
- Vegan Thai Green Curry
- Thai Peanut Butter Ramen
- Easy Pineapple Fried Rice
- Vegan Pad Thai
- Mango Sticky Rice
Chinese Cooking Made Easy
Are you new to this website? This free email series is a great place to start. I’ll walk you through a few of my most popular recipes and show you how and why they work. You’ll quickly start to cook better Chinese food in your own kitchen.
Thai Basil Chicken (Pad Krapow Gai)
Ingredients
- 1 lb ground chicken (other ground meat works, too)
- 4 to 6 Thai bird’s eye chilis , chopped (depending on spice level desired) (Footnote 1)
- 6 cloves garlic , smashed
Sauce
- 1 tablespoon oyster sauce
- 2 teaspoons soy sauce
- 2 teaspoons dark soy sauce
- 1/2 teaspoon fish sauce (Optional) (Footnote 2)
- 1 teaspoon sugar
Stir Fry
- 1 tablespoon vegetable oil
- 1/2 yellow onion , diced
- 4 oz green beans (about 1/2 cup) , cut into 1” (2.5 cm) pieces
- 1 bunch basil , stems removed (Footnote 3)
- Fried eggs (Optional)
- Lime wedges (Optional) (Footnote 4)
Instructions
- Mince the chilis and garlic together until a rough paste forms (see the blog post above for step-by-step pictures). You can also blend both together in a small food processor or use a mortar & pestle.
- Combine the sauce ingredients in a small bowl and stir until the sugar is dissolved.
- Add the oil and garlic-chili paste to a large skillet and heat over medium-high heat. Cook until the aromatics are fragrant and the garlic is just barely starting to brown.
- Add the ground chicken. Move the aromatics onto the chicken using your spatula to prevent the aromatics from burning. Spread out the chicken and let it cook without disturbing for 1 minute, to let the bottom brown. Break apart the chicken, let cook, stirring occasionally, until the chicken is almost cooked through and the chicken juices have cooked off, 2 minutes or so. I prefer to keep some larger chunks of chicken without breaking them into a million pieces.
- Pour in the sauce and stir to mix well.
- Add the onion and green beans. Cook for another minute or two, until the sauce is distributed and slightly reduced.
- Turn off the heat and add the basil leaves. Toss until the leaves are wilted.
- Serve hot over rice with a crispy fried egg and a squeeze of lime juice.
Video
Notes
- Using 4 chili peppers will yield a low- to medium-spicy dish. For the authentic Thai experience, you should use 6 chili peppers. For extra spiciness, you can slice extra chili peppers to garnish the cooked dish later. Note, the chili peppers will become milder during the stir fry, but will taste very spicy eaten raw.
- Add the fish sauce for an extra kick and the authentic Thai experience. For a milder (and low sodium) version, or if you don’t like the pungent smell, skip the fish sauce. If you decide to use fish sauce, I highly recommend you squeeze a generous amount of lime juice at the end to balance the taste.
- Holy basil is the best, Thai basil works great, and regular basil works just as well.
- Lime juice is a must if you use fish sauce in the dish.
Nutrition
Have a question or feedback? Add a Comment
Did you make this? I want to see! Tag @OmnivoresCookbook on Instagram, and rate the recipe below.

jesse
wonderful recipe. its in my meal prep rotation. i use a bit more of the sauce and add more veggies like bell peppers or zucchini. thank you 🙏
Val Capri
This has become a family favorite! I add veggies I have on hand and usually make it with ground turkey. I double the sauce because of all the veggies added. Love, love, love this recipe! So easy and quick to make!!
Louise Samson
As always, delicious! Simple, fast and lovely.
Michael
Great receipe. Thai chilis from Sprouts worked great. I did buy dark/light soy based on her guide. falvor was awesome.
Lindsay
Hello! For some reason when I made this recipe all the chicken juice wouldn’t evaporate and the sauce/dish was very watery. I doubled the recipe so maybe I crowded the pan. Is there any way to avoid this in the future? Thank you!
Maggie Zhu
I think you probably overcrowd the pan. I wouldn’t cook more than 1 lb chicken in a large (12″) skillet at a time.
Next time when you want to double the recipe, the best way is to brown the chicken in batches – before adding aromatics etc, brown the chicken with a bit oil in the pan in two batches. I usually heat up the pan really hot, spread out the chicken and let it brown, then chop to semi-small pieces to cook more. Moving the chicken pieces less help browning them better. Then you can cook according to the recipe, saute the aromatics, add back the cooked chicken, then go directly to the sauce step. The chicken will be browned better this way and it won’t release too much water.
Lindsay Geller
This was extremely helpful! Thank you so so much!
Sam Lynch
Second time cooking this now as we loved it the first time so much! I double up the sauce because it’s so good… and would love to say there’s leftovers between the two of us for lettuce wraps the next day… but it is soooo good 😍
Vadim Hilliard
Hi, what’s the cooked weight of 1 serving as it comes out following the recipe and the cooking instructions? Also, are your nutrition numbers inclusive of the fried egg or not?) cheers!)
Maggie Zhu
Sorry I do not have the weight information. I was using an online calculation tool and the weight info was not accurate.
The nutritional facts do not include the fried egg.
Vadim Hilliard
Thank you Maggie!) What online calculation tool are you using?)
Maggie Zhu
It was the calculator by verywellfit.com
Vadim Hilliard
Cheers for your help!)
Sharon K
Positivily delicious. I don’t eat soy or oyster sauce. Allergies. so subbed coconut aminos and added molasses to make up for second type of soy. But otherwise followed to a t and was divine. I’ve printed and will remake weekly
Alison thomas
My favourite meal. I use minced chicken breast. Cook it at least once a week. Might try it with black rice for a real pan Asian twist
Alli R.
I’ve made this a number of times and love it! It’s a hit with everyone. I have subbed chili garlic paste for the chilies and garlic, and I’ve subbed hoisin for the oyster sauce when accidentally out of ingredients. It’s delicious no matter what!