
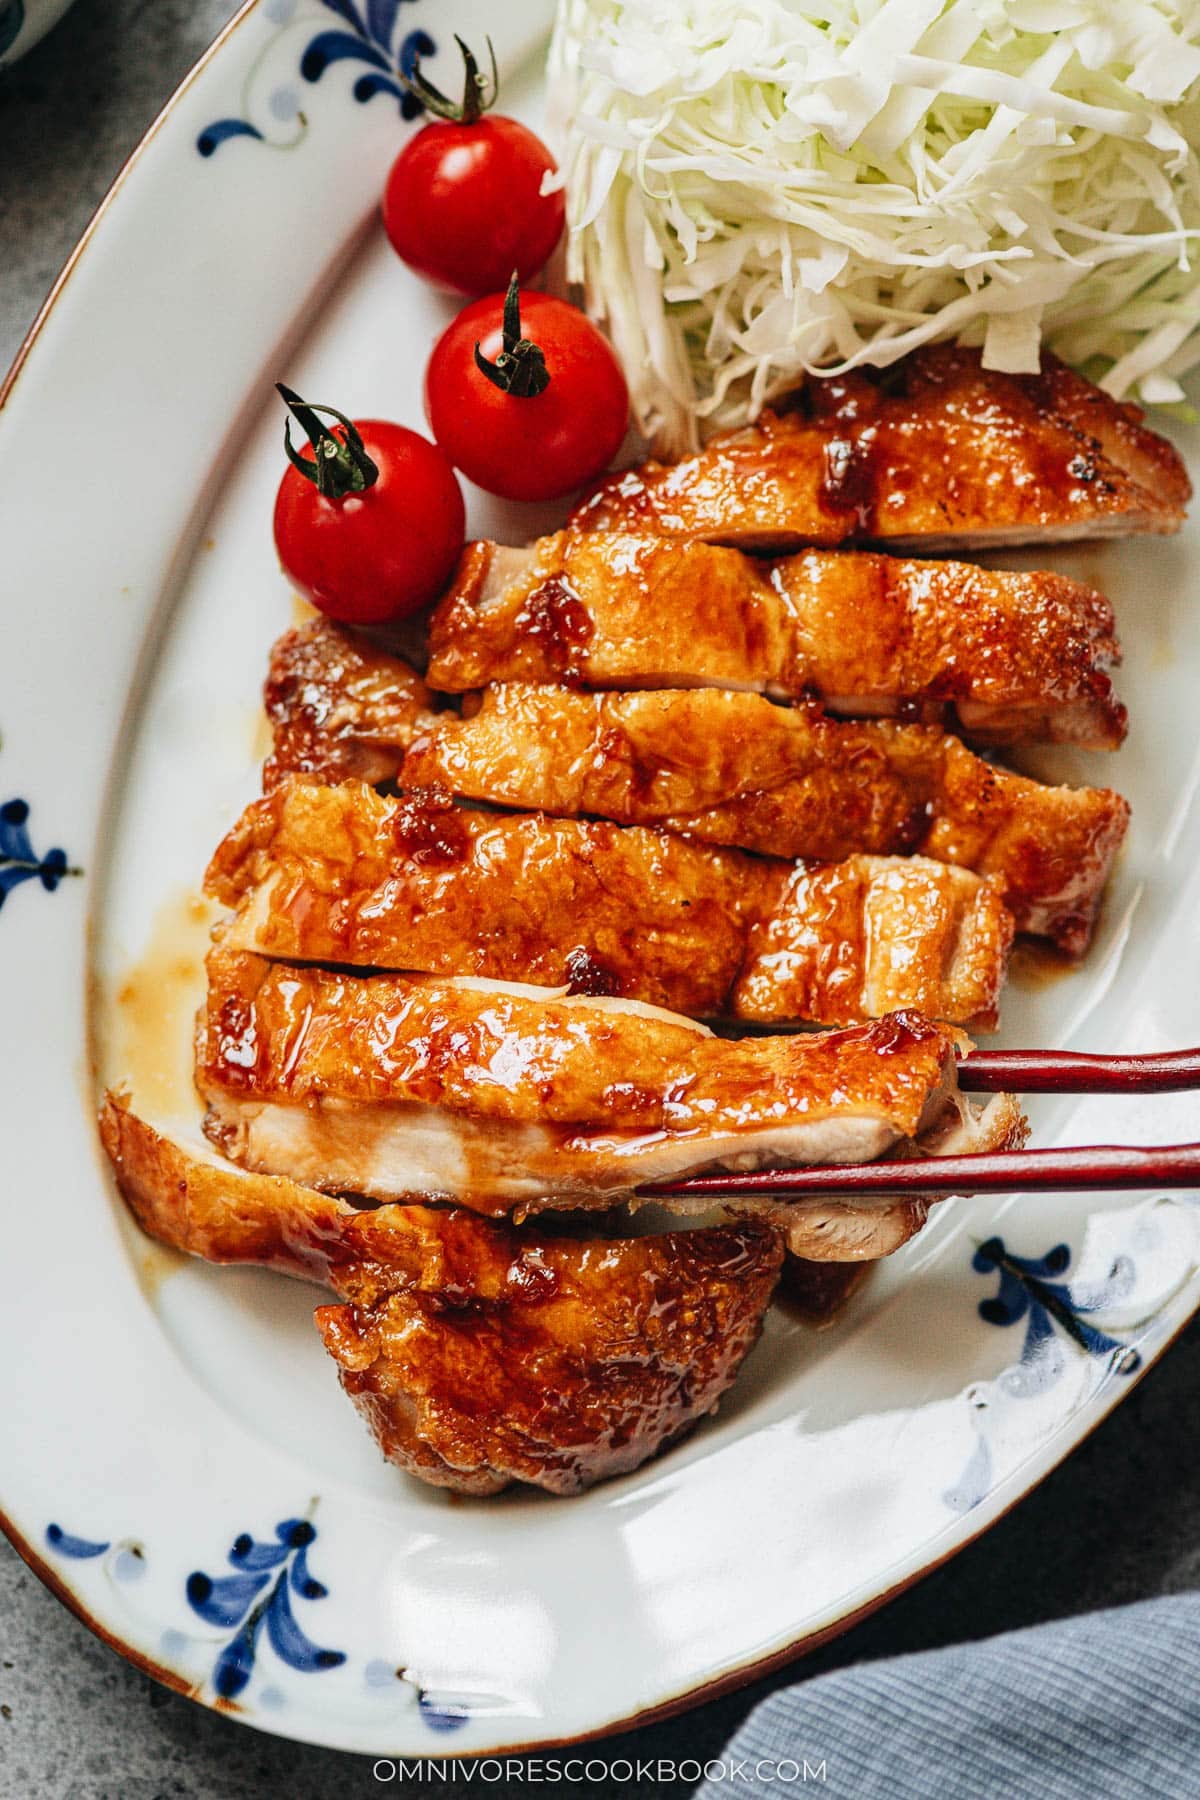
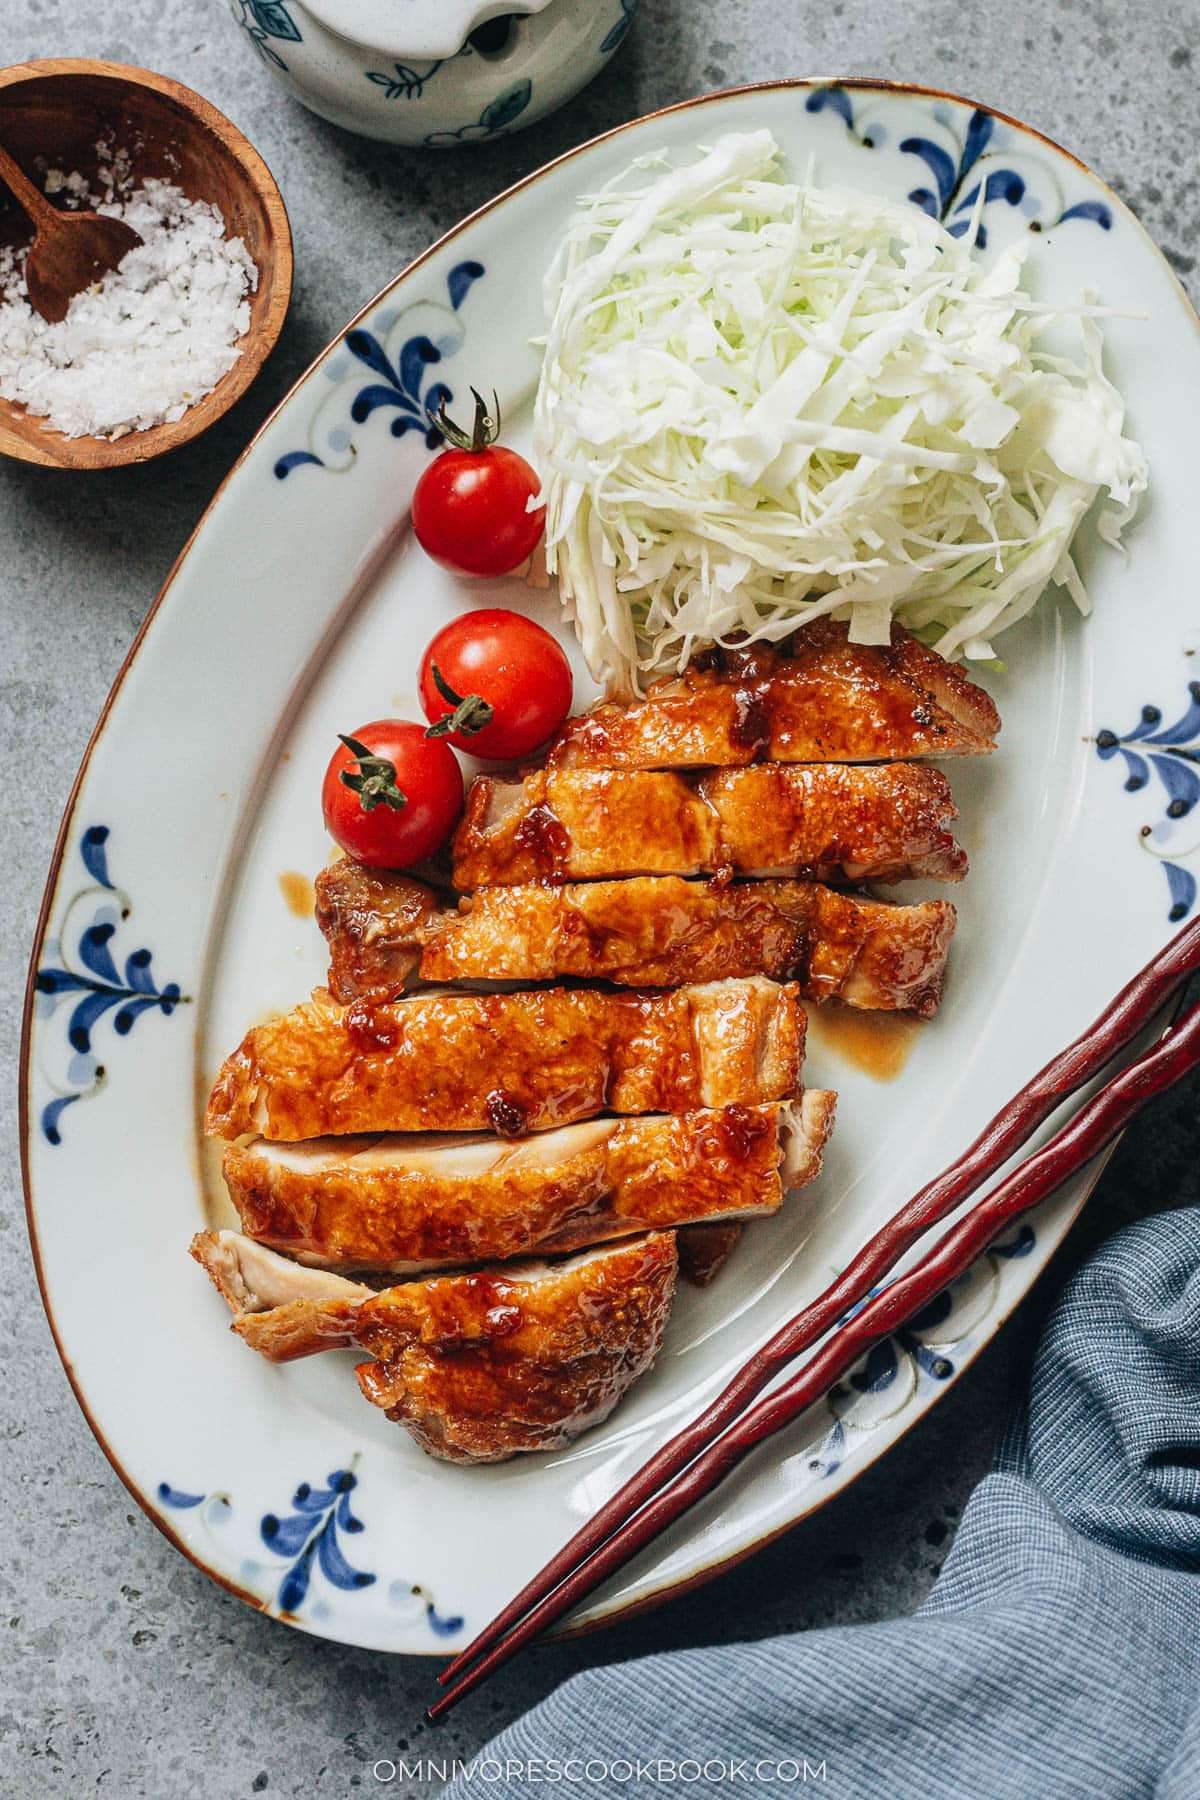
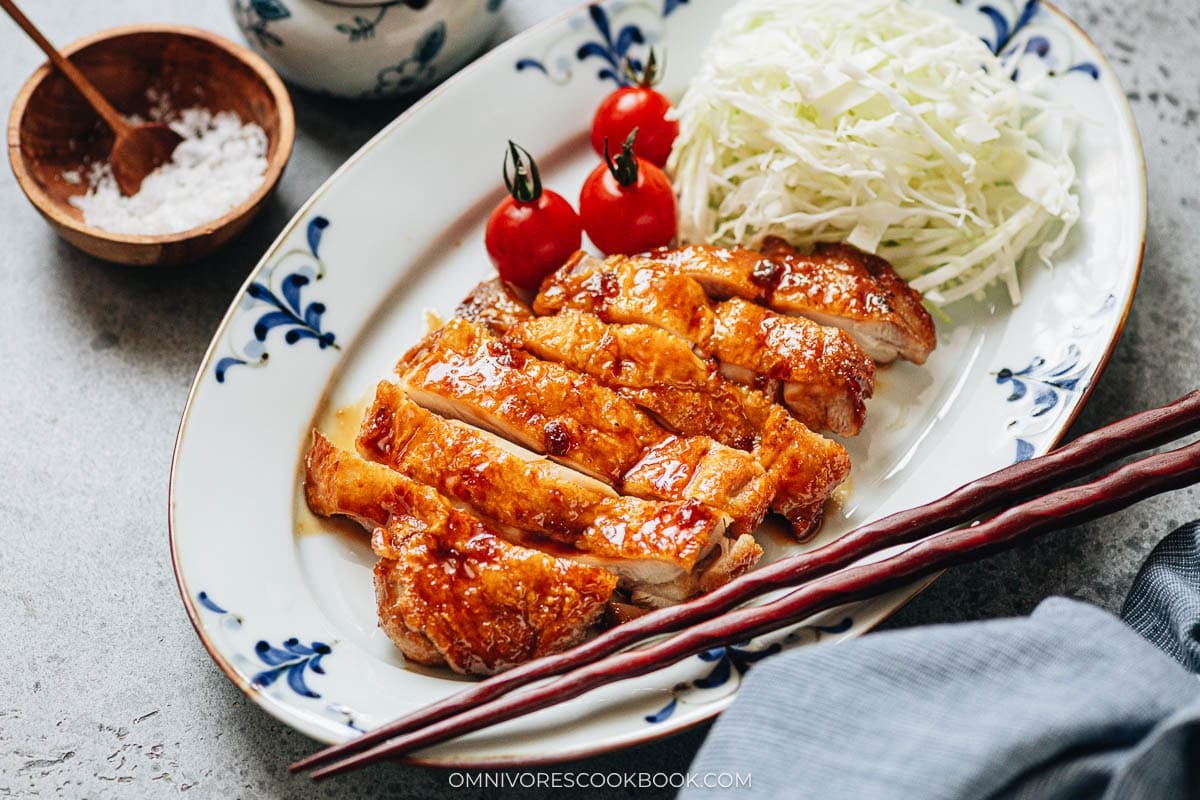
The teriyaki chicken I know from Japan is different from the thick, very sweet, heavily sauced version that is common at American restaurants. The sauce here is thin and glossy, just enough to coat the meat, so the crisp skin stays the highlight of the plate. I make it the way I learned to while living in Japan during my early 20s.
My first bite of teriyaki chicken was in Beijing, back in middle school, when Yoshinoya opened near us and I ordered the combination plate with teriyaki chicken and gyudon. Years later I moved to Japan and was surprised to learn that the teriyaki chicken I grew up on there was a localized menu item, not the version served in Japan. That is when I started making the real Japanese one at home, and it is still the version I cook for my family.
Teriyaki chicken is surprisingly easy to make at home. I gently pound the chicken so it cooks evenly, dust the meat side with cornstarch, then cook it skin side down until crisp before I pour in the sauce and reduce it. I do not baste, so the skin holds its crunch, which I love.
If you want tender chicken with crackling skin and a savory sweet glaze over rice, pull out one skillet and follow my steps below. I hope you give this one a try!
Ingredients
I only use 6 ingredients to make this teriyaki chicken recipe and the only pantry items I will not swap are the sake, soy sauce, and mirin that make the sauce. Here is what I use:
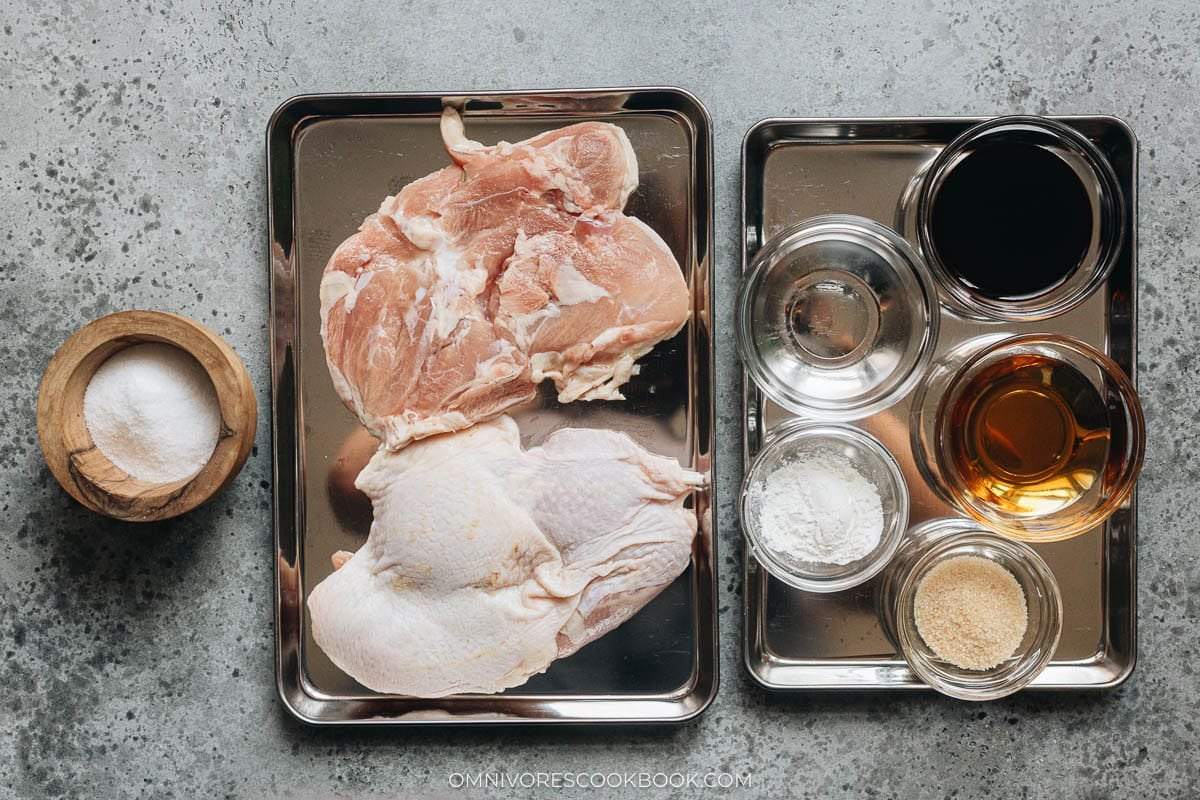
Chicken: I use skin-on chicken thigh because the skin is the point of this dish, going crackly against the hot pan while the meat stays juicy. My first pick is a boneless, skin-on whole leg, but you do not need a Japanese market for this. Regular bone-in, skin-on thighs from any grocery store work once you debone them at home, which is what I do most of the time.
However, it’s totally OK to use boneless thigh pieces or even chicken breast to make the dish and still get a great result. Scroll down to the FAQ section to see how to adapt the recipe using different chicken cuts.
Salt: I season both sides of the chicken with a small pinch of kosher salt before it goes into the pan. It adds just enough seasoning to the meat without making the finished dish too salty once the sauce is added.
Teriyaki sauce: I stir the sauce together from Japanese sake, soy sauce, mirin, and a little sugar. I reduce the sugar slightly from what a restaurant would use so the finished sauce is savory sweet, not cloying.
A word on Mirin
I prefer to use real mirin, hon mirin (本みりん), when I can find it because it has a rounder, more complex sweetness. Mirin-style seasoning, usually labeled aji-mirin, works too and is easier to find, though it makes the sauce a bit sweeter.
Cornstarch: I dust cornstarch over the meat side only when I use skin-on chicken. It helps to keep the meat tender and gives the sauce a light body without making it into a thick, sticky glaze. If using a skinless cut, I dust both sides with cornstarch.
How to Make Teriyaki Chicken
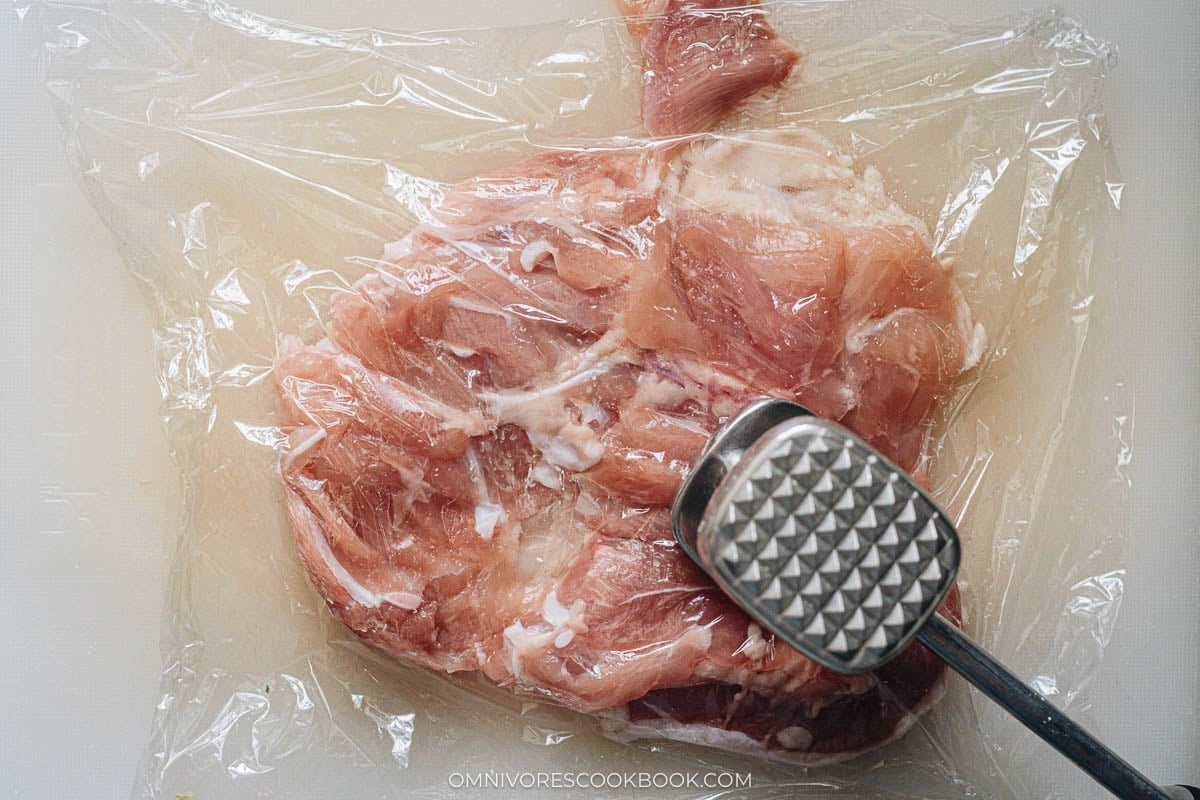
1. Prep the chicken: Debone chicken if using bone-in pieces. Remove and discard any excess fat from the chicken and pat it dry. Use a fork to poke holes all over the skin so the chicken does not shrink as it cooks, then pound it to an even thickness, about 1/2 inch (1.5 cm) at the thickest part. Season both sides with a small pinch of salt.
2. Mix the sauce: Combine the sake, soy sauce, mirin, and sugar in a small bowl and stir until the sugar dissolves.
3. Dust with cornstarch: Dust the cornstarch over the meat side of the chicken and shake off any excess. If you are using a skinless cut, dust both sides.
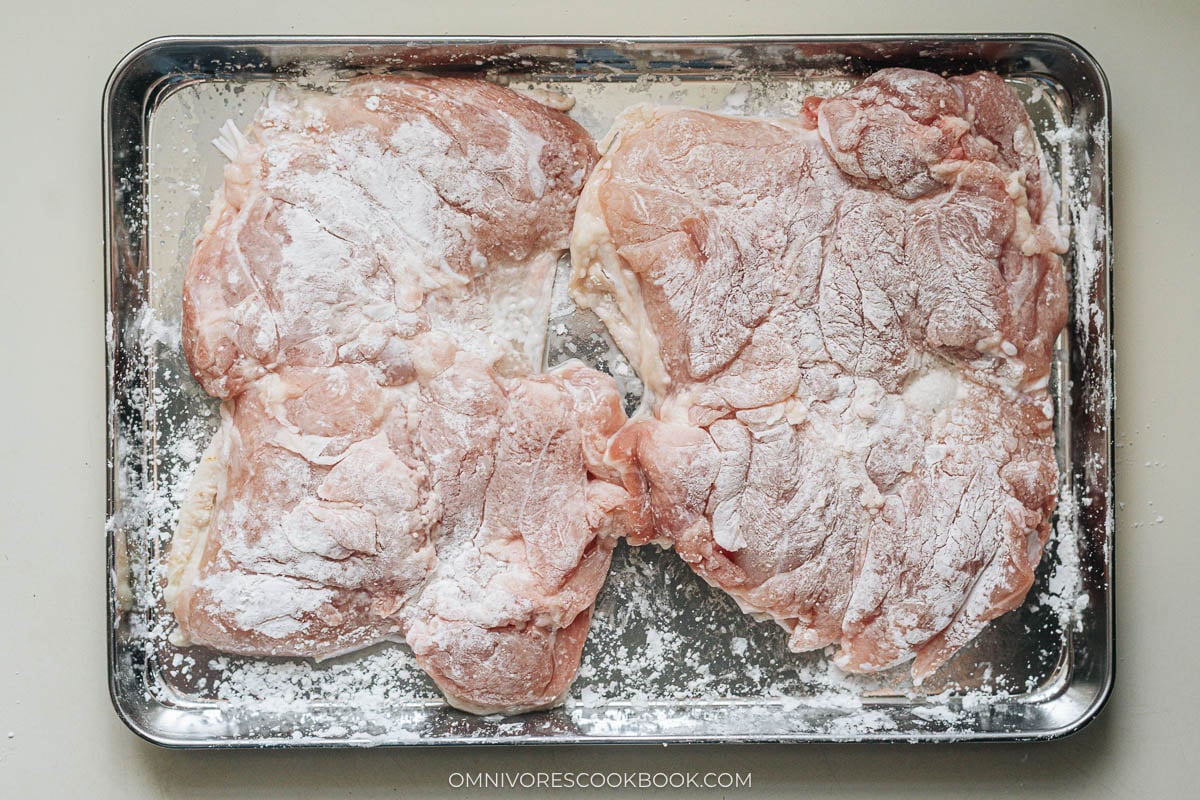
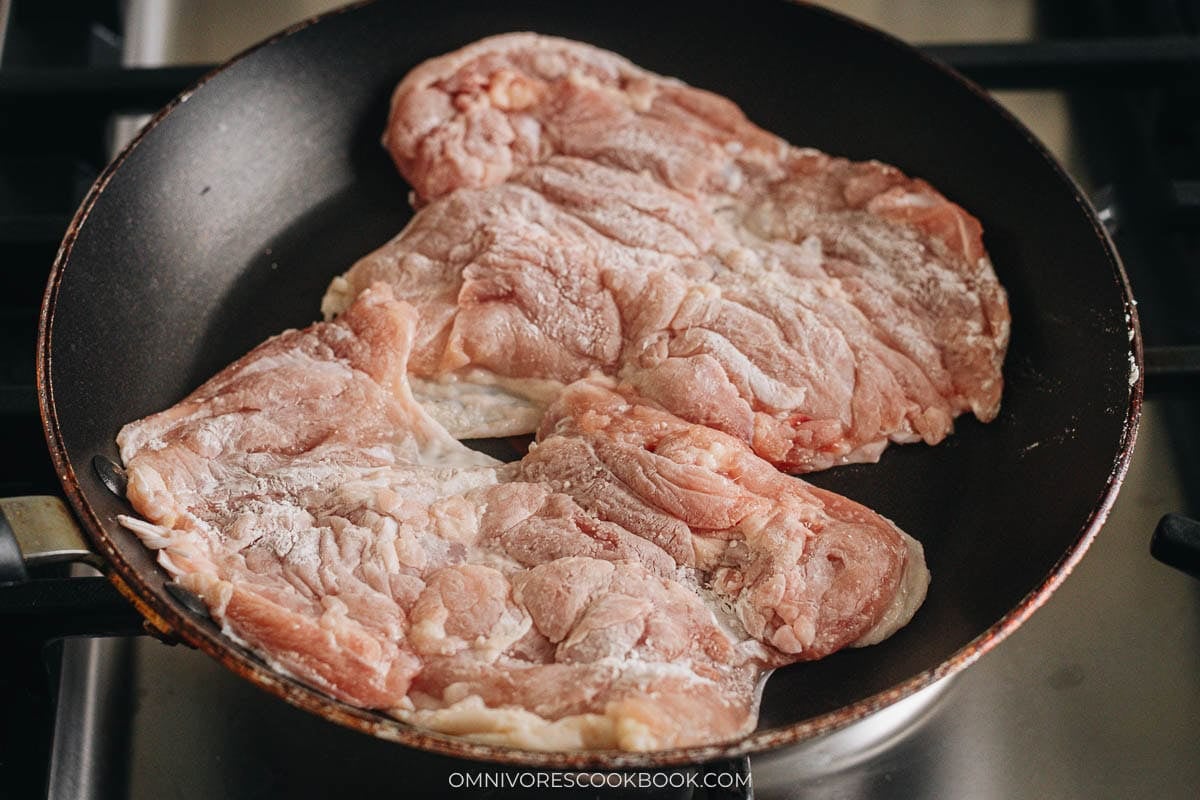
4. Render the skin: Place the chicken skin side down in a cold pan with no oil, then set the heat to medium-high and press the chicken flat with a spatula as the pan heats, until it begins to sizzle. Reduce to medium and cook until the skin is golden brown and crisp, 5 to 6 minutes.
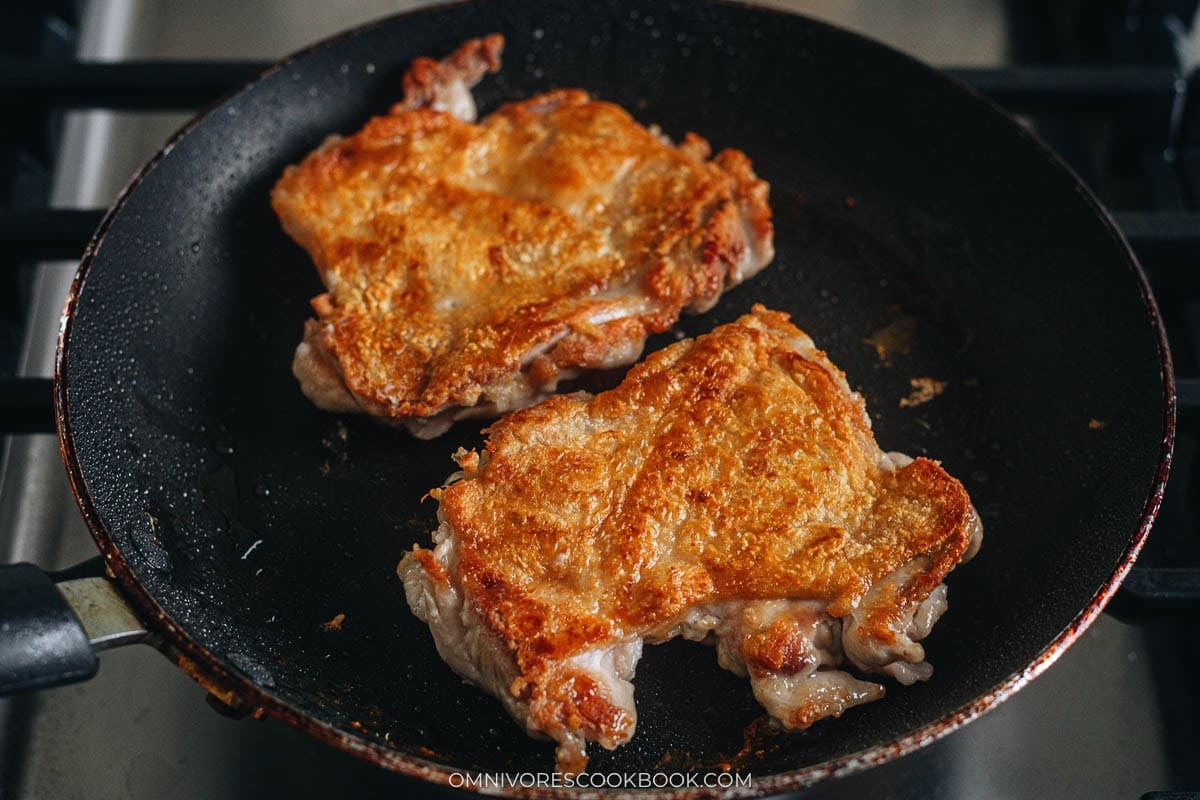
5. Brown the other side: Flip the chicken and cook until the meat side is browned, 2 to 3 minutes. I also use paper towels to wipe off excess oil so the sauce does not turn greasy.
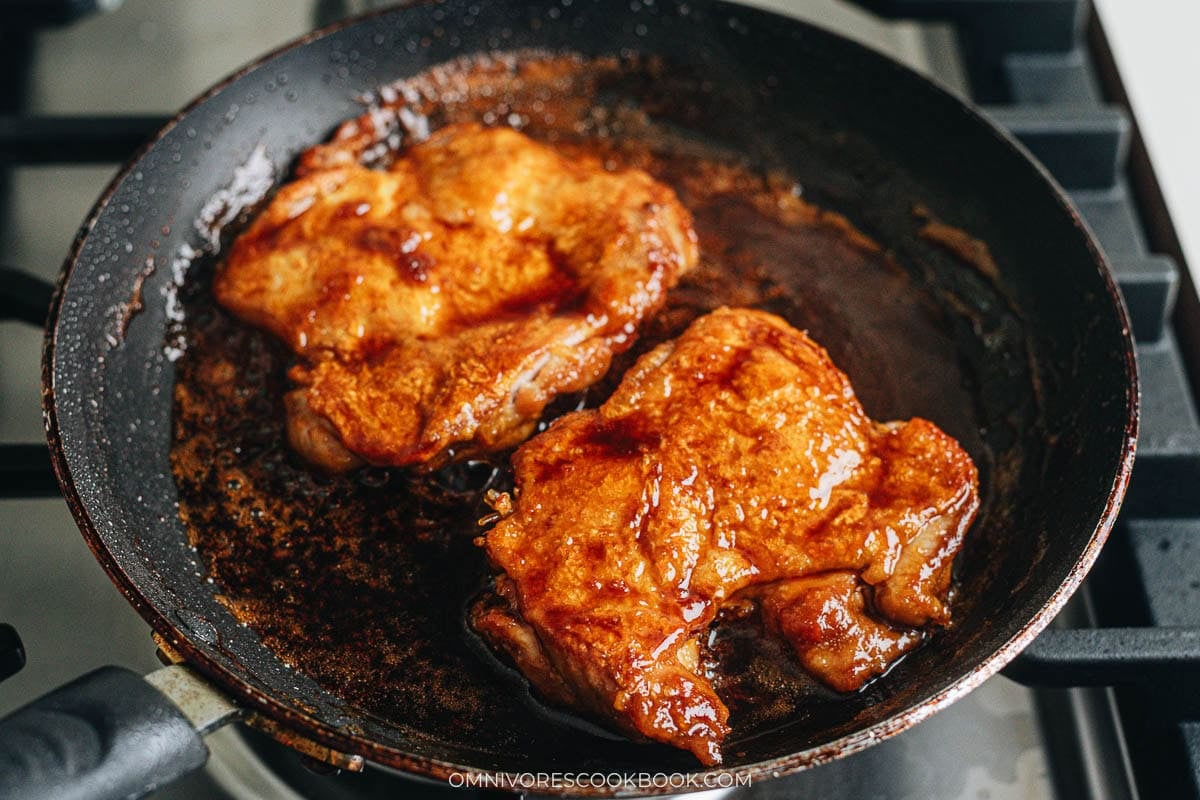
6. Reduce the sauce: Pour in the sauce and cook over medium heat, stirring it around the chicken now and then, until it reduces slightly and goes glossy, 2 to 3 minutes. If you look for the restaurant style, baste the chicken during the process to coat well. I prefer to have crispy chicken skin, so I only add the sauce onto the skin at the very end of the cooking.
7. Serve: Transfer the chicken to a plate and pour the sauce over the skin. Slice it if you like, and serve hot over steamed rice.
My Cooking Tips
Start in a cold pan: I lay the chicken skin side down before any heat so the fat renders slowly as the pan comes up to temperature. A hot pan seizes the skin before the fat lets go, and I lose the crisp.
Press the chicken flat: I hold the chicken down with a spatula for the first minute or two so the whole skin makes contact with the pan. Thigh skin buckles as it heats, and the high spots brown while the low spots stay pale if I skip this.
Skip the oil: I add no oil to the pan because the skin renders plenty of its own fat. Then I wipe that fat out with a paper towel before the sauce goes in, so the finished sauce is glossy instead of greasy.
Do not over-reduce: I pull the sauce off the heat while it is still glossy and pourable. If I let it cook down too far it goes sticky and heavy, which is the opposite of what this dish should be.
Serving Suggestions
Steamed short-grain rice is the natural partner for this chicken, and most nights that is the whole plate at my house. I slice the thigh so it is easy to pick up with chopsticks, spoon the pan sauce over the top, and set a bowl of rice alongside.
When I want a fuller Japanese meal, I keep it simple the way it is served there, with a small salad and a bowl of soup on the side. A crunchy spicy cucumber salad or a quick Chinese cucumber salad is a cool contrast to the savory chicken, and a warm bowl of miso soup rounds out the table. If I’m hosting, I make this fluffy and light Japanese cheese cake the night before and serve it after dinner, because it’s a crowd pleaser.
Frequently Ask Questions
Can I use chicken breast?
Yes, though I prefer thigh because it stays juicier and more flavorful. To use breast, slice each one horizontally into two thin pieces, pound them to an even 1/3 inch (8 mm), dust both sides with cornstarch, and pan fry over medium-high heat about 2 minutes per side until almost cooked through, then pour in the sauce and cook briefly until it goes glossy. Because the meat is thin and low in fat, I watch it once the sauce is in so it does not overcook.
Can I use boneless skinless chicken thighs?
Yes. Dust both sides lightly with cornstarch since there is no skin to protect the meat or brown on its own. You will not get the crackling skin that makes this dish, but the chicken still tastes good with the sauce.
Why is my teriyaki sauce not thick?
This sauce is meant to be thinner than the bottled American-style teriyaki you may know. It should reduce until glossy and lightly coat the chicken, not cook down into a heavy, sticky glaze. If it is thin and shiny, that is right.
How long do leftovers keep in the fridge and freezer?
Leftover teriyaki chicken keeps in an airtight container in the fridge for up to 3 days, and I reheat it in an air fryer to regain some of its crispy texture.
Want to Save This Recipe?
Enter your email below & we’ll send it to your inbox. Plus get great new recipes from us every week!
Teriyaki Chicken (日式照烧鸡肉)
Ingredients
- 2 pieces boneless skin-on whole chicken legs , or 4 bone-in, skin-on chicken thighs (about 1.5 lb), deboned (*Footnote 1)
- A pinch of kosher salt
Sauce
- 3 tablespoons Japanese sake
- 3 tablespoons soy sauce
- 3 tablespoons mirin
- 1 tablespoon sugar
- 1 tablespoon cornstarch
Instructions
- Remove and discard any excess fat from the chicken and pat dry. Use a fork to poke holes in the skin to prevent the chicken from shrinking during cooking.
- Gently pound the chicken into an even piece, about 1/2 inch (1.5 cm) thick at the thickest part. Very lightly season both sides with salt.
- Mix the sake, soy sauce, mirin, and sugar in a small bowl.
- Dust the cornstarch over the meat side of the chicken and shake off any excess (*Footnote 2).
- Place the chicken skin side down in a cold pan. Turn to medium-high heat and cook, pressing the chicken flat with a spatula, until the pan is hot and the chicken begins to sizzle. Reduce to medium heat. Cook until the skin is golden brown and crisp, 5 to 6 minutes.
- Flip the chicken and cook until the other side is browned, 2 to 3 minutes.
- Use paper towels to wipe off any excess grease from the pan. Pour in the sauce. Cook over medium heat, occasionally stirring the sauce around the chicken, until it reduces slightly and becomes glossy, 2 to 3 minutes (*Footnote 3).
- Transfer the chicken to a plate. Pour the sauce over the skin. Serve hot over steamed rice as a main dish.
Notes
- Boneless, skin-on whole chicken legs (with the thigh and drumstick attached) are a common cut at Japanese markets and are my preferred cut for this recipe. If you can’t find them, use bone-in, skin-on chicken thighs and remove the bones with a small sharp knife before cooking. Boneless, skinless chicken thighs also work, although you won’t get the same crispy skin.
- Dust both sides of the chicken with cornstarch if using a skinless cut.
- You can baste the chicken with the sauce as it cooks for a more traditional Japanese-style preparation. I prefer to keep some of the crispy texture of the chicken skin, so I don’t baste it and instead pour the sauce over the chicken just before serving.
- Gluten-Free adaption: Use tamari instead of soy sauce to make the dish gluten-free.
Nutrition

Did you make this recipe?
I’d love to hear how it turned out for you! Please take a moment to leave a 5-star rating ⭐️ and share your thoughts in the comments further down the page. It really helps others discover the recipe too.
Siao
This is the best teriyaki chicken ever!!! I made this with bone in skin on chicken thighs and it came out absolutely perfect!! It’s similar to 5 ingredient baked chicken but this sauce takes it over the top. This is an absolute keeper of a recipe – thank you for sharing. I’ve already made it twice to rave reviews!!!!!