
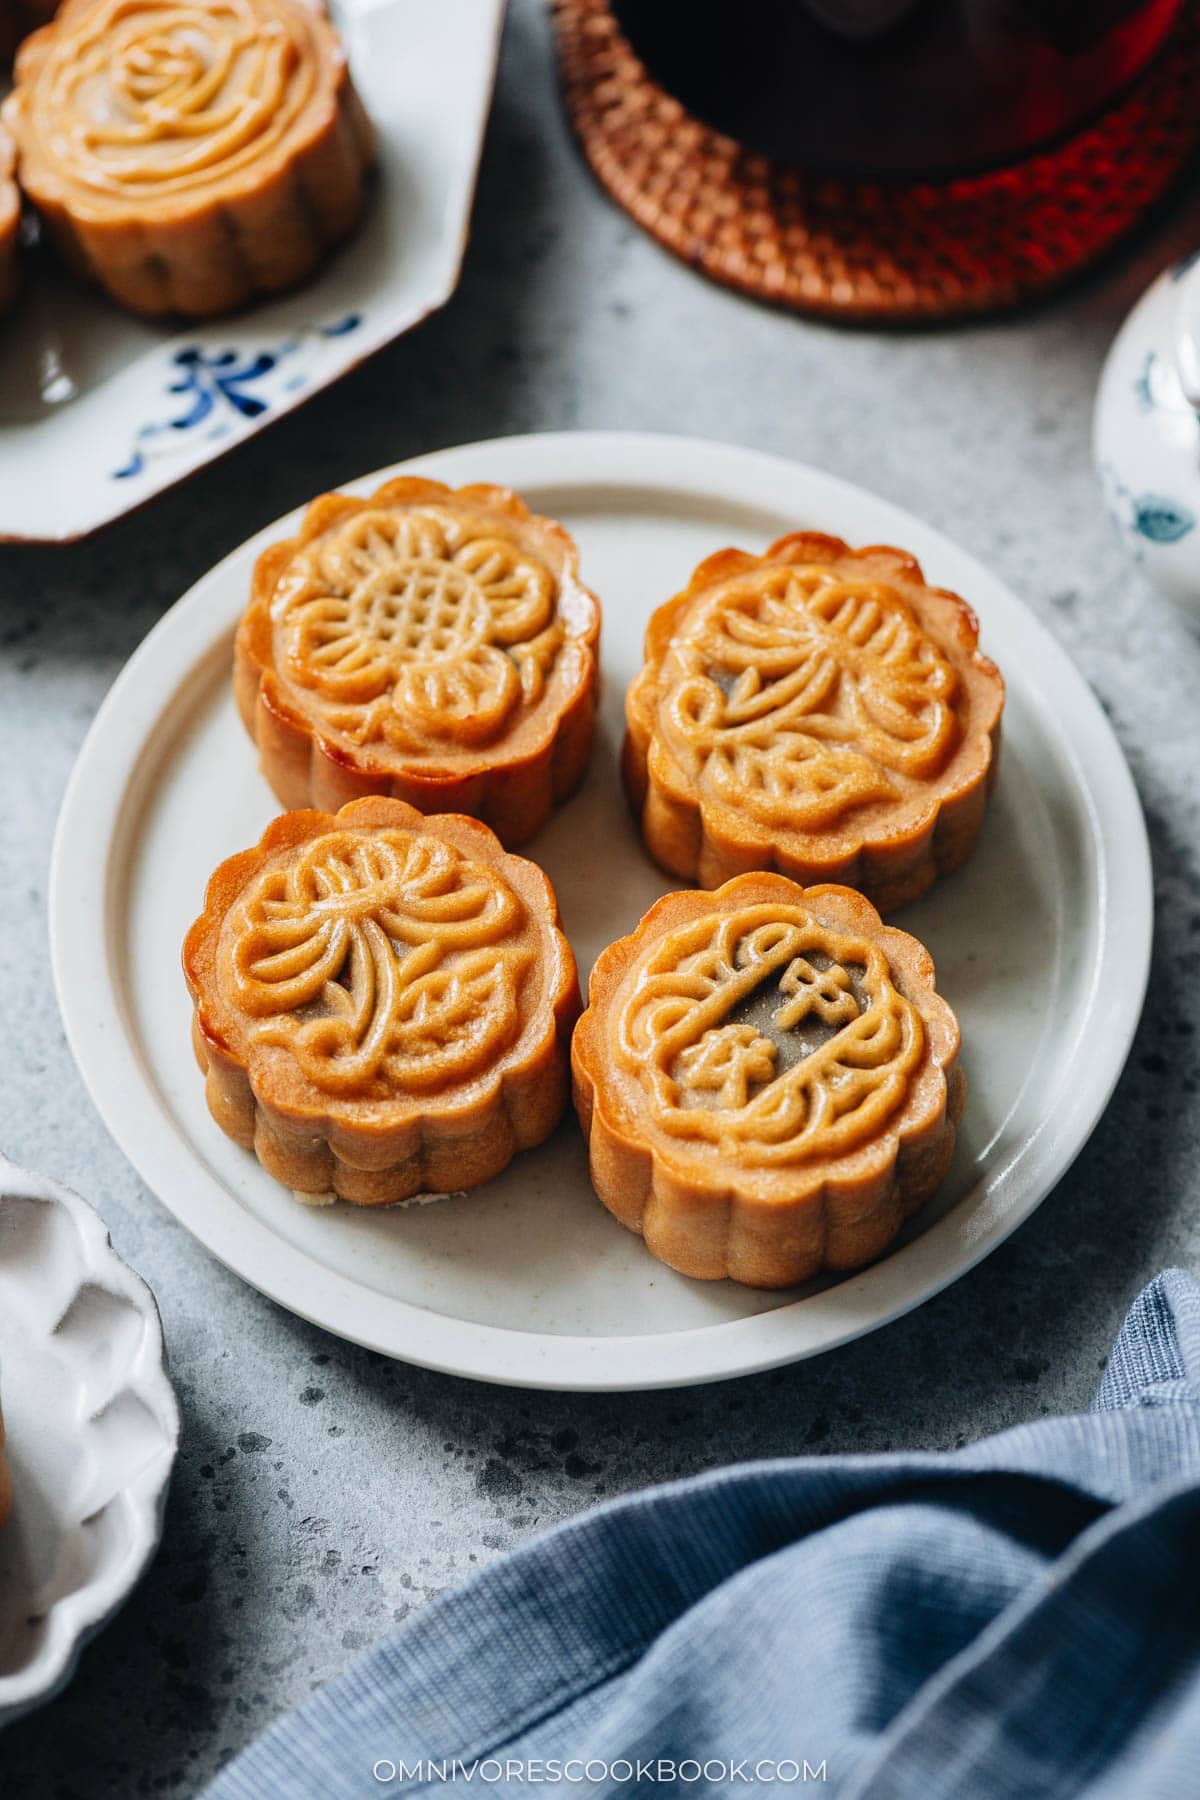
Making mooncakes at home was not something I was particularly interested in growing up in China, since our home was always overflowing with mooncake gifts from family, friends, and colleagues during the Mid-Autumn Festival. I started making my favorite black sesame mooncakes about 10 years ago, after moving to the US and finding it much harder to get the mooncakes I loved during the festival. Since then, I’ve continued to improve and refine my techniques and process. After James was born, making mooncakes became a yearly ritual and a precious family tradition – a way to share my culture with him and keep our family connected to its roots.
Today I want to share my red bean mooncakes made with homemade red bean paste. This is a version I genuinely enjoy and prefer to store-bought ones because the freshly made filling tastes fruitier and less sweet, making this special pastry easier to share with our 2-year-old. Making mooncakes takes some time and effort, but once you understand the process, it becomes a fun and soothing activity to enjoy with your family.
Ingredients
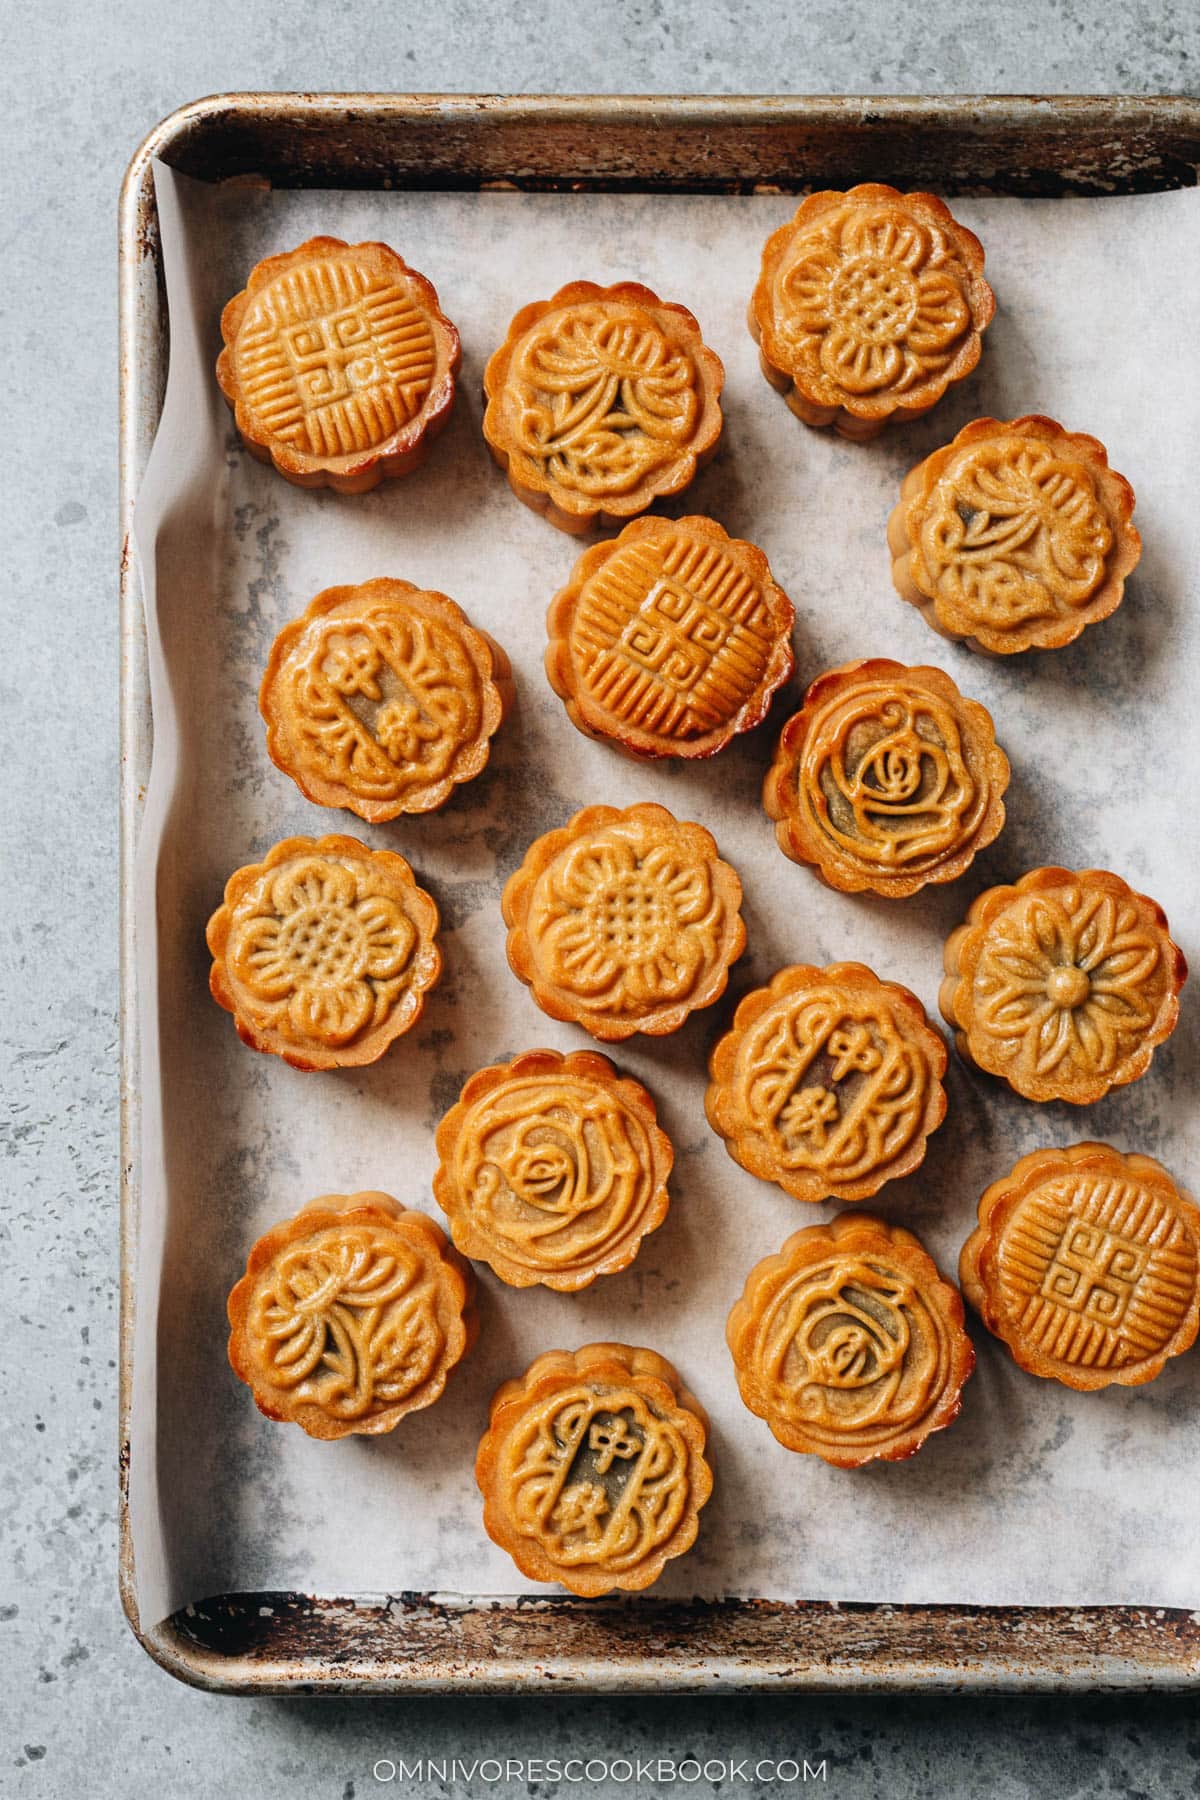
Traditional Cantonese mooncakes require a few special ingredients. I used to make them at home, but fortunately, it’s very easy to find them online these days. I divide them into three groups:
Red bean filling ingredients: For this recipe, I make the filling completely from scratch using dried red beans, maltose, sugar, and vegetable oil. Maltose gives the filling structure and a subtle fruity flavor, while sugar provides the sweetness. The oil adds richness and gives the paste its soft, smooth texture. It also plays an important role during hui you (回油), when the mooncakes rest and the crust gradually becomes softer and glossier.
I love adding salted duck egg yolks to my mooncakes for a savory contrast, but they’re completely optional.
Mooncake dough ingredients: Mooncake dough uses golden syrup, kansui, vegetable oil, salt and cake flour.
Golden syrup provides sweetness and moisture while helping the crust develop its characteristic golden color and soft texture after resting. Kansui, an alkaline solution, reacts with the syrup to deepen the color and gives the crust its distinctive texture. Vegetable oil keeps the dough tender and pliable, while cake flour creates a delicate crust that is easy to wrap around the filling and holds the molded pattern well. A small amount of salt balances the sweetness.
Egg wash: I use a mixture of egg yolk and milk for a rich egg wash. Brushed very lightly over the raised parts of the pattern, it creates a beautiful contrast between the golden ridges and the lighter recessed areas, making the design look more dimensional.
Tip: Try Chinese or Korean flour if you can find it
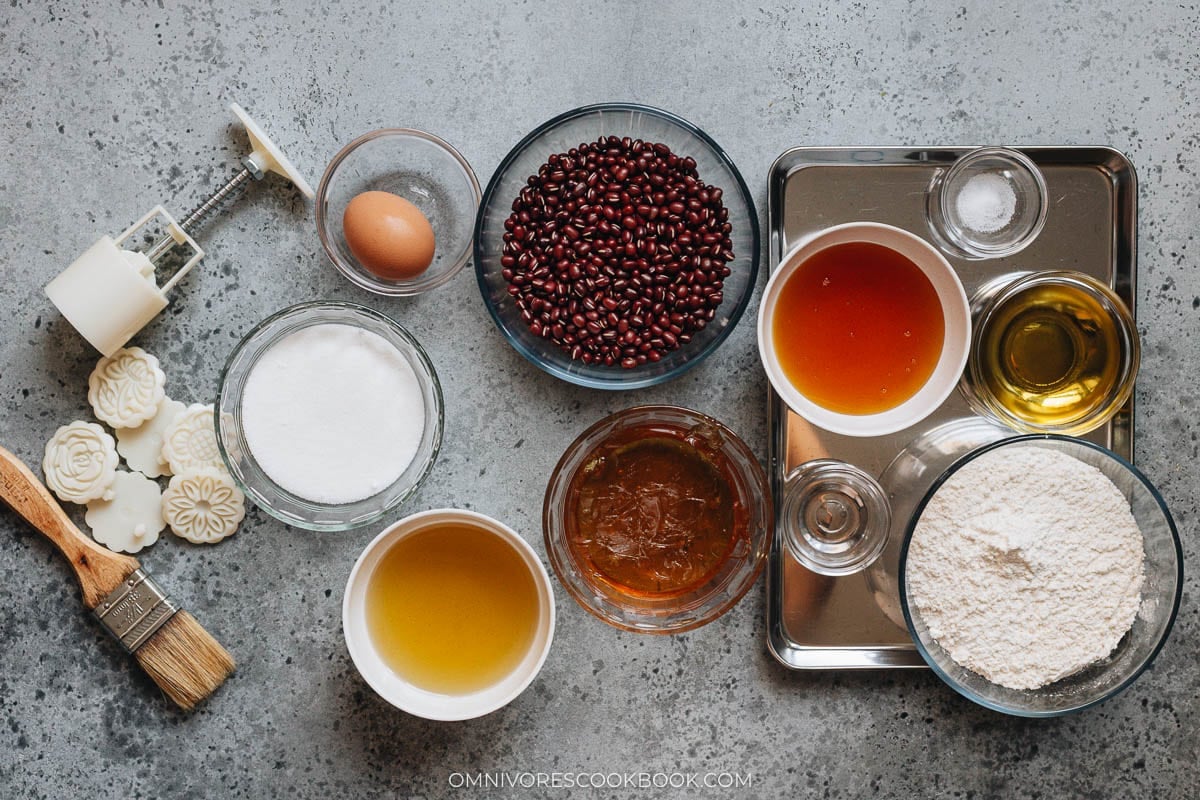
Mooncakes in China are commonly made with all-purpose flour, but Chinese all-purpose flour generally behaves differently from American all-purpose flour. For a more consistent result using widely available American flour, I use cake flour in this recipe. Its lower protein content produces a tender, pliable dough that is easy to work with and holds the mooncake pattern nicely.
If you have access to Chinese all-purpose flour, you can use it instead. I’ve also found that Korean all-purpose flour works very similarly to the Chinese flour I’m familiar with and is often easier to find in Asian grocery stores in the US. I prefer either of these when available because they produce a particularly nice mooncake dough.
Special tools
You need a few special tools to make mooncakes, but fortunately, they’re easy to find online these days.
Mooncake mold: I find the plastic press-style molds very easy to use, and they create beautiful, consistent patterns. They commonly come in 50-gram and 100-gram sizes, and my recipe uses a 50-gram mold. I especially love the smaller mooncakes because they look beautiful and are a great size for individual servings.
Kitchen scale: A scale is essential for making mooncakes because both the ingredients and the individual portions of dough and filling need to be measured precisely. I use two scales: a regular kitchen scale for most of the ingredients and a precision scale that measures to 0.1 gram for the small amount of kansui.
Rolling pin: A small rolling pin makes it easy to roll the mooncake dough into a thin, even wrapper. I like to roll the dough between two pieces of parchment paper so it doesn’t stick.
Pastry brushes: I like to keep two brushes handy. I use a larger brush to apply a very thin layer of egg wash and a smaller one to remove any excess that accidentally collects in the recessed parts of the pattern. This helps keep the design sharp and dimensional. If you only have one pastry brush, that works just fine, too.
How to make red bean mooncake
Make the red bean filling
I usually make the red bean paste first because the beans take time to cook, and the finished paste needs to cool completely before you can shape the mooncakes.
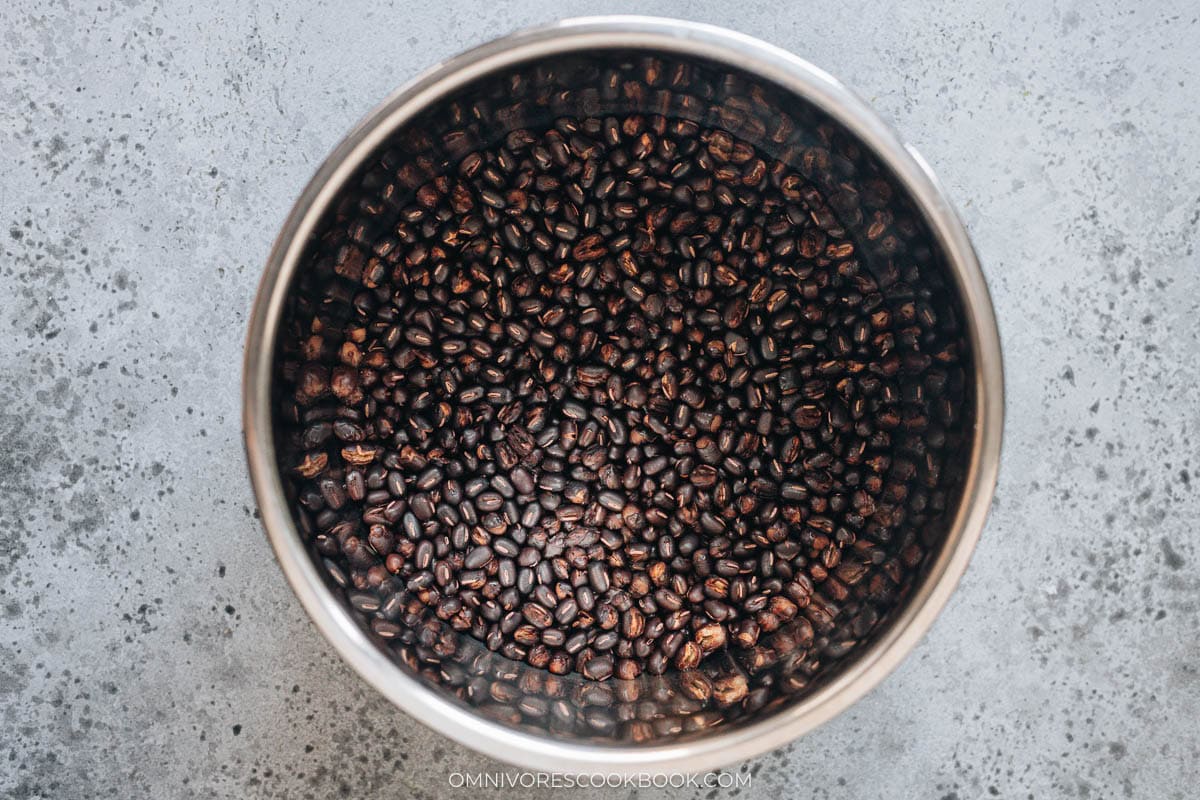
1. Cook the red beans. I love using my Instant Pot for this step because there’s no need to soak the beans – you can simply set it up and let it cook. My recipe uses just enough water to cook the beans until tender while leaving enough moisture to blend them. Using less water also saves a lot of time when you reduce the paste later. You can cook the beans on the stovetop as well, but make sure to soak them overnight first so they cook evenly.
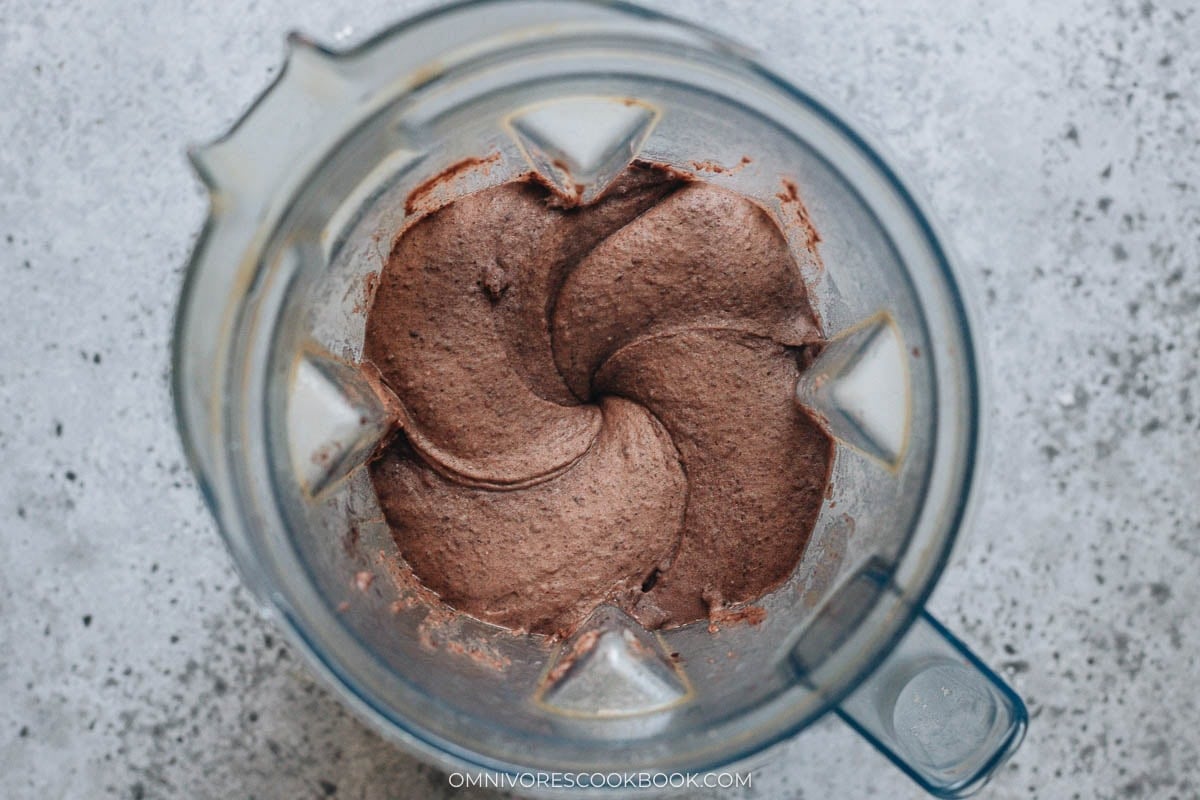
2. Blend the red beans. I process the cooked beans on the lowest speed until mostly smooth, with a little texture remaining here and there.
I’ve found that a higher speed actually doesn’t work as well. As the red beans break down, they release starch and quickly form a thick paste. At high speed, the paste gets pushed against the sides of the food processor and stops circulating around the blade. A continuous low speed keeps everything moving.
I don’t mind a little bean texture in my mooncakes, so I use as little water as possible. If you prefer a finer, smoother filling, you can add more water while blending. Just keep in mind that you’ll need to spend more time cooking off the extra moisture later.
Tip: How to handle maltose
Maltose is extremely thick and sticky at room temperature and can be almost impossible to scoop straight from the container. I place the container of maltose and a long-handled spoon in very hot water for 10 to 15 minutes. The heat softens the maltose considerably, and the warm spoon makes it much easier to scoop and measure.
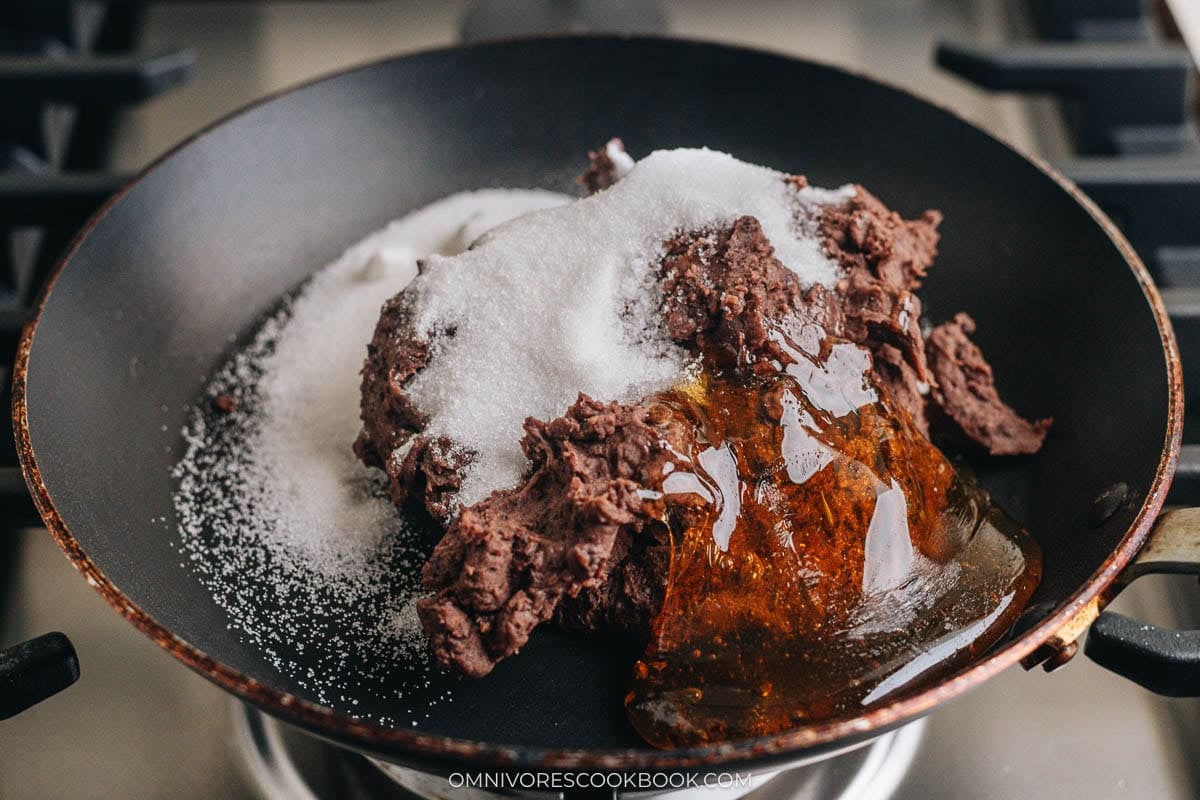
3. Cook the paste with the sugar. Transfer the red bean paste to a 9-inch nonstick pan and add the maltose and sugar. Start over medium heat. Once the pan is hot and the maltose begins to bubble, reduce to medium-low. Cook and stir constantly until the sugar and maltose are completely incorporated. You’ll notice that the red bean paste becomes softer and more spreadable as the sugar dissolves. This is normal.
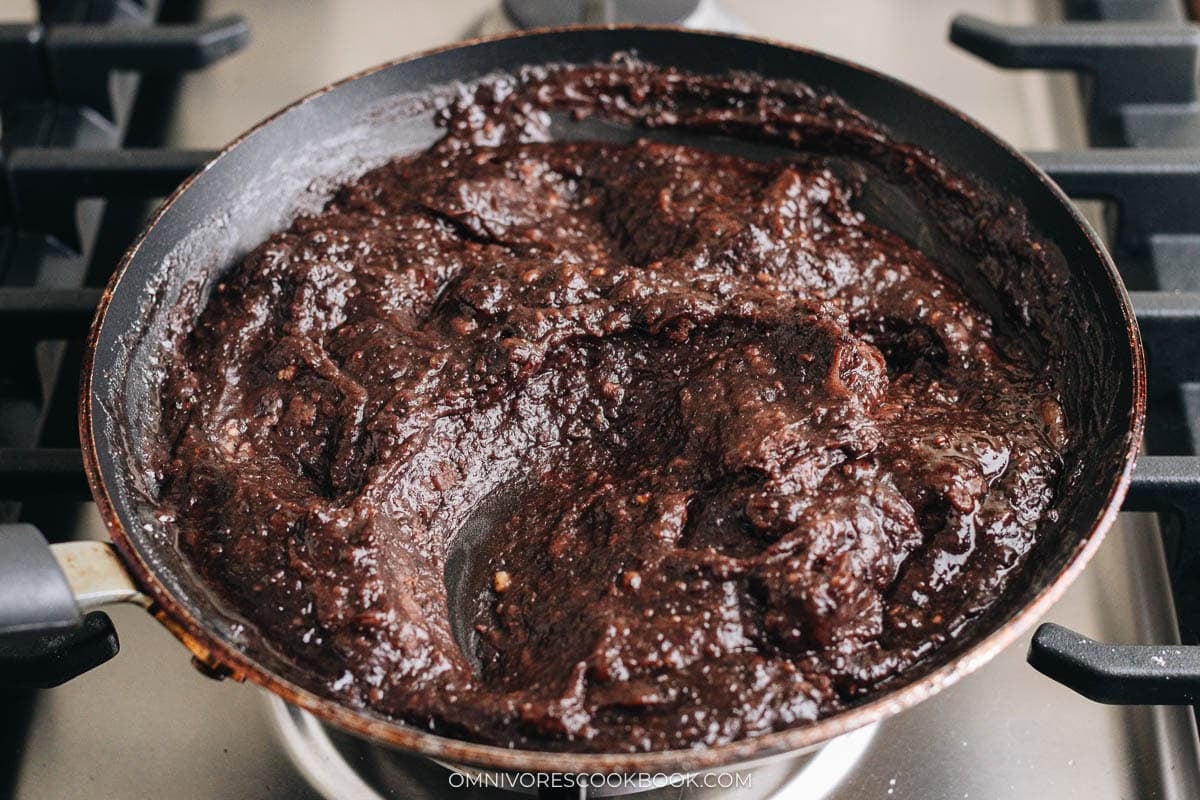
4. Emulsify with oil. Once the sugar is fully incorporated, gradually add the oil, about 2 tablespoons at a time. Stir vigorously and constantly until each addition is completely absorbed and you can no longer see any separated oil before adding more.
This step is very important. If the oil isn’t fully emulsified into the paste, it can separate and seep out once the filling cools.
After all the oil has been incorporated, continue cooking and stirring over medium-low heat. The paste is ready when it becomes cohesive, pulls away cleanly from the pan, and can hold a soft mound. Mine took about 20 minutes.
Don’t wait for the paste to become very firm in the pan. It will firm up considerably as it cools. Overcooking at this stage can give you a dry filling instead of the soft, rich texture you want in a mooncake.
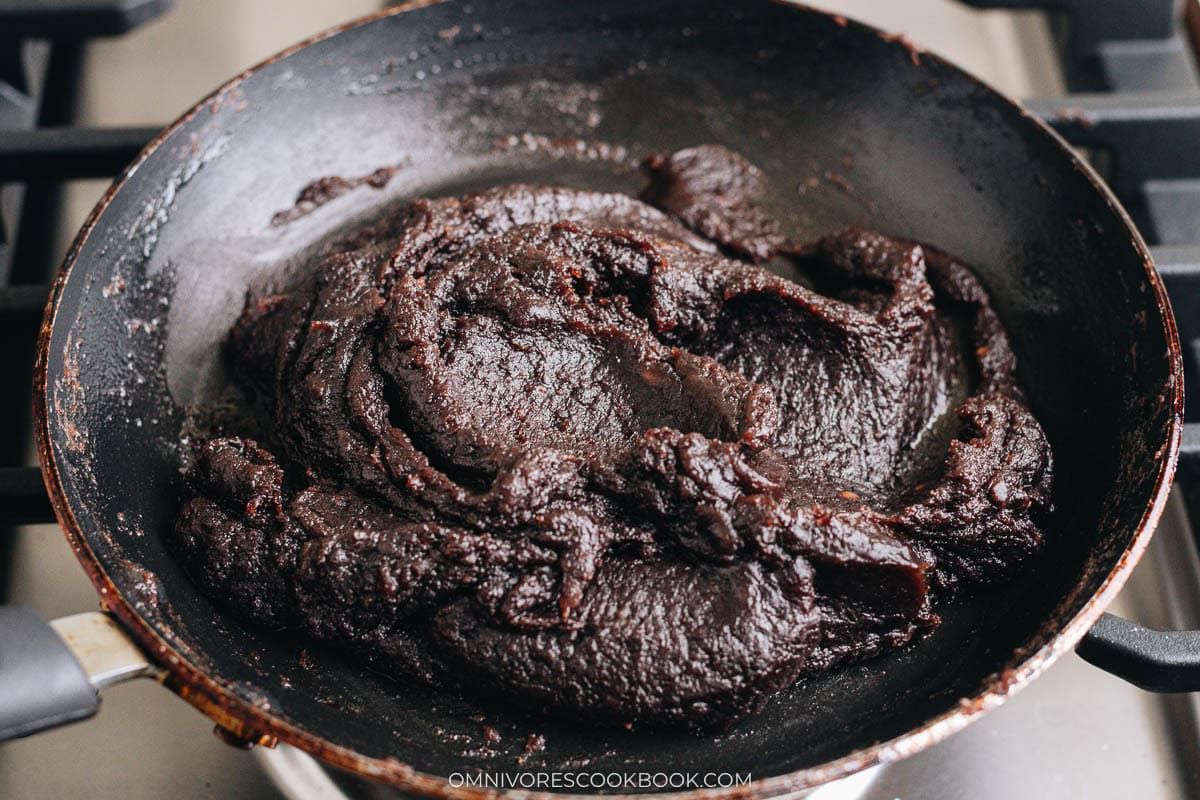
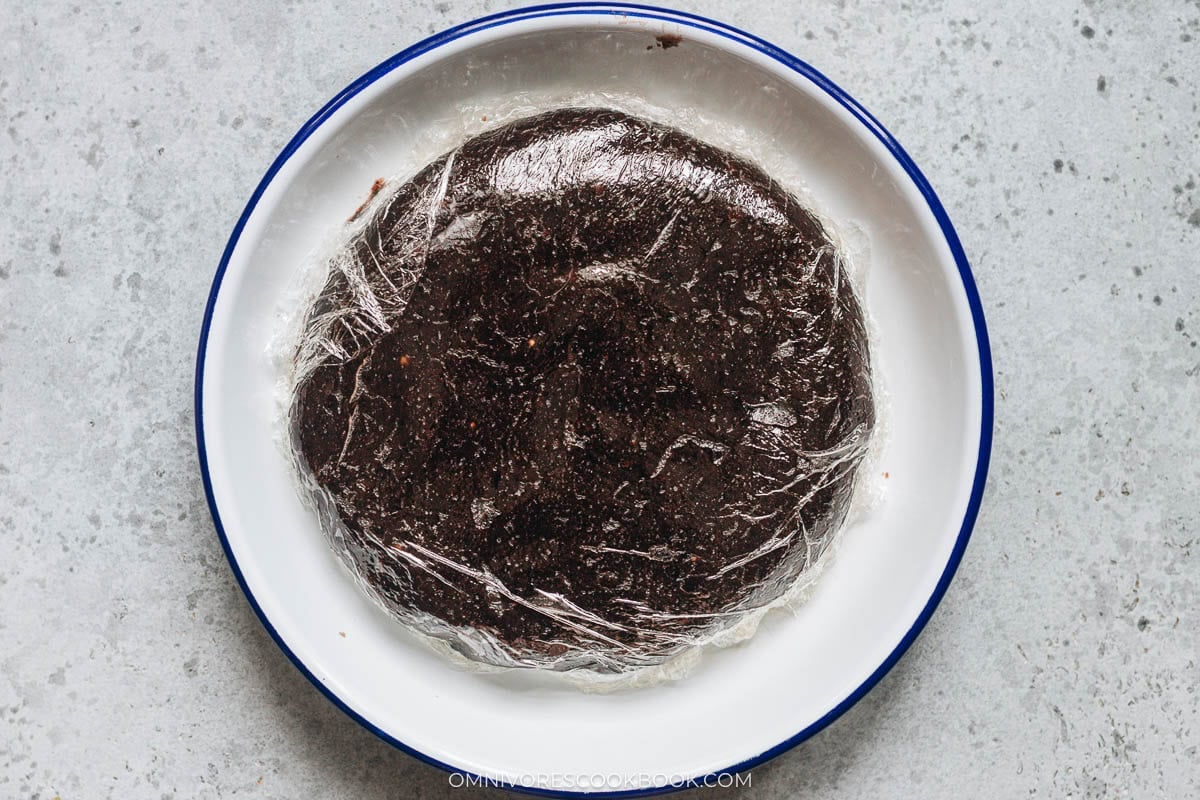
5. Cool the paste completely. Transfer the finished paste to a large plate or shallow bowl and spread it out slightly so it cools faster. Once it is no longer piping hot, press plastic wrap directly against the surface to prevent it from drying out, then refrigerate until completely chilled.
Once chilled, the filling should be soft and pliable with a slightly glossy appearance. It should hold its shape easily and be very easy to roll into balls without sticking to your hands.
Make mooncake dough
The mooncake dough is quite simple to make, but it’s important to mix it gently and give it enough time to rest. The finished dough should be soft and pliable so you can stretch it thinly around the filling without tearing.
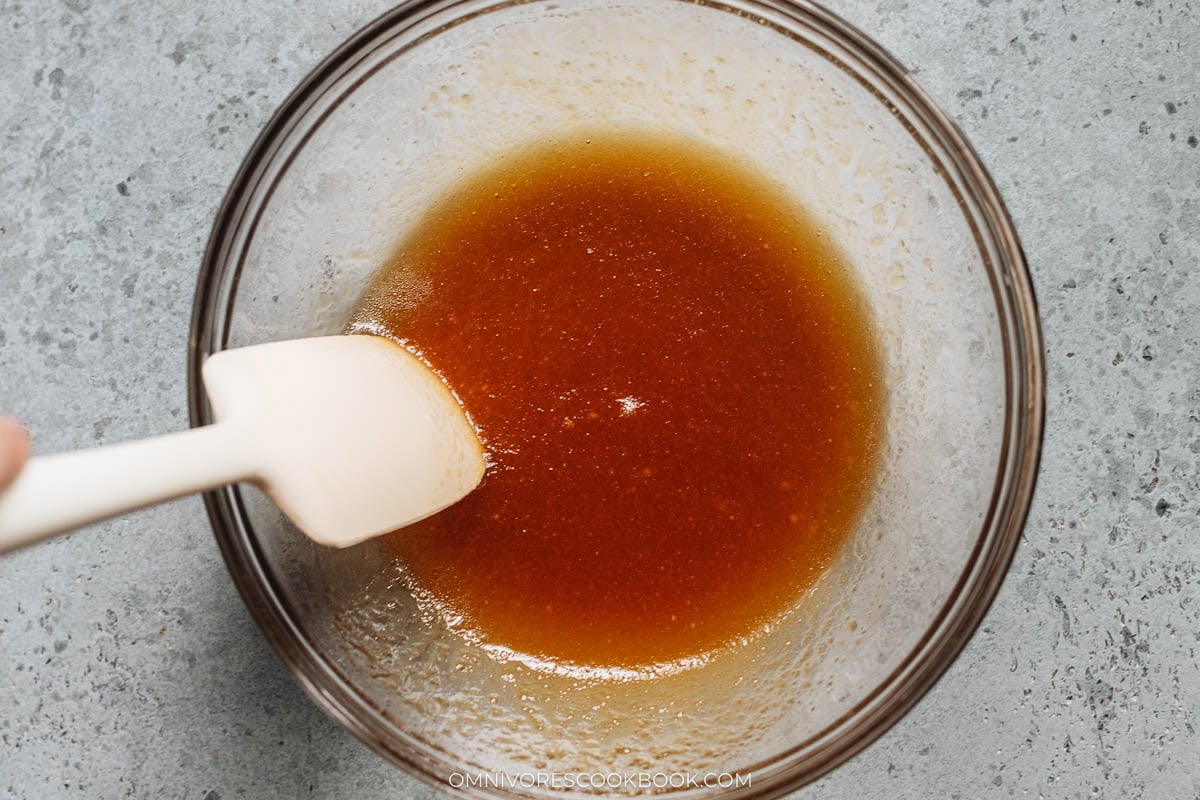
Mix the wet ingredients: Add the golden syrup, kansui, and vegetable oil to a large bowl. Mix with a spatula until everything is thoroughly combined and emulsified. The mixture should look smooth and uniform, without any visible streaks of oil.
Add the flour: Add the cake flour and salt, then gently fold it into the wet ingredients. I like to scrape from the bottom of the bowl and fold the mixture over itself, similar to folding cake batter. Avoid stirring vigorously in a circular motion, which can develop too much gluten and make the mooncake skin tough.
Shape the dough: Once there is no dry flour remaining, gently bring the dough together with your hands and shape it into a ball. The finished dough should feel very soft and slightly sticky, but it should still hold its shape. Avoid kneading the dough.
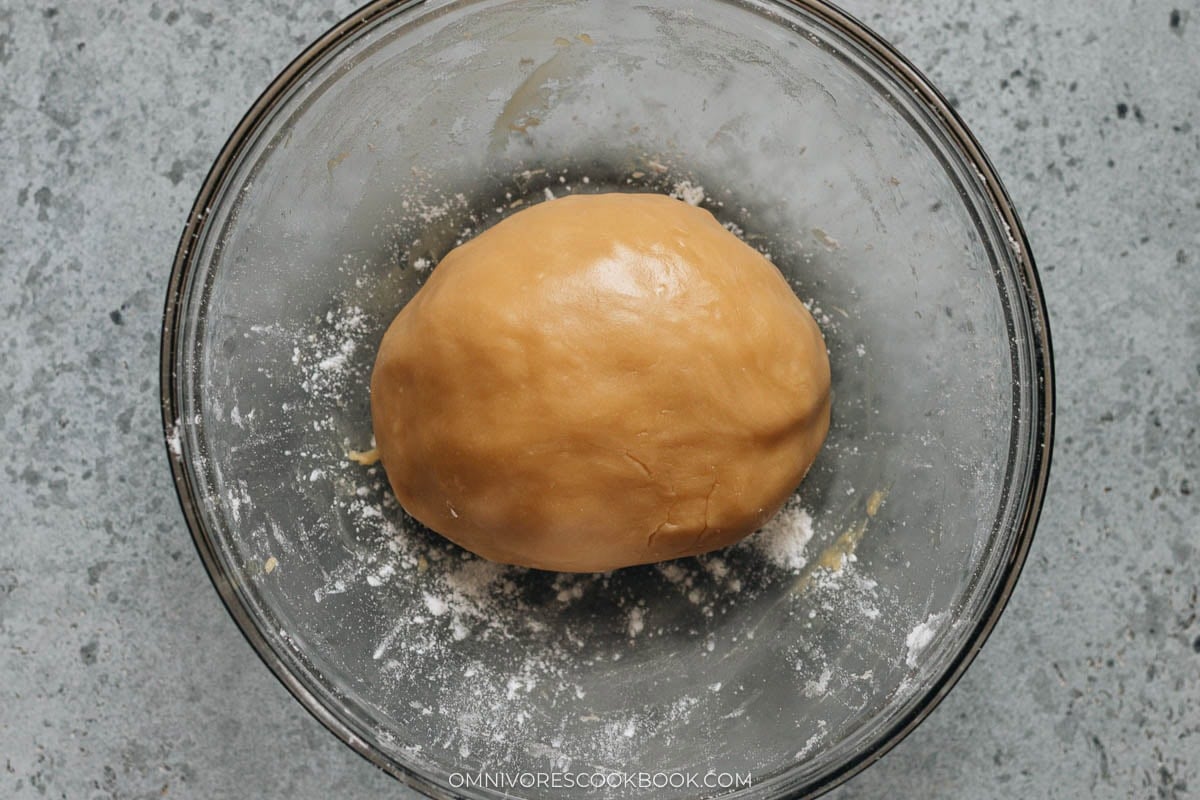
Rest the dough: Cover the bowl with plastic wrap and let it rest at room temperature for 2 hours. This resting time is important because it allows the flour to fully hydrate and makes the dough smoother, more pliable, and much easier to wrap around the filling.
Assemble the mooncakes
Once the red bean paste is completely chilled and the dough has rested, you’re ready to assemble the mooncakes. This part takes a little practice, but the dough is quite forgiving. Don’t worry if the wrapper isn’t perfectly even – as long as the filling is completely covered, the mold will create a beautiful finished shape.
Shape the filling: Divide the chilled red bean paste into 30-gram portions if you’re making plain red bean mooncakes, then roll each portion into a smooth ball. If using salted duck egg yolks, place half a yolk on the scale and add enough red bean paste to reach 30 grams total. Flatten the paste into a disk, place the yolk in the center, then wrap the paste around it and roll into a ball. Keep the filling covered while you work so it doesn’t dry out.
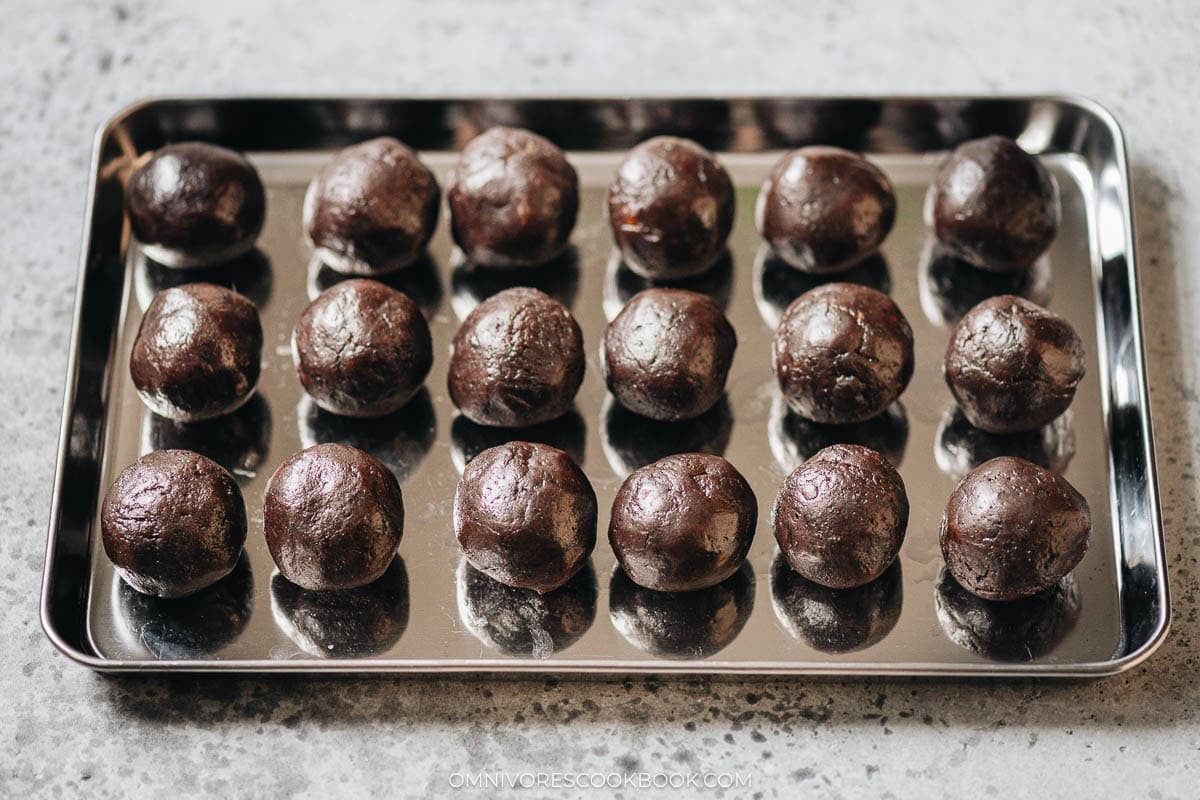
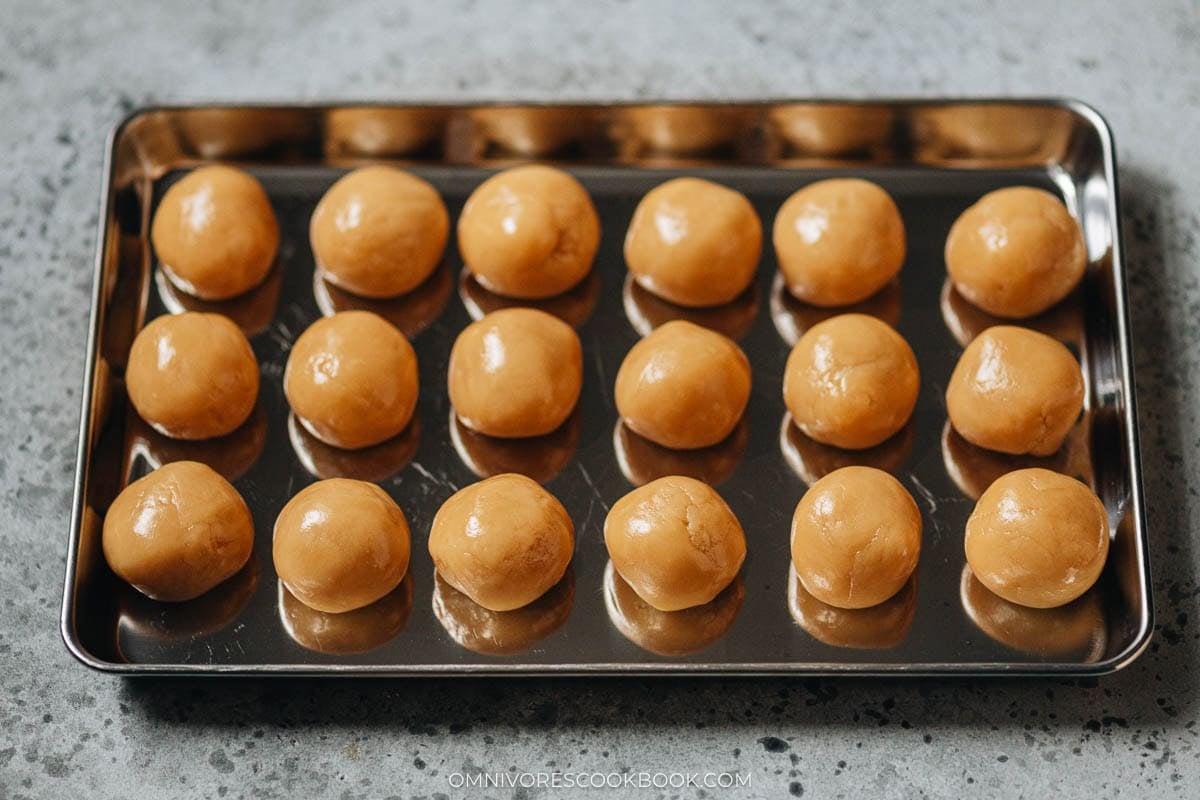
Portion the dough: Divide the rested mooncake dough into 20-gram pieces and roll each one into a ball. Place them on a tray and keep them covered with plastic wrap.
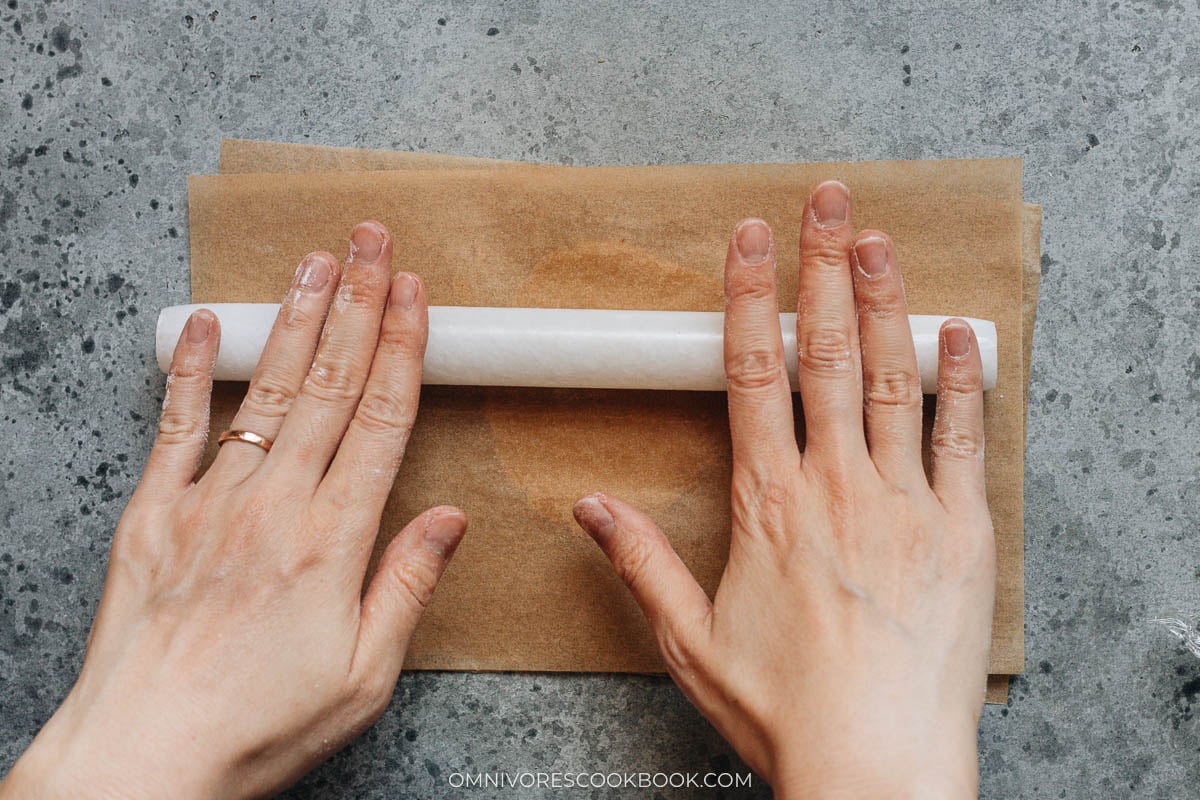
Roll out the wrapper: Place one dough ball between two pieces of parchment paper. Press it down with your palm, then use a rolling pin to roll it into a round disk about 4 inches (10 cm) across. Using parchment makes it much easier to roll this soft, slightly sticky dough without adding extra flour.
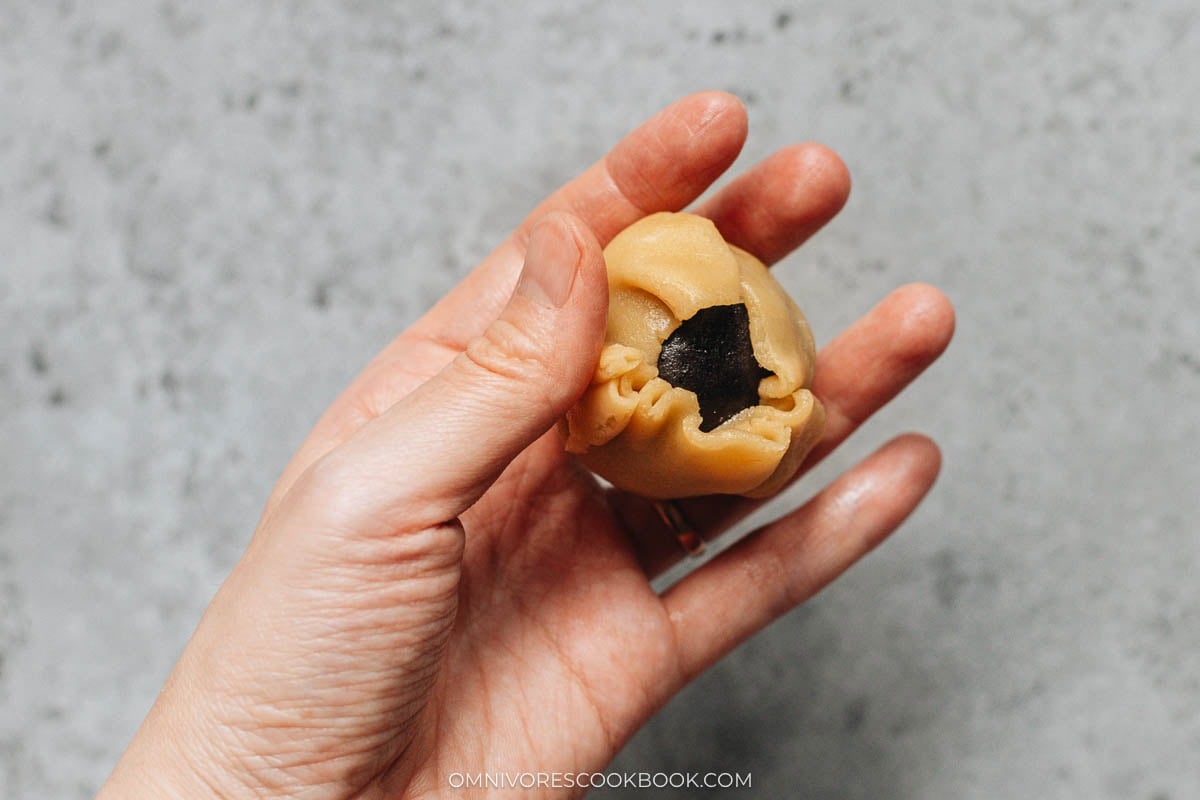
Wrap the filling: Remove the top piece of parchment and place a filling ball in the center of the dough. Carefully peel away the bottom parchment, then gently bring the dough up and around the filling. Use your fingers to slowly press and stretch the dough until the filling is completely enclosed, squeezing out any large air pockets as you go. If you have a bare spot, simply pinch off a tiny piece of dough and use it to patch the area. Once sealed, gently roll the mooncake between your palms to smooth it into a ball.
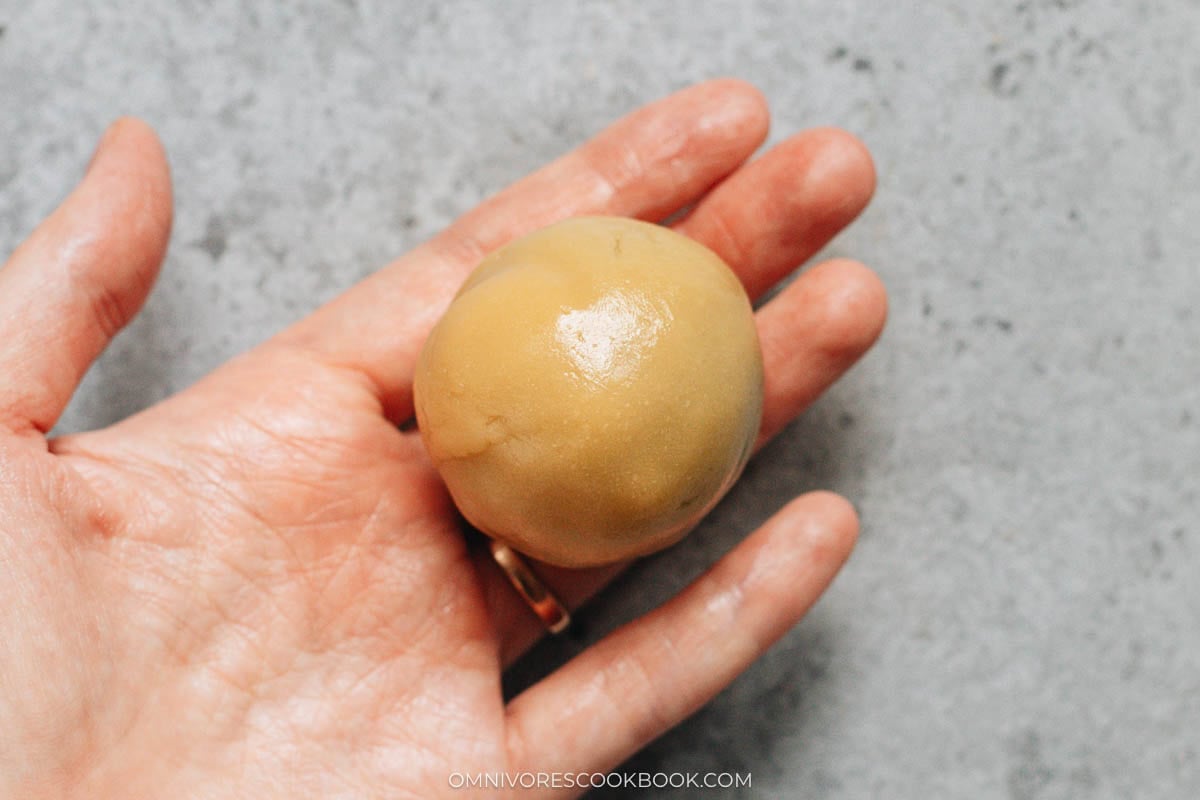
Mold the mooncake: Lightly dust the assembled mooncake with cake flour, then shake off any excess. Place it into the mooncake mold with the area that has the thicker layer of dough facing the pattern disc. This helps the detailed pattern form nicely without making the filling show through. Place the mold on a clean work surface lightly dusted with flour and press down firmly until the handle cannot move any farther. Hold for about 5 seconds to set the pattern, then lift the mold and press the handle to release the mooncake.
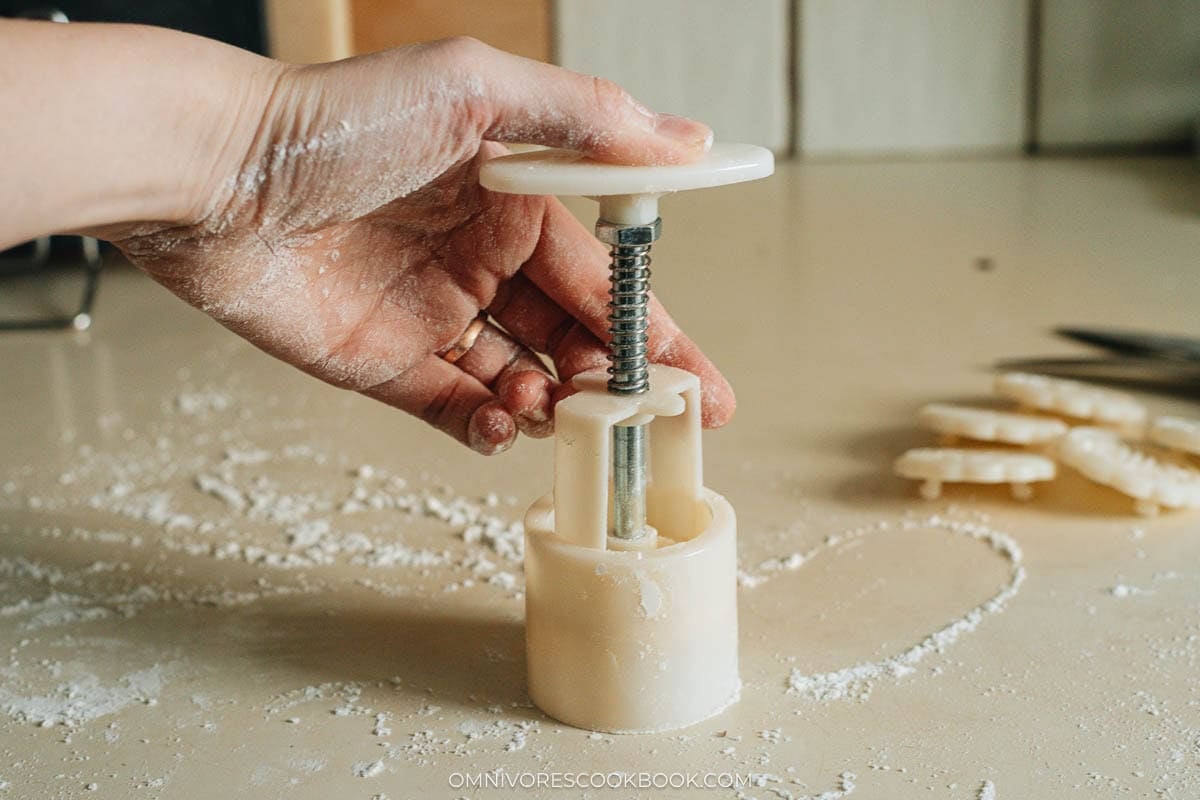
Arrange the mooncakes: Transfer the molded mooncakes to a parchment-lined baking sheet, spacing them about 1 inch apart. Repeat with the remaining dough and filling. Once molded, handle the mooncakes gently so you don’t damage the pattern before baking.
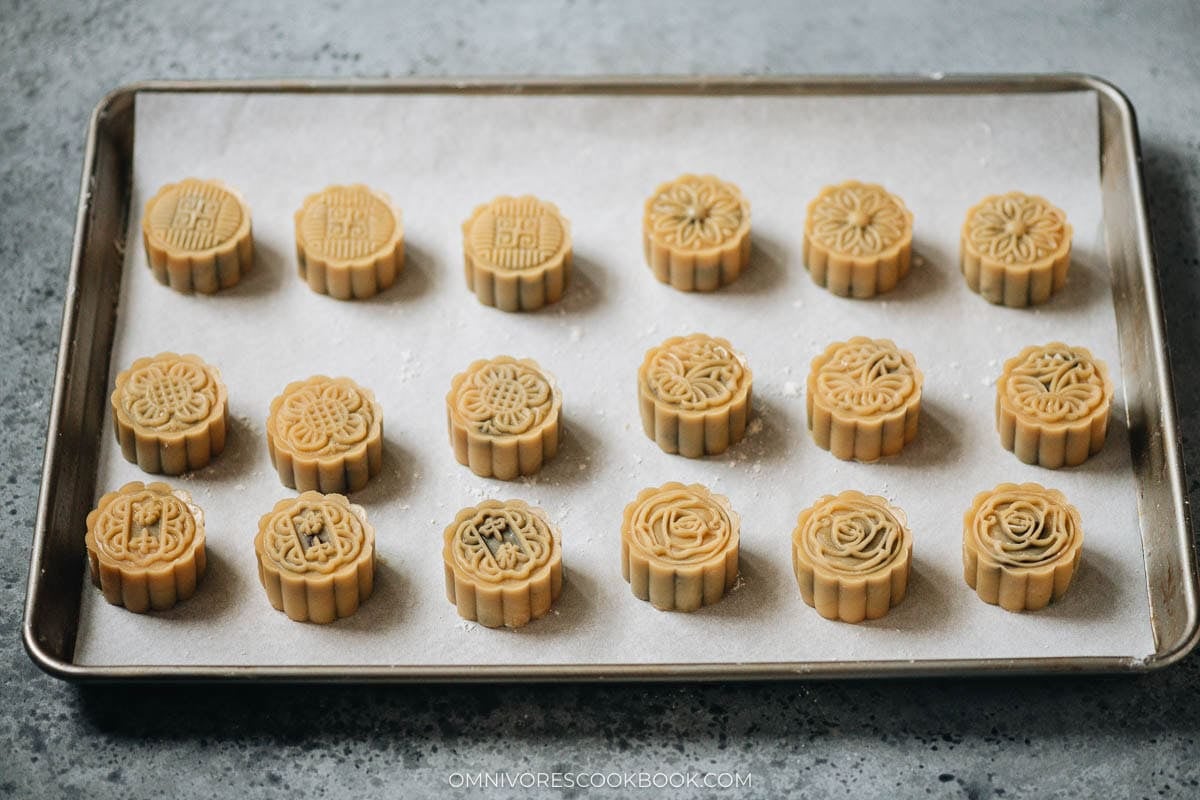
Bake the mooncakes
Baking the mooncakes happens in two stages. The first short bake sets the pattern so it won’t disappear when you brush on the egg wash. Then I brush the mooncakes very lightly and bake at a lower temperature until golden.
Mist and set the pattern: Very lightly spray the mooncakes with water before baking. You only need a fine mist to prevent the dough from drying out and cracking. Bake at 400°F (200°C) for 5 minutes, until the pattern is set and the edges are just starting to turn golden.
Make the egg wash: While the mooncakes are baking, whisk the egg yolk with the milk until smooth. Using mostly yolk creates a rich golden color that highlights the raised pattern.
Brush with egg wash: Remove the mooncakes from the oven and very lightly brush the egg wash over the raised surfaces of the pattern. Try not to brush the sides or let the egg wash pool in the recessed areas, which can blur the design. Less is better here. If you accidentally add too much, use a small clean pastry brush to remove the excess from the grooves.
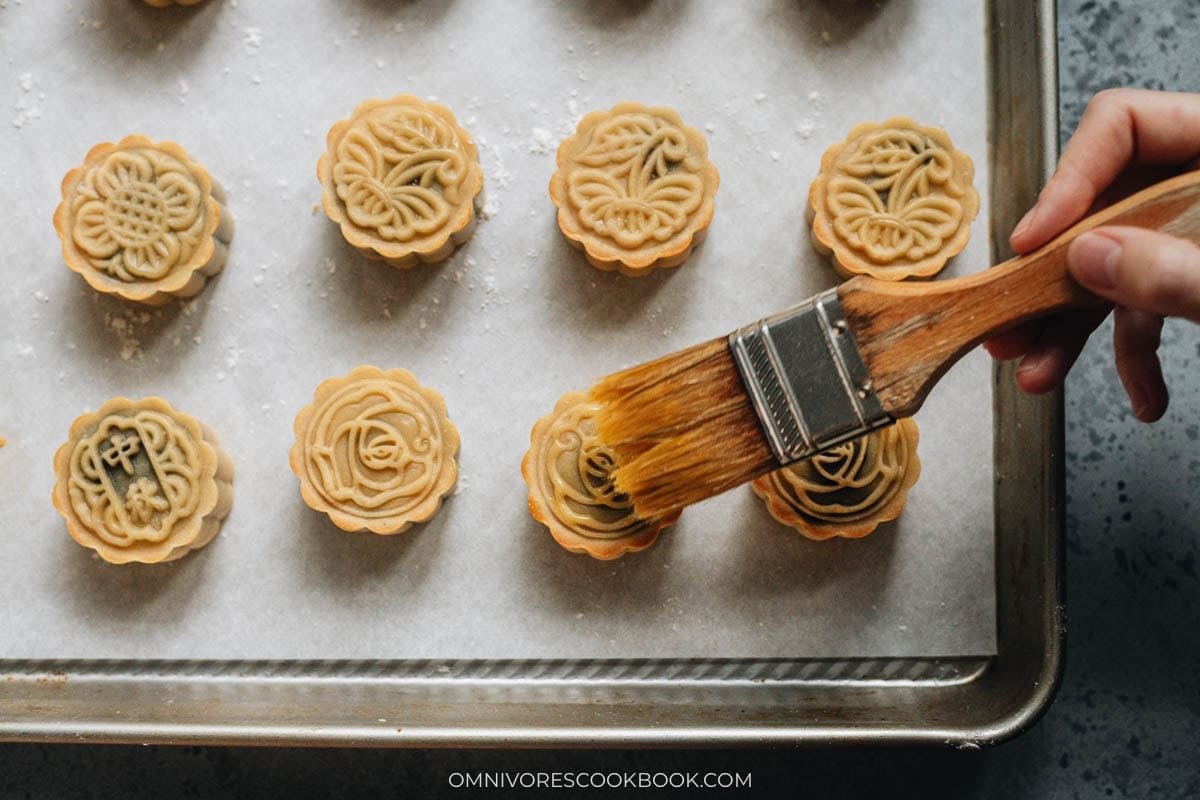
Finish baking: Return the mooncakes to the oven and immediately lower the temperature to 350°F (176°C). Bake for another 12 to 15 minutes, until the mooncakes are golden all over and the edges are nicely browned.
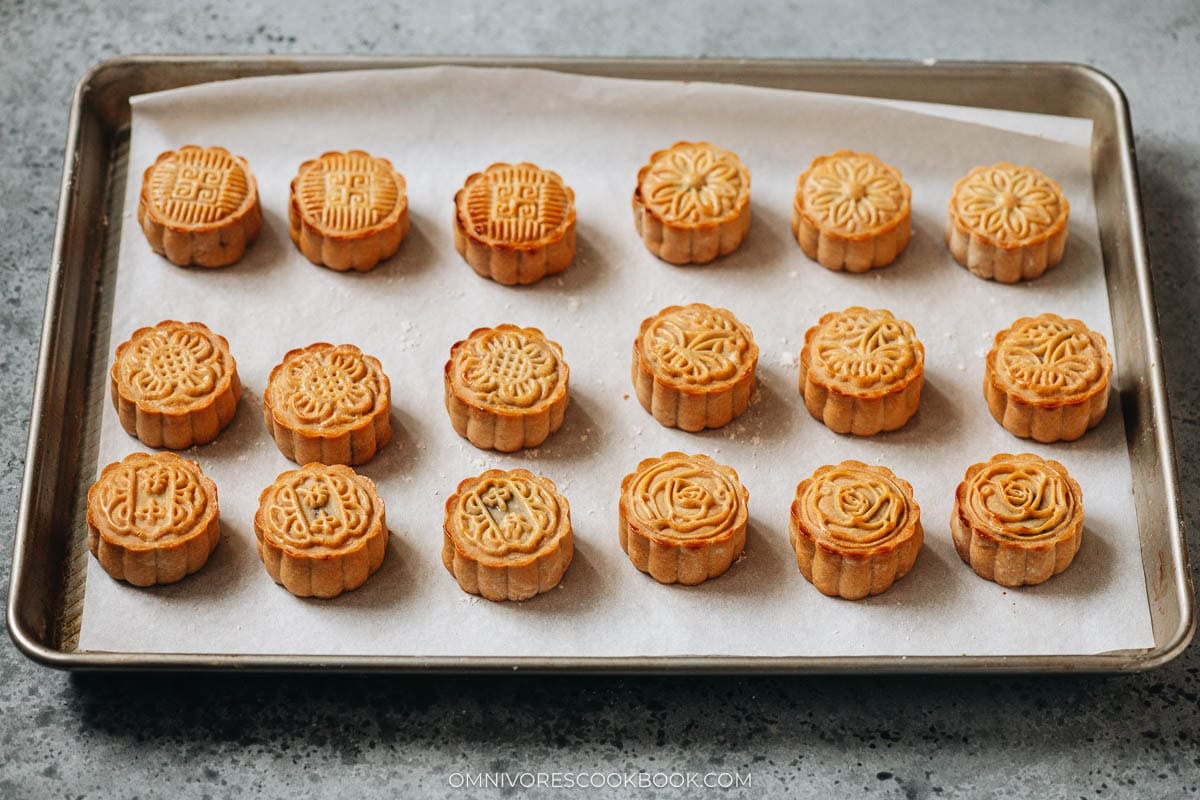
Cool the mooncakes: Let the mooncakes cool on the baking sheet for about 20 minutes before carefully transferring them to a plate or cooling rack. At this point, the crust may look a little pale and feel a little dry. This is completely normal – the mooncakes still need to rest before they reach their final texture and appearance.
Rest and serve the mooncakes
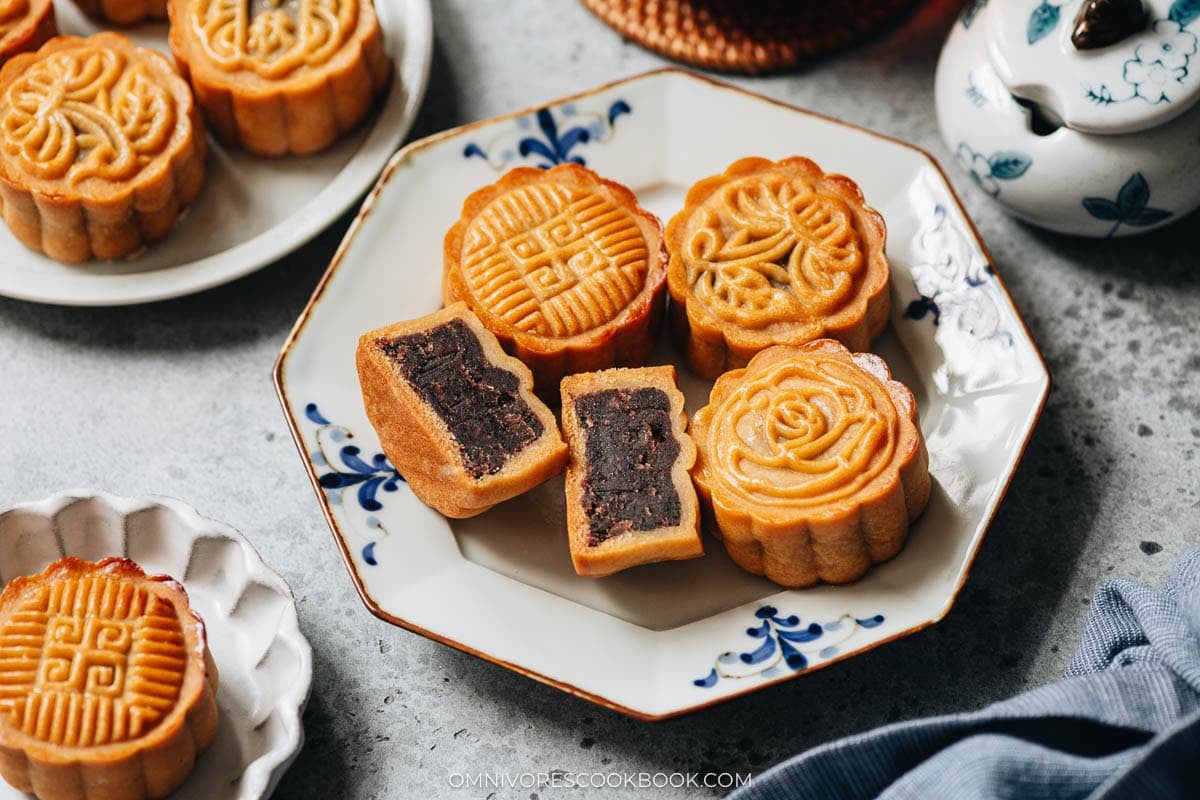
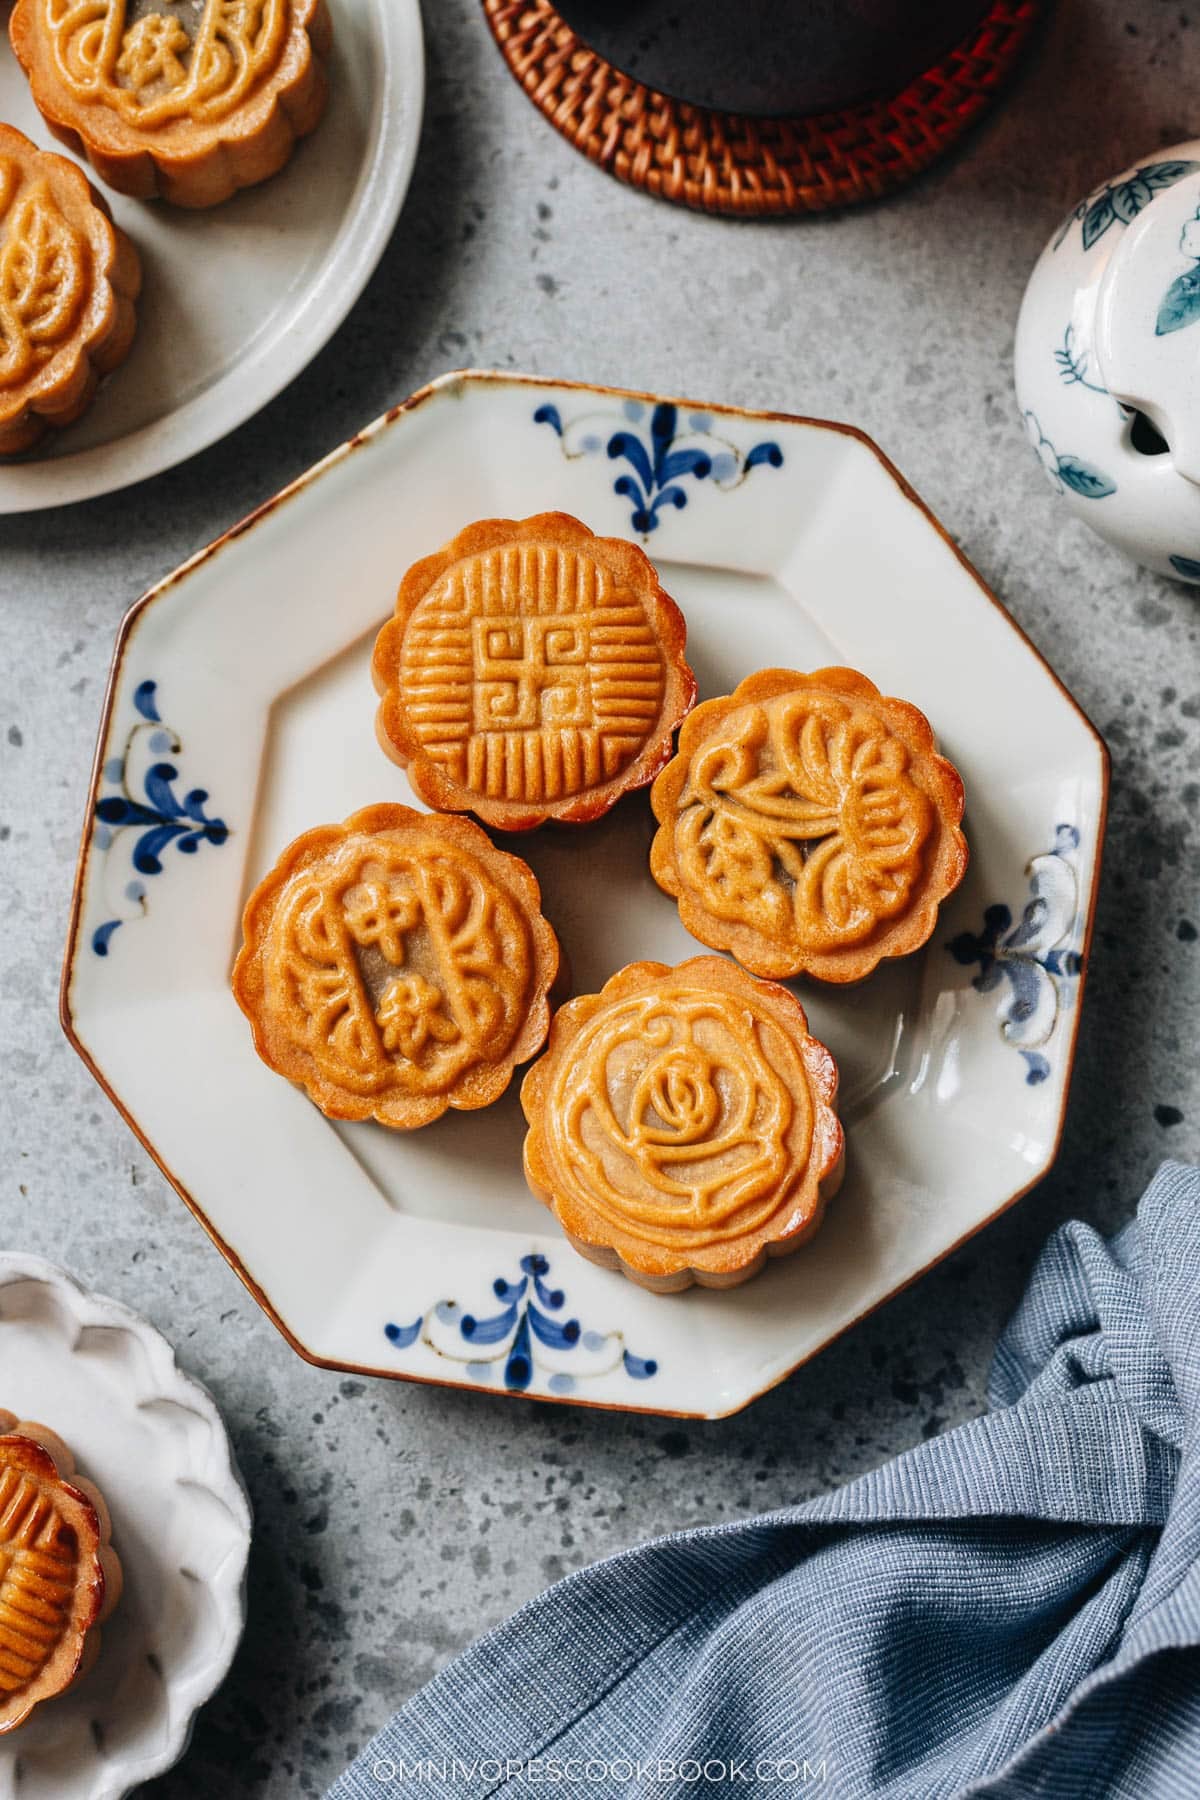
Freshly baked mooncakes are not quite ready to eat yet. Right out of the oven, the crust will look a little pale and feel firm and dry. As the mooncakes rest, they go through a process called hui you (回油), which transforms the crust and gives traditional Cantonese mooncakes their characteristic soft, glossy finish.
Rest the mooncakes: Once the mooncakes have cooled completely, transfer them to an airtight container and let them rest at room temperature. They can be served after 24 hours, but I find they look and taste even better after 2 to 3 days.
During the resting period, the oil and moisture from the filling gradually migrate into the crust. You’ll notice the mooncake skin become deeper in color, softer, and glossier. This process is called hui you (回油), or “returning oil,” and it’s an important final step in making Cantonese-style mooncakes.
Serve: Once the mooncakes have rested, cut them into wedges and serve at room temperature. Red bean mooncakes are rich, so even these smaller 50-gram mooncakes are lovely for sharing. I especially enjoy them with a cup of hot Chinese tea to balance the sweet, rich filling.
How to store red bean mooncakes
Store the completely cooled mooncakes in an airtight container in a cool, dark place for up to 1 week.
For longer storage, refrigerate them for 2 to 3 weeks. Let refrigerated mooncakes return to room temperature before serving for the best texture.
You can also freeze them for up to 2 months. Thaw frozen mooncakes overnight in the refrigerator, then bring them to room temperature before serving.
More Mid-Autumn Festival recipes
If you enjoy making mooncakes from scratch, try my traditional mooncakes with black sesame filling, which use the same classic Cantonese-style baked crust with a rich, nutty filling. For something completely different, my snow skin mooncakes with custard have a soft and chewy no-bake wrapper with a creamy custard center. You can also make Dan Huang Su (salted egg yolk pastries), a flaky Chinese pastry filled with a rich filling and salted duck egg yolk. And if you’d like to experiment with another traditional mooncake filling, my homemade lotus seed paste is smooth, fragrant, and perfect for Cantonese-style mooncakes.
For more ideas to celebrate the holiday, check out my Chinese Mid-Autumn Festival menu for a complete collection of dishes to serve alongside your mooncakes.
Frequently asked questions
Can I make the red bean filling ahead of time?
Yes. In fact, the filling needs to be completely chilled before you shape the mooncakes, so making it a day ahead works very well. Keep it tightly covered in the refrigerator so the surface doesn’t dry out.
Why is my red bean paste oily?
A slightly glossy appearance is exactly what you want. As you add the oil, however, each addition should be completely emulsified into the paste. You shouldn’t have a puddle of separated oil in the pan or around the finished filling.If the oil isn’t absorbing, keep stirring vigorously over medium-low heat before adding any more.
Why is my red bean filling dry?
The filling may have been cooked too long or made with too little oil. Stop cooking while the paste is still soft enough to hold a mound rather than waiting until it becomes firm. Remember that it will become substantially firmer as it cools. The full amount of oil in this recipe is important for achieving the correct texture.
Can I make the filling smoother?
Absolutely. Add a little more water when processing the cooked beans and blend until very smooth. The tradeoff is that you’ll need to cook the paste longer afterward to remove the extra moisture.
Why did my mooncake pattern disappear?
There are several possible causes. The dough may have been too wet, the mold may not have been pressed firmly enough, or too much egg wash may have collected in the pattern.
Be especially conservative with the egg wash. A very thin coating on only the raised areas gives you a much sharper finished pattern.
Why did my mooncakes crack?
Make sure the filling isn’t too wet and that the dough completely encloses it without large air pockets. A very light mist of water before the first bake also helps prevent the surface from drying and cracking too quickly.
Can I eat mooncakes the day they’re baked?
You can, but I don’t recommend judging them on the first day. Give them at least 24 hours to rest. For the best texture and appearance, wait 2 to 3 days for the hui you (回油) process to take place.
Want to Save This Recipe?
Enter your email below & we’ll send it to your inbox. Plus get great new recipes from us every week!
Red Bean Mooncake (红豆沙月饼)
Ingredients
Red bean filling
- 200 grams dried red beans
- 100 grams maltose (*Footnote 1)
- 100 grams sugar (*Footnote 2)
- 80 grams vegetable oil
Mooncake dough
- 140 grams golden syrup
- 4 grams (3/4 teaspoon) teaspoon kansui (*Footnote 3)
- 50 grams vegetable oil
- 1/8 teaspoon salt
- 200 grams cake flour
Optional
- 9 salted egg duck yolks , halved (*Footnote 4)
Egg wash
- 1 egg yolk
- 1 teaspoon milk (or water)
Equipment
- 50 g mooncake mold
- Rolling pin
- Scale (*Footnote 5)
- Pastry brush
Instructions
Make the red bean filling
- Cook the red beans: Add the red beans and 1 1/2 cups water (*Footnote 6) to an Instant Pot. Cook on high pressure for 45 minutes, then allow the pressure to release naturally. (*Footnote 7)
- Blend the red beans: Transfer the cooked red beans to a food processor. Blend on the lowest speed setting until mostly smooth. (*Footnote 8) It is fine if a few small pieces of bean remain.
- Incorporate the sugar: Transfer the red bean mixture to a 9-inch nonstick frying pan. At this point, the paste should be quite thick and not runny at all. (*Footnote 9) Add the maltose and sugar. Cook over medium heat until the pan heats up and the maltose starts to bubble, then reduce to medium-low heat. Cook, stirring constantly, until the sugar and maltose have dissolved and are fully incorporated. The paste will become softer and more spreadable at this stage.
- Emulsify the oil: Add the vegetable oil about 2 tablespoons at a time, stirring vigorously and constantly. Wait until each addition is completely absorbed and there is no visible oil left in the pan before adding more. Continue cooking and stirring until the paste is cohesive, pulls away cleanly from the pan, and holds a soft mound. This took me about 20 minutes over medium-low heat. Do not cook the paste until it becomes very firm, as it will firm up considerably as it cools.
- Cool the paste: Transfer the red bean paste to a large plate or shallow bowl. Press and smooth the paste a few times to remove any air pockets. Let cool until no longer piping hot, then press plastic wrap directly against the surface to prevent a skin from forming. Refrigerate until completely cooled. Once chilled, the paste should look glossy and feel soft and pliable, but it should be easy to shape with your hands without sticking.
Make the mooncake dough
- Combine the liquid ingredients: Add the golden syrup, kansui, vegetable oil, and salt to a large bowl. Mix with a spatula until fully emulsified.
- Make the dough: Add the cake flour. Gently fold, scraping from the bottom of the bowl to the top as you would when folding cake batter. Avoid stirring vigorously in a circular motion, which can make the dough tough. Once the flour is fully incorporated, gently shape the dough into a ball with your hands. The dough should be soft and slightly sticky but able to hold its shape.
- Rest the dough: Cover tightly with plastic wrap and let rest for 2 hours.
Assemble the mooncakes
- Shape the filling: If not using salted egg yolks, divide the completely cooled red bean paste into 30 g portions and roll each portion into a ball. If using salted egg yolks, place half a yolk (about 7 to 8 g) on a scale and add enough red bean paste to bring the total weight to 30 g. Shape the paste into a ball, then flatten it into a disk. Place the egg yolk in the center and wrap the paste around it until completely covered. Roll into a smooth ball. Place the filling balls on a tray and keep covered.
- Shape the mooncake dough: Once the dough has rested, divide it into 20 g portions. Shape each piece into a ball and place on a large tray. Cover with plastic wrap to prevent the dough from drying out.
- Preheat the oven: Preheat the oven to 400°F (200°C). Line a baking sheet with parchment paper.
- Assemble: Place one dough ball between two pieces of parchment paper. Press it down with your palm, then roll it into a round disk about 4 inches (10 cm) in diameter. Remove the top sheet of parchment and place a filling ball in the center. Carefully peel the dough from the bottom parchment and wrap it around the filling. Gently squeeze out as many air pockets as possible while spreading the dough until the filling is completely enclosed. If any filling remains exposed, pinch off a small piece of dough from a thicker spot and use it to patch the area. The dough does not need to look perfectly even at this stage as long as the filling is fully covered. Roll gently between your hands to form a smooth ball. Place on the prepared baking sheet and repeat with the remaining dough and filling.
- Mold the mooncakes: Insert the pattern disc into the mooncake mold, pattern side down, and secure it according to the mold’s instructions. Lightly dust a mooncake ball with cake flour and shake off any excess. Place the mooncake dough into the mold with the side that has the thicker layer of dough facing the pattern disc. Set the mold on a clean work surface lightly dusted with flour and press the handle down firmly until it cannot move any farther. Hold for about 5 seconds to set the pattern. Lift the mold and press the handle to release the mooncake onto the lined baking sheet. Repeat with the remaining mooncakes, spacing them about 1 inch apart.
- Set the pattern: Very lightly mist the mooncakes with water to help prevent cracking. Bake for 5 minutes, until the patterns are set and the edges are just beginning to turn pale golden.
- Make the egg wash: Meanwhile, beat the egg yolk with the milk or water in a small bowl until smooth.
- Brush with egg wash: Remove the mooncakes from the oven. Very lightly brush the raised surfaces of the patterns with egg wash, avoiding the sides and recessed areas as much as possible. If too much egg wash collects in the pattern, use a small clean brush to remove the excess.
- Finish baking: Return the mooncakes to the oven and immediately lower the temperature to 350°F (176°C). Bake until the mooncakes are golden all over and the edges are golden brown, 12 to 15 minutes. Let cool on the baking sheet for 20 minutes, then transfer to a plate or cooling rack to cool completely.
- Rest the mooncakes: Once completely cooled, transfer the mooncakes to an airtight container. They can be served after 24 hours, but their color and texture will continue to improve over the next 2 to 3 days. (*Footnote 10)
Storage
- Store the mooncakes in an airtight container in a cool, dark place for up to 1 week. For longer storage, refrigerate for 2 to 3 weeks or freeze for up to 2 months. Bring refrigerated mooncakes to room temperature before serving. Thaw frozen mooncakes overnight in the refrigerator, then bring to room temperature before serving.
Notes
- Maltose adds structure to the filling and helps make it easy to shape. It also has a pleasant, slightly fruity flavor. Because maltose is not very sweet, granulated sugar is added for additional sweetness. If it’s too hard to scoop, soak the maltose jar and a long-handled spoon in very hot water for 10 to 15 minutes, which loosens it and makes scooping easier.
- This recipe makes a red bean paste that is less sweet than most store-bought versions, which I prefer. You can increase the sugar to taste if you prefer a sweeter filling.
- I highly recommend using a precision scale that measures to at least 0.1 g for the kansui because such a small amount is difficult to measure precisely by volume. If you don’t have a precision scale, use the 3/4 teaspoon measurement as a close alternative.
- I love adding salted duck egg yolks to my mooncakes, but they are optional. If you use them, you will need about 130 g less red bean paste. I still recommend making the full batch of filling because the larger quantity is easier to prepare and measure accurately.
- A kitchen scale is essential for making mooncakes. The ingredient ratios need to be precise, and weighing the dough and filling ensures that each mooncake fits the mold properly.
- This amount of water is just enough to fully cook the beans without leaving much excess liquid. This makes the beans slightly more difficult to blend but greatly reduces the amount of time needed to cook down the paste later. You can add more water for easier blending and a smoother paste, but you will need to cook off the additional moisture on the stovetop.
- If you do not have an Instant Pot or pressure cooker, soak the beans overnight in cold water. Drain, then cook them on the stovetop with 4 cups of water until very tender, about 1 1/2 hours. Drain the cooked beans before blending, reserving the cooking liquid. Add only as much of the reserved liquid as necessary to get the beans to blend.
- I found that a higher food processor speed does not work well here. As the red beans break down, they release starch and the thick paste gets pushed against the sides of the food processor, preventing the blade from working effectively. A continuous low speed keeps the beans moving. I don’t mind a little texture in my mooncake filling, so I use as little water as possible. For a finer paste, you can add more water while blending, but you will need to cook off the additional moisture later.
- If you added extra water during blending, cook the bean paste by itself until the excess moisture evaporates before adding the sugar and maltose. The paste should be soft and spreadable but quite thick; when you drag a spatula across the pan, it should leave a clear trail that does not immediately fill back in. Adding the sugar too early makes the paste take longer to reduce.
- The mooncakes will look somewhat pale and feel a little dry immediately after baking, but both their appearance and texture improve significantly after 2 to 3 days.

Did you make this recipe?
I’d love to hear how it turned out for you! Please take a moment to leave a 5-star rating ⭐️ and share your thoughts in the comments further down the page. It really helps others discover the recipe too.
Suzy
Really appreciate you posting this with all the tips ~ had ordered several brands and out of 8 moon cakes only 1 was really worth eating. The rest were so awful or hard. Thank you !!
Maggie Zhu
Hi Suzy, I hope you like the recipe! I agree with you, store bought mooncake is always a hit or miss for me as well, because a lot of them are quite greasy and heavy (more fat and sugar added for preservation), and most of the time are not freshly made. I actually started to like mooncake much more after I started making them at home. I really think making the filling fresh makes all the difference. If you make those, please let me know how they turn out 🙂