
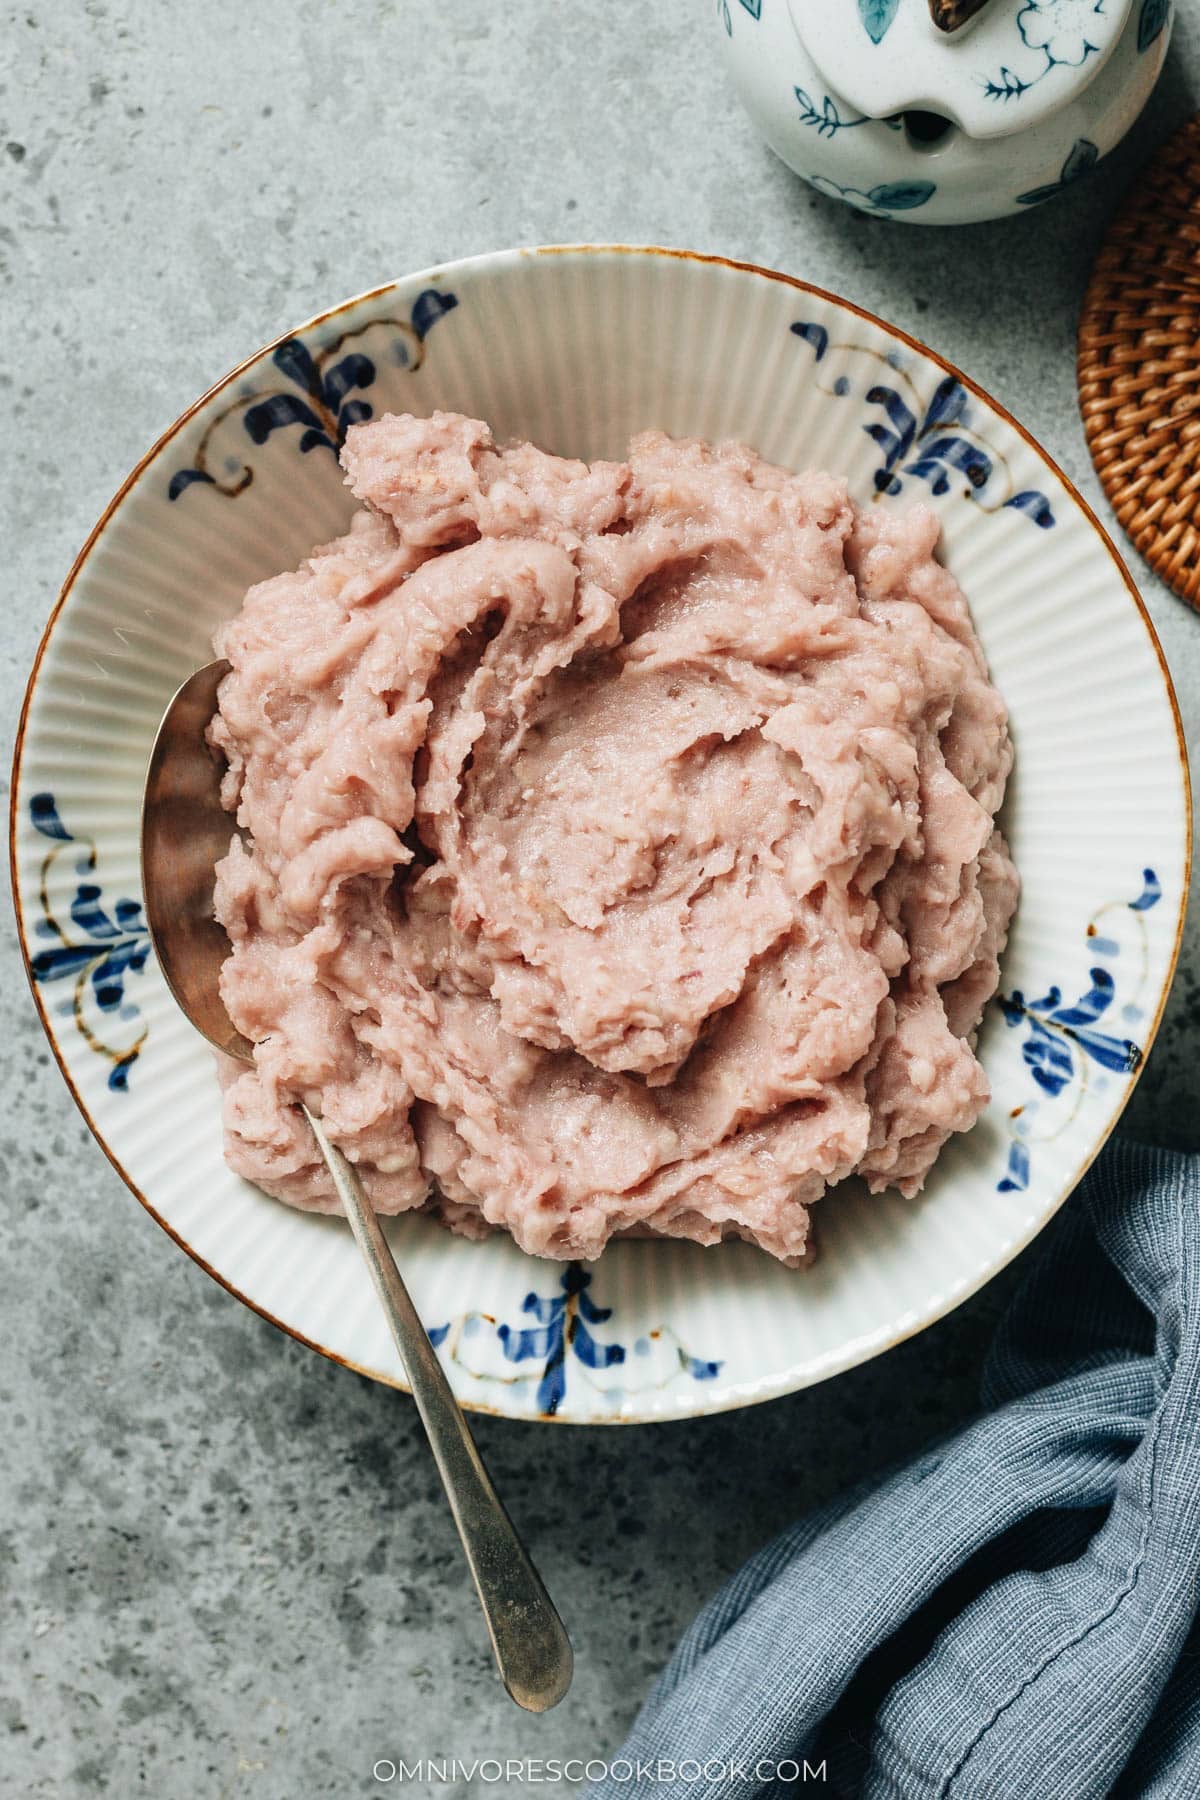
Taro paste is one of the classic sweet fillings in Chinese and Southeast Asian baking, right alongside red bean and lotus seed paste. My version uses butter and heavy cream instead of the more common condensed milk, which lets the earthy taro flavor shine through. I also add a small amount of purple sweet potato to give it the soft pinkish-purple color that’s instantly recognizable in taro pastries.
Taro-flavored desserts were some of my favorite treats growing up, from taro buns at the neighborhood bakery to purple taro ice cream in the summer to sticky rice cakes wrapped around a warm taro filling. What I love about taro is the same thing I love about red bean paste: the sweetness is not overwhelming, the flavor is earthy and cozy, and it never turns cloying the way a Western frosting or custard can. I share it with my 2.5 year old son as a low-sugar healthy dessert, and he happily eats it straight off the spoon.
If you’re wondering how difficult this recipe is, I can tell you it’s super easy and perfect for beginners. I simply steam the taro and sweet potato until they’re fork-tender, mash them with butter, sugar, heavy cream, and salt, then let the paste cool before using it. No stovetop cooking and no blender required. I highly recommend making a batch to keep in the fridge, so whenever you’re craving homemade Chinese pastries or sweet snacks, you’ll have it ready to go.
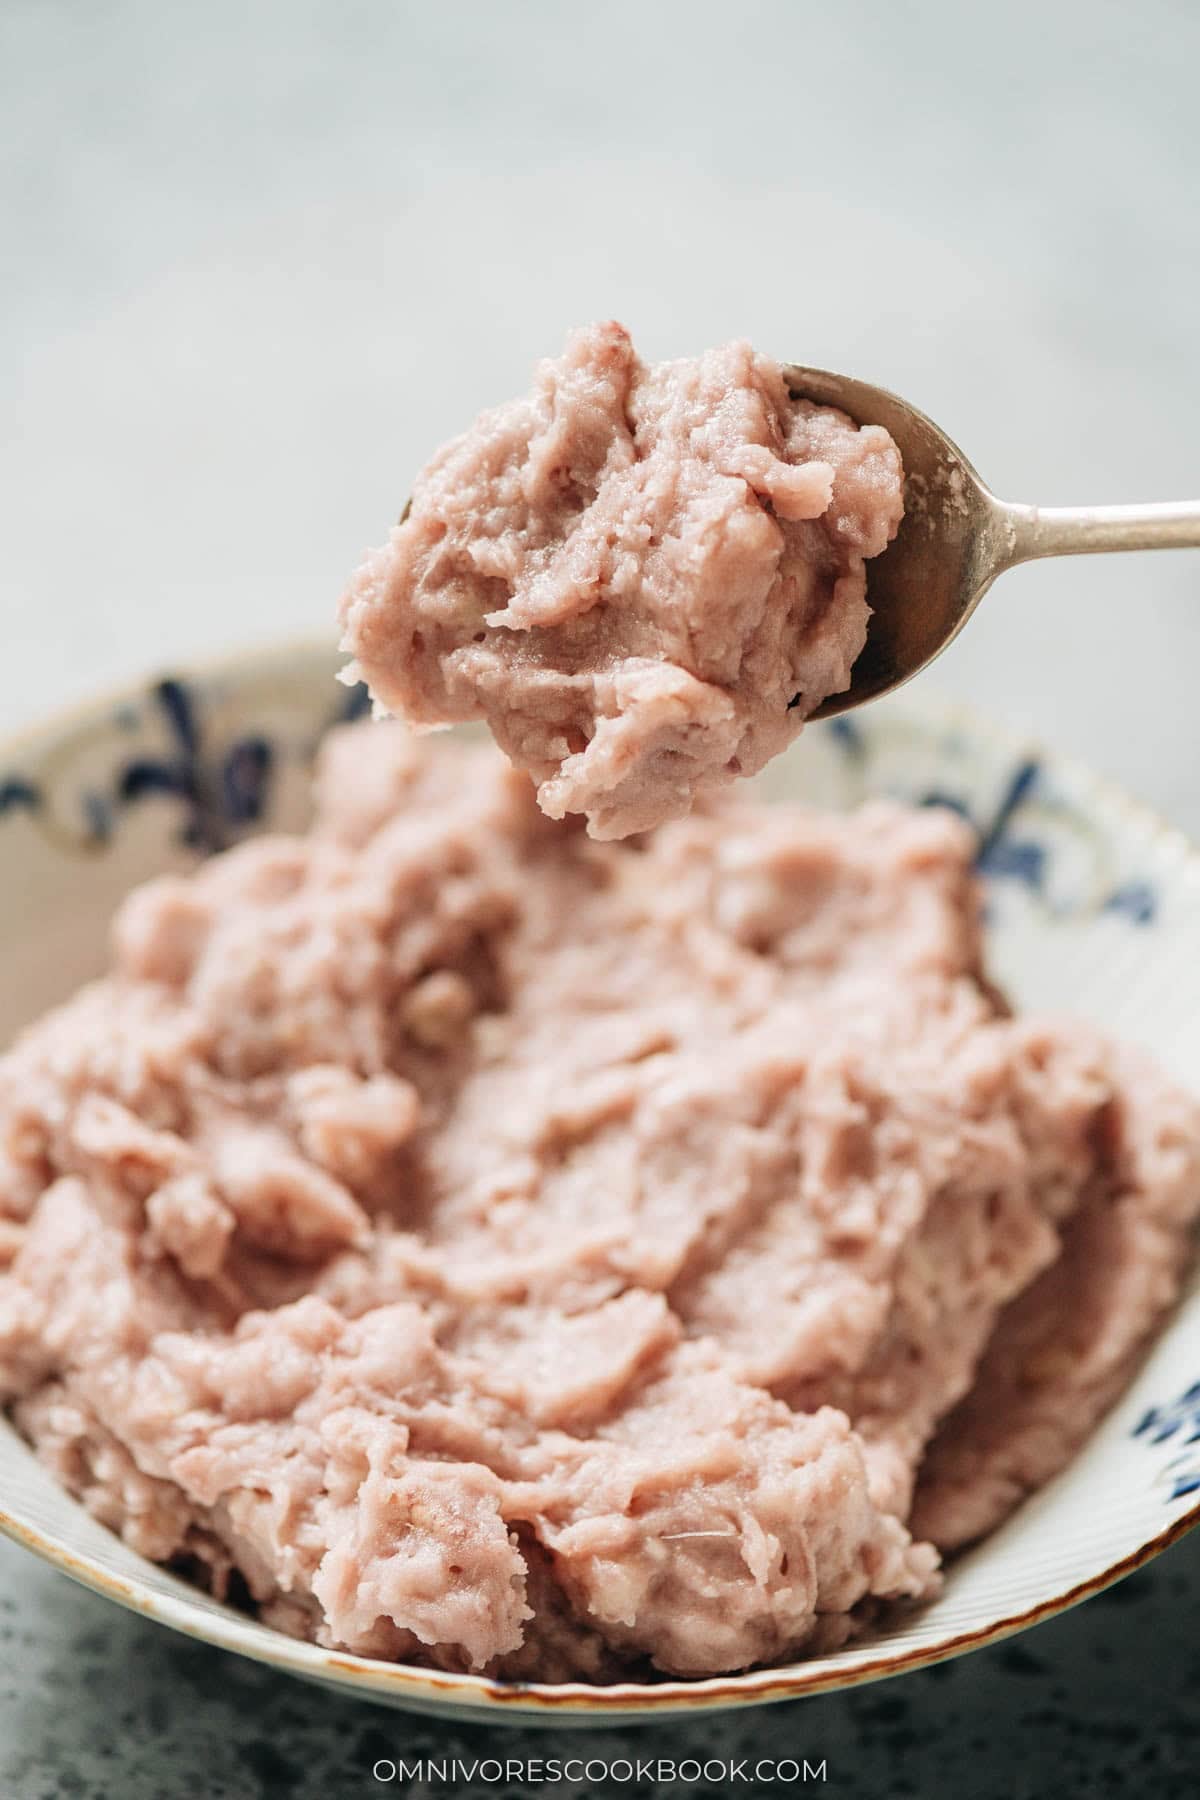
Ingredients
Making this taro paste recipe is one of the simplest ways I know to open the door to a whole category of Chinese desserts because so many pastries and buns share the same filling. I love that everything except the taro comes straight from my regular baking shelf.
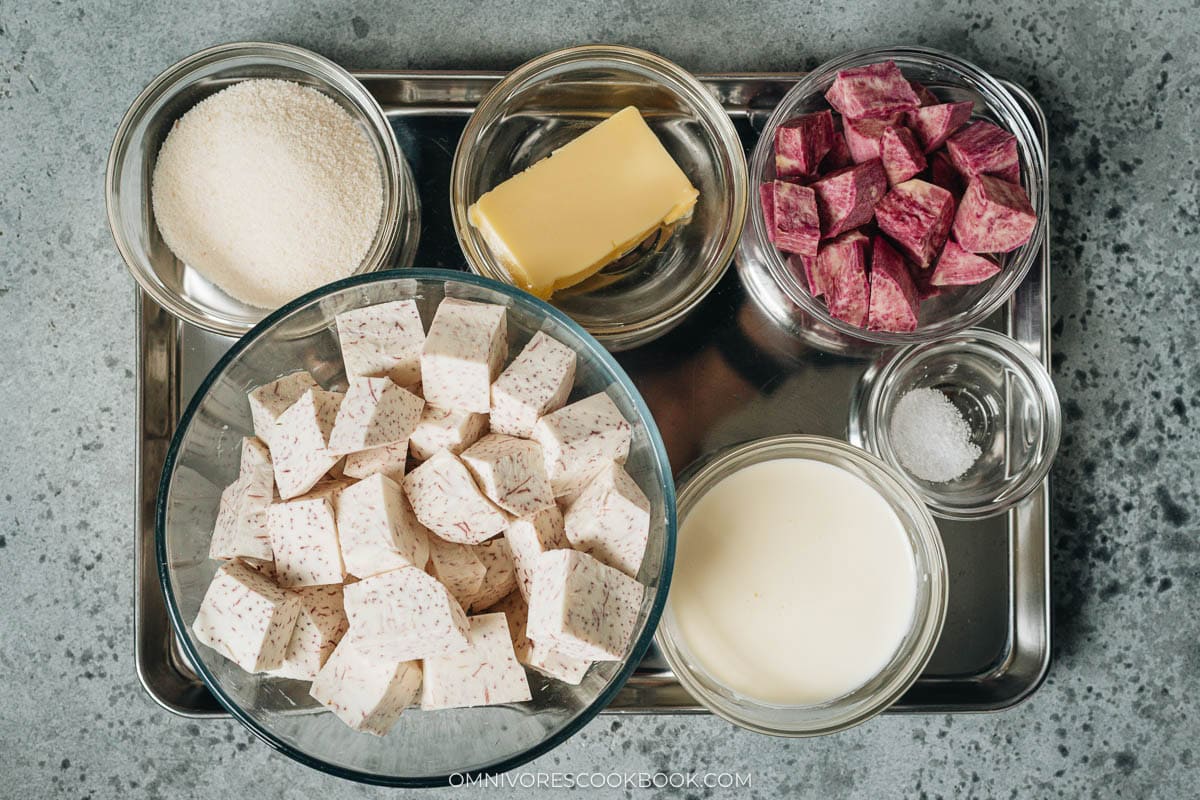
Taro root: I use fresh taro root, peeled and cut into cubes for even steaming. Taro comes in big rough blocks with a tough outer skin, so I peel it under running water with a knife because the raw juice can be irritating to bare skin.
Purple sweet potato: I add a small amount of purple sweet potato. Too much sweet potato covers up the taro flavor, so I keep it at a fraction of the taro amount, just enough for color.
Butter: I use unsalted butter for a milky richness that mixes into the warm paste. Butter is my choice over condensed milk because it lets the taro taste stay in front instead of masking it with dairy sugar.
Heavy cream: I add heavy cream for a soft luxurious mouthfeel. The cream also thins the paste just enough to make it easy to scoop into pastry dough later.
Sugar: I use plain white sugar so nothing competes with the taro flavor. I bump the sugar slightly higher when the paste is going into pastry because the dough dilutes the sweetness, and I dial it back when the paste will be eaten on its own.
Salt: I add a small pinch of salt to round out the flavor.
Milk: I keep milk on hand as an optional adjustment ingredient. If I want the paste thinner for a bread filling or an ice cream topping, I stir in a splash of milk at the end until the texture is where I want it.
How to Make
Prep the taro and sweet potato: Peel the taro and sweet potato, then cut them into 1-inch cubes so they steam at the same rate.
Steam until fork-tender: Bring 2 inches of water to a boil in a steamer. Place the taro and sweet potato cubes on a steaming rack and steam for about 15 minutes, until a fork slides in without resistance.
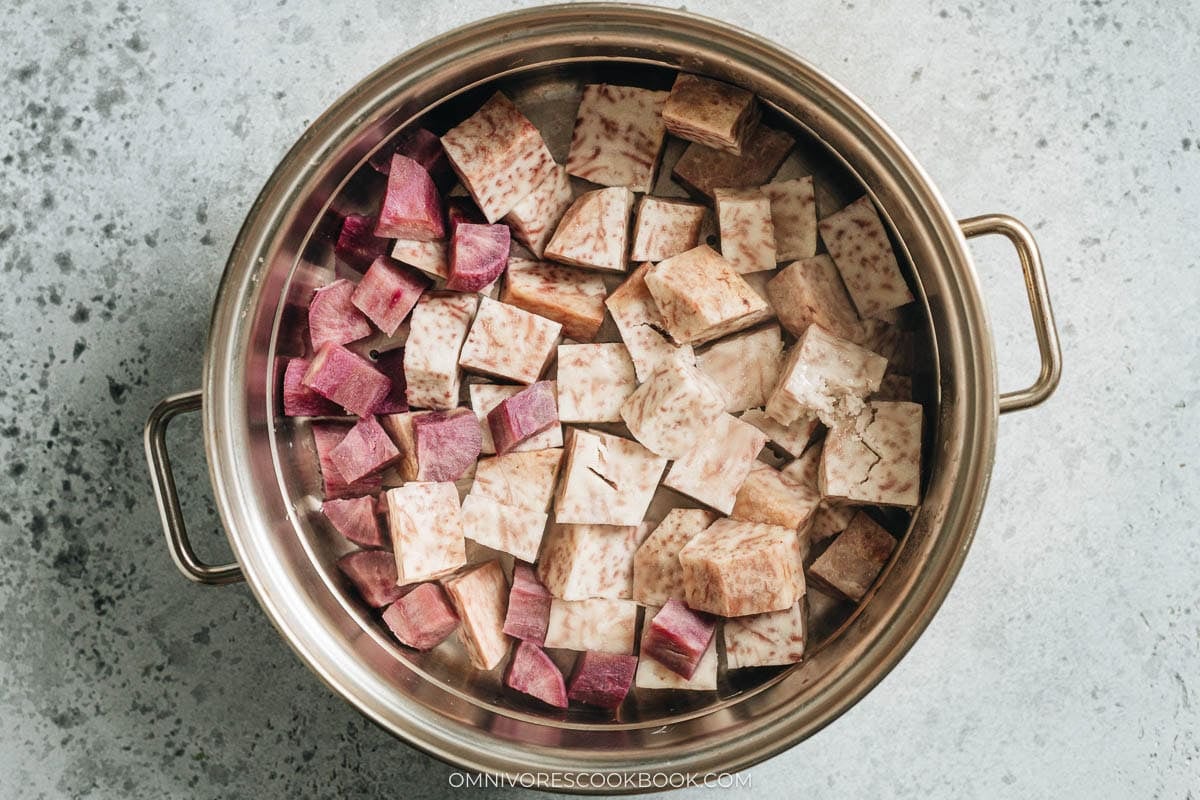
Mash with butter: Transfer the hot steamed taro, sweet potato, butter, sugar and salt to a large bowl and mash with a potato masher or fork until broken down.
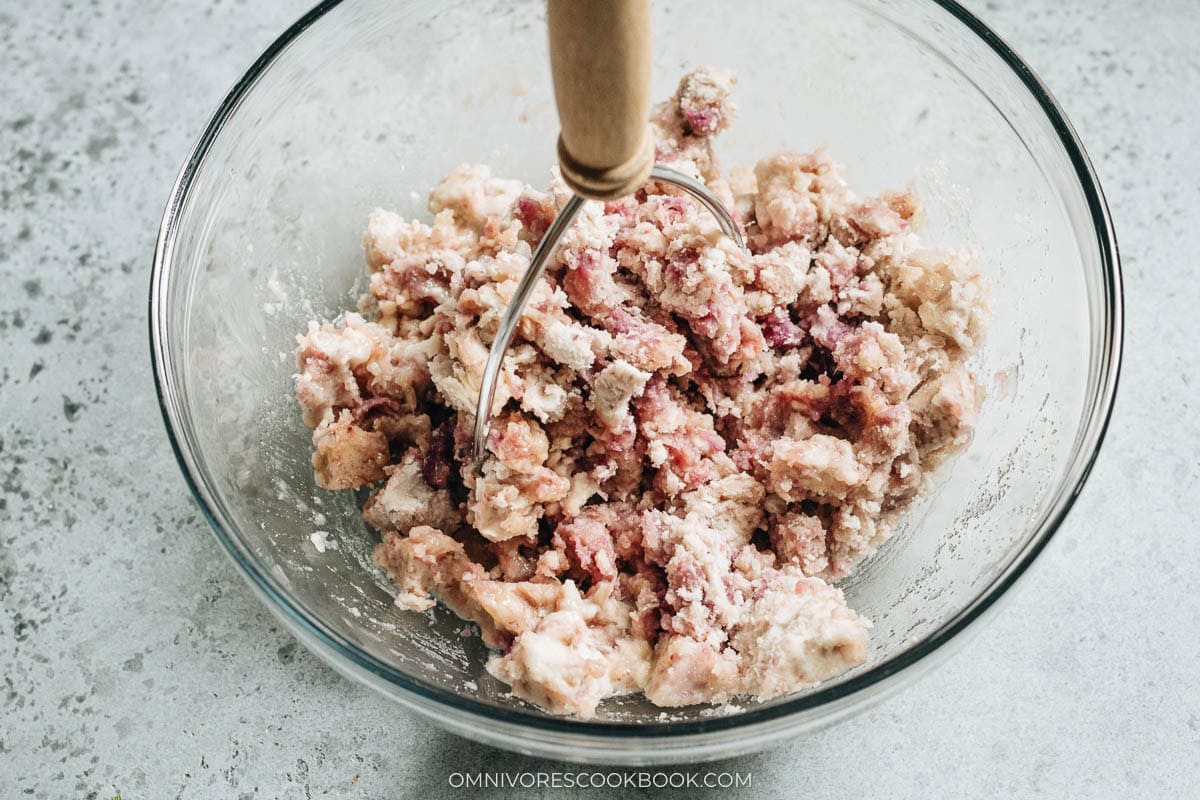
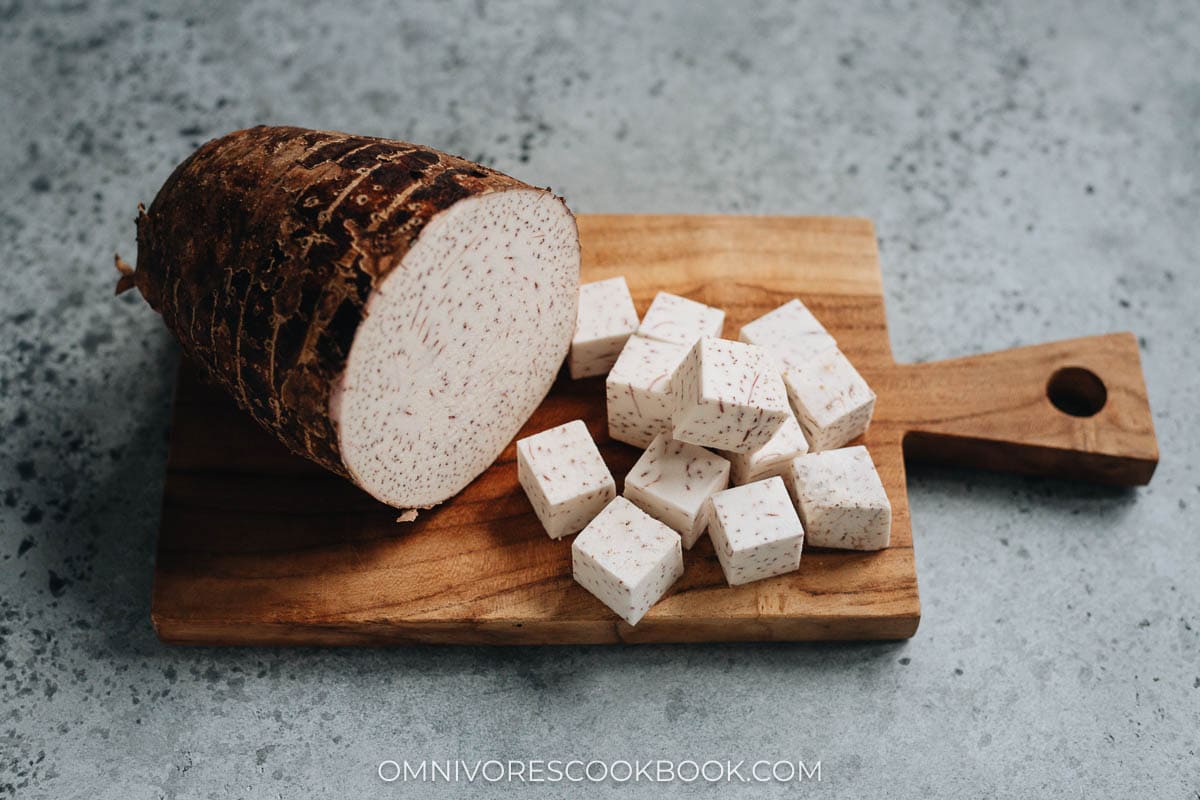
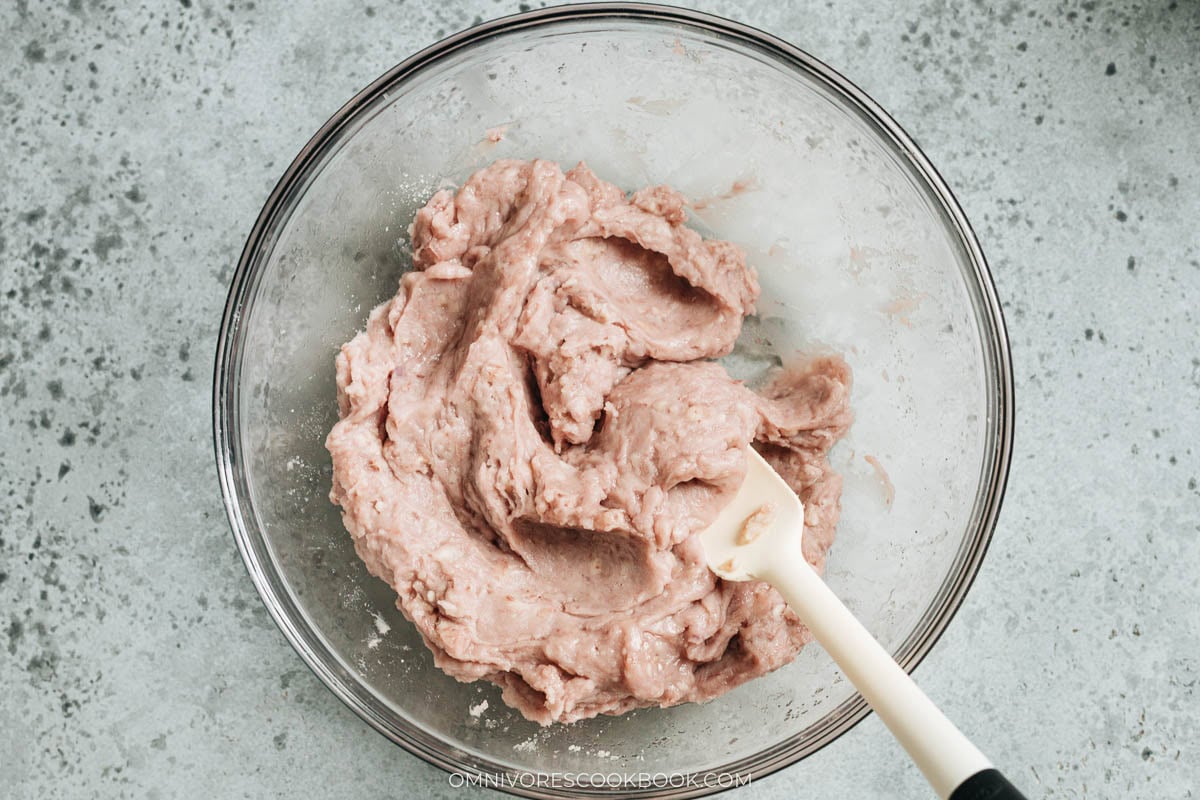
Add the heavy cream and finish up: Add the heavy cream and keep mashing any remaining lumps until the paste is mostly smooth.
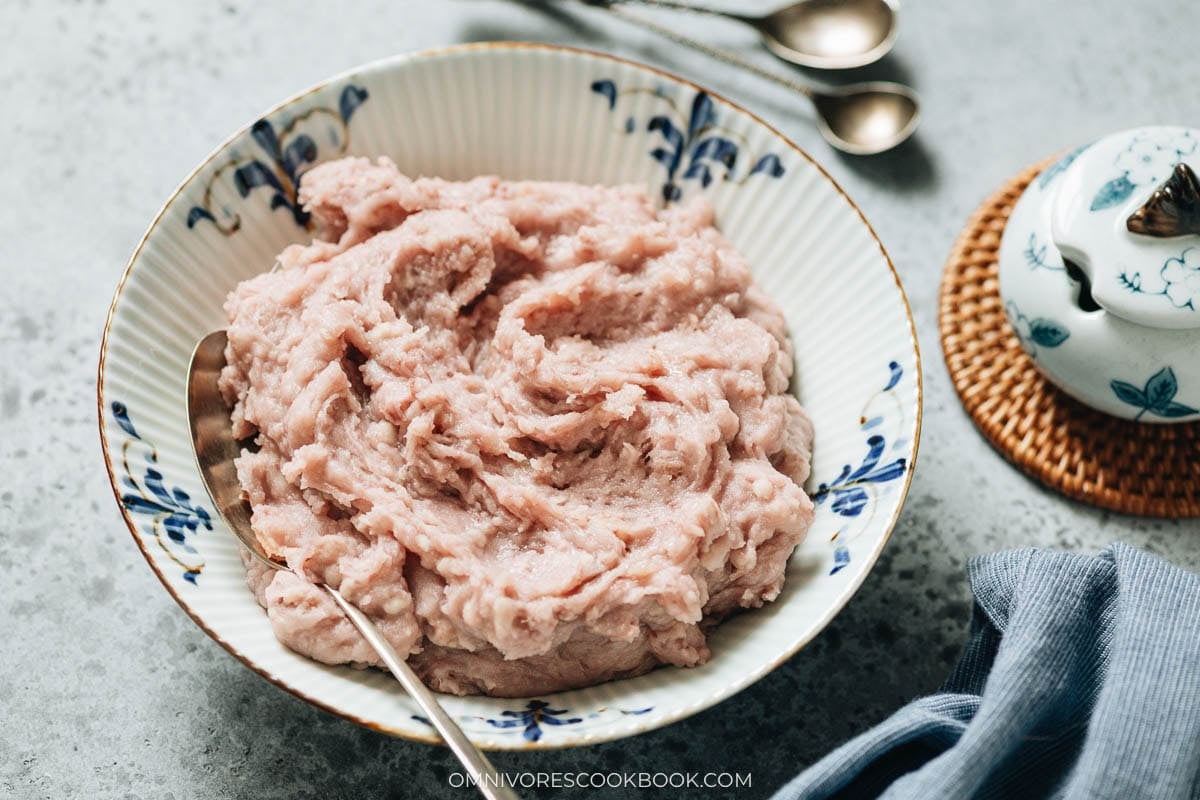
Cool and store: Let the paste cool completely before using it as a filling. Transfer to an airtight container and refrigerate until ready to use.
Cooking Tips To Consider
Peel the taro carefully: Raw taro juice can irritate bare skin, and some people react more strongly than others. I wear kitchen gloves or peel it under running water with a knife so my hands stay clean and dry.
Steam, do not boil: Boiling waterlogs the taro and leaves the finished paste wet and loose. Steaming keeps the flesh dense and starchy so the paste holds its shape when I use it as a pastry filling, and it saves me the extra step of cooking out water afterward.
Cook it until very soft: Taro is very forgiving on the steaming side, and it is much harder to overcook than potato. I steam until a fork slides in without any resistance because undercooked taro leaves gritty lumps in the finished paste.
Skip the blender for a smoother paste: Taro behaves like potato in that heavy blending turns the flesh gummy and stretchy. A fork or potato masher works, but a high-speed blender or food processer is what turns a soft paste into a stretchy mess.
Adjust the sugar for how the paste will be used: I make the paste slightly sweeter when it goes into pastry because the dough dilutes the sweetness. When the paste is going onto ice cream or a shaved ice topping, I start with less sugar so it tastes right on its own.
Thin with milk only if needed: The default paste is thick because it is designed for pastry filling. If I want a spreadable version for bread or a drizzle for dessert, I stir in a spoonful of milk at a time until it reaches the texture I want.
How to Use this Paste
I mostly use this taro paste as a filling for Chinese pastries and sweet snacks, the same way I use my other homemade sweet pastes. It wraps fantastic inside sesame balls for a purple surprise in the middle, tucks into coconut mochi as a soft filling under the chewy skin, and turns sticky rice cake with red bean paste into a taro version by swapping fillings one-for-one.
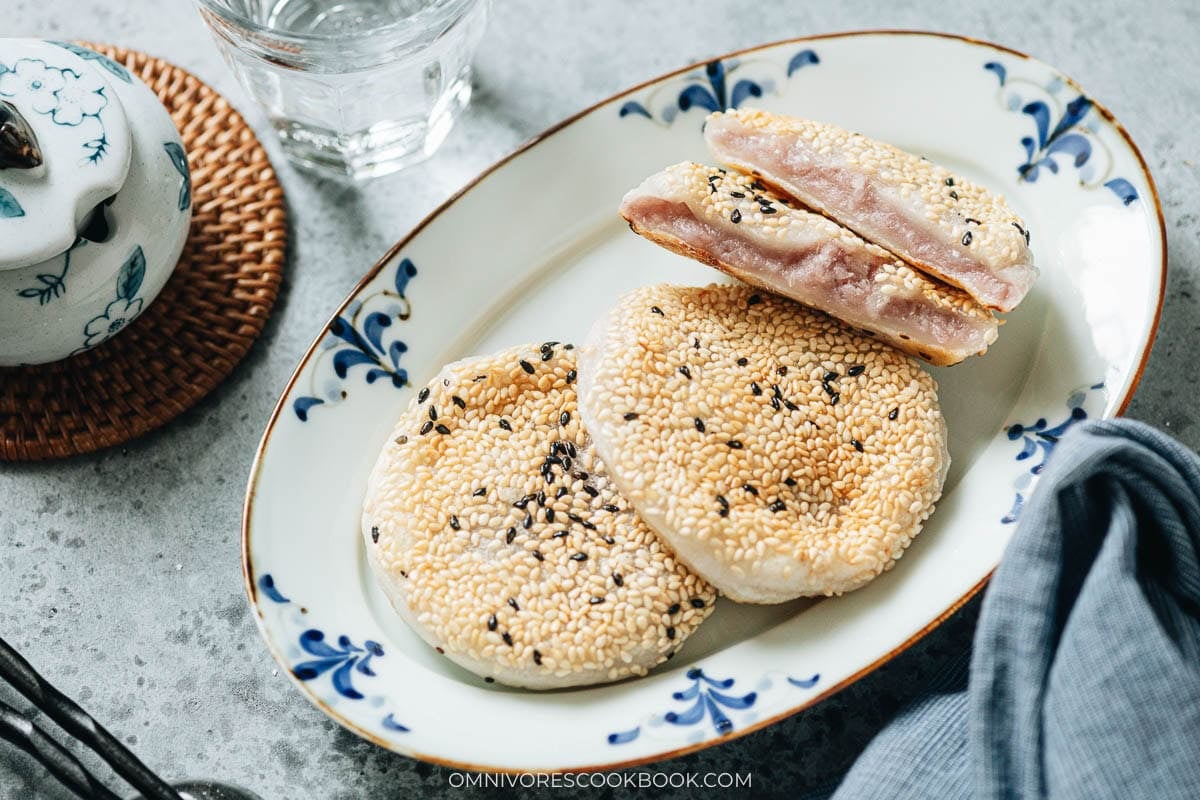
When I want to indulge my family, I thin the paste with a splash of milk and swirl it into a loaf of taro bread using the same formula, or I use it to fill red bean bread as a taro-version of the classic bakery loaf, or I fill it into Chinese pumpkin cakes for an earthy filling. So good!
Frequently Asked Questions
Can I use frozen taro?
Yes, frozen taro works well for this recipe. I thaw the cubes in the fridge overnight, drain any excess water, and steam them the same way I would fresh taro. The texture is a little softer after thawing, so I keep the steam time slightly shorter and check with a fork sooner than I would with fresh taro.
Can I skip the purple sweet potato?
Yes, the purple sweet potato is only there for color, not for flavor. If I leave it out, my paste comes out a warm off-white color instead of the pinkish purple I associate with a taro pastry. The taro flavor is exactly the same either way, so I skip the sweet potato when the color does not matter for the pastry I am making.
Can I make the paste dairy-free?
Yes, I swap the butter for a neutral oil like coconut oil and the heavy cream for full-fat coconut milk to make the paste dairy-free. The coconut adds a nice tropical flavor that shifts the flavor slightly, so this version tastes best in recipes where coconut and taro already pair well, like coconut mochi or bubble tea drinks. If I want a fully neutral non-dairy version, I use unsweetened plant-based cream and a plant-based butter substitute instead.
Why is my taro paste gummy?
Based on my experience, gummy taro paste usually comes from over-mashing the taro while it is still very hot, which develops the starch too much and gives the paste a stretchy texture instead of a smooth one. Using a fork or potato masher gives me better control than a food processor or a blender, which is easy to run for a few seconds too long and turn the paste stretchy.
How to store taro paste?
The paste keeps in an airtight container in the fridge for up to 3 days and in the freezer for up to 3 months. To freeze, I portion the paste into flat freezer bags with the air pressed out so it thaws quickly and consistently. I thaw the paste overnight in the fridge or in a water bath for a few hours at room temperature, and give it a quick stir before using it.
Want to Save This Recipe?
Enter your email below & we’ll send it to your inbox. Plus get great new recipes from us every week!
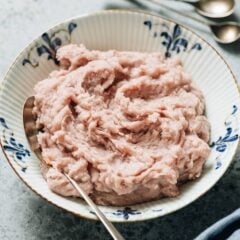
Homemade Taro Paste
Ingredients
- 400 g peeled taro (yield about 2 1/2 cups) (*Footnote 1)
- 50 g (up to 100 g) purple sweet potato (yield about 1/3 cup) (*Footnote 2)
- 1 tablespoon butter
- 1/3 cup sugar (*Footnote 3)
- 1/4 teaspoon salt
- 1/4 cup heavy cream
- (Optional) Milk to adjust texture
Instructions
- Peel the taro and sweet potato, then cut them into 1” (2.5 cm) cubes. Prepare a steamer by boiling 3” (8 cm) water. Place the taro and sweet potato onto a steaming rack and steam until fork-tender, about 15 minutes.
- Transfer the steamed taro, sweet potato, butter, sugar and salt into a large bowl and mash with a potato masher or fork until broken down, and the butter and sugar melt. Add the heavy cream. Keep mashing until mostly smooth. Set aside to cool before using.
Notes
- Taro root usually comes in big blocks and you need to remove the outer tough skin before using it. The 400 grams is the quantity after peeling.
- Purple sweet potato adds a beautiful pinkish purple color to the taro paste, but adding too much musks the taro fragrance. Use 50 grams peeled sweet potato for a very mild pink color, and up to 100 grams for a darker color without affecting the taste much. I used 70 grams in my recipe, which I found a happy medium to have a nice color without making the taro paste tasting like sweet potato.
- I made the paste a little sweeter to taste so it tastes just right in pastry. If you plan to enjoy the taro paste by itself, for example, as a topping of shaved ice, ice cream or milk based dessert, you can start with 50 grams (1/4 cup) sugar so the paste tastes good by itself.

Did you make this recipe?
I’d love to hear how it turned out for you! Please take a moment to leave a 5-star rating ⭐️ and share your thoughts in the comments further down the page. It really helps others discover the recipe too.