
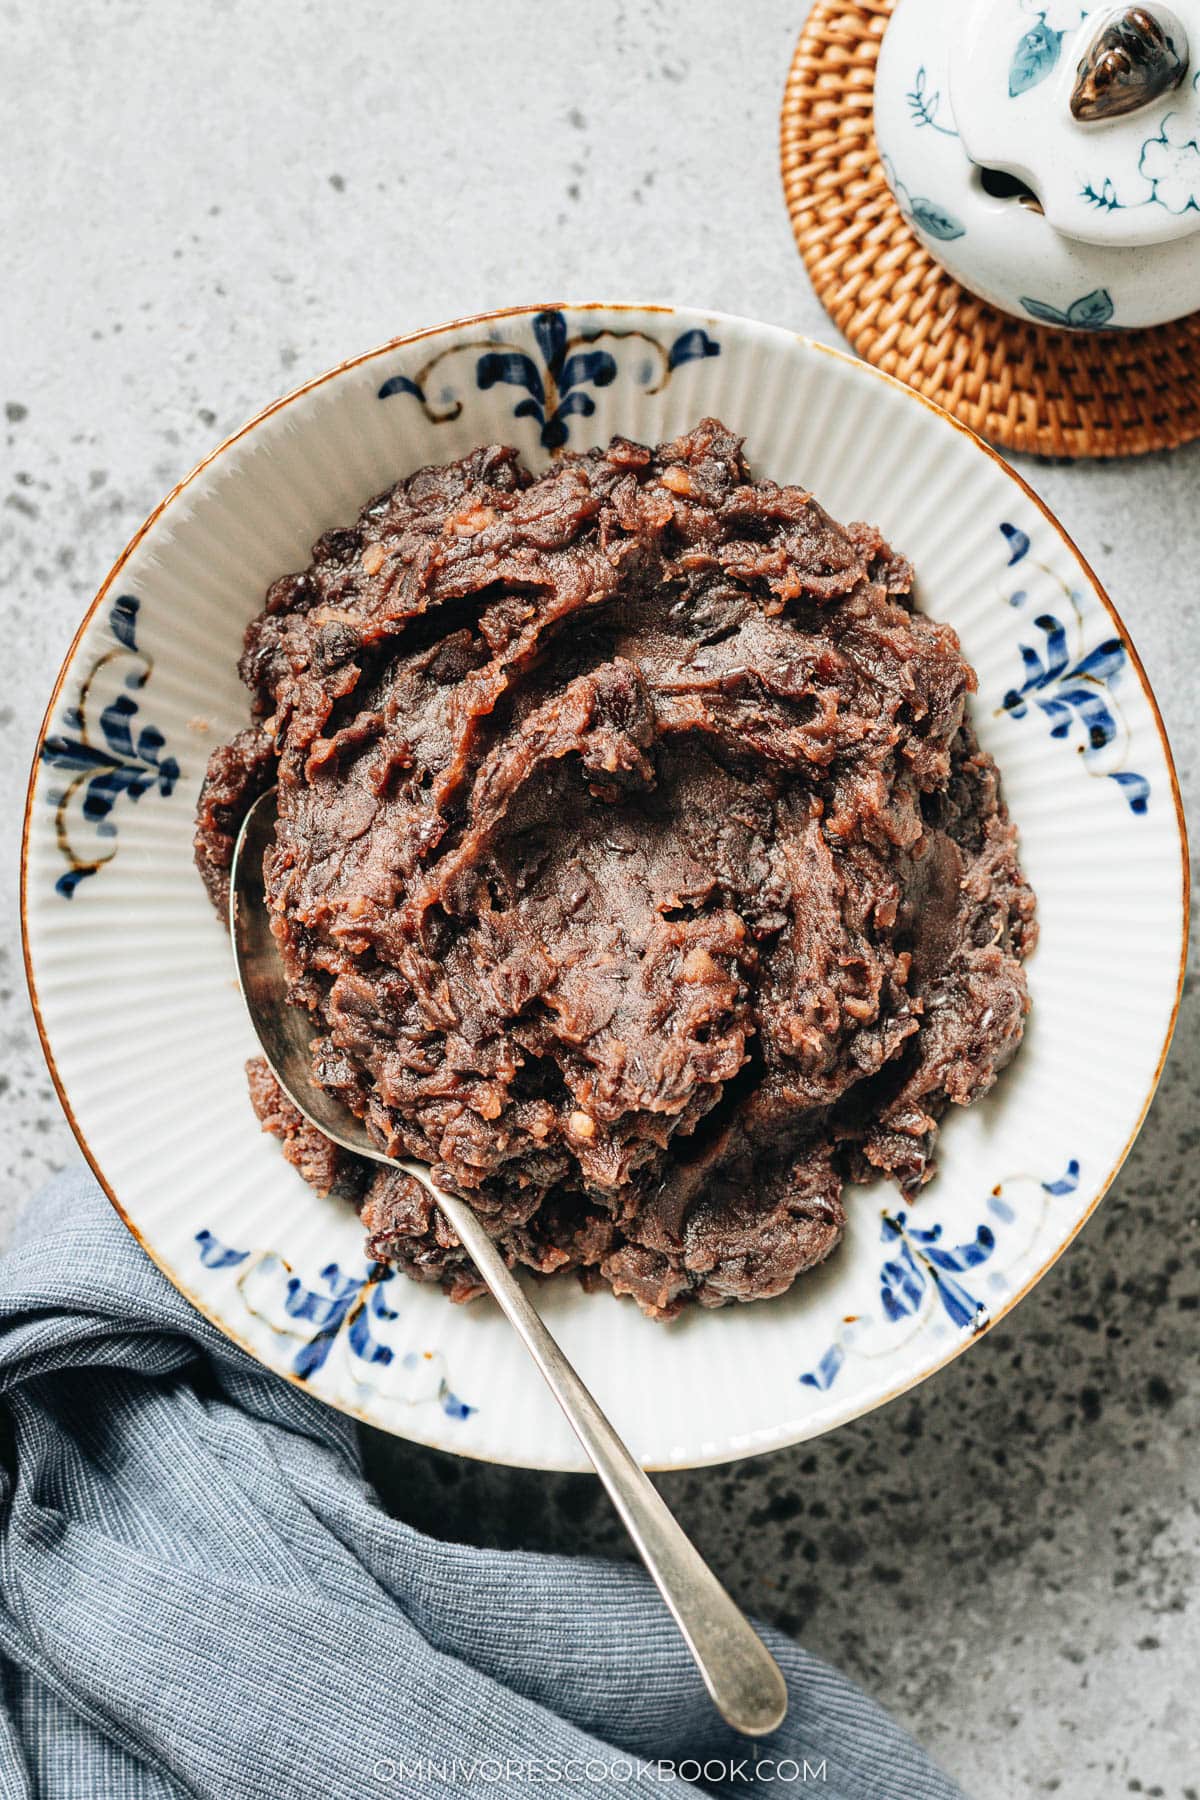
This coarse red bean paste is the workhorse filling in Chinese home baking. It’s the one I use in steamed buns, sticky rice cakes and many other recipes I share in detail in my how to use it section below. What this paste is not designed for is mooncakes, which use a smoother oil-and-maltose filling that I am writing up in a separate post coming soon.
This is a family recipe my mom taught me. She made sticky rice cake with red bean paste often when I was growing up, and it was one of my favorite snacks after school. I like this version because it comes together with very few ingredients and keeps a little bit of bean texture instead of turning into a smooth puree, which is closer to the paste my mom cooked at home than anything I have bought from a Chinese market.
As a busy mom I prefer the Instant Pot method because it skips the overnight soak and the beans come out consistently soft every time, so the paste-cooking step in the skillet is the only part that needs my attention. I included the stovetop version for you guys in case you don’t have a pressure cooker, and it works just as well with a longer simmer. I encourage you to give this one a try at home using my easy directions below and keep a batch in the freezer for the next time a pastry recipe on the site calls for red bean paste.
Ingredients
To make this easy red bean paste recipe, I use only 3 ingredients, which I explain in detail below along with possible substitutions.
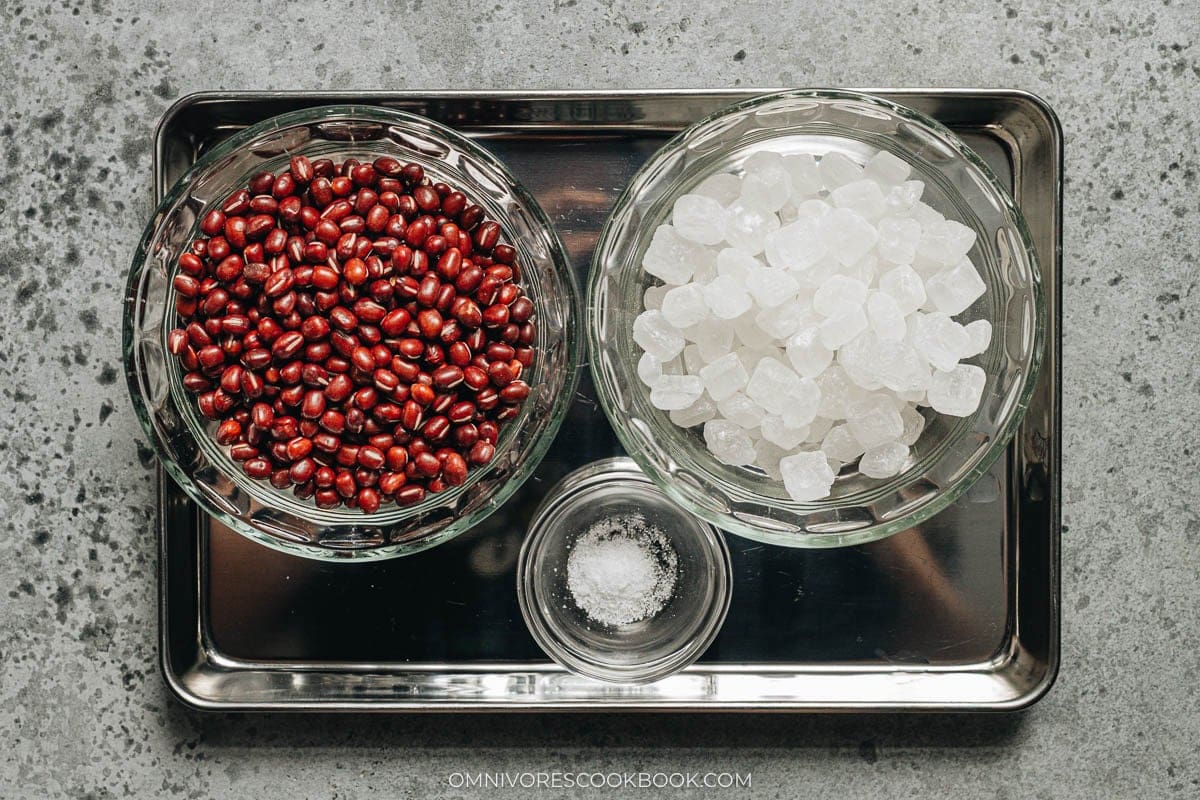
Azuki beans: I use dried azuki beans, sometimes labeled adzuki or red beans at Chinese and Japanese markets. I look for beans that are red, whole, and unbroken, which cook down at the same rate.
Rock sugar: I highly recommend rock sugar over granulated sugar for this paste. The finished texture comes out smoother in the mouth and glossier in appearance, both of which matter when the paste sits inside a pastry. Granulated sugar still works if that is what I have on the shelf.
Salt: I add a small pinch of salt to keep the sweetness from flattening.
How to Make
Instant Pot method (my preferred method)
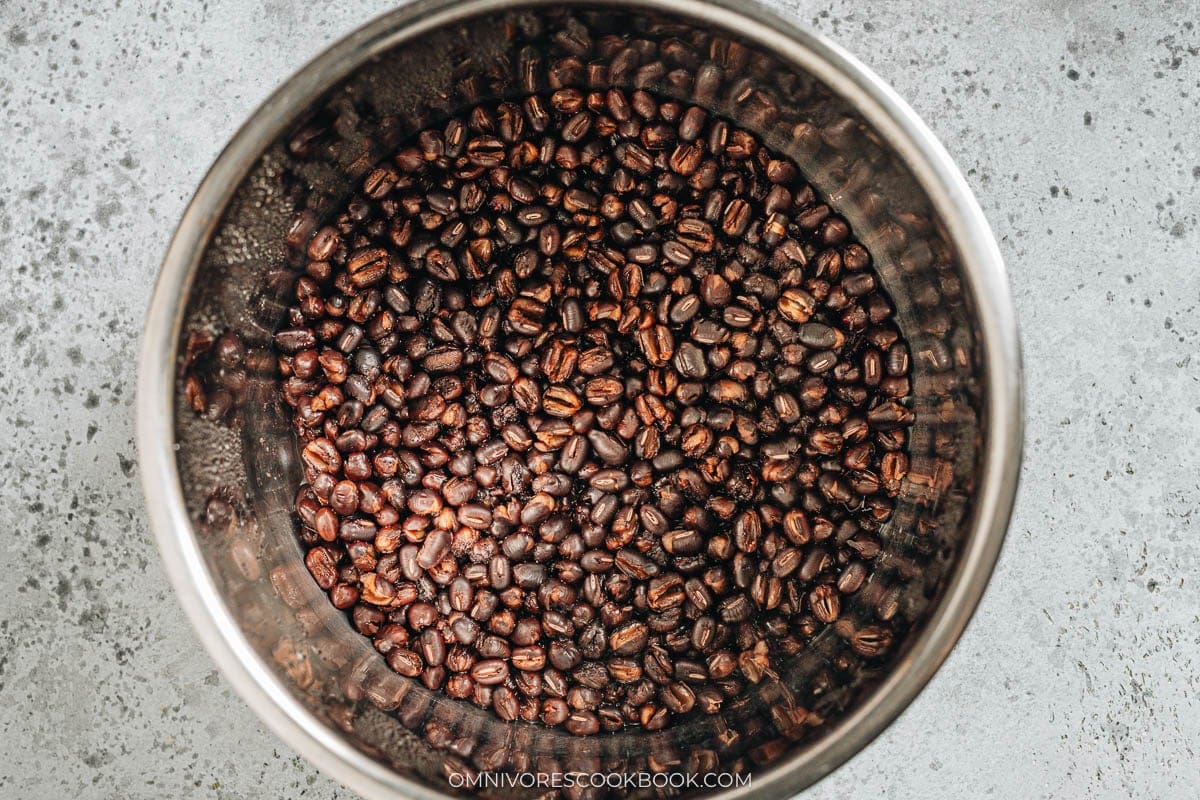
- Combine the azuki beans and 2 cups of water in the Instant Pot. Lock the lid and cook on High Pressure for 40 minutes. Let the pressure release naturally before opening the lid.
Stovetop method
- Rinse the azuki beans, then soak them in a bowl of water overnight in the refrigerator. Drain and discard the soaking water.
- Transfer the beans to a large pot and add 4 cups of water. Bring to a boil over medium-high heat, then reduce to low. Cover and simmer until the beans are very tender and can be easily mashed with a spatula, 1 to 1 1/2 hours.
- Check the water level occasionally during simmering to make sure the beans stay covered. Add more water in small amounts if needed to prevent scorching. Stir with a light hand from time to time, taking care not to mash the beans.
Make the red bean paste
Once the beans are fully cooked: Ladle out most of the cooking liquid, leaving just enough in the pot to help dissolve the sugar in the next step.
Start cooking the paste: Transfer the cooked beans and the remaining cooking liquid to a large nonstick skillet. Add the rock sugar and salt. Cook over medium heat, stirring occasionally, until the sugar has completely dissolved.
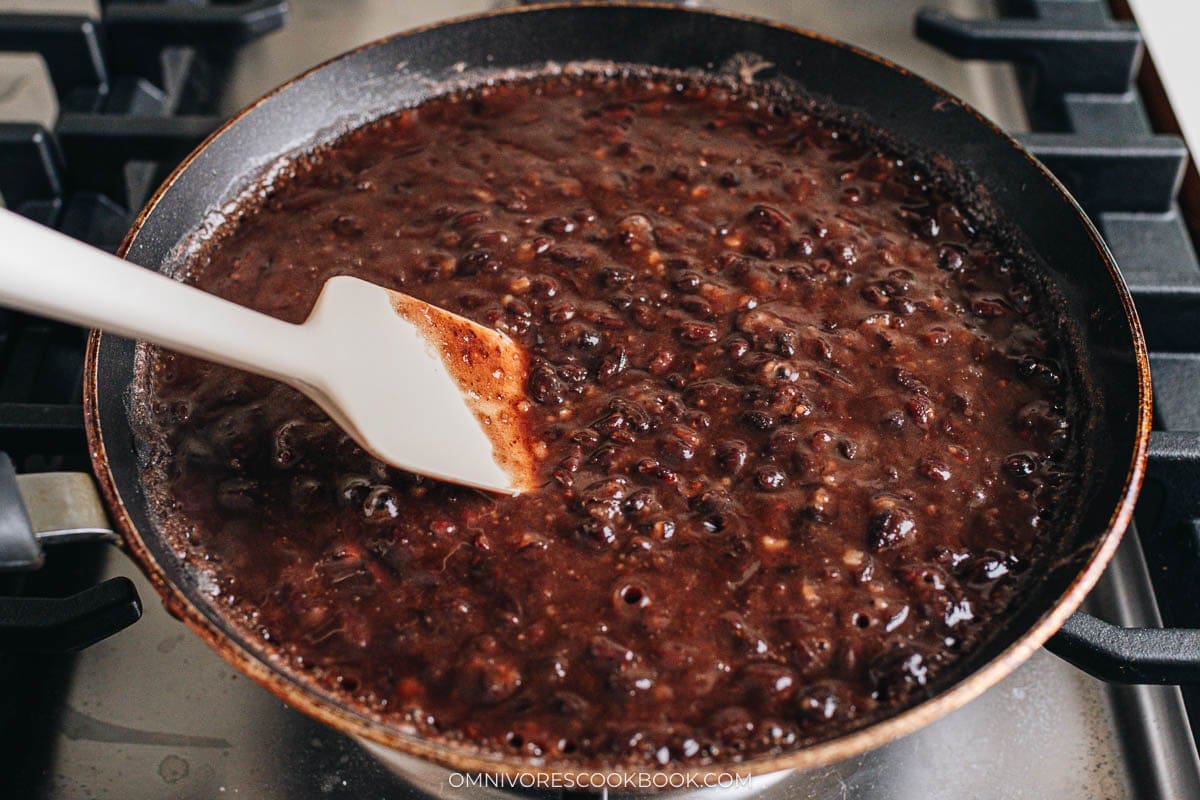
As the mixture thickens: Reduce the heat to medium-low to prevent scorching. Continue cooking, stirring more frequently and mashing the beans with a spatula, until the paste is thick enough to stay firm, about 15 minutes.
Test for doneness: Draw a line through the paste with a spatula. The paste is ready when it slowly holds the line and the bottom of the skillet stays visible for about 5 seconds before the paste flows back together.
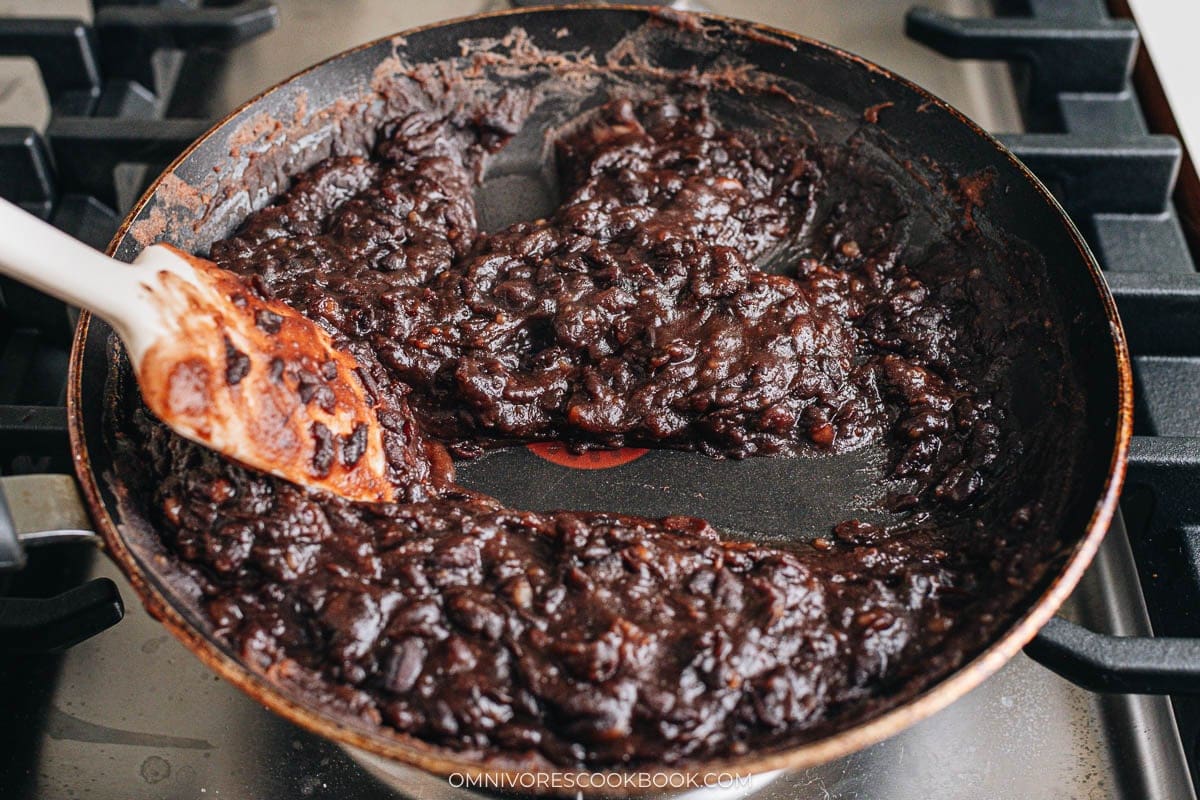
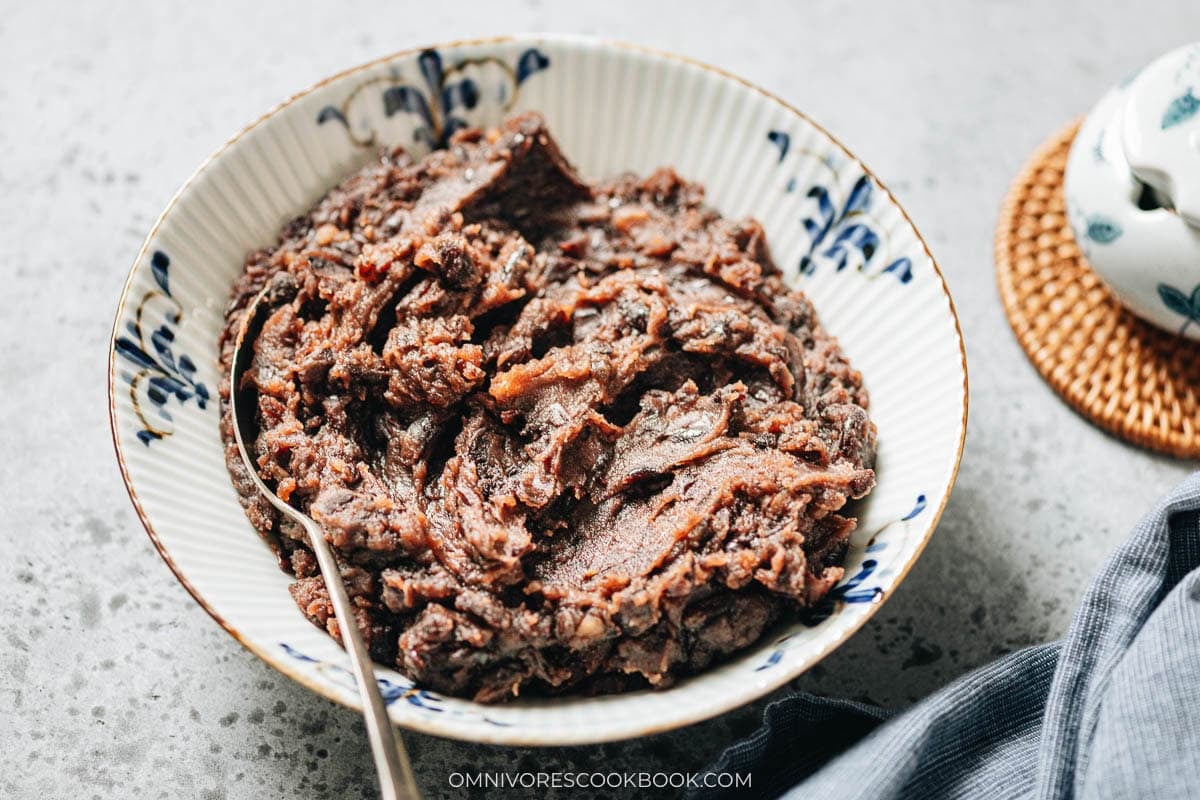
Serve: Transfer the paste to a large bowl and let it cool completely. The paste will continue to thicken as it cools and firms up further after chilling in the refrigerator.
My Cooking Tips
Cool the paste before I use it. Warm paste is loose and sticks to my hands when I try to shape it into a filling. Once it chills in the refrigerator for an hour or two, it firms up into a shapable consistency that portions neatly into balls for buns and pastries.
Reduce the paste in a wide nonstick skillet rather than the pot you cooked the beans in. The wide surface area lets moisture evaporate faster, and a nonstick surface makes it much easier to scrape the paste as it thickens. In a deep pot, the paste takes longer to reduce and is more likely to catch on the bottom.
Do not dump all the cooking liquid at once. I ladle out most of the liquid and reserve it in a separate bowl so I can add a splash back if the paste tightens too quickly before the sugar has fully melted.
Watch the heat once the paste thickens. Sugar and starch scorch quickly once the liquid is mostly gone. I turn the heat down to medium-low as soon as the paste starts to hold a spatula trail and stir constantly for the last few minutes.
How Do I Use This Paste
This is a component recipe, not a “stand-alone” dish, so I think of it as a jar in the refrigerator or freezer that unlocks a long list of Chinese sweets. The paste goes into my sticky rice cake as the filling and into coconut mochi as a hidden center. It also stuffs red bean bread as the sweet middle inside a soft steamed bun.
At Dragon Boat Festival I fold this paste into alkaline dumplings, and I layer it under the fruit in eight treasure rice for a celebratory dessert. It also presses into the middle of a Chinese pumpkin cake as a soft sweet filling.
For the simplest use, I spoon a big scoop over a bowl of shaved ice or spread it on hot toast for breakfast, which is how I ate the leftovers as a kid.
Frequently Ask Questions
Can I use canned red beans?
I do not recommend it for this recipe. Canned red beans are usually kidney or pinto beans, not azuki, and the flavor and texture are different. Even canned azuki beans have often been sweetened or seasoned already, which throws off the sugar ratio in this recipe.
Can I reduce the sugar in this recipe?
Yes, but I choose the sugar amount based on how the paste is being used. If I plan to eat the paste in big spoonfuls as a dessert topping or serve it on its own, I start with 1/2 cup of sugar and taste as it reduces, adding more only if needed. If the paste is going inside a pastry, I use the full amount in the recipe.
How long does the paste keep in the fridge and freezer?
I store the cooled paste in an airtight container in the refrigerator for up to 4 days, or portion it into freezer bags in the amounts I need for a single recipe and freeze for up to 1 month. To thaw, I move the bag to the refrigerator overnight and stir the paste briefly before shaping. Freezing tightens the texture slightly, which is actually helpful when I need firm portions for pastry filling.
Want to Save This Recipe?
Enter your email below & we’ll send it to your inbox. Plus get great new recipes from us every week!
Watch video
Red Bean Paste Recipe
Ingredients
- 1 cup azuki beans
- 3/4 cup rock sugar (or sugar) (*Footnote 1)
- 1/8 teaspoon salt
Instructions
To Cook in an Instant Pot:
- Combine the azuki beans and 2 cups of water in an Instant Pot. Lock the lid and cook on High Pressure for 40 minutes. Let the pressure release naturally.
To Cook over the stove:
- Rinse the azuki beans and soak them in water overnight in the refrigerator. Drain and discard the soaking water.
- Transfer the beans to a large pot and add 4 cups of water. Bring to a boil over medium-high heat, then reduce to low. Cover and simmer until the beans are very tender and can be easily mashed with a spatula, 1 to 1 1/2 hours.
- During cooking, check the water level occasionally to make sure the beans remain covered. Add more water as needed to prevent the beans from drying out or scorching. Stir gently from time to time, taking care not to mash the beans.
- Once the beans are fully cooked, use a ladle to remove most of the cooking liquid, leaving just enough in the pot to help dissolve the sugar.
Make the red bean paste:
- Transfer the cooked beans and the remaining cooking liquid to a large nonstick skillet (*Footnote 2). Add the rock sugar and salt. Cook over medium heat, stirring occasionally, until the sugar has completely dissolved.
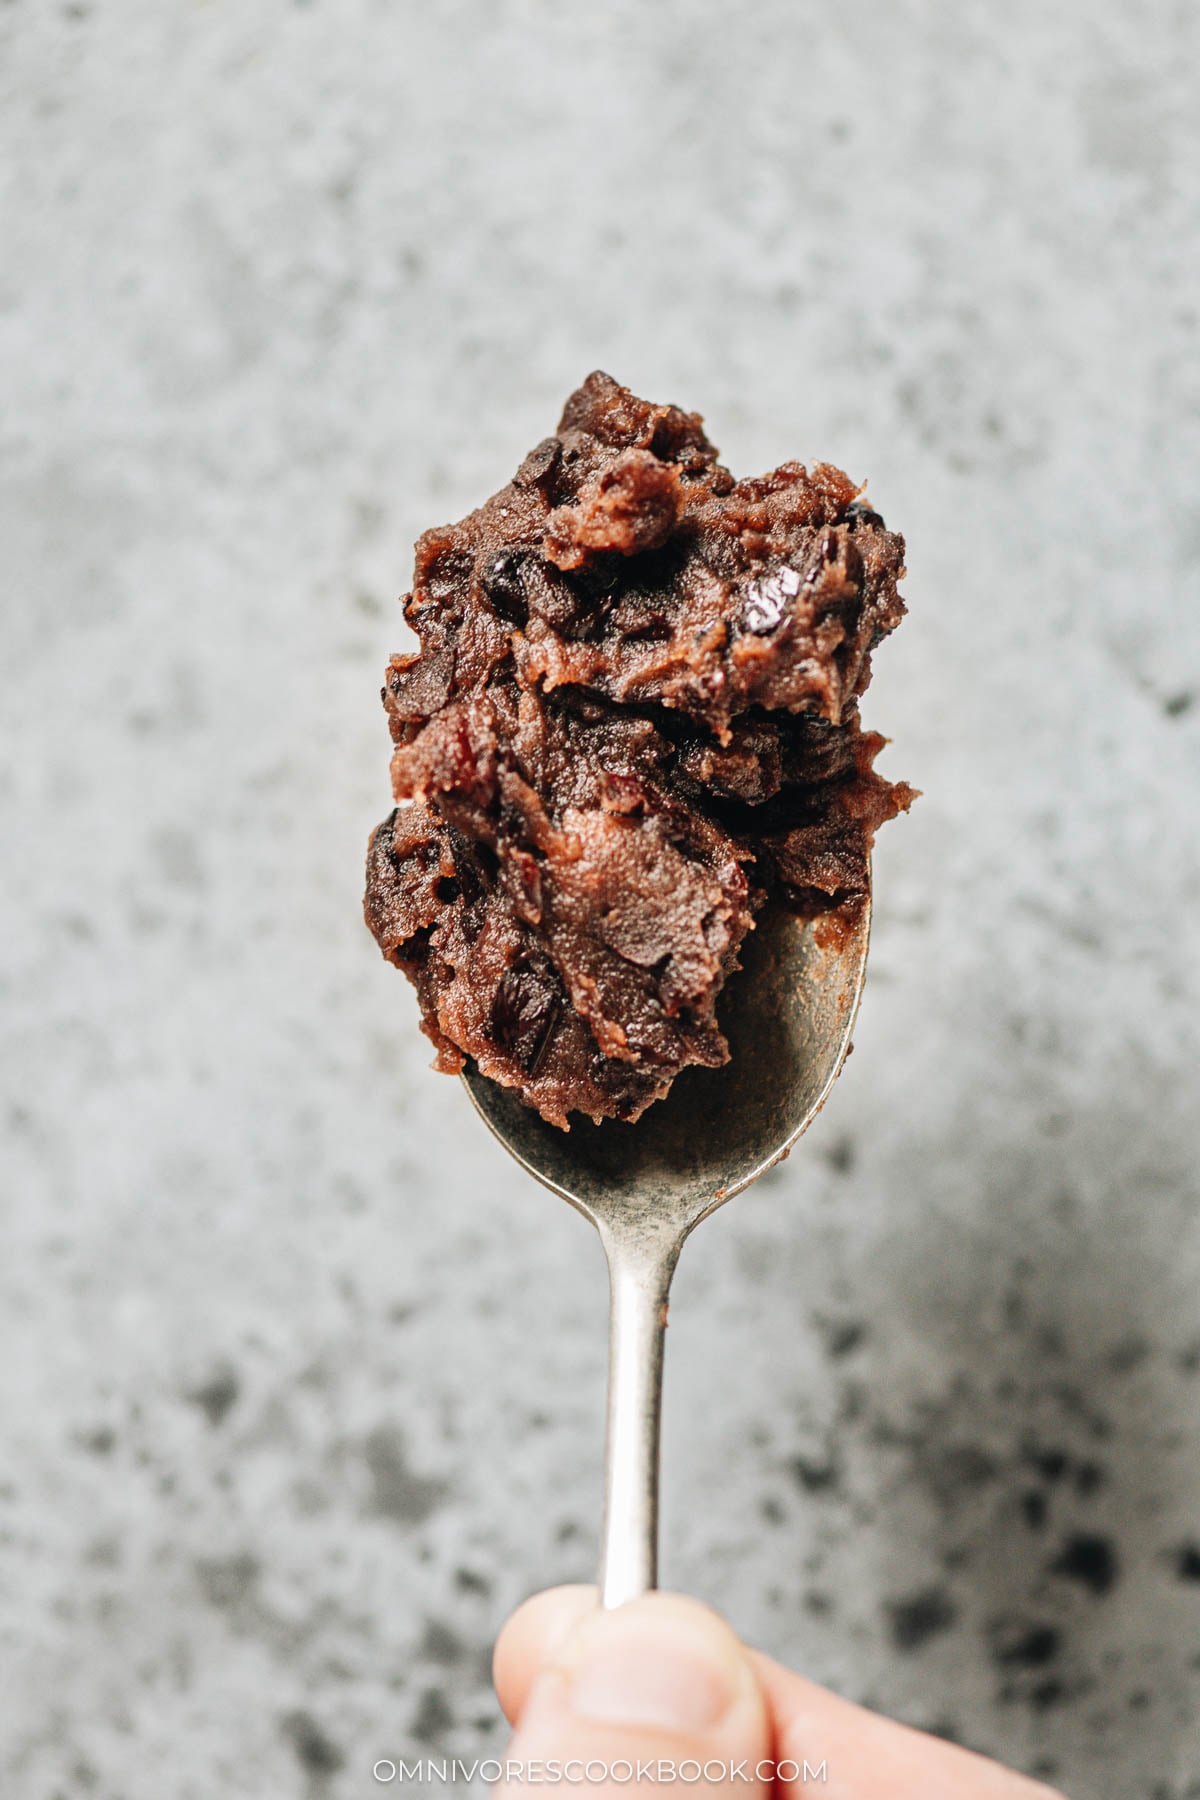
- As the mixture thickens, reduce the heat to medium-low if needed to prevent scorching. Continue cooking, stirring more frequently and mash the beans, until the bean paste is thick enough to hold its shape, about 15 minutes.
- To test for doneness, draw a line through the paste with a spatula. The paste is ready when it slowly holds the line and the bottom of the skillet remains visible for about 5 seconds before the paste flows back together.
- Transfer the bean paste to a large bowl and let it cool completely. The paste will continue to thicken as it cools and will become even firmer after chilling in the refrigerator.
Storage
- Store in an airtight container in the refrigerator for up to 4 days, or freeze for up to 1 month.
Notes
Nutrition

Did you make this recipe?
I’d love to hear how it turned out for you! Please take a moment to leave a 5-star rating ⭐️ and share your thoughts in the comments further down the page. It really helps others discover the recipe too.
Angie
Dear Maggie,
I am very thankful for your red bean recipe. I tried it the first time and tried again the second time and then taught it to my seniors in the aging home.
I am thankful that the attempts were successful. Thank you.
I have a question, if I want to make the paste slightly more chewy, what would you suggest?
God bless,
Angie from Singapore
Maggie Zhu
Hi Angie, I think the best way is to use the stovetop method to cook the beans, until they are cooked through but still have some texture. Then remove some beans and reserve. Cook the rest of the beans until tender then smash them. Then add the reserved beans back. This is a great way to add some chewy bean texture to the paste.