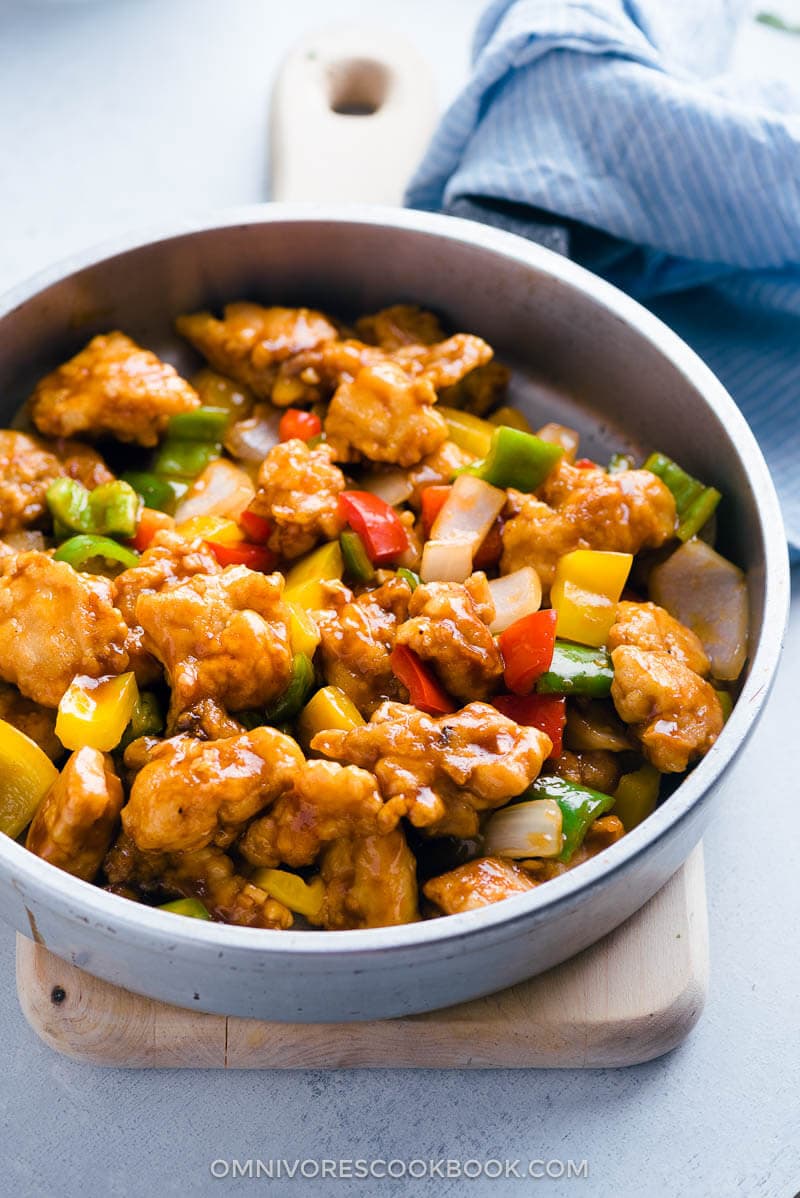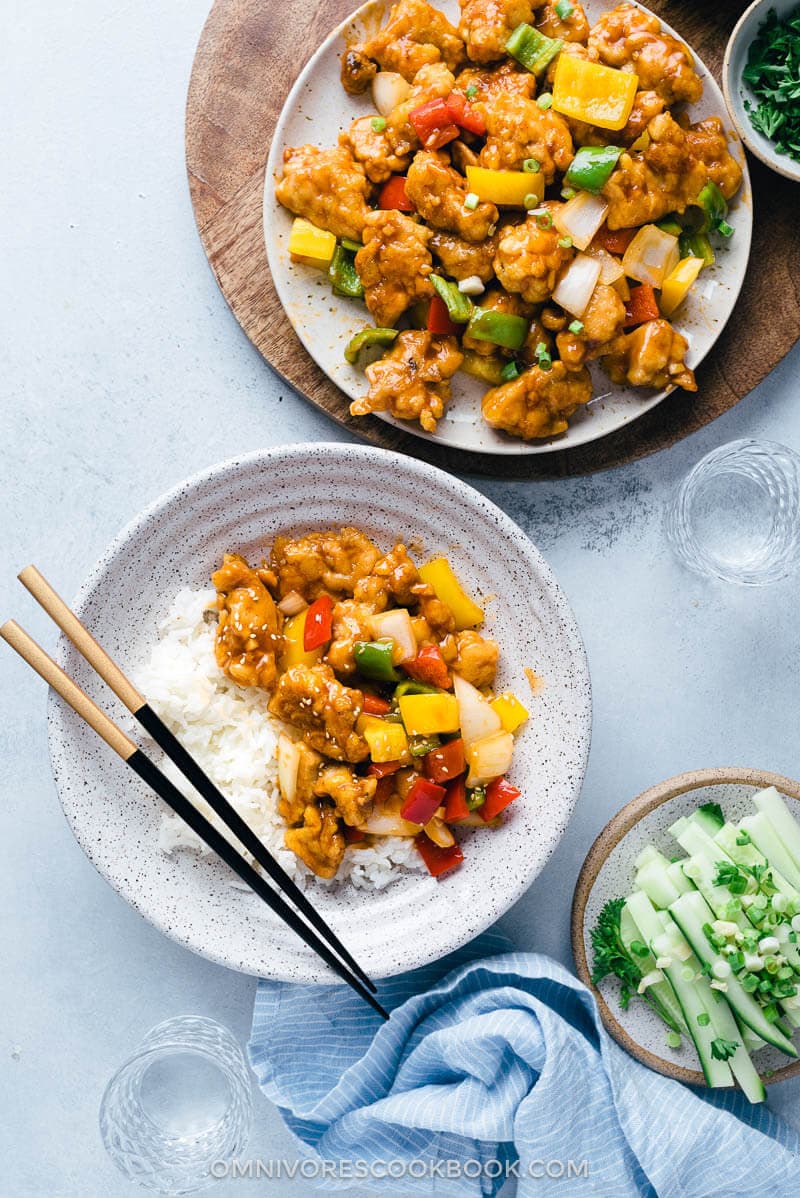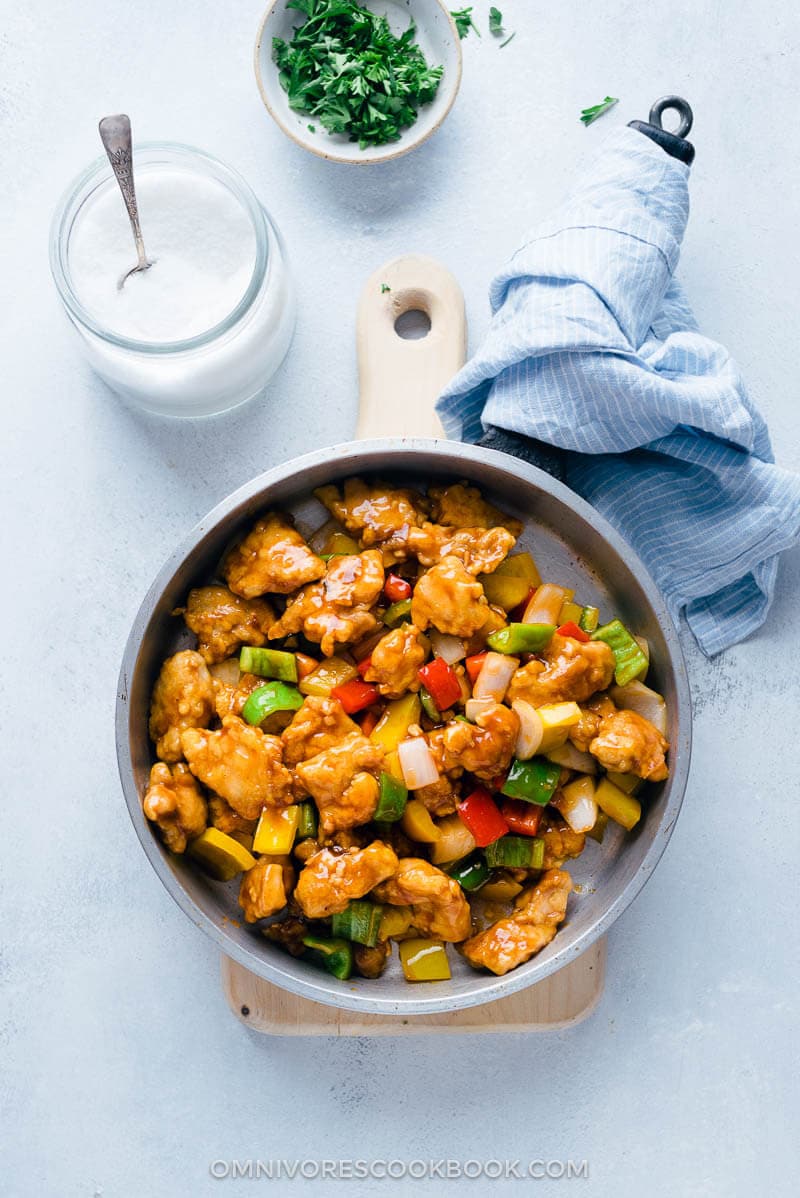
Sweet and sour chicken is probably THE most popular Chinese dish. Crispy chicken, a sweet scrumptious sauce, and crunchy peppers. It just has all the comforting elements in one bowl. If you travel to China, you will probably be disappointed that you can only find the pork version in restaurants. After all, pork is more of a staple meat for Chinese people than chicken. However, when I was living in Japan, sweet and sour chicken was one of the dishes I learned to make early on.
In most Japanese grocery stores, you will find packaged chicken thighs already cut up into bite-sized chunks. Back then I had zero cooking experience. So I was delighted to discover these products that could save me a bit of trouble, and I went straight for the chicken version.

Why this recip
Today I want to share this easy sweet and sour chicken recipe that yields crispy chicken, sticky sauce, and crispy veggies, like the restaurant version. But the setup is more practical for any cook to make in their home kitchen. The greatest things about this recipe are:
- No deep-frying required! You will use much less oil to pan fry the chicken. The chicken will end up super crispy and stay that way, even after it’s been tossed in the sauce.
- The sweet and sour sauce is well balanced and rich. It is very fragrant and uses less sugar than most of the sweet and sour chicken recipes.
- No wok required! You can use a regular skillet to make this dish taste great.

Cooking notes
1. How to make crispy chicken without deep frying
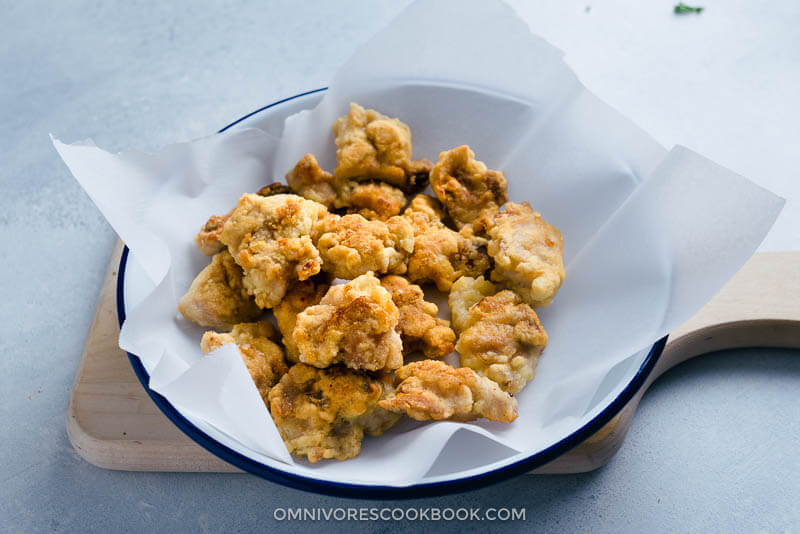
I hate deep-frying! That’s why I developed a formula to creating crispy chicken with a crunchy coating that is like the takeout you’d get from Chinese restaurants, without making a mess.
Simply use: oil + salt + egg + cornstarch
This combination creates a dry batter that is suitable for pan-frying. Normally, deep frying requires at least 4 to 5 cups of oil. If you use this batter, you only need 1/4 to 1/3 of a cup of oil to pan-fry the chicken in a regular skillet. Not only does it yield an extra crispy exterior and juicy, flavorful meat, but the chicken also stays crispy even after you coat it with sauce.

2. Use any cut of chicken you like
I’m a dark meat person. But using chicken breast creates awesome results, as well.
Just remember to cut the chicken into 1″ (2.5 cm) pieces. The size of the chicken pieces matters because you want the surface to turn crispy with the inside just cooked through at the same time. No matter you use breasts or thighs, they will turned out great.
3. Prep work
Before you start cooking, your countertop should have:
- Marinated chicken that’s coated with cornstarch
- A bowl of chopped garlic
- Chopped onion and pepper in a plate
- Mixed sauce
When you start the cooking, it will only last a few minutes. It’s important to prep all the ingredients before turning on the heat.
I like to group my ingredients according to the recipe (for example, place onion and peppers in one plate), so it’s easier to add them during the stir fry process.
4. Workflow
You only need to:
- Pan fry the chicken, move all the cooked chicken to a plate.
- Saute garlic to release fragrance.
- Add the sauce
- Add back chicken and veggies
NOTE: I only briefly cooked the veggies, so they are very crispy and have a vibrant color. If you prefer to cook your veggies until tender, you can add them right after you saute the garlic.
I hope you enjoy the dish!
More easy restaurant-style stir fry recipes
- Orange Chicken
- Chicken and Broccoli (Chinese Takeout Style)
- General Tso Tofu
- Ginger Beef Stir Fry
- Honey Garlic Shrimp

If you give this recipe a try, let us know! Leave a comment, rate it (once you’ve tried it), and take a picture and tag it @omnivorescookbook on Instagram! I’d love to see what you come up with.
Chinese Cooking Made Easy
Are you new to this website? This free email series is a great place to start. I’ll walk you through a few of my most popular recipes and show you how and why they work. You’ll quickly start to cook better Chinese food in your own kitchen.
Watch video

Sweet and Sour Chicken (Without Deep-Frying)
Ingredients
- 1 lb boneless skinless chicken thighs (or breasts) , cut to 1-inch (2-cm) pieces
- 1 tablespoon vegetable oil
- 1 egg , beaten
- 1/2 teaspoon salt
- 1/2 cup cornstarch
Sauce
- 2 tablespoons ketchup
- 2 tablespoons Shaoxing wine (or dry sherry)
- 2 tablespoons rice vinegar
- 2 tablespoons light soy sauce (or soy sauce)
- 3 tablespoons brown sugar
- 2 tablespoons water
- 1/2 tablespoon cornstarch
Stir-fry
- 1/3 cup peanut oil (or vegetable oil)
- 2 cloves garlic , minced
- 1/2 small white onion , chopped
- 1 bell pepper , chopped (I used a mix of colors in this recipe)
Instructions
- Mix all the sauce ingredients in a small bowl and set aside.
- Combine chicken pieces, vegetable oil, and salt in a big bowl. Mix well and let marinate for 10 to 20 minutes.
- Add the beaten egg into the bowl with the chicken. Stir to mix well. Add cornstarch. Stir to coat chicken, until it forms an uneven coating with a little dry cornstarch left unattached.
- Heat oil in a heavy duty skillet until hot, until it just starts to smoke. Add chicken all at once and spread out into a single layer in the skillet. Separate chicken pieces with a pair of tongs or chopsticks.
- Cook without touching the chicken for 2 to 3 minutes, or until the bottom turns golden. Flip to brown the other side, 2 to 3 minutes. Transfer chicken to a big plate and remove the pan from the stove. Let cool for 2 to 3 minutes.
- Place the pan back onto the stove and turn to medium heat. You should still have 1 to 2 tablespoons oil in the pan. Add garlic. Cook and stir a few times until it releases its fragrance.
- Stir the sauce again to dissolve the cornstarch completely. Pour into the pan. Stir and cook until it thickens, when you can draw a line on the bottom with a spatula without the sauce running back immediately.
- Add back the chicken pieces, white onion, and bell peppers. (*Footnote 1) Stir to coat chicken with sauce, 30 seconds. Transfer everything to a plate immediately.
- Serve hot as main over steamed rice.
Notes
- This recipe yields very crispy veggies that are only briefly cooked, to retain their vibrant colors. If you prefer your veggies to cook more, add them right after the garlic. Then stir and cook for 1 to 2 minutes before adding the sauce.
Nutrition

Did you make this recipe?
I’d love to hear how it turned out for you! Please take a moment to leave a 5-star rating ⭐️ and share your thoughts in the comments further down the page. It really helps others discover the recipe too.

Elisabeth Schlichting
It was absolutely delicious. I already tried a few recipes from different sources. However, yours was the easiest and the most delicious one. Thank you so much for your effort and expertise. It’s highly appreciated!!! Big hug from Germany
Vivian
Omg this is amazing!! Made it three nights in a roll and my hubby cannot get enough haha! Thank you for this recipe!!
Matt
How do you use a mix of colors on one bell pepper? Looks good though, I’ll try it tomorrow.
Maggie Zhu
Hi Matt, you can use a total amount of 1 pepper. Sometimes I use half bell pepper and half red, but you don’t have to use mixed colors.
Mobarak Almas
THANK YOU for Recipe Video Respected MAGGIE*
Michael
Second time in a many weeks making this recipe. This time I paired it with the garlic fried rice from this sight (also a winner). Results were the same as last. I doubled the sauce and put some sesame oil in the marinade. 100% winner, especially with the garlic fried rice.
Michael Coleman I
Oh my goodness! My family and I absolutely adored this dish. I doubled the sauce recipe and added a drizzle of sesame oil to the chicken marinade, but I kept the rest of the recipe as written. It was incredibly delicious, far surpassing any takeout you could have ordered. I used chicken thighs and cooked some rice in my Instant Pot to accompany it. It was simply perfect. I would rate it a solid 10 out of 10!
Vanessa
Thoroughly enjoyed, think I used a bit too much cornstarch.
May
Your method of adding some oil to the meat before frying is great! No need to deep fry, no mess and best of all I didn’t have to turn on the exhaust fan!
Kate Kelly
Really good !
Sven Hubers
I hate cooked (boiled) veggies but Asian cooking has boosted my daily vegetable intake and i eat a lot less meat and potatoes than i used to.
So thanks for not just this recipe, but all of them.
Greets From The Netherlands.
Graeme
With sesame oil in the ingredients it is absolute magic
Kira
So delicious! One question, is the nutrition information at the bottom based on if the dish is 2 servings or 3 servings worth (also wondering for the other recipes that are marked __ or __ servings)? I’m trying to track my macros ^^ Thank you!
Maggie Zhu
The nutrition information was based on 3 servings.
Julia
Great recipe! I prefer the sweet and sour sauce form your Sweet & Sour Fish recipe, and it works perfect with the chicken. Easy to make, too!
Jacki
So easy and perfectly delicious! I love that it is not deep fried. This is a keeper and I’ll be making it again soon! thank you!