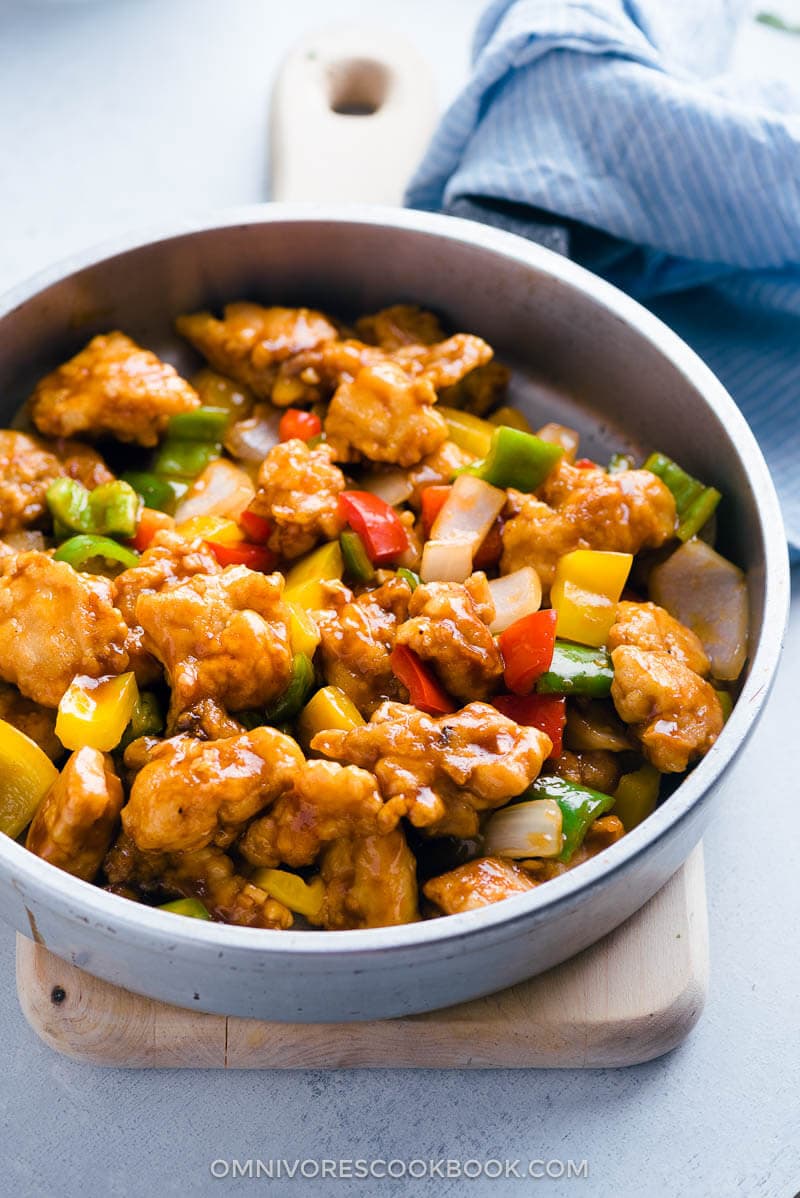
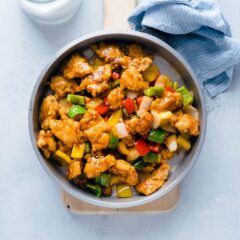
Sweet and sour chicken is probably THE most popular Chinese dish. Crispy chicken, a sweet scrumptious sauce, and crunchy peppers. It just has all the comforting elements in one bowl. If you travel to China, you will probably be disappointed that you can only find the pork version in restaurants. After all, pork is more of a staple meat for Chinese people than chicken. However, when I was living in Japan, sweet and sour chicken was one of the dishes I learned to make early on.
In most Japanese grocery stores, you will find packaged chicken thighs already cut up into bite-sized chunks. Back then I had zero cooking experience. So I was delighted to discover these products that could save me a bit of trouble, and I went straight for the chicken version.
Why this recip
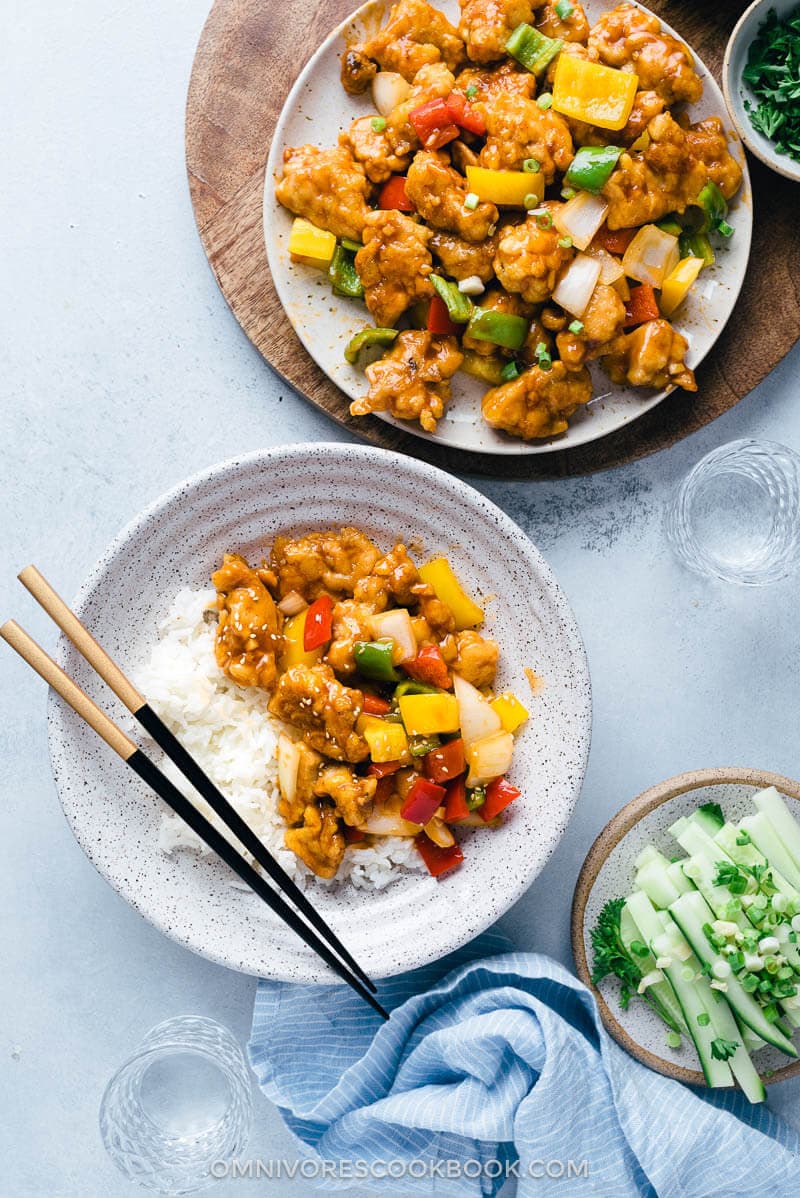
Today I want to share this easy sweet and sour chicken recipe that yields crispy chicken, sticky sauce, and crispy veggies, like the restaurant version. But the setup is more practical for any cook to make in their home kitchen. The greatest things about this recipe are:
- No deep-frying required! You will use much less oil to pan fry the chicken. The chicken will end up super crispy and stay that way, even after it’s been tossed in the sauce.
- The sweet and sour sauce is well balanced and rich. It is very fragrant and uses less sugar than most of the sweet and sour chicken recipes.
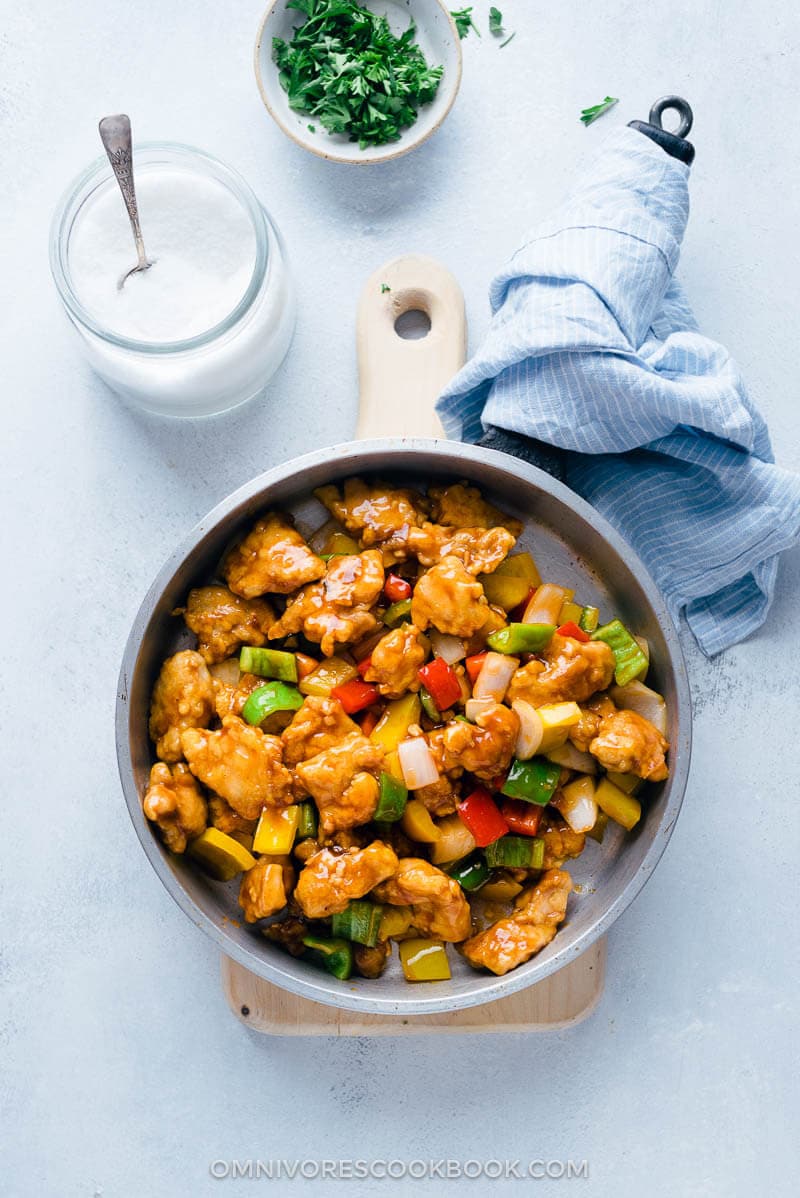
- No wok required! You can use a regular skillet to make this dish taste great.
Cooking notes
1. How to make crispy chicken without deep frying
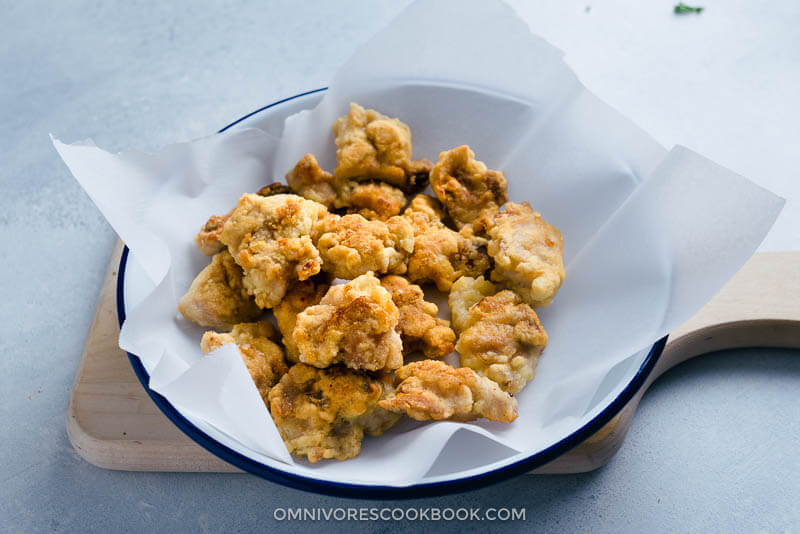
I hate deep-frying! That’s why I developed a formula to creating crispy chicken with a crunchy coating that is like the takeout you’d get from Chinese restaurants, without making a mess.
Simply use: oil + salt + egg + cornstarch
This combination creates a dry batter that is suitable for pan-frying. Normally, deep frying requires at least 4 to 5 cups of oil. If you use this batter, you only need 1/4 to 1/3 of a cup of oil to pan-fry the chicken in a regular skillet. Not only does it yield an extra crispy exterior and juicy, flavorful meat, but the chicken also stays crispy even after you coat it with sauce.
2. Use any cut of chicken you like
I’m a dark meat person. But using chicken breast creates awesome results, as well.
Just remember to cut the chicken into 1″ (2.5 cm) pieces. The size of the chicken pieces matters because you want the surface to turn crispy with the inside just cooked through at the same time. No matter you use breasts or thighs, they will turned out great.
3. Prep work
Before you start cooking, your countertop should have:
- Marinated chicken that’s coated with cornstarch
- A bowl of chopped garlic
- Chopped onion and pepper in a plate
- Mixed sauce
When you start the cooking, it will only last a few minutes. It’s important to prep all the ingredients before turning on the heat.
I like to group my ingredients according to the recipe (for example, place onion and peppers in one plate), so it’s easier to add them during the stir fry process.
4. Workflow
You only need to:
- Pan fry the chicken, move all the cooked chicken to a plate.
- Saute garlic to release fragrance.
- Add the sauce
- Add back chicken and veggies
NOTE: I only briefly cooked the veggies, so they are very crispy and have a vibrant color. If you prefer to cook your veggies until tender, you can add them right after you saute the garlic.
I hope you enjoy the dish!
More easy restaurant-style stir fry recipes
- Orange Chicken
- Chicken and Broccoli (Chinese Takeout Style)
- General Tso Tofu
- Ginger Beef Stir Fry
- Honey Garlic Shrimp

If you give this recipe a try, let us know! Leave a comment, rate it (once you’ve tried it), and take a picture and tag it @omnivorescookbook on Instagram! I’d love to see what you come up with.
Chinese Cooking Made Easy
Are you new to this website? This free email series is a great place to start. I’ll walk you through a few of my most popular recipes and show you how and why they work. You’ll quickly start to cook better Chinese food in your own kitchen.
Watch video
Sweet and Sour Chicken (Without Deep-Frying)
Ingredients
- 1 lb boneless skinless chicken thighs (or breasts) , cut to 1-inch (2-cm) pieces
- 1 tablespoon vegetable oil
- 1 egg , beaten
- 1/2 teaspoon salt
- 1/2 cup cornstarch
Sauce
- 2 tablespoons ketchup
- 2 tablespoons Shaoxing wine (or dry sherry)
- 2 tablespoons rice vinegar
- 2 tablespoons light soy sauce (or soy sauce)
- 3 tablespoons brown sugar
- 2 tablespoons water
- 1/2 tablespoon cornstarch
Stir-fry
- 1/3 cup peanut oil (or vegetable oil)
- 2 cloves garlic , minced
- 1/2 small white onion , chopped
- 1 bell pepper , chopped (I used a mix of colors in this recipe)
Instructions
- Mix all the sauce ingredients in a small bowl and set aside.
- Combine chicken pieces, vegetable oil, and salt in a big bowl. Mix well and let marinate for 10 to 20 minutes.
- Add the beaten egg into the bowl with the chicken. Stir to mix well. Add cornstarch. Stir to coat chicken, until it forms an uneven coating with a little dry cornstarch left unattached.
- Heat oil in a heavy duty skillet until hot, until it just starts to smoke. Add chicken all at once and spread out into a single layer in the skillet. Separate chicken pieces with a pair of tongs or chopsticks.
- Cook without touching the chicken for 2 to 3 minutes, or until the bottom turns golden. Flip to brown the other side, 2 to 3 minutes. Transfer chicken to a big plate and remove the pan from the stove. Let cool for 2 to 3 minutes.
- Place the pan back onto the stove and turn to medium heat. You should still have 1 to 2 tablespoons oil in the pan. Add garlic. Cook and stir a few times until it releases its fragrance.
- Stir the sauce again to dissolve the cornstarch completely. Pour into the pan. Stir and cook until it thickens, when you can draw a line on the bottom with a spatula without the sauce running back immediately.
- Add back the chicken pieces, white onion, and bell peppers. (*Footnote 1) Stir to coat chicken with sauce, 30 seconds. Transfer everything to a plate immediately.
- Serve hot as main over steamed rice.
Notes
- This recipe yields very crispy veggies that are only briefly cooked, to retain their vibrant colors. If you prefer your veggies to cook more, add them right after the garlic. Then stir and cook for 1 to 2 minutes before adding the sauce.
Nutrition

Did you make this recipe?
I’d love to hear how it turned out for you! Please take a moment to leave a 5-star rating ⭐️ and share your thoughts in the comments further down the page. It really helps others discover the recipe too.

Paola Moore
Hi Maggie, Wow loved this recipe. Firstly it was easy to prepare thanks to your clear instructions, secondly it actually looked like the glamorous photos (that doesn’t often happen), and lastly it tasted so good. We were decorating and I wanted to prepare something quick and this was perfect. Thank you
Sarah
So easy to make. Glad I didn’t cave in to the Friday temptation to get takeaway. This was so much better! Yum!
Bobby
This is the third time I have made this dish and since I hate to deep fry your method works very well for me. It is sooooooooooo delicious! I never cared for sweet and sour chicken but my wife loves it so I learned how to make from your recipe and now I’m eating it as well. Thank you so much.
Michelle Goostrey
This was amazing and one of the few dishes I have followed online that didn’t need any tweaking or “I swapped this for that” – it was spot on! Even the fussy 5 year old loved it and the ever so critical 15 year old! Thank you so very much for sharing 🙂
Ramsha
Hi Maggie, I love all of your recipe bsc it’s truly follow your rule: make the measurements accurate, the directions easy to follow, and dishes practical to make at home. Hope you have more recipe to share.
Kelly downs
Tasted amazing!!!! All the family enjoyed it and said it was just like takeaway. Only healthier!
Jack
Your recipe for sweet & sour chicken sounds good however, as you stated that the Japanese explanation is more accurate as they elaborate on the quantities etc…
Your recipe states ONE WHOLE EGG BEATEN but the video shows ONE EGG YOKE BEATEN.
? ? ?
Maggie
Hi Jack, I’ve improved and updated the recipes since I made the video, so the ingredients are slightly different.
I found out the batter will be crispier and stand better in the sauce if you use the whole egg. The old recipe (in my video) generates a more fluffy coating, which tastes good, but I like the new version better.
Sorry about the confusion!
Jack Qc.
Thank you for taking the time to respond.
Although I am occidental, I rarely eat western food. ( only when absolutely necessary )
Chinese is my favourite but, – Japanese – Korean & Vietnamese make up the rest of my diet.
I am always looking for improved & new recipes even though in most cases I still prefer the originals.
I will try this one tonight.
Thank you.
Paul Timson
Hello Maggie, I searched for an authentic egg drop soup last week and came across your recipe. It came out really good. My wife wanted egg drop soup, I am a more wonton soup person myself, my daughter really enjoyed it too. We had had as a first dish with some stir fry I made. I noticed on your site a recipe for sweet and sour chicken which we made tonight. I followed your instructions and oh my it turned out better than I could imagine. Amazing how crunchy the chicken was and especially pleased with the sauce! I can’t wait to make it again. Thank you very much for your recipes and website. I look forward to making more of your recipes.
Momo_Bun
How many grams/litres does the sauce make up for in this recipe ?
Maggie
The recipe yields slightly less than a cup of sauce (approx 200 ml).
joseph
great chicken recipe thank for sharing
Punam Cooks
My Son is fan of chicken but have not tried this type of recipe yet. Will definitely cook it. All your recipes that I tried were delicious and this will be yummy too.
Lori
I have just discovered your fab site-I feel like I’ve discovered gold! Chinese is one of our favorites and I’m so excite to learn here. Will be making this very soon! Wonderfully written post and detailed instructions. Maggie!
Brian
Love this recipe. I’ve been makin it for a couple of months now. The texture is perfect and I like that it does not require deep frying.
And a great side effect is that the cleanup is great.
Finally, I’ll say it her Love many of the other dishes on your site. Well thought out and described. I’d love to see a dish I’ve had in China. It is eggplant stuffed with pork in a deep brown sauce (not soy).
Liz
Just tried the sweet and sour – it was delicious and loved your step by step instructions. Would you pls post a recipe for main course satay
Ken Murphy
the wife and I have now had recipe three time and have now converted the daughter and her husband. Will be going through your recipes with a fine tooth comb. looking forward to more tasty meals.
Kirt and Lisa
Amazing first time. Will never buy another stir fry chicken again EVER. My wife LOVES IT. I’m trying the same recipe tonight with pork belly sliced similarly. If it’s good I might try again with the shoulder! THANK YOU FOR THIS AWESOME RECIPE!! (I’ll update on the pork version)
Sashi Sehgal
Amazing, such a flavourful recipe! Maggie, it is so good to have such a good sweet and sour recipe. Its the first time I have cooked sweet and sour chicken and this recipe was rated better than our local takeout! Many thanks, really enjoy your blog!
Healthy Kitchen 101
These pieces are totally perfect as weekend snack with movies <3 I'm absolutely giving it a try this weekend!
– Natalie Ellis
mobius981
Just made this yesterday. It was beyond scrumptious! Next time I will use a flat bottomed frying pan (easier to sort the chucken). I will also pay better attention to the egg/cornstarch/chicken mixture amounts. That being said, nothing was hurt and I will make it again. Thank you for keeping this simple Maggie! i may add a bit of pineapple next time but NOT really needed!!! Maggie I am slowly amassing the pantry ingredients so I find your site amazingly helpful, thank you so much!! Just got the right bean paste yesterday !!!
Jennifer
I cna’t find the video for this recipe. All I see is the “my latest video” box that place a variety of recipes, but not the video for this one.