
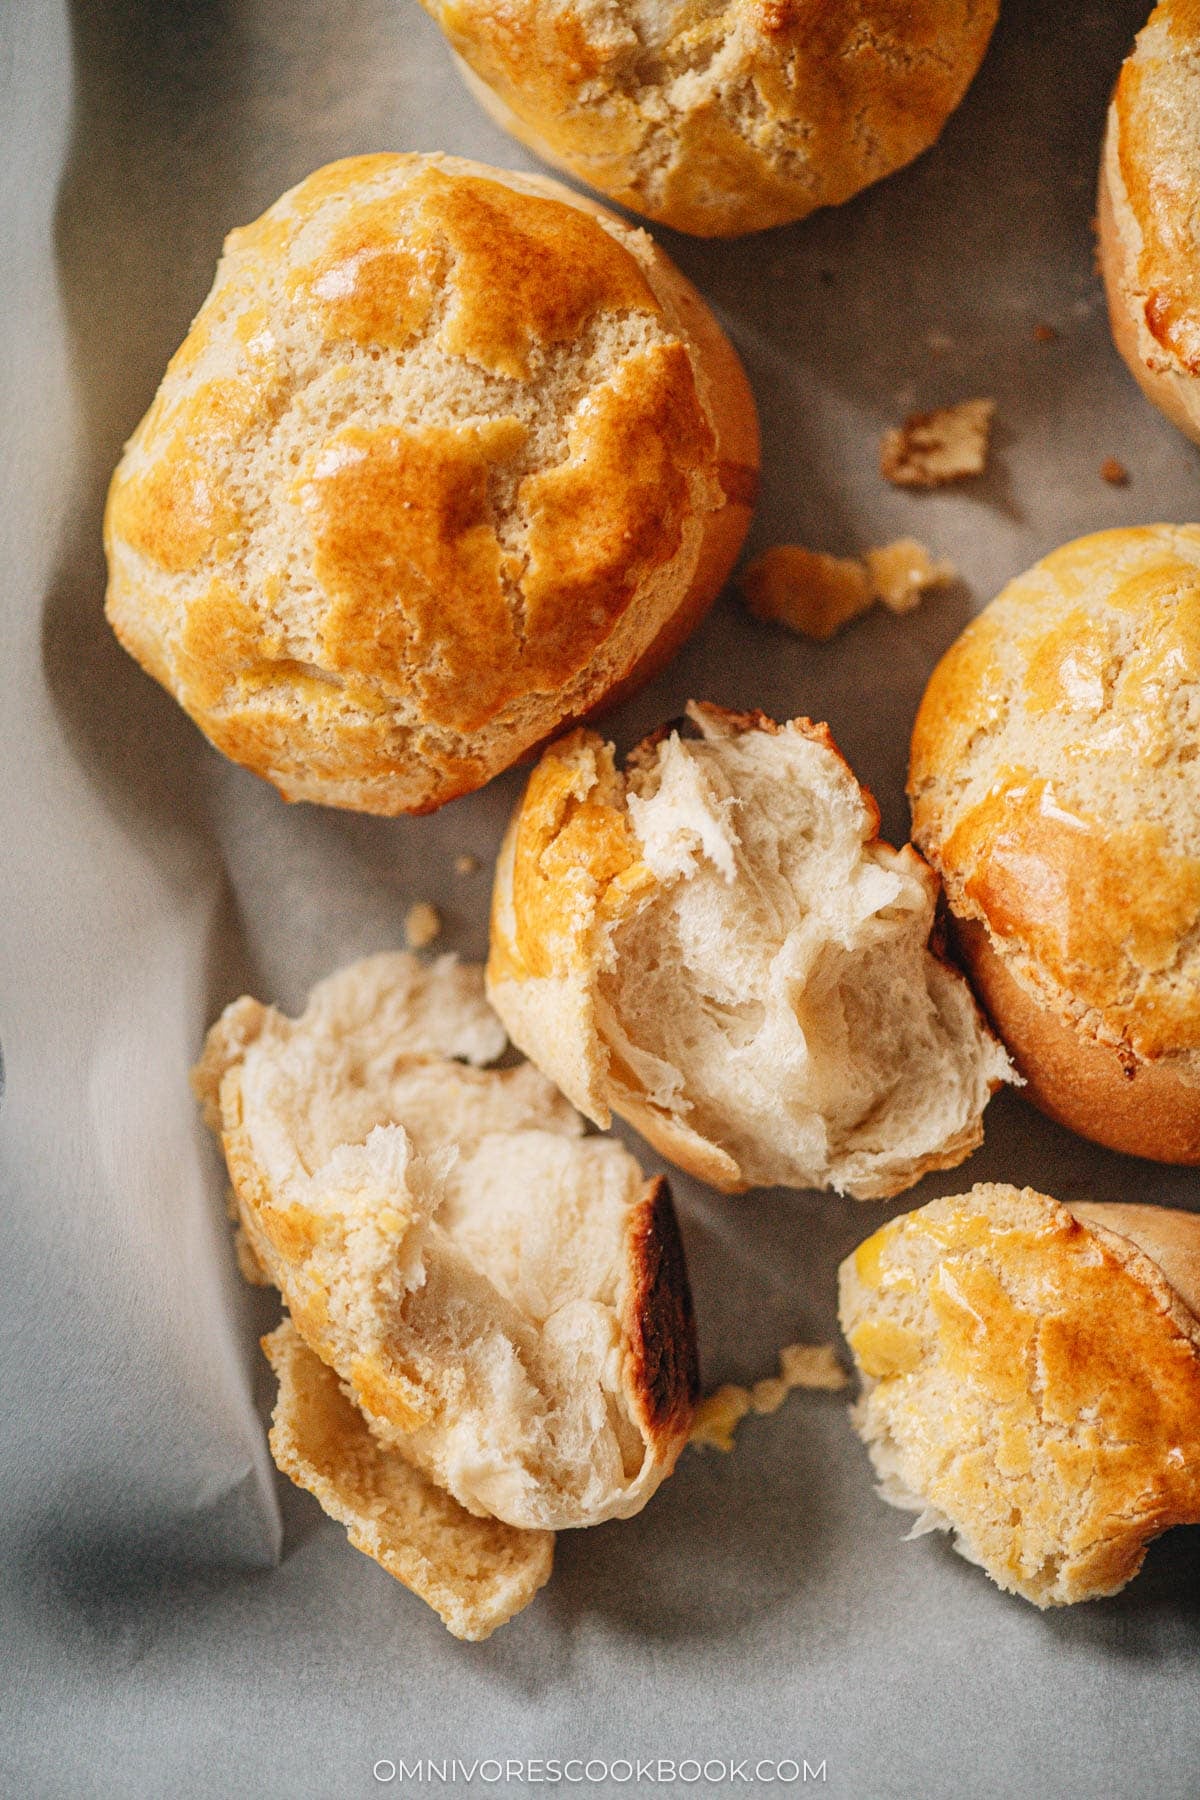
Pineapple buns, or 菠萝包, are one of the most iconic treats from Hong Kong bakeries. Despite the name, there is no actual pineapple in them. The name comes from the cookie layer on top, which bakes into a pattern that looks like the surface of a pineapple. Inside, the bread is incredibly fluffy and tender, and the topping is buttery and slightly sweet. So good!
I first tried these at a bakery in Hong Kong years ago, still warm from the oven with a thick slab of cold butter stuffed inside. The contrast between the hot bread and the melting butter was unforgettable, and I knew I had to figure out how to make them at home. After a lot of testing I landed on a version that captures that same bakery quality using a stand mixer and simple ingredients. Yes, that’s right!
My recipe has 2 parts: a cookie dough topping and a milk bread base. I make the topping first so it can chill in the fridge while the bread dough rises. Once the dough is shaped and rested, I place the topping disks on, brush with egg wash twice for that rich golden color, and bake until perfectly fractured on top.
Trust me, this is a weekend baking project, but the results are absolutely worth the effort. The buns freeze well, so I always make a full batch so my family and I can enjoy them whenever we want. I encourage you to give it a try by following my step-by-step recipe below.
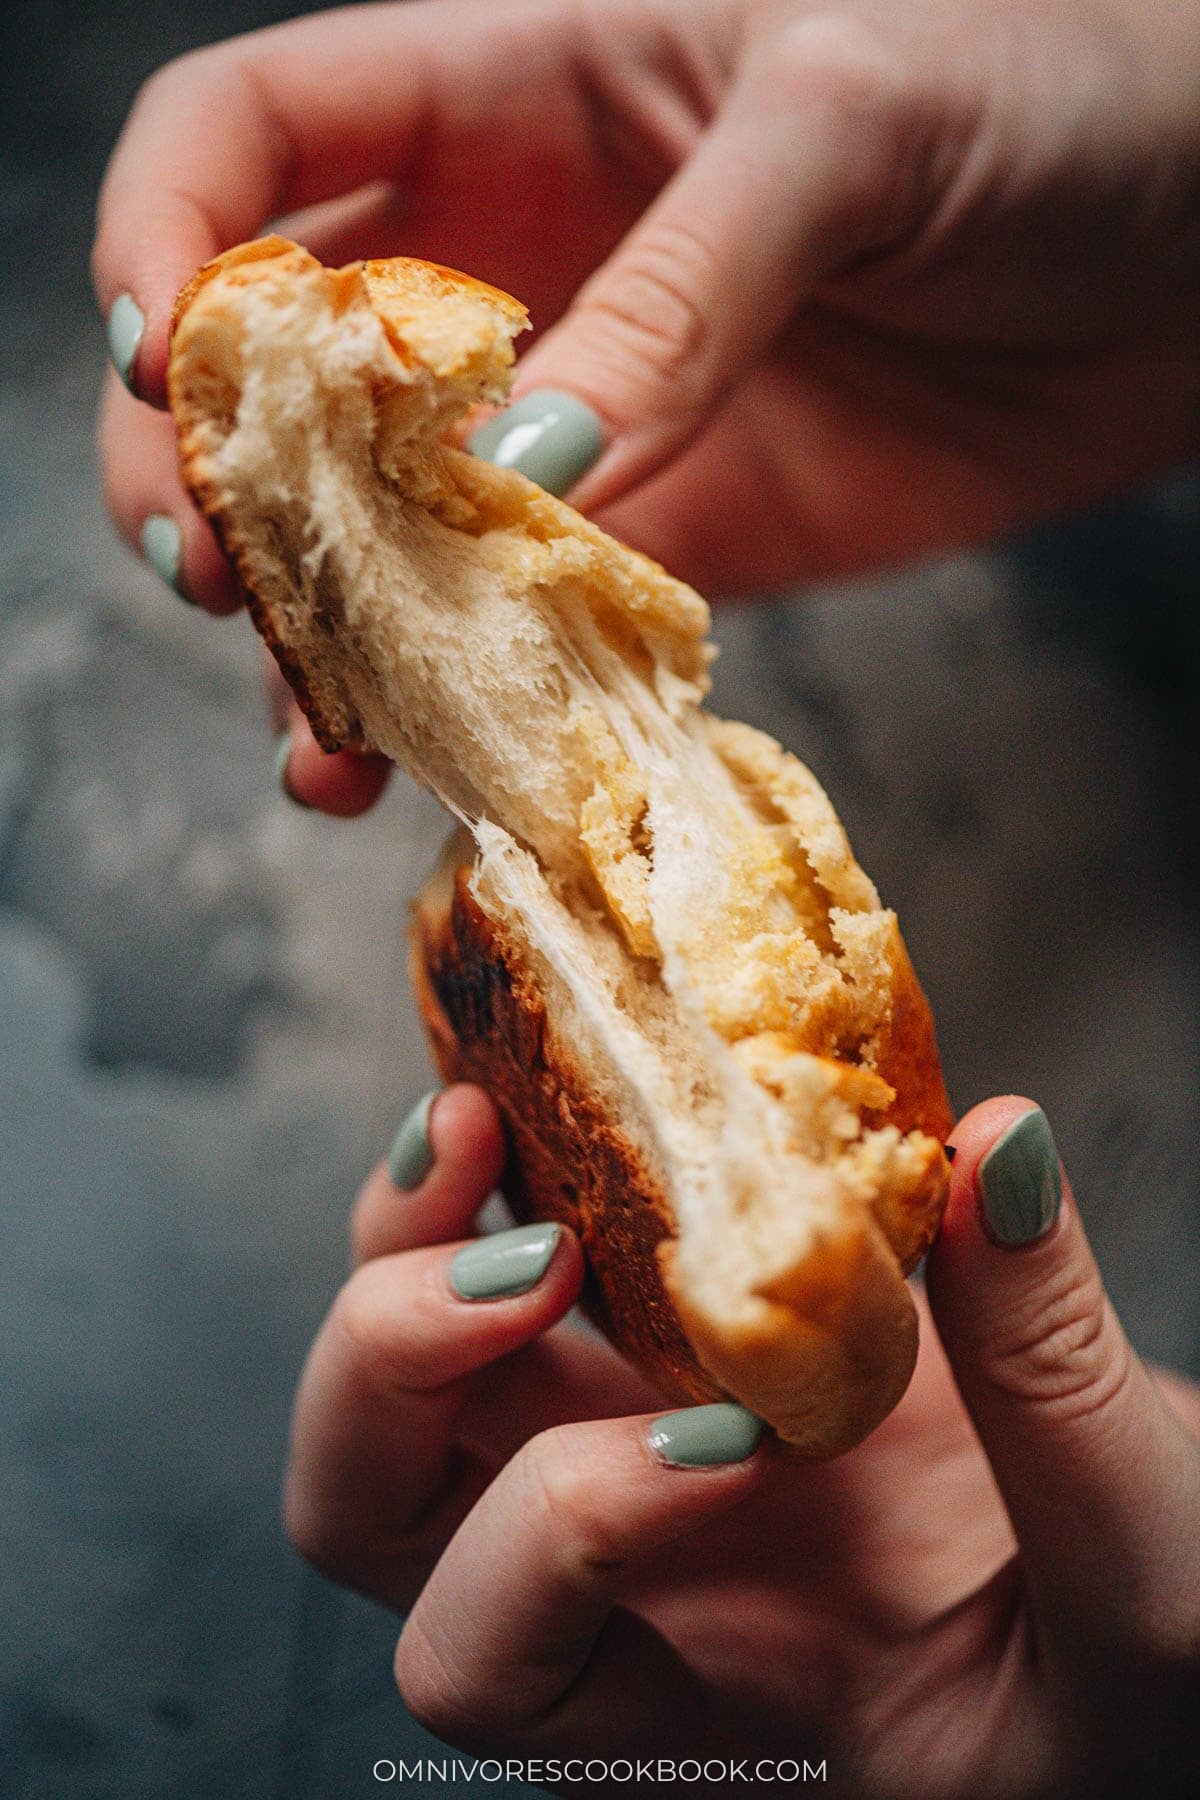
Ingredients
I split the ingredients into 3 groups: the cookie topping that gives the buns their amazing crust, the enriched bread dough underneath, and a quick egg wash for the glossy finish.
Topping: I use melted butter, sugar, egg yolk, and vanilla mixed with flour, baking powder, and baking soda. This creates a crumbly dough that bakes up crunchy and fractures naturally.
Bread: I build the dough with warm milk, sugar, yeast, heavy cream, egg, bread flour, all purpose flour, salt, and softened butter. The combination of heavy cream and butter makes the bread extra tender and rich.
Egg wash: I whisk together egg yolks, milk, and a pinch of sugar. Brushing it on twice builds the thick shiny layer I love.
How to Make
1. Make the topping dough: Melt the butter and mix it with milk, egg yolk, vanilla, and sugar until smooth.
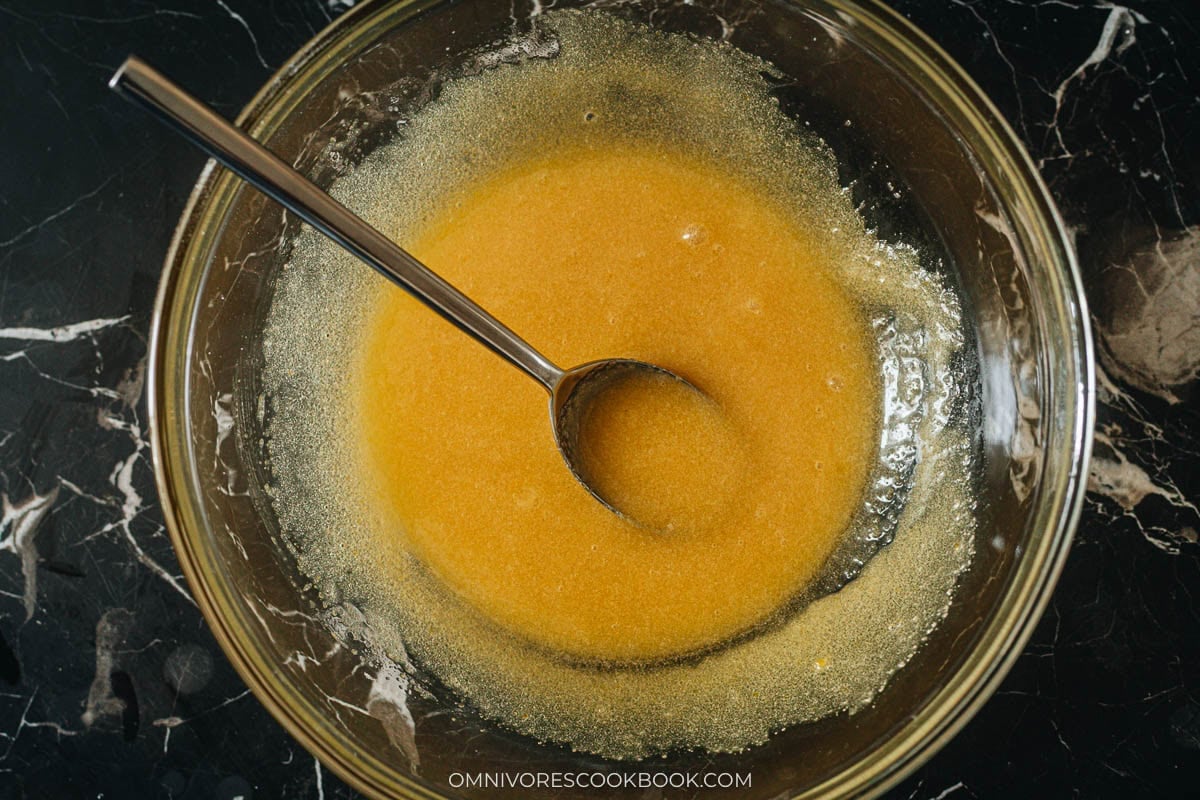
2. Mix: Combine the flour, baking powder, and baking soda in a separate bowl, then add to the wet ingredients and stir until a crumbly dough forms.
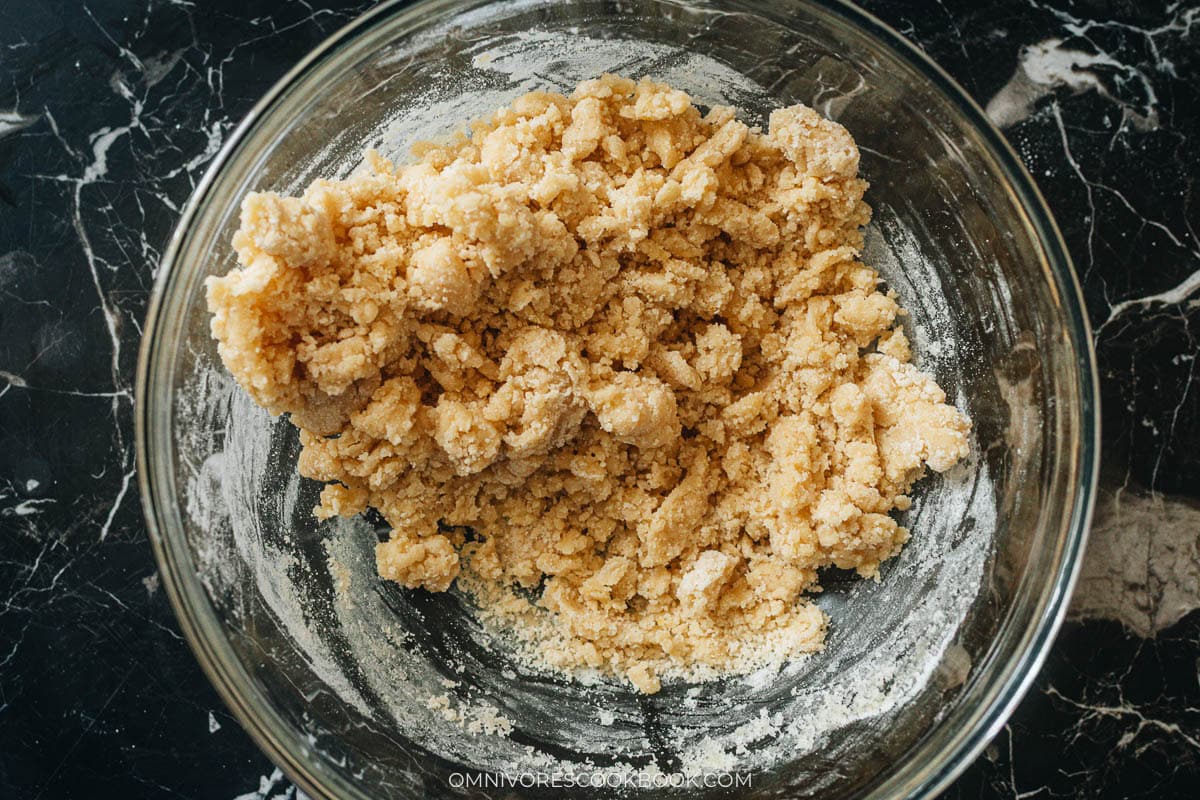
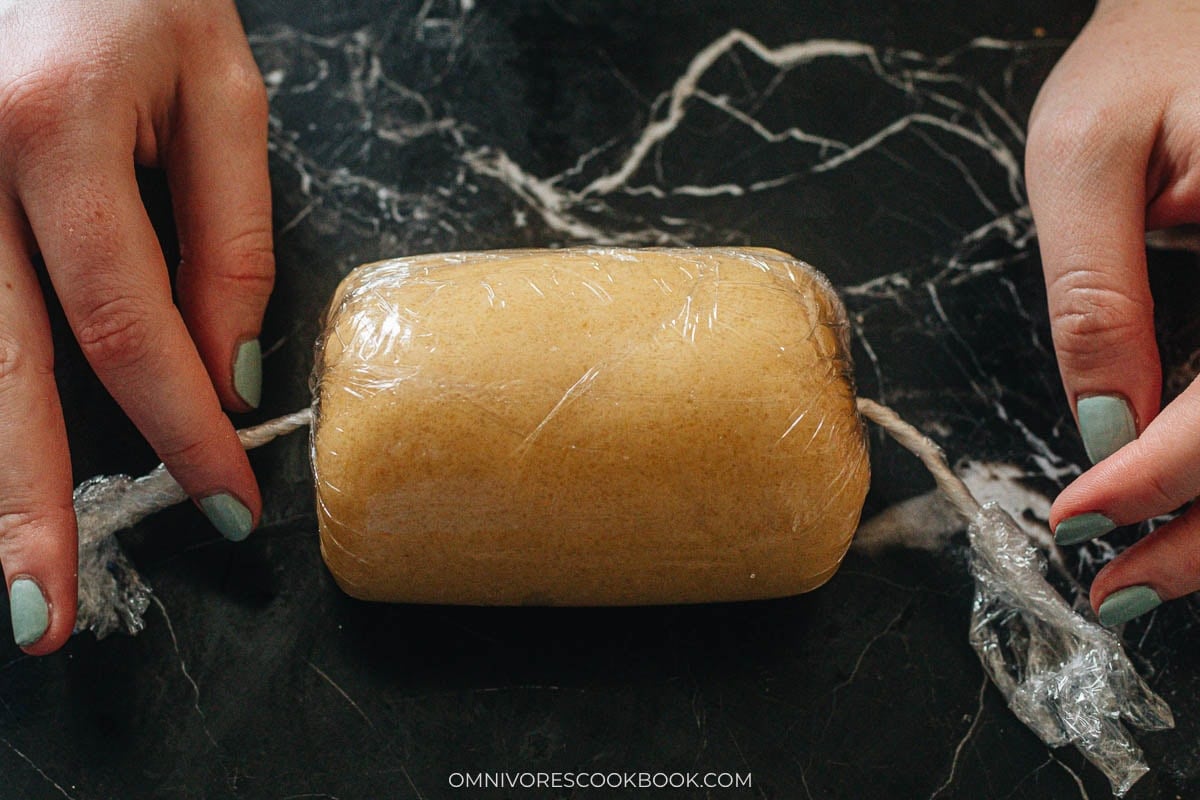
3. Form Dough: Press the crumbs together into a log, wrap in plastic, and chill in the fridge.
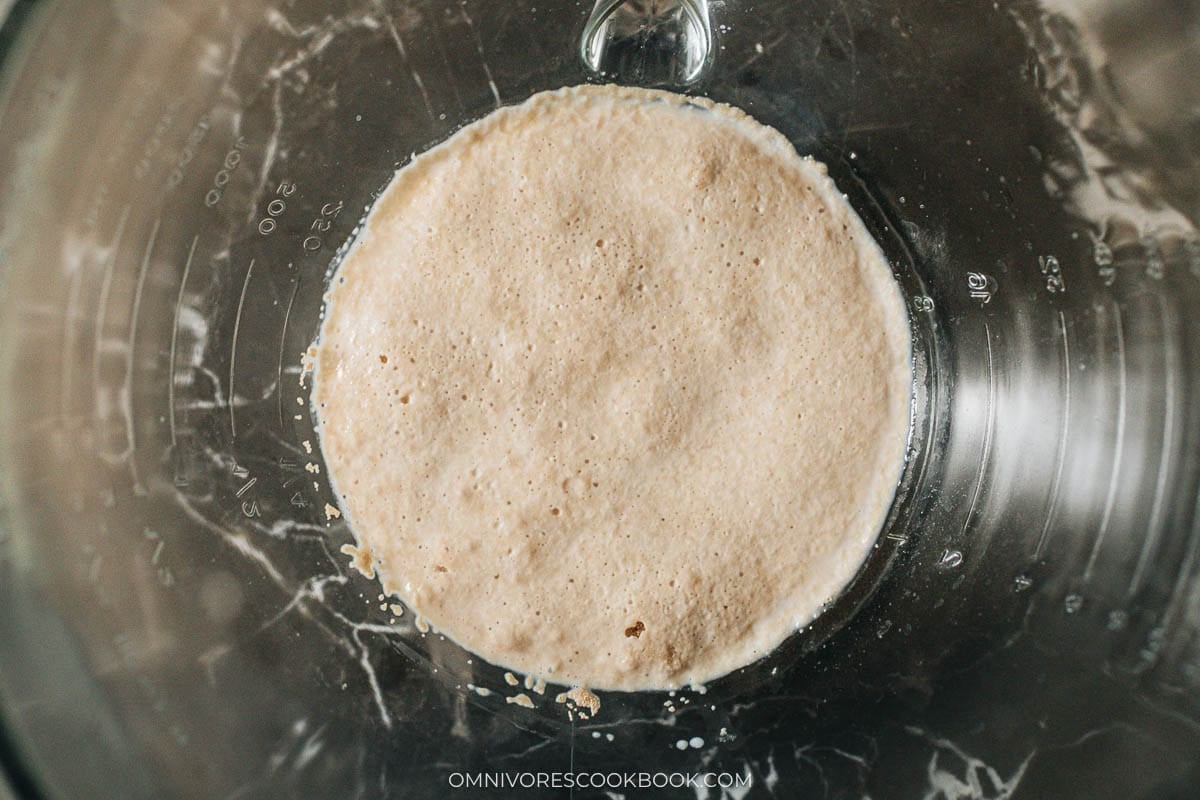
4. Activate the yeast: Warm the milk to about 100 to 110°F (38°C) and pour it into the mixer bowl. Add the sugar and yeast, stir, and let it sit for 5 minutes until bubbly and fragrant.
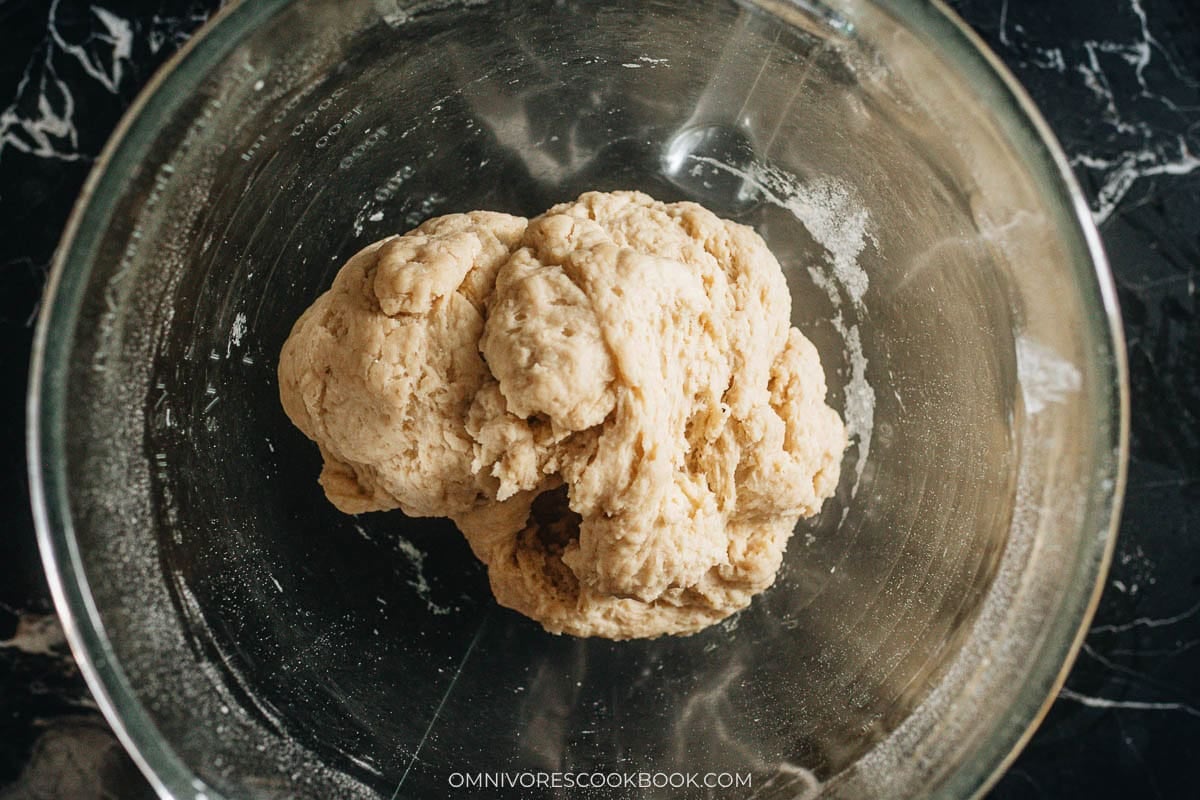
5. Knead the bread dough: Add the heavy cream, egg, both flours, and salt to the yeast mixture. Mix with the dough hook on low until a dough forms, about 2 minutes. Add the softened butter, increase to medium speed, and knead for 14 minutes until the dough is smooth and stretchy. Pull a small piece with both hands to check. It should stretch into a thin, translucent sheet.
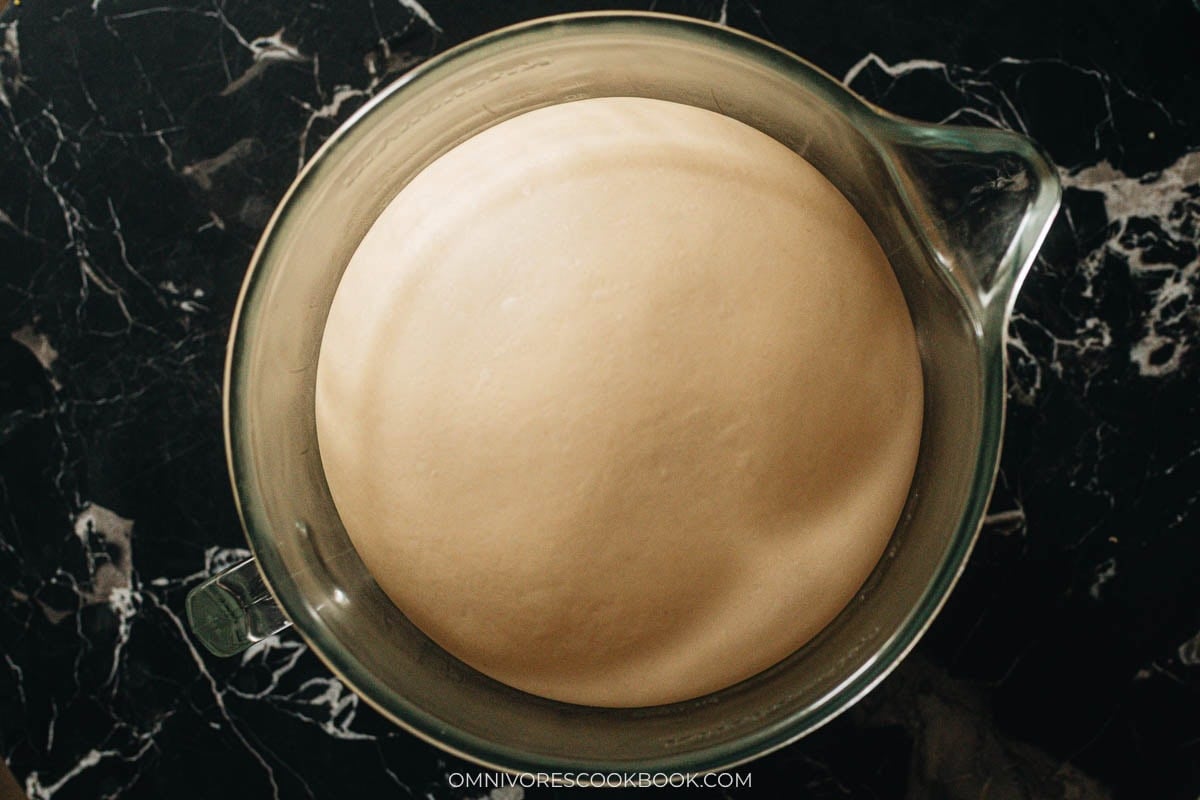
6. Let the dough rise: Shape the dough into a tight ball, place it back in the bowl, and cover loosely with plastic wrap. Let it rise in a warm spot until doubled in size, about 1 hour.
7. Shape the buns: Punch the dough down to release the air. Divide it into 16 even pieces (about 62 to 63 g each) and roll each into a smooth ball. Place them on a lined baking sheet with 2 inches of space between each one.
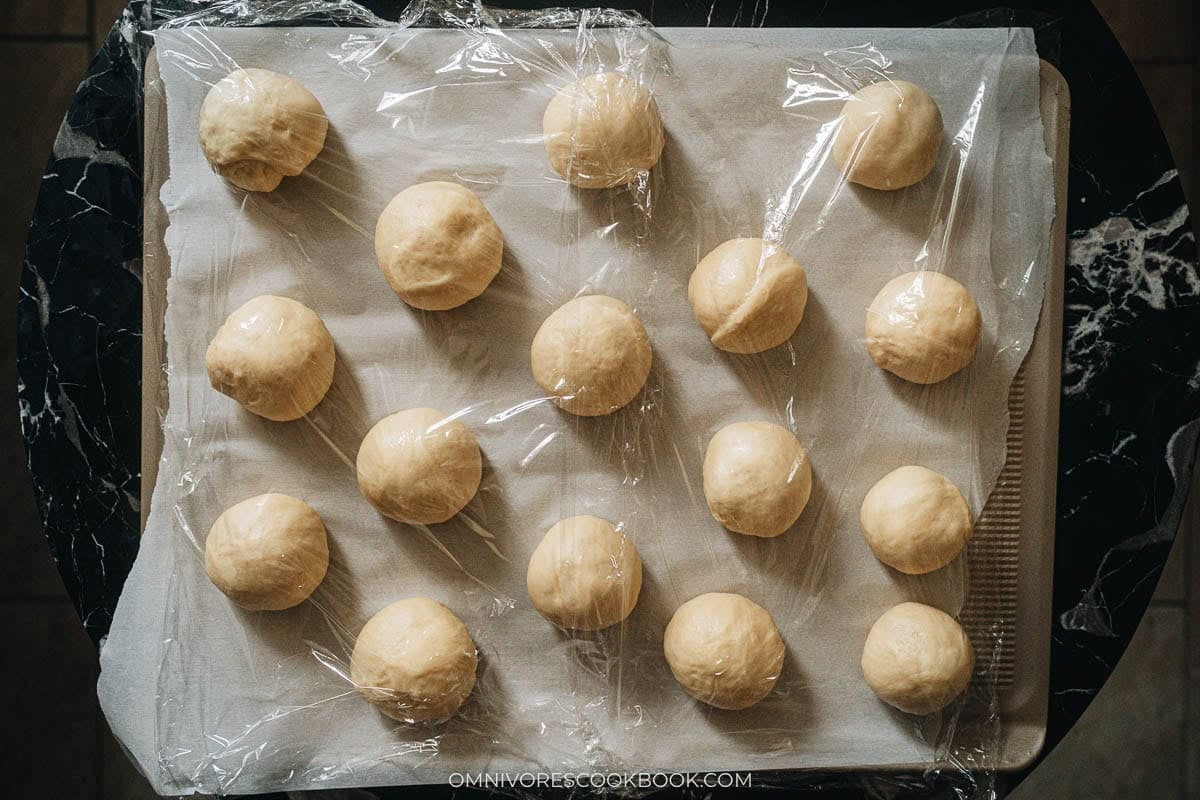
8. Let the buns rise: Cover loosely and let them rise for another 30 to 45 minutes until doubled.
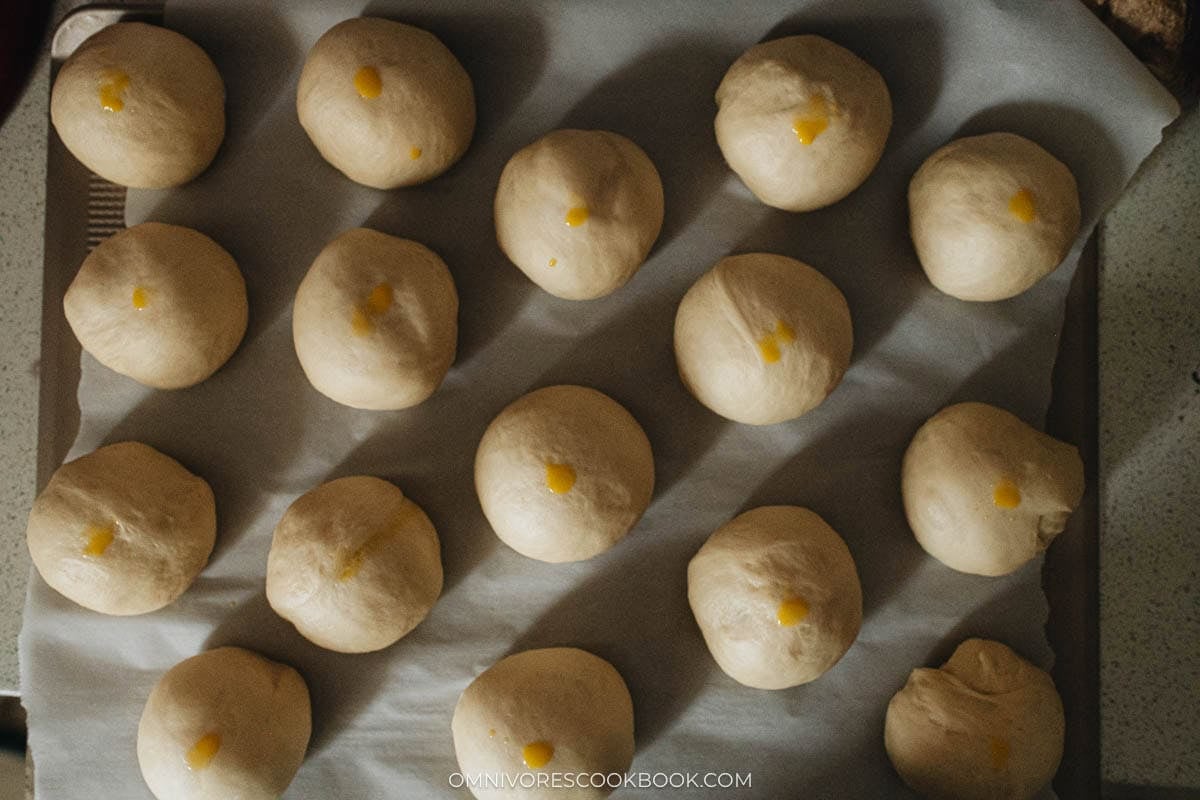
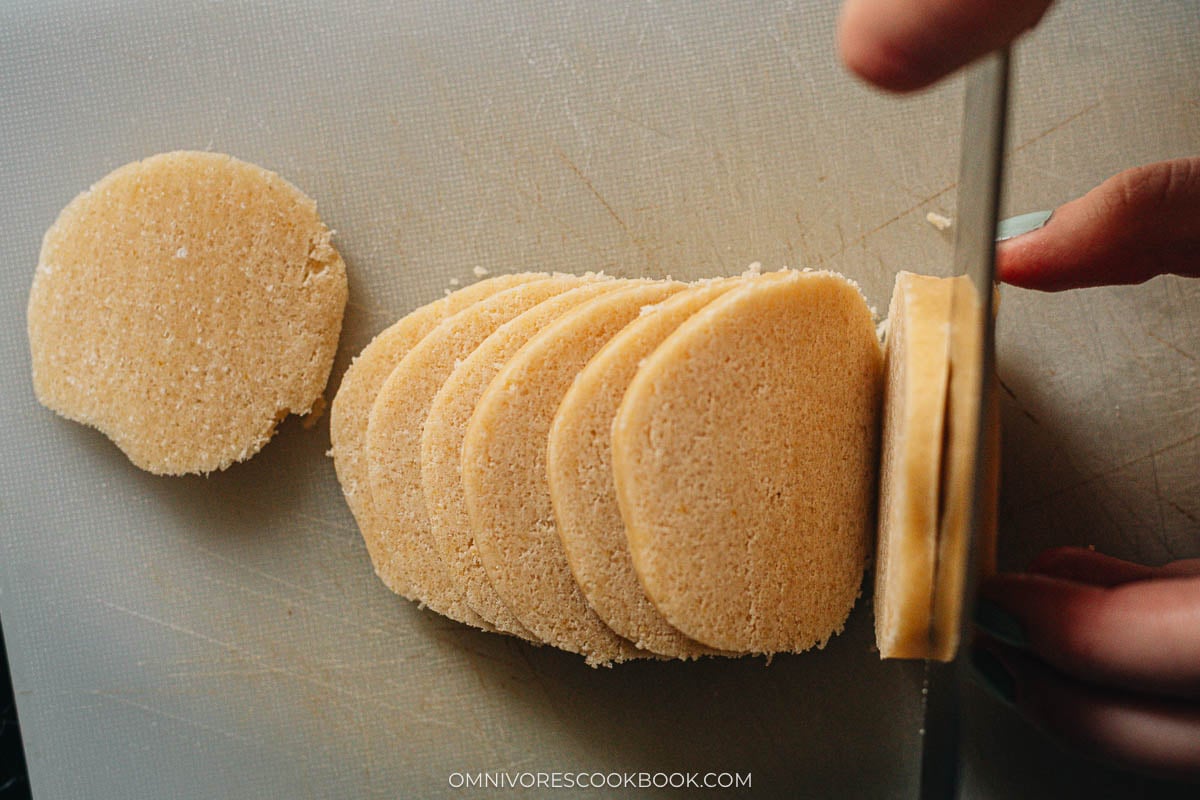
9. Prepare the topping: While the buns rise, slice the chilled topping log into 16 even pieces.
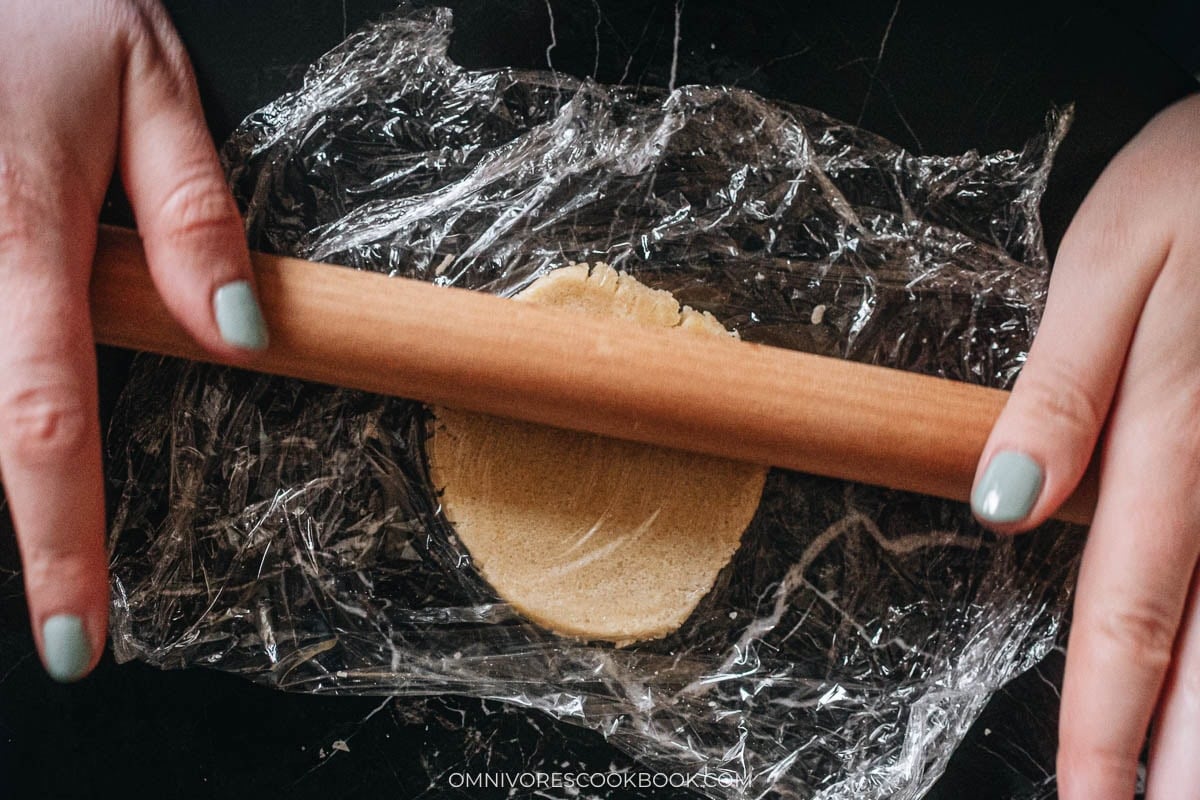
10. Rolling: I roll each piece between 2 sheets of plastic wrap into a thin disk, about 2.5 inches wide.
11. Egg wash: Make the egg wash by whisking the yolks, milk, and sugar together, then chill it in the fridge.
12. Assemble and bake: Preheat the oven to 350°F (176°C). Place a topping disk on each risen bun. Brush with egg wash, let it dry slightly, then brush again for a second coat.
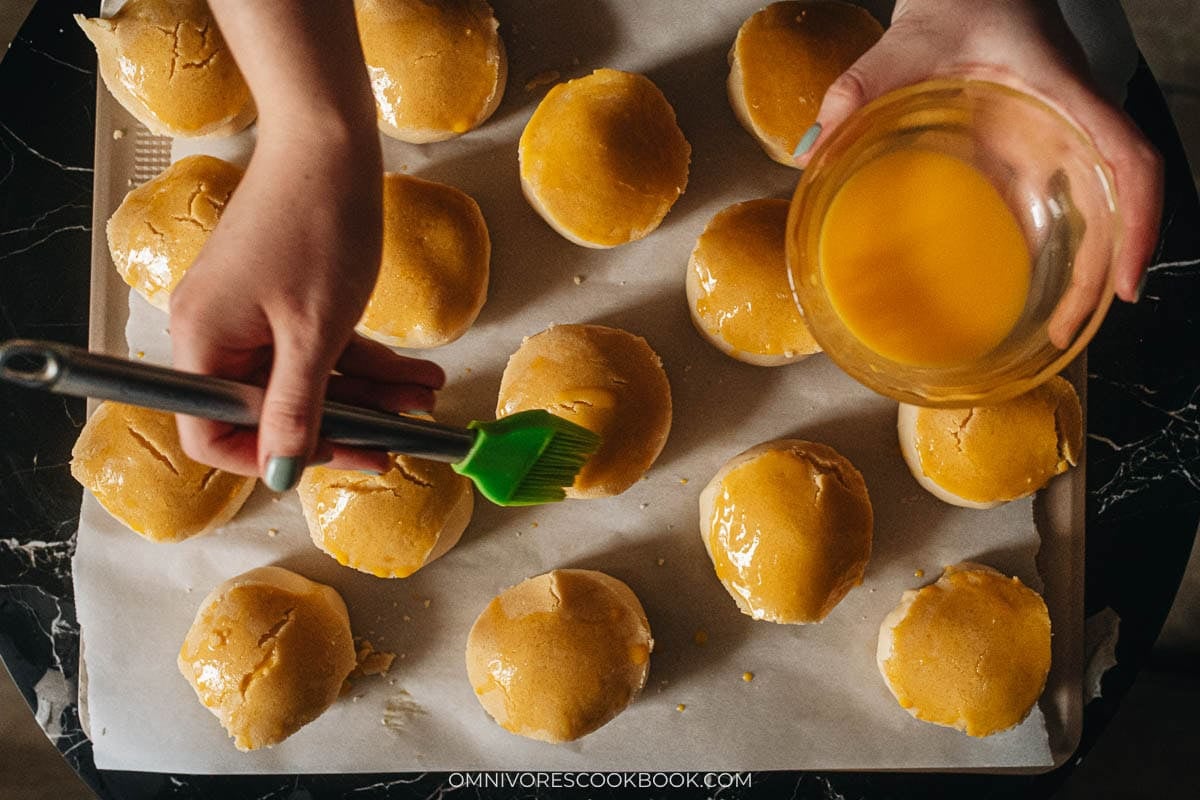
13. Cook: Bake for 15 to 17 minutes until the tops are deep golden and the bottoms are lightly browned.
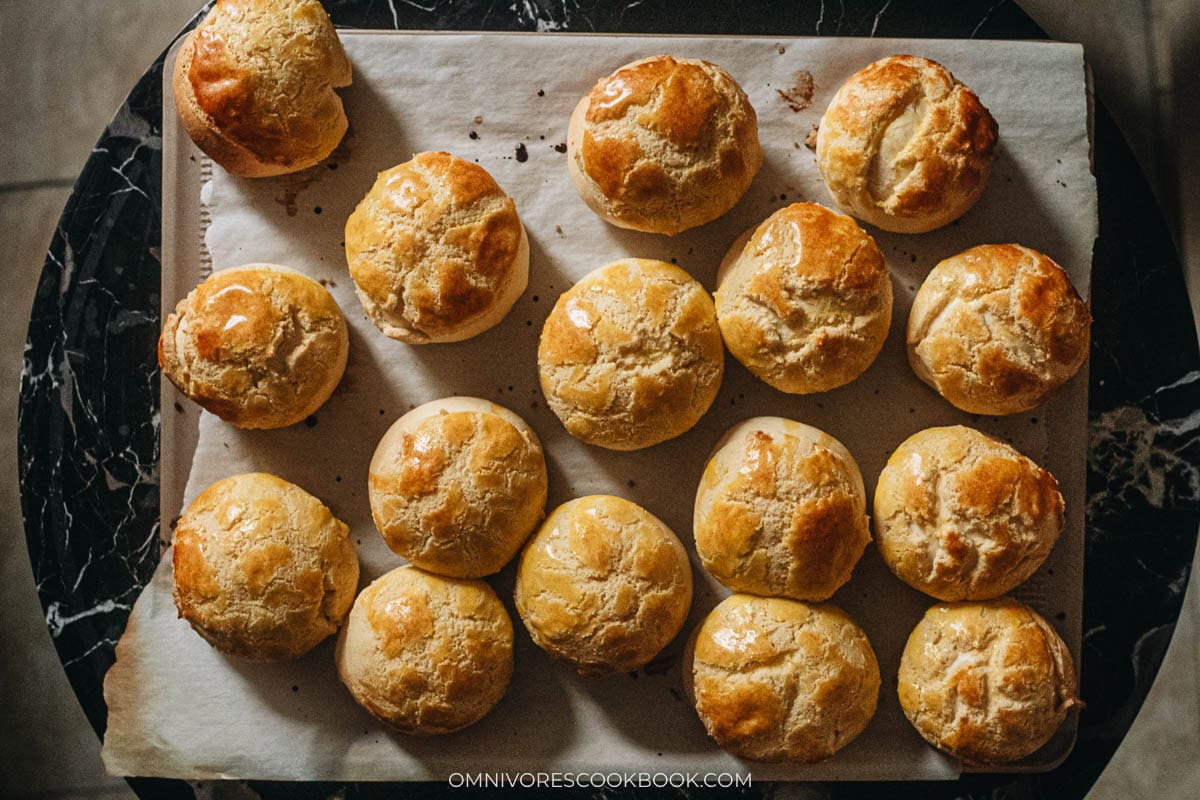
14. Serve: Let the buns rest in the pan for 5 minutes, then transfer to a cooling rack.
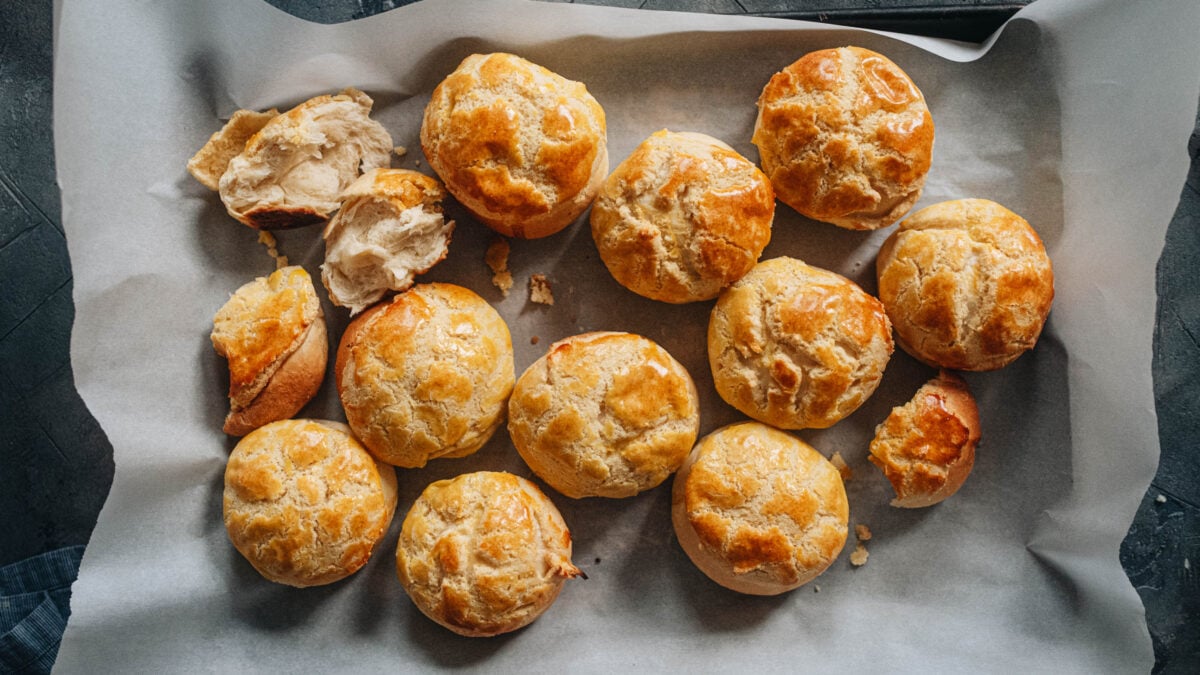
Tips I Recommend to Follow
Measure in grams: Although I’ve listed cups measurement, I highly recommend using grams if possible, which is much more precise and garantee a better result.
Use a stand mixer for the bread dough: Kneading by hand takes much longer and it is harder to develop the gluten properly. A stand mixer with a dough hook makes the 14 minute knead effortless especially when you have a toddler and a busy schedule like me.
Check the dough with the windowpane test: After kneading, pull a small piece of dough with both hands. If it stretches into a thin sheet you can almost see through without tearing, the gluten is fully developed and the dough is ready.
Chill the topping in the fridge, not the freezer: The fridge keeps the dough firm enough to slice but still pliable enough to roll flat. If it gets too hard, let it sit on the counter for 10 to 15 minutes before cutting.
Brush the egg wash twice: One coat gives a pale finish. Two coats with a short dry time in between create a bakery style sheen.
Serving Suggestions
I love eating these straight out of the oven by themselves because they honestly do not need a thing. But the classic Hong Kong way is to split the bun open while it is still hot and slide a cold slab of butter inside. The butter melts into the warm bread and it is incredible. On weekends I prepare a few with jam for my son, and he tears through them. Sometimes I stuff them with leftover char siu for a savory twist that tastes just like the ones I had in Hong Kong.
When I make these for friends, I bake the full batch and place them on a board with butter, jam, and some char siu bao on the side for a dim sum brunch. If you like this recipe, you might also like my steamed custard buns and milk bread rolls too. I always tell people to eat them while they are warm, that is when the topping is at its best.
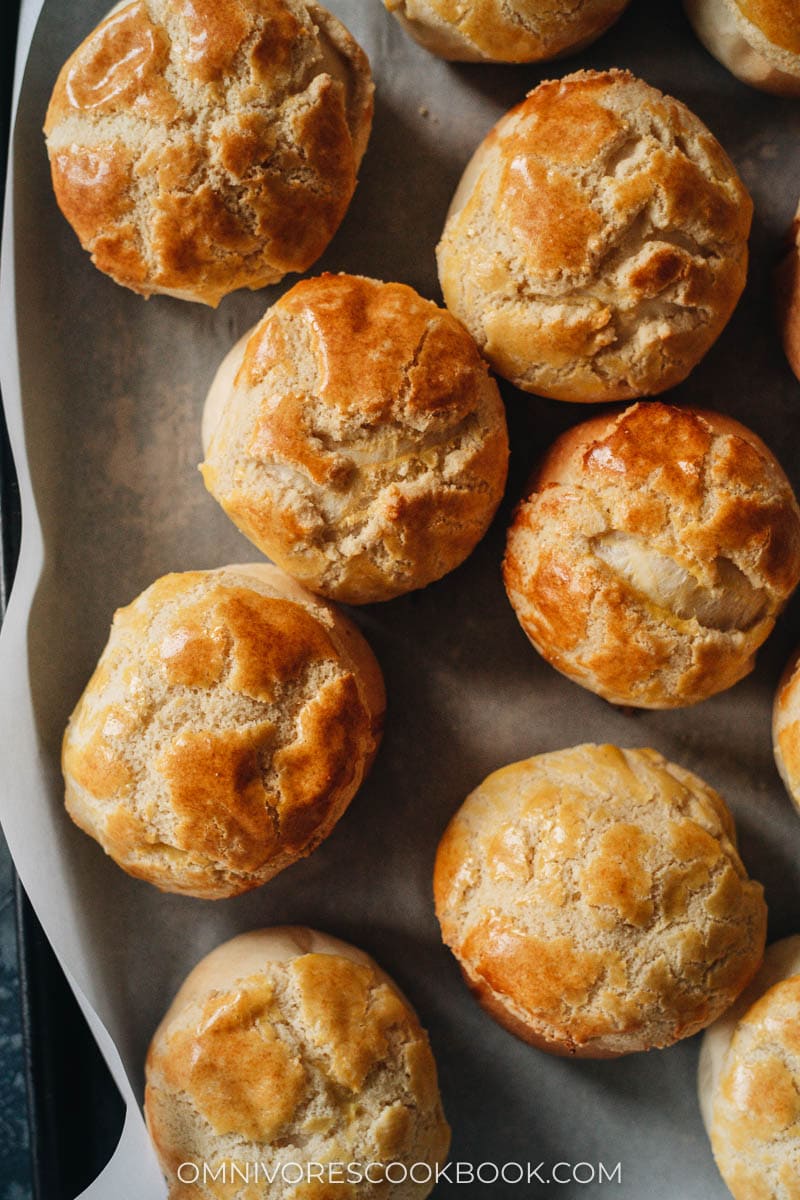
Frequently Ask Questions
What is the best way to roll the topping without it falling apart?
I roll each piece between 2 sheets of plastic wrap, which keeps it from sticking and gives me more control. The dough is naturally crumbly, so some splitting at the edges is normal and actually helps create the unique look. If it breaks too much, I just press it flat with my fingers instead.
Can I make the topping dough the night before?
Yes, and I actually recommend it. The topping rolls out more cleanly when it has been well chilled overnight. Just keep it wrapped tightly in the fridge. I do not recommend making the bread dough ahead because overnight rising can lead to over proofing and change the texture.
How do I store leftover pineapple buns?
I keep them at room temperature in an airtight container for up to 2 days. For longer storage, I put them in a ziplock bag, press out the excess air, and freeze for up to a month. I never refrigerate bread because it dries it out. To reheat from frozen, I bake them at 350°F (176°C) without thawing for about 10 minutes.
Want to Save This Recipe?
Enter your email below & we’ll send it to your inbox. Plus get great new recipes from us every week!
Watch video

Pineapple Buns (Bolo Bao)
Ingredients
Topping
- 60 g butter
- 2 teaspoons whole milk
- 1 egg yolk
- 1/2 teaspoon vanilla extract
- 140 g sugar
- 150 g all-purpose flour
- 1/2 teaspoon baking powder
- 1/2 teaspoon baking soda
- Pinch of salt
Bread
- 180 g whole milk
- 70 g sugar
- 7 g active dry yeast
- 160 g heavy cream
- 1 large egg
- 300 g bread flour
- 225 g all-purpose flour
- 5 g salt
- 50 g butter , softened
Egg wash
- 2 egg yolks
- 2 teaspoons whole milk
- 1/2 teaspoon sugar
Instructions
Make the bread topping dough
- Heat the butter in the microwave until it melts completely. Once the melted butter is slightly cooled, add the milk, egg yolk, vanila, and sugar. Mix with a spatula until smooth.
- Combine the flour, baking powder, and baking soda in another medium-sized bowl. Stir to mix a few times, then transfer it to the bowl with the wet ingredients.
- Mix with a spoon or fork until a dough forms. The dough should be very crumbly. Use your hand to press the crumbs together until a thick dough log is formed (see picture in the blog post).
- Transfer the dough onto a large piece of plastic wrap and wrap the dough. Continue shaping the dough once wrapped, so it forms a thick cylindrical log, about 2” (5 cm) in diameter.
- Transfer the dough to the fridge until ready to use.
Make the bread dough
- Add the milk into a small bowl and warm it to approximately 100-110°F (38°C), about 30 seconds in the microwave. The milk should be warm, just a bit above body temperature. Pour it into the KitchenAid mixing bowl. Add the sugar and yeast. Stir it slightly and let it sit for 5 minutes to activate the yeast. You can tell the yeast has activated when there are bubbles forming in the liquid and a strong yeasty smell.
- Add the heavy cream, egg, bread flour, all-purpose flour, and salt into the bowl (add the salt at the end to prevent it from directly touching the yeast).
- Install the dough hook on your KitchenAid. Mix at setting 2, until a dough forms, about 2 minutes.
- Turn off the mixer. Add the butter to the dough. Use a spatula to smear the butter into the dough to prevent it from splashing. Turn the mixer to setting 6. Knead for another 14 minutes, until the dough is smooth and stretchable. During mixing, turn off the mixer and scrape the sides as needed to make sure all the butter is incorporated. Test the dough by pulling a piece of it using both of your hands. It should stretch into a very thin and translucent sheet.
- Form the dough into a tight ball by pulling its sides to the bottom, then place back in the mixing bowl. Cover the top of the bowl loosely with plastic wrap and place it in a warm and humid part of your home. Allow to rise until it double in size, about 1 hour.
Shape the bread dough
- Line a large baking sheet with parchment paper.
- Once the dough is rested, punch the dough softly to push the air out. Place the dough onto an unfloured working surface and knead it a few times. Use a bench scraper or a knife to cut the dough in half, then halve it again into four pieces, and cut each piece into four even pieces, so you get 16 pieces in total. For a more accurate result, you can weigh the dough so each piece is 62 to 63 g (2.1 to 2.2 oz).
- Loosely cover all the dough pieces with plastic wrap and work on the dough pieces one at a time.
- Pinch the ends of a dough ball into its bottom and place the pinched side down. Place your hand over the ball, forming a cage with your fingers and working the ball in a circular motion, applying light pressure with all of your fingers, until the ball is well rounded.
- Place the dough ball onto the lined baking sheet. Repeat with the rest of the dough balls. Make sure there is 2” (5 cm) of space between each ball. Cover the dough balls with plastic wrap while you form the rest, to prevent the dough from drying out.
- Once done, make sure the whole tray is loosely covered with plastic wrap. Place it in a warm and humid place. Let it rise for another 30 to 45 minutes, until the size doubles again.
Egg wash
- Make the egg wash by combining the yolk, milk, and sugar in a small bowl. Whisk together until everything is combined.
- Cover with plastic and place in the fridge. Chilling the egg wash will make it slightly thicker so it will stick better when brushed on the dough.
Shape the topping
- Once the topping is chilled, unwrap it. Use a knife to slice off the uneven ends and discard them. Carve marks on the dough so you can slice the log into 16 even pieces (see the blog post for instructional pictures). Then slice the dough accordingly. If the dough is too hard to slice, rest it on the kitchen counter for 10 to 15 minutes to let it soften before cutting.
- Place each piece between two pieces of plastic wrap. Use a rolling pin to flatten the dough without cracking it, until it forms a round disk that is about 2.5” (6 cm) in diameter and 1/4” (5 mm) thick. The dough will be very crumbly and the ends might crack a bit (it’s totally OK!). If you find the dough too difficult to roll out without cracking, you can use your hand to lightly flatten it instead of rolling it. (*Footnote 1)
- Place the rolled/pressed topping disks onto a large sheet of plastic wrap using a thin spatula (you can also stack them together by placing plastic wrap or parchment paper between each piece of dough). Cover with plastic wrap until you’re ready to assemble the buns. (*Footnote 2)
Assemble and bake
- Preheat the oven to 350° F (176° C).
- Once the bread dough has risen again, remove the plastic wrap. Gently place the topping dough disks onto the bread dough rolls.
- Brush all the buns with egg wash. Allow the egg to dry slightly. Then brush them again for a second time to get the beautiful yellow color.
- Bake for 15 to 17 minutes, until the top is golden yellow and the bottom is slightly browned.
- Let the buns rest in the pan for 5 minutes, then transfer them onto a cooling rack.
- Serve warm or at room temperature.
Notes
- The topping dough will be very crumbly. We’ve tried both rolling the dough and pressing the dough, and found that the rolling method generates a slightly better result. The topping will cover the bread better and the buns will look better. On the other hand, pressing the dough is much easier and the result is just as tasty. Although, the topping will be slightly small and won’t cover the bread fully in that case.
- If your bread has risen while you were working on the toppings, you can place the topping directly onto the bread rolls.
Nutrition

Did you make this recipe?
I’d love to hear how it turned out for you! Please take a moment to leave a 5-star rating ⭐️ and share your thoughts in the comments further down the page. It really helps others discover the recipe too.
Lilja Walter is a part of the Omnivore’s Cookbook team and worked closely with Maggie to develop and test this recipe.
MY
Hi Maggie, this is definitely a 5star recipe as it was very well received by both the old and young in my household! Love the little tips you gave, from weighing the bread dough to get equal sizes to how to forming it into a nice round ball to get that perfect shape. I wanted to also share a couple of tips that I chanced upon when preparing the topping. Firstly, I wasn’t able to get the perfect cylinder shape as you do which affected the equal sizing of them. I got around it by measuring them to equal weight, about 24-25g per piece, shaped them into a mini golf ball before rolling them into a flat circle between the plastic sheets. Secondly , the chilled effect of the topping dough makes it really easy to transfer them in perfect whole slice onto the round proofed dough using the bench scrapper. Therefore I find myself putting the topping dough back into the fridge to chill a few minutes whenever I find that it’s crumbling apart and couldn’t be transferred in one piece over to the bread dough.
Rachel
Have you noted any issues with using the KitchenAid mixer with the bread hook on speed 6? My understanding according to KitchenAid is that the bread hook shouldn’t be used with a speed other than 2 to avoid over working the motor.
Thanks!
Maggie
Hi Rachel, I actually didn’t know you should always use speed 2 or less with bread hook.
The motor does get hot when you use speed 6 for a while. I always keep an eye on the mixer and stop it to let it cool down if the motor gets too hot.
Gloria
My kitchen aid mixer unfortunately gave out on minute 12 of kneading on speed 6 and now I’m not sure if my mixer is permanently broken or not. I would definitely recommend not leaving the mixer on continuously for the full 14 minutes.
This is my second time making the recipe and I really struggle making the topping, mine looks lighter in color and is very crumbly and I can barely form it into a cylinder or even roll it. Do you have any further tips?
Janie
Great recipe thank you! I’m wondering if making the topping the night before and chilling it overnight would be ok?
Maggie
Hi Janie, I’m sure you can. If the dough gets tough and it’s hard to cut, simply place it at room temperature for 10 to 15 minutes so it looses up a bit.
Janice Ong
Wow, these are amazing! Brought me back to my childhood and is just as delicious as my favorite pineapple buns from the bakery!
Melanie Chu
Hi, is it possible to replace the heavy cream with full cream milk?
Maggie
I’m afraid not. The two ingredients contain very different fat content and will not work the same.
If you prefer milk, you should use the dough from this recipe: https://omnivorescookbook.com/baked-bbq-pork-buns/
Rachel
My family loved them! They were delicious! Question: I was wondering if you could split the work into two days? Will it be okay if I let the dough proof overnight so we can have fresh buns in the morning?
Maggie
Hi Rachel, I’m glad to hear you like these buns! We’ve never tried proofing the dough overnight in the fridge so I’m afraid I don’t have the answer. The long proofing time might change the dough texture so I wouldn’t recommend it unless you want to experiment with it. And if you do decide to try it out, I’d really appreciate if you could leave a comment to share your result with the rest of us 🙂
Home Arise
Great recipe!
Linda
Can you use instant yeast? If so, how much?
Maggie
Hi Linda, yes you can use instant yeast. You don’t need to activate them in the warm water so you should skip that step and add the yeast with the dry ingredients directly. You should use 1 3/4 teaspoon instant yeast in this recipe.
Nida Duckett
I have been wanting to make pineapple buns forever and finally thanks to your recipe it was successful on the first try. I wanted to make the kind filled with custard so I merged your recipe with another one I found and it was still awesome. Thank you so much from a Cantonese fan of this dessert 🙂
Maggie
So happy to hear it 🙂 The pineapple buns filled with custard sounds SO GOOD! I can’t wait to make them myself.
Ghulam Mohyudin
It was perfect the first time. I learn so much from you as well! Keep it up great post.
Emily C
Hi Maggie,
We don’t have a stand mixer. What are your suggestions for hand kneading? I’ve never made bread before. Thank you!
Emily
Maggie
Hi Emily, I think you can hand knead the dough, but the process will be quite a bit of work so you will get the correct dough texture – when you can stretch the dough into a thin semi-transparent sheet without tearing apart. I have some other readers who hand kneaded the dough and the result was very good.
AC
Made this on a Saturday. They turned out great. Take your time, read through, it is foolproof
Sabrina
this looks like a fun or challenging baking process depending on your perspective, it looks fun to me, it’s nice to learn how to make this from scratch with your detailed step by step walk through, much appreciated!
Ayana
This looks amazing! I’m out of active dry yeast, can I use instant yeast for this?
Maggie
Hi Ayana, I’m pretty sure you can, but you don’t need to dissolve the yeast in warm water to activate it. You can mix it into the dry ingredients directly. You might also need to reduce the rise time by 10 to 15 minutes so the dough won’t be over proofed.
Natalie
Thank you so much! This recipe is amazing! The dough is perfectly soft/buttery/fluffy. I’ve made bo lo bao from a couple other recipes and the dough is NOWHERE NEAR as fluffy and tasty. My family is Cantonese/HK so they love Chinese bakery goods. We’ve been having bakery withdrawal during this time and my FIL (who is one of the harshest food critics) gave me a score of 99, but all I did was follow the recipe! (missing 1 point because he wants me to have “room for improvement” HAHA). For all you readers and avid bakers, if you want a true bo lo bao, Make this!!!
Nicole Naasz
These are the best! My family, including my picky Chinese son, ate them up. No worries about storing them, as they are almost gone . Thank you for sharing this bao recipe. Definitely a keeper for my meals.
Stephanie
Amazing recipe! Baked these today and they were just like fresh ones from a Chinese bakery. I did not have cream on hand, so I used more whole milk and 50g more butter to make up for the fat. Also didn’t have a machine so kneaded this by hand – took about 40 min for me. The dough wasn’t perfect (couldn’t achieve the windowpane effect; might’ve needed to knead more but was afraid of overkneading) and it was slightly tacky, but after I let it rest for an hour it rose well and smoothed itself out. Thank you so much for this recipe!!!
Trish
Has anyone tried this with gluten free cup for cup flour? I have food allergies in my household… want to make these for the kids ….
Ernest
I even surprised myself on this recipe. They turned out beautifully and I’m not much of a baker. LOL. The recipe is time consuming but worth it. I served with classic Chinese rice/pork congee. WOW. The directions are easy to follow. Thanks. BTW, unsalted butter, yes.
Ernest
Also, the shelves here are empty of AP and Bread flour but voila, in lieu of Bread Flour, semolina flour, which is higher in protein than AP worked superbly. I bet Italian 00 would sub for bread flour as well. Fortunately I had the required AP flour to balance.
Ange
Can I sub bread flour? I only have AP flour.
Sally
Did you try it with all AP? If so how was the outcome? Thanks
Kathy
I’ve done it twice with all AP flour (I measured by weight, so 525g total) and it turned out great!
Sarah
Thank you for this!!! Loveee pineapple buns! Question – do we use unsalted butter for this recipe?
Maggie
Yes, unsalted butter for this recipe.