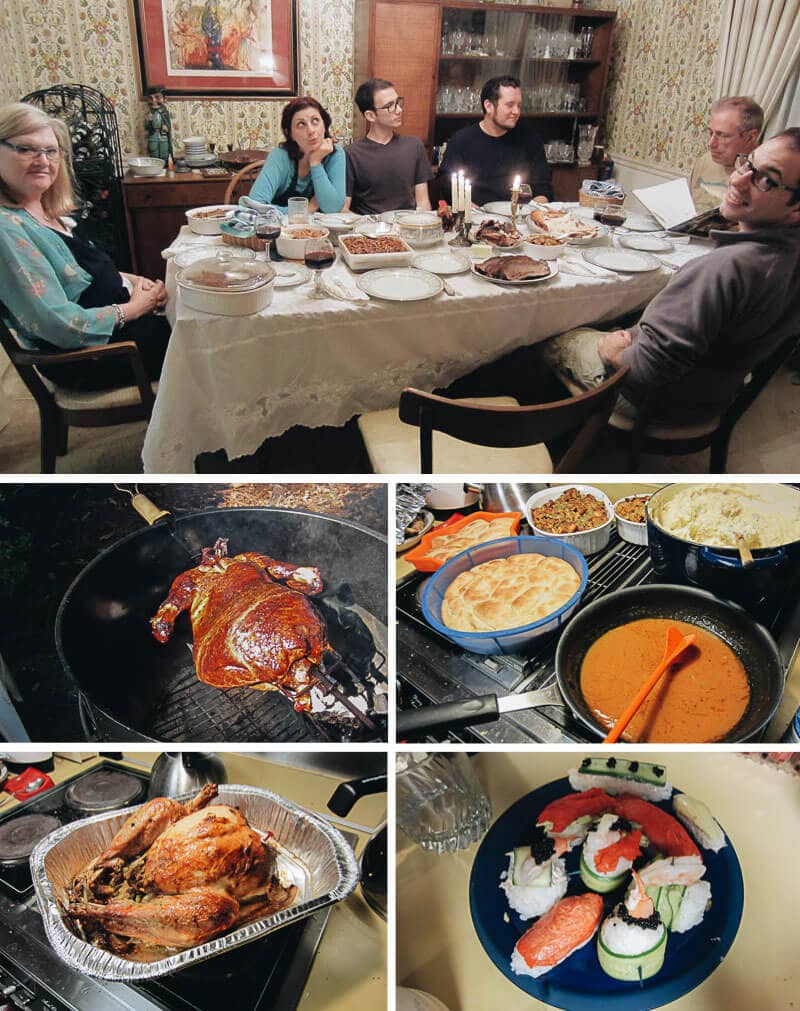
The first time I had Thanksgiving dinner was back in 2012. Thomas, my future husband, invited me to spend Thanksgiving with his family at his parents’ place in Albany, Georgia. The experience was very special for me. Not only was it the first time I ate turkey, but it also opened my eyes to how American people cook and celebrate the festival in a very traditional way. Yep, I’m talking about homemade turkey, multiple pies, and baked green beans made with Campbell’s mushroom soup.
Everybody cooks on Thanksgiving Day. It was quite awkward for me because I had no idea how to cook any Thanksgiving dishes. I tried my best to help with the mashed potatoes, but it turned out that I didn’t add enough butter and cream cheese. Below you’ll see some of the photos I took during my first Thanksgiving dinner.
Guess which dish I made?
Yep, that plate of sushi. Kinda out of place isn’t it… But fortunately, everybody loved it.
Since we got married, I’ve spent Thanksgiving with my new family a couple of times. I’ve been picking up some holiday cooking every year. So far, I’ve challenged myself with baking a whole turkey, Chinese-style.
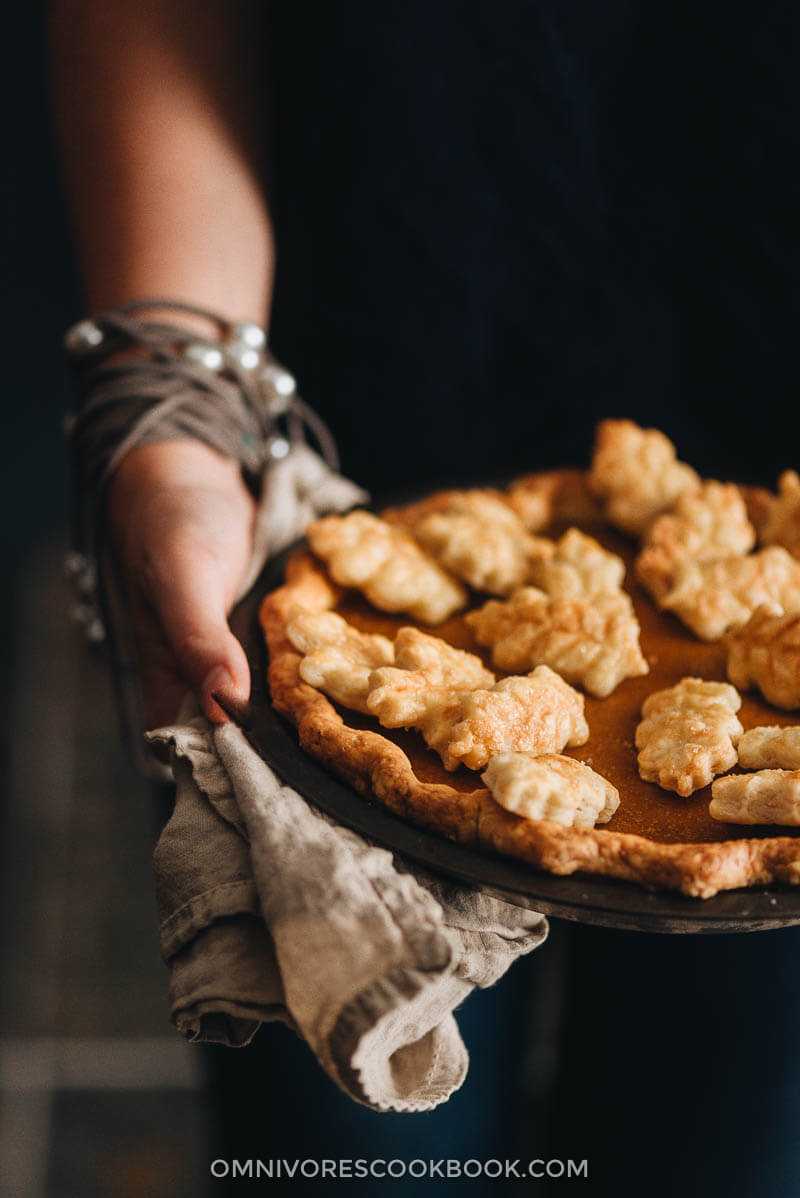
I decided to challenge myself with pie-making this year.
I originally had a negative impression toward Thanksgiving pies. It’s not that they aren’t delicious. But it’s really difficult for me to enjoy a heavy dessert after having plates of turkey, roast beef, stuffing, and dinner rolls.
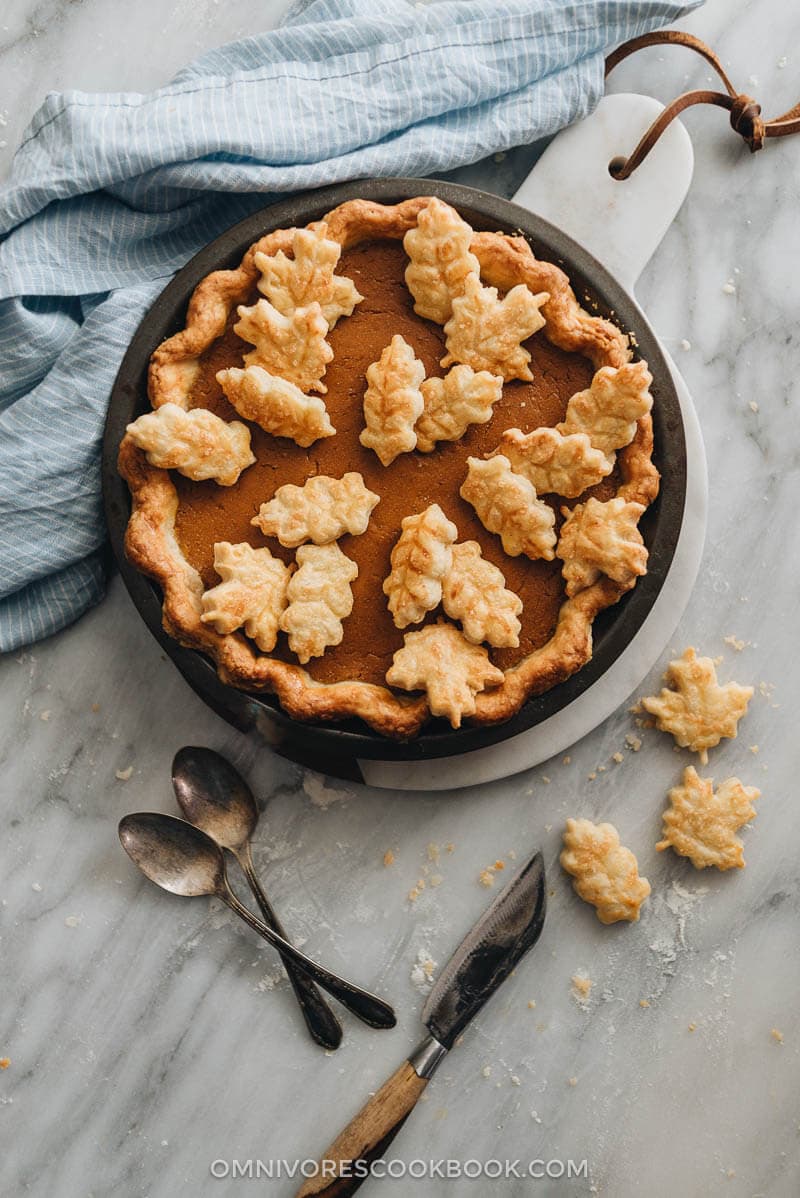
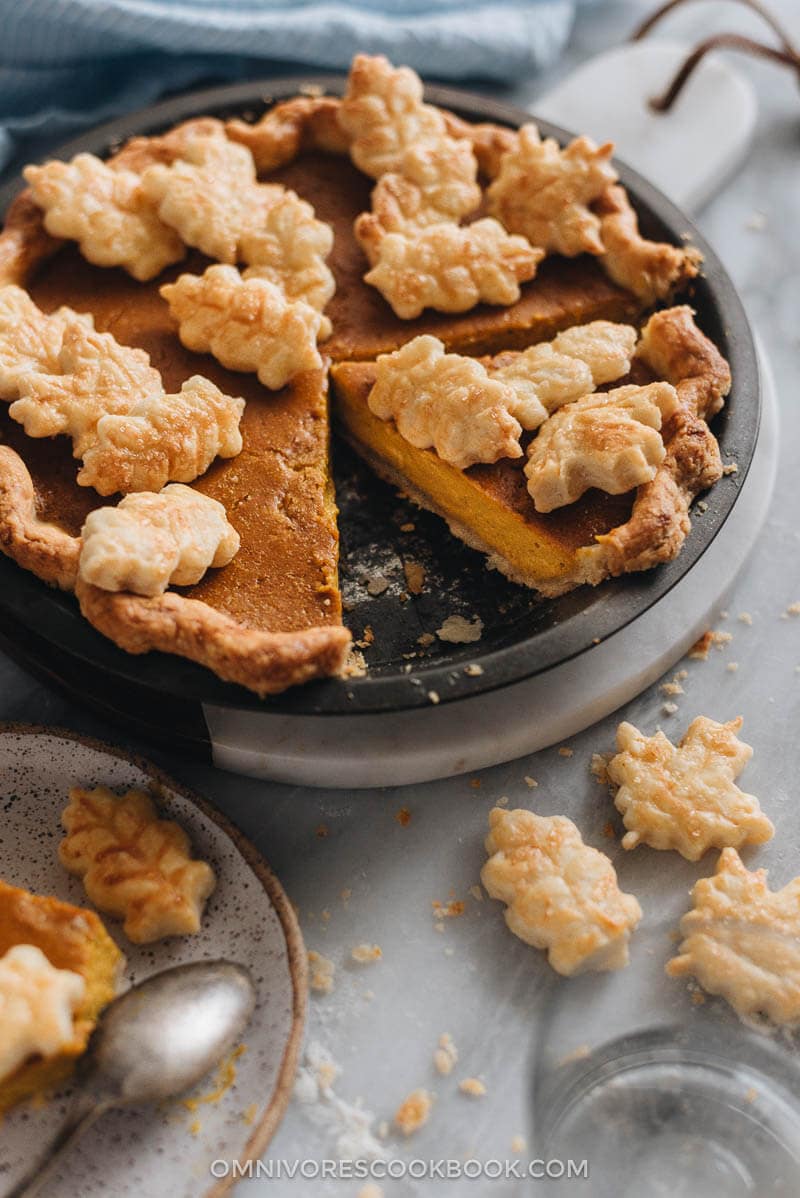
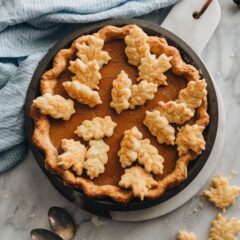
My goal for Thanksgiving this year is to bring some Asian elements to the traditional American dessert by making a lighter version of pumpkin pie that you can easily enjoy after a heavy dinner.
Here are some of the highlights of my recipe:
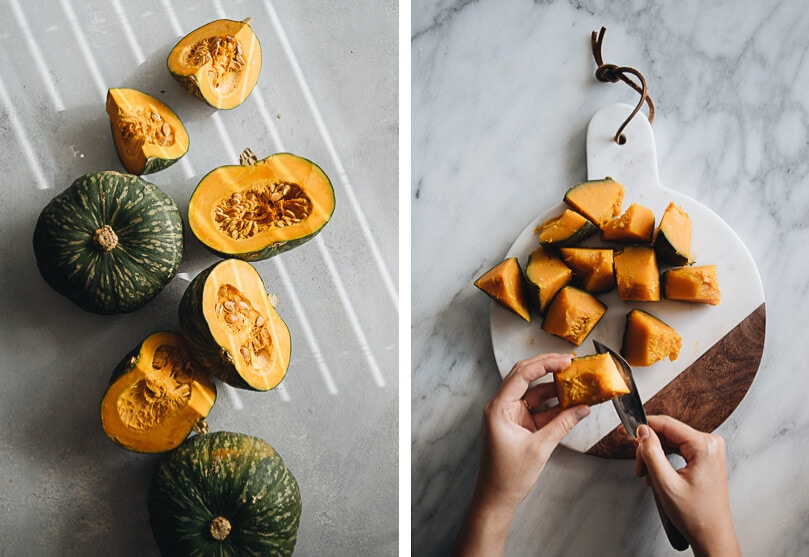
- I made the pie filling using steamed kabocha, a type of squash that is usually seen in Asian desserts. It has a sweet and nutty taste that is almost like that of sweet potato.
- I doubled the ginger and used very little cinnamon. I also skipped the cloves, nutmeg, and allspice, which are used in traditional pumpkin pie. Because I want to draw out the natural flavor of the squash.
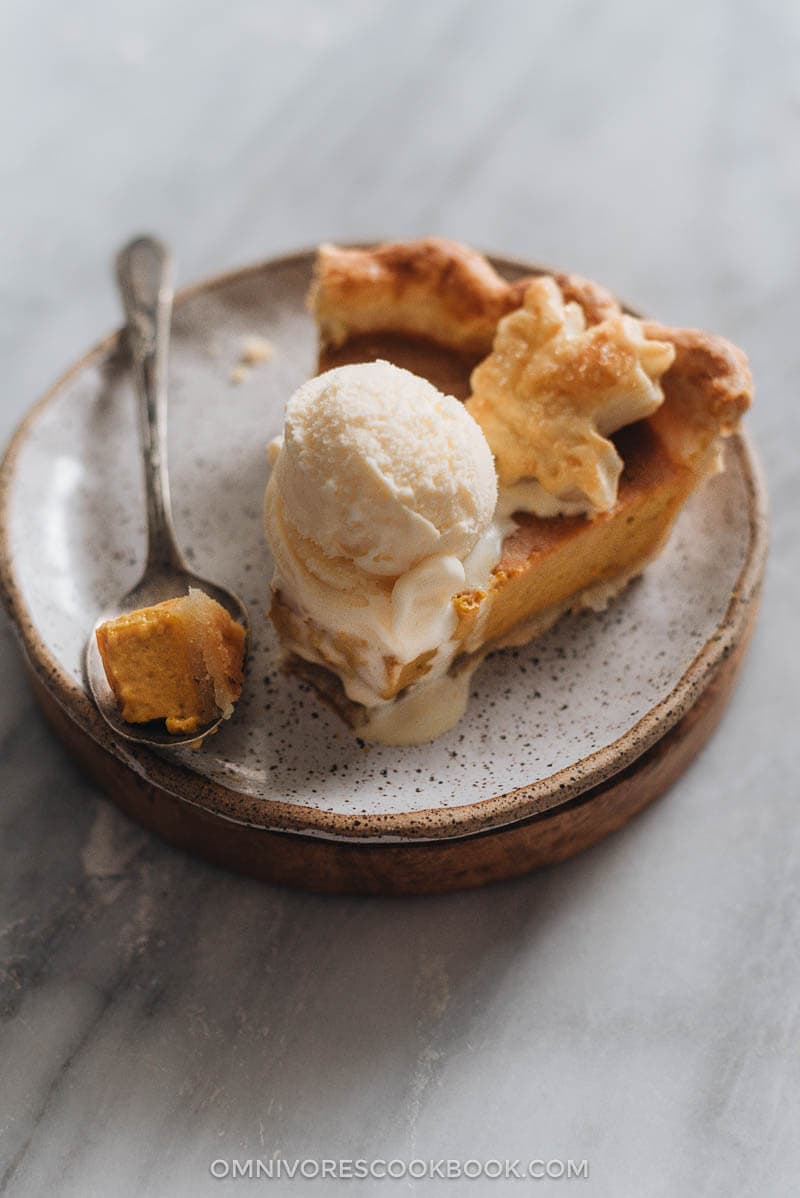
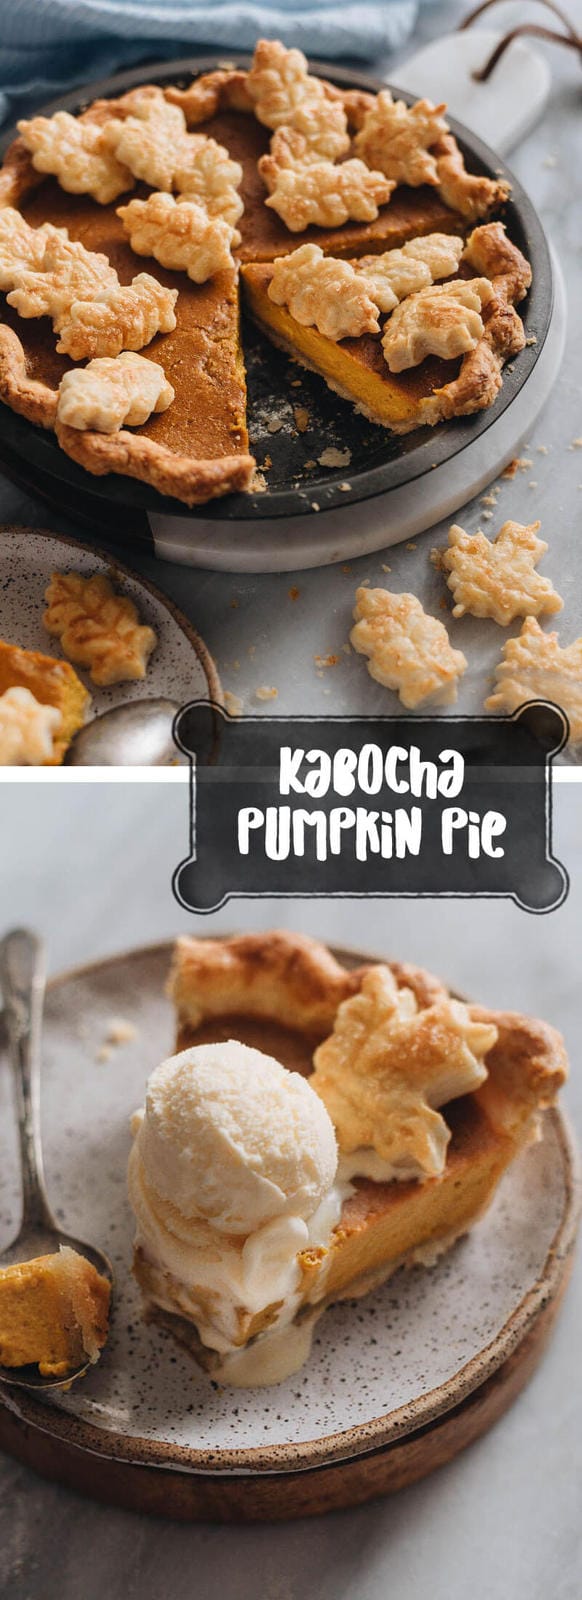
- I added just half a cup of sugar and skipped condensed milk. The pie filling is made with heavy cream and milk, which creates a light, fluffy, and silky texture that will melt in your mouth.
- Lastly, I finally found a foolproof pie crust recipe that even a baking rookie like me can master. I believe that a freshly made flaky crust is the only way to go.
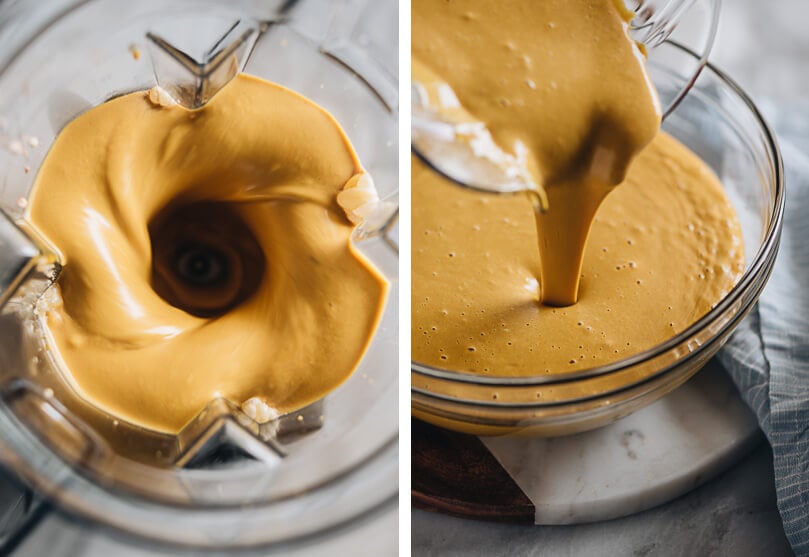
The recipe below might look long. But trust me, the pumpkin filling is very easy to make. All you need to do is steam the kabocha and mix everything in a blender (my beloved Vitamix came in handy here!).
I chose to steam the kabocha instead of baking it, because it shortens the cooking time from 1 hour to just 15 minutes. Plus it won’t take up your precious oven time on a busy Thanksgiving day.
When I completed my pie project for the year, my husband was very happy with the results. His comment was “it’s a lighter, more gingery version of the classic and tasty enough to serve at the family Thanksgiving dinner”.
I took that as a sign my mission was complete 😉
More Thanksgiving recipes
- Chinese Brined Turkey (Extra Juicy and Crispy on All Sides)
- Thanksgiving Leftover Curry Puffs
- Asian Thanksgiving Recipes
- Oven Roasted Green Beans with Garlic Soy Glaze
This post is sponsored by Vitamix. All opinions expressed are my own. Thank you so much for supporting the companies that keep this blog going.
Chinese Cooking Made Easy
Are you new to this website? This free email series is a great place to start. I’ll walk you through a few of my most popular recipes and show you how and why they work. You’ll quickly start to cook better Chinese food in your own kitchen.
Kabocha Pumpkin Pie (a Lighter and Fluffier Pie)
Ingredients
- 1 homemade chilled pie dough for a 9-inch pie or a premade pie crust
- 1 large egg
Filling
- 1/2 kabocha squash about 1.5 pounds / 800 grams, including skin and seeds, or 1 (15-oz./425-g) can pumpkin puree
- 1 cup (232 grams ) heavy cream
- 1/3 cup (80 grams) whole milk
- 1/2 cup (100 grams) brown sugar
- 2 large eggs at room temperature
- 2 tablespoons (30 grams) unsalted butter
- 1 1/2 teaspoon ground ginger
- 1/2 teaspoon ground cinnamon
- 1/2 teaspoon salt
Instructions
- Filling
- Microwave the kabocha squash for 2 to 3 minutes, so it’ll be much easier to cut. Halve the kabocha by tilting your knife to a 45-degree angle and slicing it down from the bottom of the squash (the softer part). Then cut to 1-inch thick slices.
- Prepare a steamer with 2 inches of water in it. Top with steaming rack, and place the pumpkin on the rack. Cook covered over medium high heat until it reaches a boil and steam comes out from the lid. Steam until the squash turns tender throughout, about 15 minutes.
- Transfer the kabocha to a plate and let cool for 15 minutes, until it can be handled by hand. Peel off the skin with a knife and discard. Measure 3 heaping cups (400 grams) of kabocha and transfer to a blender (I used Vitamix).
- Add the butter, heavy cream, milk, brown sugar, eggs, butter, ginger, cinnamon, and salt into the blender. Turn on low spead and gradually increase to high. Blend until it forms a silky puree, 15 to 20 seconds. The puree should have a consistency thick enough to coat a spoon. You can add more milk if the texture is too thick, or add more squash if it’s too runny.
- Layer a few dish towels on your kitchen counter. Drop the blender bowl from a 2-inch height onto the dish towels a few times, to release the bubbles that have formed in the puree. Transfer into a big bowl. The puree can be made a day earlier and stored in an airtight container in the fridge.
- Bake
- Sprinkle a thin layer of flour onto a clean working surface and place the pie dough on top. Let rest for 5 to 10 minutes, until it’s soft enough to roll out without cracking.
- Dust the top of the pie dough and your rolling pin with flour. Roll out the dough into a round sheet that is about 1/8-inch (3-mm) thick, and 1-inch larger than the rim of your pie pan. Rotate the dough frequently so it won’t stick to the surface. Dust with more flour if needed.
- Roll the dough over your rolling pin and unroll it over the baking dish. Gently arrange the dough to fit the pan. Trim off the excess dough with scissors, leaving about 1/2 inch (1-cm) from the rim of the baking pan.
- Tuck the edge of the dough underneath so it creates a thick border that rests on the rim of the baking dish. Crimp the edges by pressing the edge with your finger while holding the two sides with the knuckles of your other hand.
- Cover the dough with plastic wrap and transfer to the fridge. Let rest for 30 minutes to 1 hour, until it’s completely cooled and turns solid.
- Adjust oven racks, so one is in the middle and one is on the bottom. Place a pizza stone on the bottom rack (Optional). Preheat the oven to 425 degrees F (220 C).
- Beat the egg with 1 tablespoon water in a small bowl to make an egg wash.
- When the pie is well chilled, transfer to the kitchen counter. Crumple a piece of parchment paper and flatten it, cover the bottom of the pie and arrange it so it fits the shape. Add pie weights, beans, or rice onto the parchment paper. Transfer the pie onto the pizza stone. Turn the oven to 400 F (200 C). Bake for 30 minutes, or until the edges turn golden.
- (Optional) If you made the pie garnish, you can now place them on the middle rack and bake until the surface turns golden, 15 to 17 minutes.
- Transfer the pie crust to the kitchen counter and remove the pie weights. Brush the entire pie crust surface with a thin layer of egg wash. Return it to the bottom of the oven and bake for another 5 to 7 minutes, until the egg wash has dried completely and the bottom of the pie crust turns solid. If you plan to make the pie in advance, you can pre-bake the pie crust one day in advance.
- Let the pie crust cool completely. Turn the oven to 350 F (176 C).
- Fill the pie with the kabocha squash puree, up to 3/4 of the crust. Bake on the middle rack until the filling sets and the center jiggles slightly, about 40 minutes. Transfer the pie to a cooling rack and let cool completely before serving.
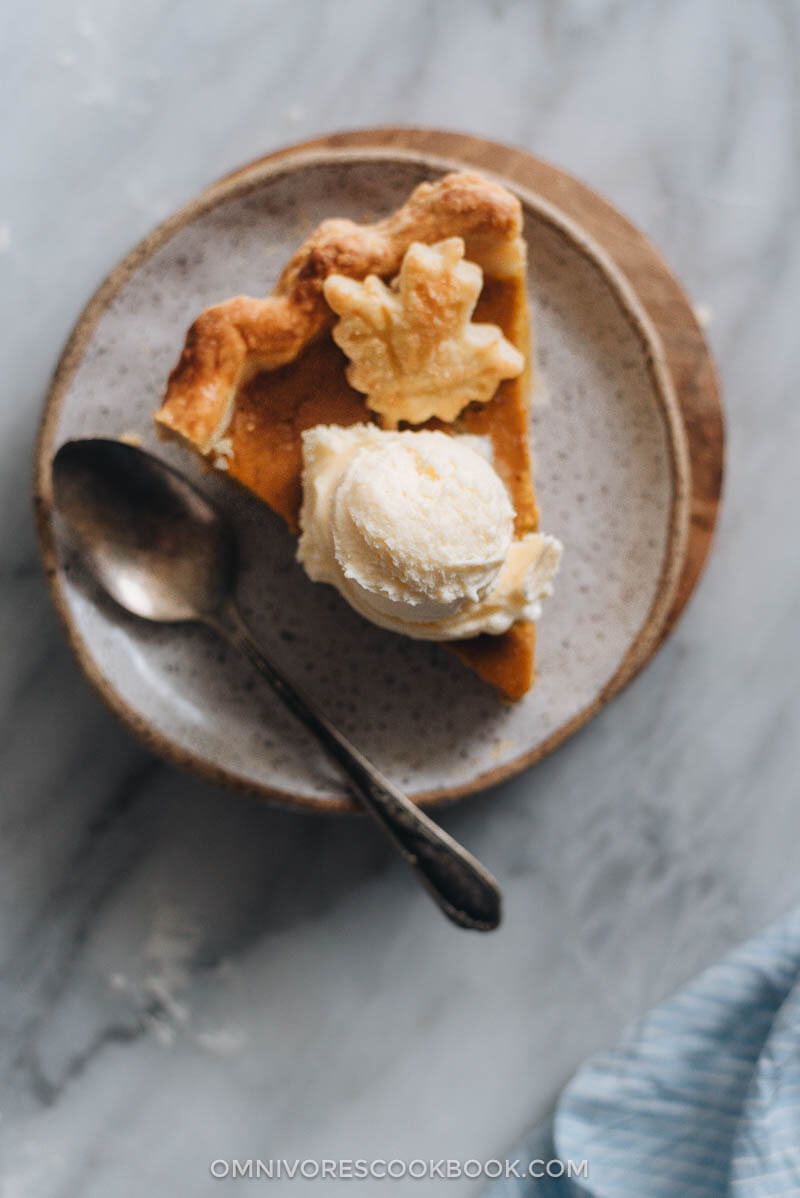
- Slice the pie and top with whipped cream or vanilla ice cream. Enjoy!
Notes
Nutrition

Did you make this recipe?
I’d love to hear how it turned out for you! Please take a moment to leave a 5-star rating ⭐️ and share your thoughts in the comments further down the page. It really helps others discover the recipe too.
Fulton Li
I was trying to access the recipe for the crust of which you have referred, but the link is not operative. Can you either correct this or provide a different link?
Kendra
This pie was good while hot. I used baked kabocha squash and don’t have a vitamix. My blender couldn’t really handle it, so I put it in the food processor. I was a little short on brown sugar so used 85 grams instead of 100. I think I would use still less next time. Noticed little white bits that got bigger as I processed it. Decided the cream was turning to butter, so just baked it. Didn’t make a pie, just a custard. Had to make it the day before, so we had it refrigerated. The flavor was good, although it had tiny crunchy bits. Today I heated up a dish of it before eating–no more crunchy bits. I think the cream did start to turn to butter and as it baked, sugar stuck to the butter, so when it was cold there were crunchy bits. I think when I reheated it, the butter melted and the crunchy bits went away.
Christina
This was ahh-mazing! Our kabocha squash was nearing its end and we didn’t have a dinner plan for it, so I found this recipe and we made pie! I didn’t have heavy whipping cream so I used sweetened condensed milk and it still came out perfect. I’d do the heavy cream and milk next time, because it came out so sweet. Thanks for posting this recipe 🙂
Patricia
Oh my Gosh! I made this pie just because I had too much squash for 2. So with the excess I made this. It turned out scrumptious. My non pumpkin pie loving husband even loved it! Oh and I used a oat, almond crumble crust from Minimalist Baker that I love and it works perfectly for this filling.
However your crust certainly looks delicious. Thank you so much for sharing this recipe. I will definitely make it many times.
Nicole
Hi Maggie,
I found your recipe because I saw some kabocha squash at the store, and I wanted to see if I could make a pie with it for Thanksgiving. I followed your filling recipe completely and your baking instructions for the crust. I made my own butter+lard crust and added more cinnamon and some cloves to the filling. Everyone LOVED it! I make pumpkin pie every year, and this by far was the best. It is light and fluffy and so creamy. Thank you for the wonderful recipe and for sharing the history behind it too!
Debra A Nava
I bought a kabocha squash a few weeks ago at my local Asian market and I am obsessed with how delicious it is! I love it just sir fried with the skin or steamed. I was looking for a light pie recipe for Thanksgiving and found your site. I will be sharing this wonderful vegetable with my family this year. Thank you!
Pamela
I usually use kabocha here in Japan too. It’s great steamed or simmered with a bit of soy sauce as a side dish. You can leave the skins on for side dishes as they soften and can be eaten.
You know, I have seen pumpkin pie recipes using Chinese 5 spice. I tried it. It was quite good. I’m an American but I now find most American sweets too sweet!! I like your idea of using just the brown sugar. And the smaller amount. Please do make thanksgiving your own. That’s the whole point. Have fun.
Maggie
I miss the kabocha salad in the bento box in Japan! It is so simple and yummy. And after eating some Japanese dessert, I can never go back to the desserts that are too sweet. That’s why I’m learning baking from many Japanese cookbooks nowadays.
I didn’t use a lot of spices in this recipe because I want the kabocha tastes natural and fresh. I really love the brown sugar and gingery taste in this. I hope you try out the recipe some time 🙂
I’ll be cooking this one for our Thanksgiving dinner this year and hopefully everyone will like it!
Giselle
Thank you for this recipe, Maggie! I bought kabocha squash at our local HMart for the first time last fall. I wasn’t sure what to do with it, but I have some recipes for kabocha side dishes in a couple of my many cookbooks, and my husband and I both really enjoyed its sweet flavor and dense texture. I am thrilled that you developed a recipe for a kabocha pie. I’ll let you know how it turns out when I try it.
Maggie
Hi Giselle, I hope your first kabocha pie turns out great! I love using kabocha both in my cooking and serve it directly. It has a nutty sweet taste that is almost close to sweet potato. It’s so good! I’ll be sharing a kabocha soup soon 🙂
Happy cooking and can’t wait to hear your feedback!
Jasline (Foodie Baker)
I love the leaves that you decorated your pie with, it makes the pie look so pretty! Though I don’t celebrate thanksgiving, happy thanksgiving to you and your family!
Maggie
Thanks for stopping by Jasline, and I’m glad to hear you like these pie decorations! The pie is great for any entertaining occasions, so hope you could try it out sometime!